Introduction
Welcome to our comprehensive guide on how to set up a new SSD (Solid State Drive). If you’re looking to upgrade your computer’s storage and take advantage of faster data access, improved performance, and reliability, then installing an SSD is a great choice.
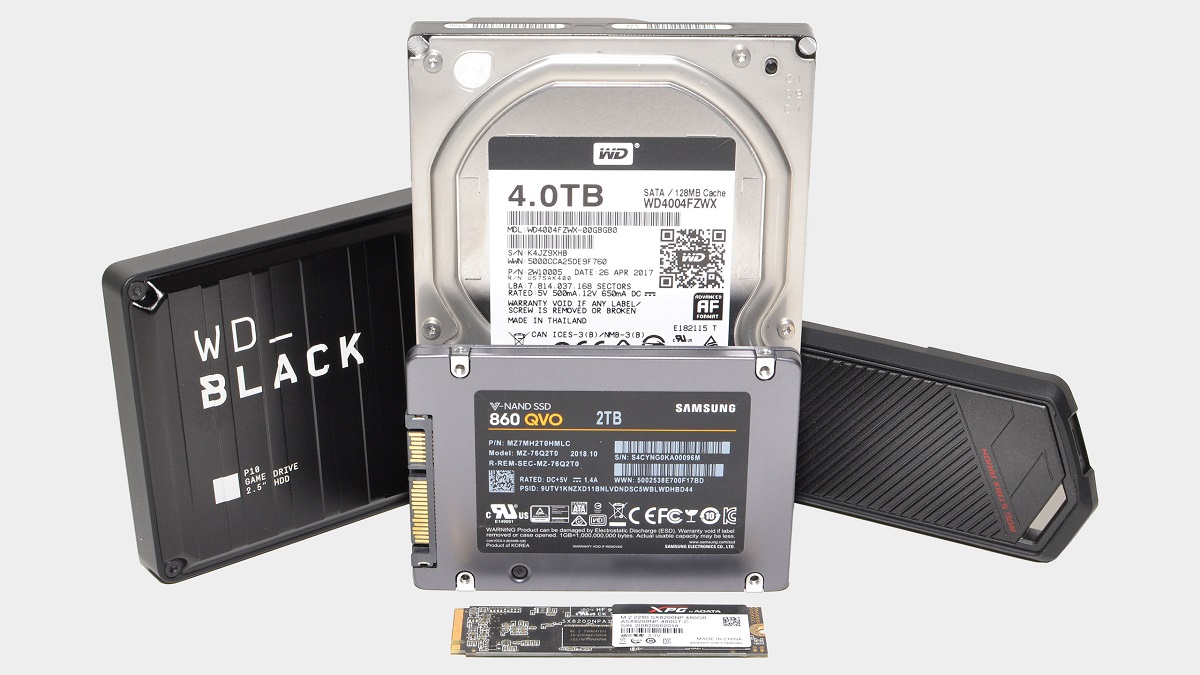
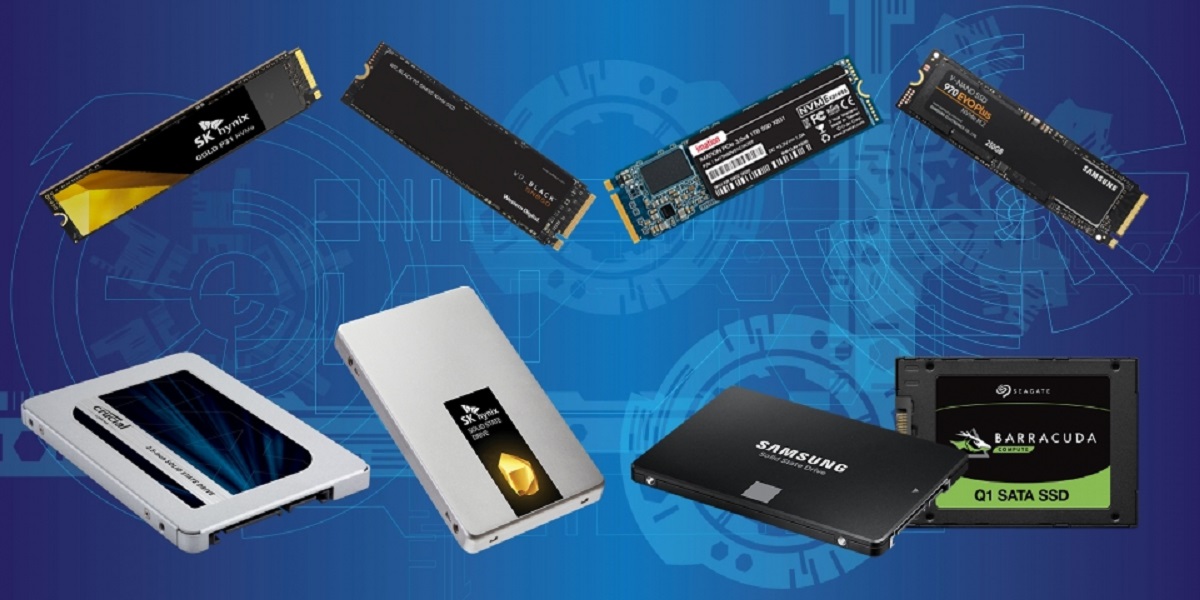
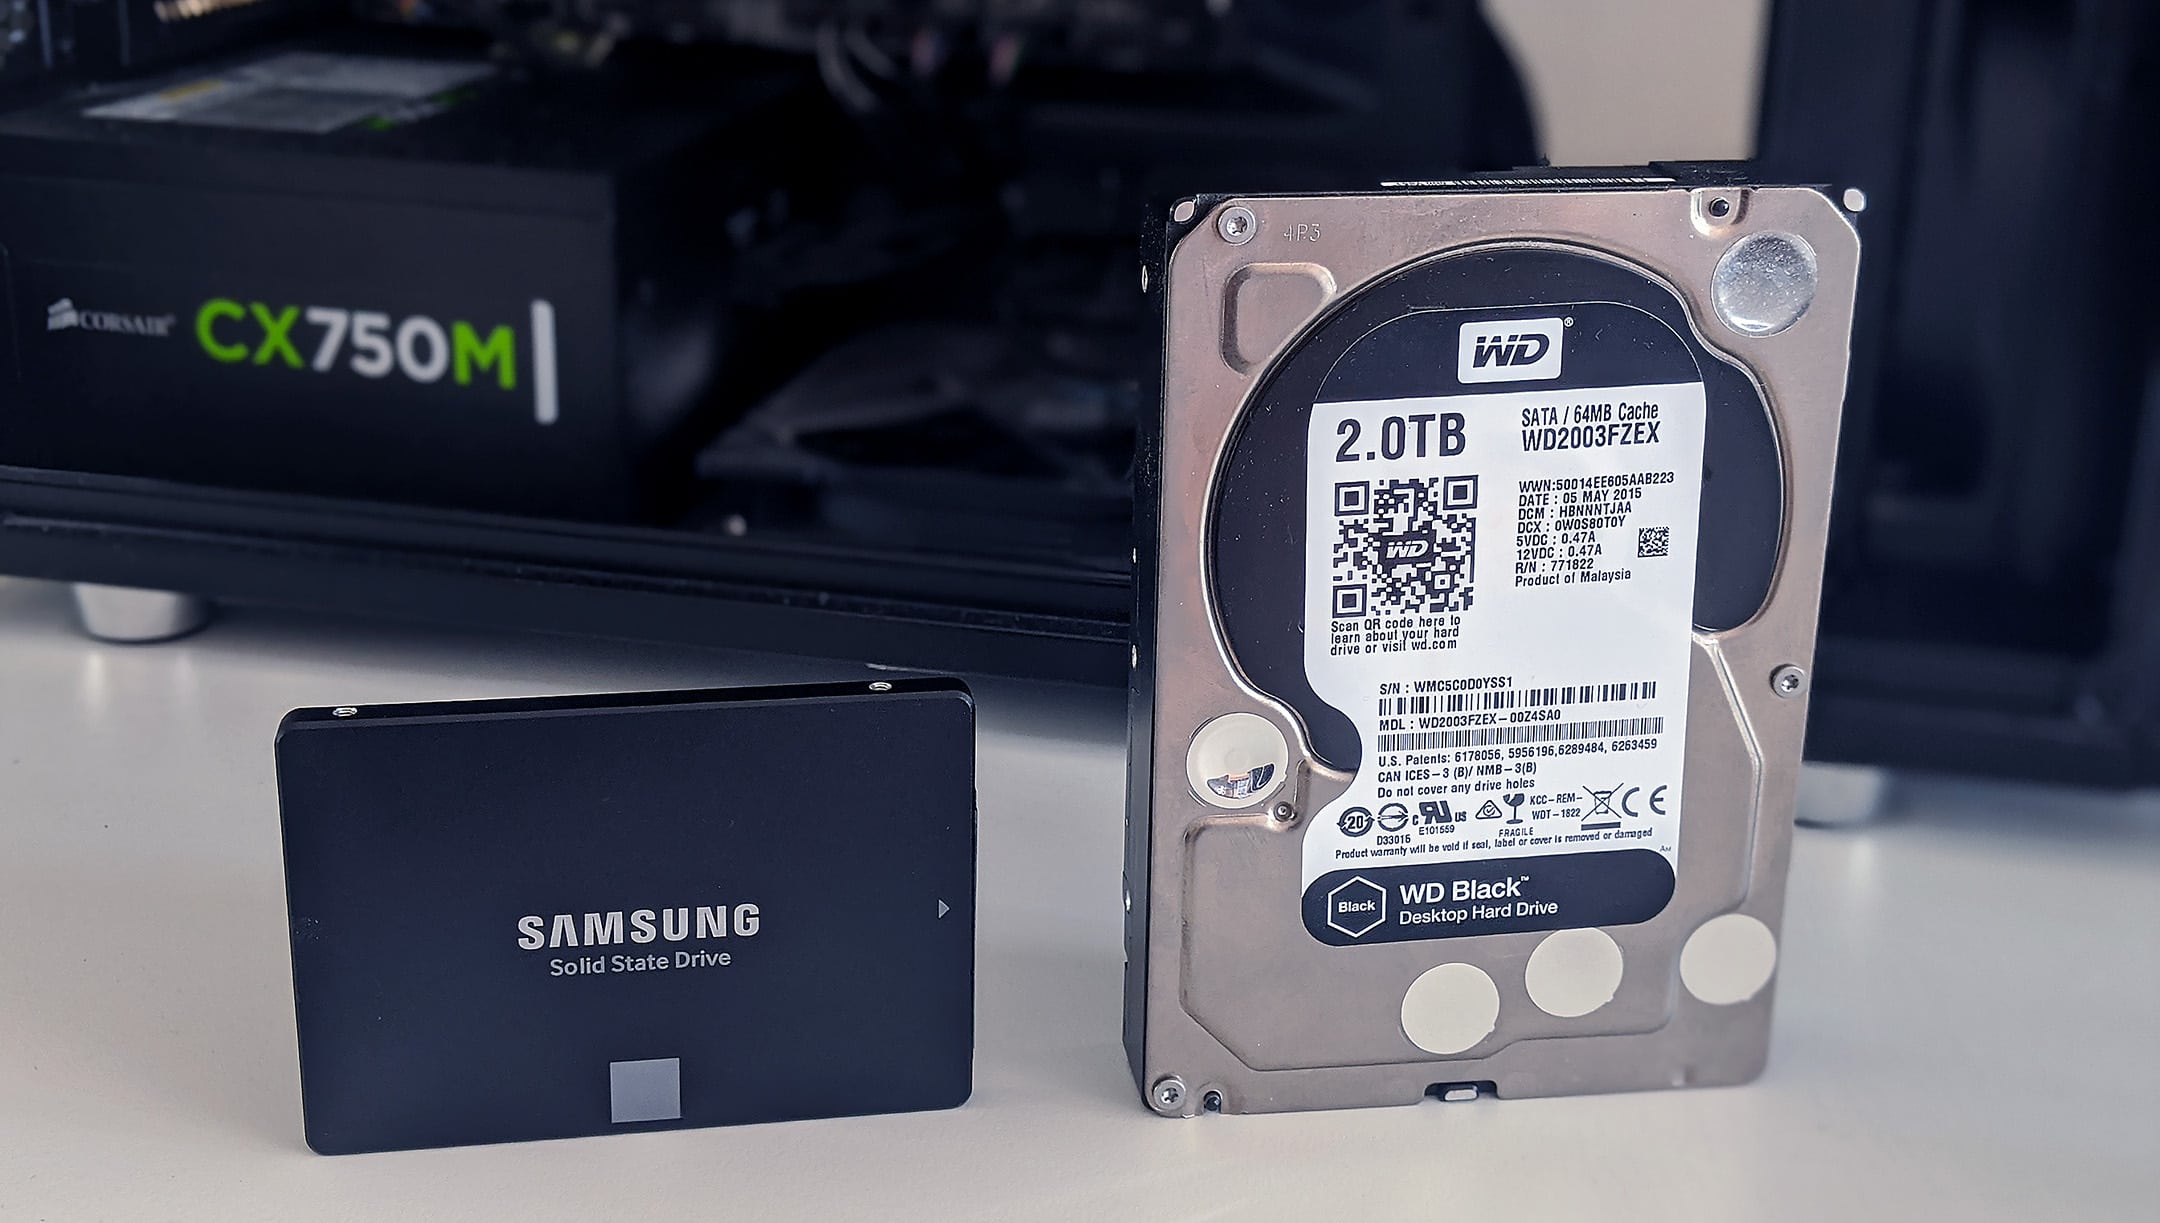
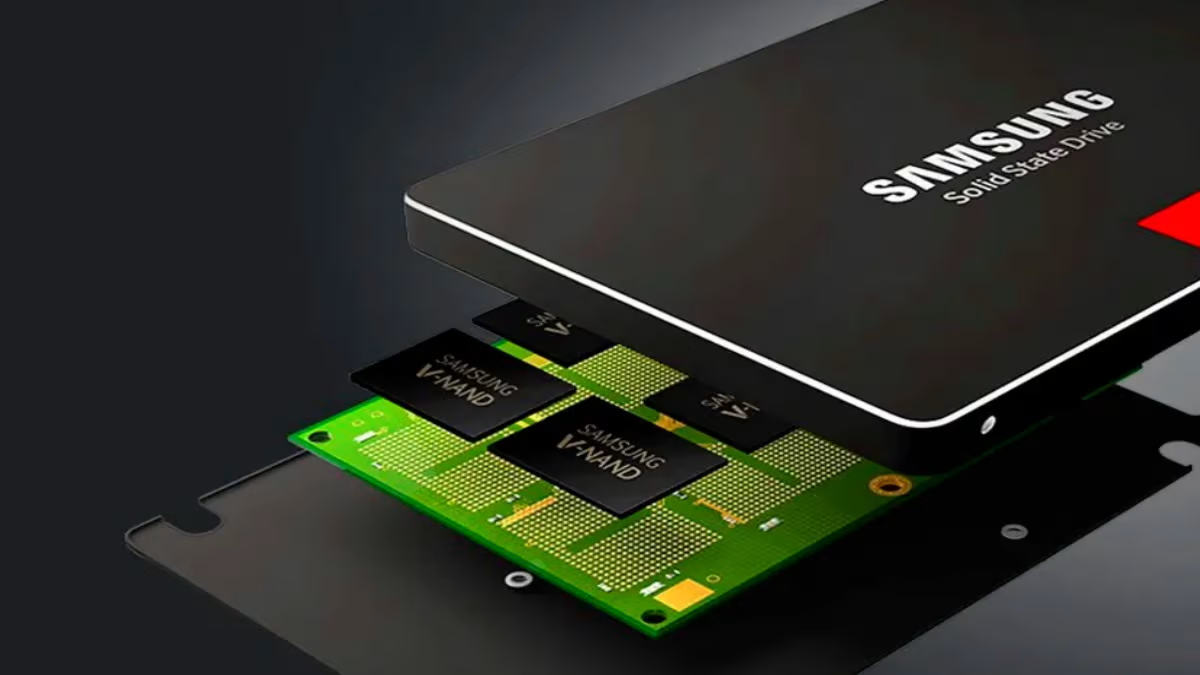
SSDs have become increasingly popular in recent years due to their numerous benefits over traditional hard drives. They offer lightning-fast read and write speeds, lower power consumption, and silent operation. Additionally, SSDs are more resistant to shocks and vibrations, making them an ideal choice for laptops and portable devices.
This guide will walk you through the step-by-step process of setting up a new SSD. Whether you’re a beginner or have some experience with computer hardware, this guide will ensure a smooth and hassle-free installation.
We’ll start by preparing for the setup, including backing up your data to ensure it is safe during the installation process. We’ll then gather the necessary tools and equipment needed to complete the installation. Next, we’ll guide you through connecting the SSD to your computer and initializing it. We’ll also cover partitioning and formatting the SSD, as well as transferring data from your old storage device to the new SSD.
Finally, we’ll discuss the essential steps to configure system settings to optimize the performance of your new SSD. In no time, you’ll have your SSD up and running, enjoying faster boot times, improved application loading, and overall enhanced computing experience.
So, without further ado, let’s dive into the process of setting up your new SSD and unleashing the full potential of your computer.
Preparing for the Setup
Before jumping into the installation process, there are a few important steps you need to take to ensure a smooth setup of your new SSD.
The first and most crucial step is to back up your data. Since you will be replacing or adding a new storage device, it’s essential to safeguard your important files, documents, and media. You can use an external hard drive, cloud storage services, or even a simple USB flash drive to create a backup. Make sure to double-check and verify that all your valuable data is securely copied before proceeding.
Once you have backed up your data, it’s time to gather the necessary tools and equipment for the SSD installation. You will require a screwdriver (typically Phillips or Torx, depending on your computer model), an SATA data cable, and an available power cable. It’s also a good idea to have an antistatic wrist strap to prevent damaging the sensitive electronic components during the installation process.
Before opening up your computer, ensure that it is powered off and disconnected from any power source. This will prevent any potential electric shock or damage to the internal components. You should also refer to your computer’s user manual or the manufacturer’s website for specific instructions on how to open the case and access the storage bays.
Now that you’re prepared with the necessary tools and your computer is powered down, you’re ready to move on to the next steps of connecting and initializing the new SSD. In the following sections, we’ll guide you through each step and provide detailed instructions to ensure a successful setup.
Remember, taking the time to properly prepare for the setup will minimize the risk of data loss and potential hardware damage. So, double-check your backups, gather the required tools, and let’s move on to the exciting part of connecting and installing your new SSD.
Backup Your Data
Before proceeding with any hardware installation, it’s crucial to back up your data to ensure it is safe and secure. This step is essential to prevent any accidental loss or corruption of your valuable files and documents.
There are several methods you can use to back up your data, depending on your preferences and available resources. One common option is to use an external hard drive. Simply connect the external drive to your computer via USB and transfer your important files and folders onto it. Make sure to organize your data and create a folder structure that makes it easy to locate specific files later on.
If you prefer a cloud-based solution, there are numerous cloud storage services available, such as Google Drive, Dropbox, or Microsoft OneDrive. These platforms offer a certain amount of free storage, and you can also purchase additional space if needed. Upload your important files and folders to the cloud storage service, ensuring they are synced and accessible from any device with an internet connection.
Another option is to utilize a USB flash drive. While it may not have as much storage capacity as an external hard drive, a flash drive can still serve as a reliable backup solution for smaller files and documents. Copy your important data onto the flash drive, and keep it in a safe place until the SSD installation is complete.
It’s important to double-check your backup and verify that all your crucial files and documents have been successfully copied. Take the time to go through your backup and ensure everything is in order before proceeding with the SSD installation.
By backing up your data, you can have peace of mind knowing that even if something goes wrong during the installation process, your important files are safe and can easily be restored. Losing valuable data can be a frustrating and time-consuming experience, so make sure not to skip this crucial step.
Once you have completed the backup process and confirmed the integrity of your data, you’re ready to move on to gathering the necessary tools and equipment for the SSD installation.
Gathering Necessary Tools
Now that you have successfully backed up your data, it’s time to gather the necessary tools and equipment for the SSD installation. Having the right tools on hand will ensure a smooth and efficient setup process.
The primary tool you will need is a screwdriver. The type of screwdriver required may vary depending on your computer model, but most commonly, a Phillips or Torx screwdriver will be needed. Check your computer’s user manual or the manufacturer’s website to determine the specific type and size of screwdriver required.
In addition to the screwdriver, you will need an SATA (Serial ATA) data cable. This cable is used to connect the SSD to your computer’s motherboard. It’s crucial to ensure the cable is long enough to reach the desired SSD location inside your computer. If you don’t have an extra SATA cable, you can purchase one from a computer hardware store or online retailer.
Another essential tool is an available power cable. The SSD will need both data and power connections to function correctly. Most modern power supplies come with extra power cables equipped with SATA power connectors. Ensure that your power supply has an available SATA power cable or consider purchasing a Molex to SATA power adapter if needed.
Lastly, consider using an antistatic wrist strap before handling any internal computer components. This strap helps discharge any static electricity from your body, protecting the sensitive electronic parts from potential damage. It’s a simple yet effective precautionary measure to take during the installation process.
Take a moment to gather all the required tools and equipment. Make sure you have everything readily available before proceeding with the physical installation of the SSD. This will prevent any unnecessary delays or interruptions during the setup process.
Once you have gathered the necessary tools, you’re ready to move on to the next steps, including connecting the SSD to your computer and initializing it. We will guide you through each step to ensure a successful installation and configuration of your new SSD in the upcoming sections.
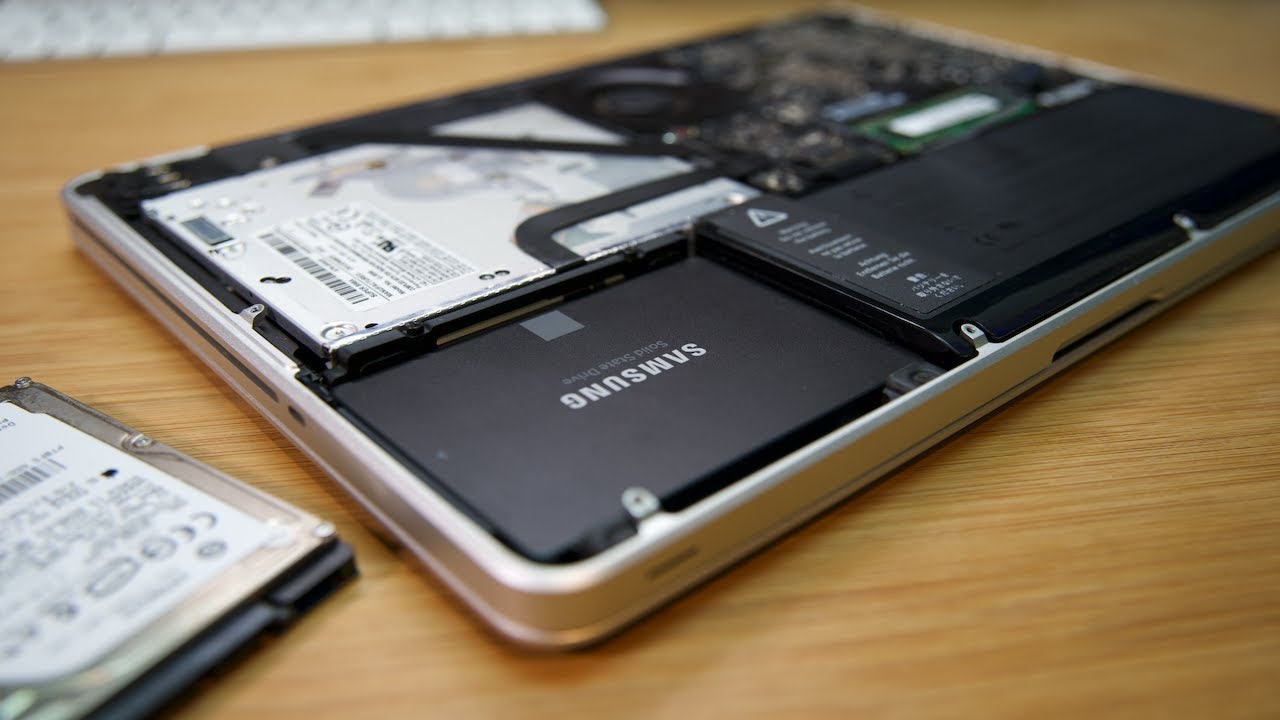
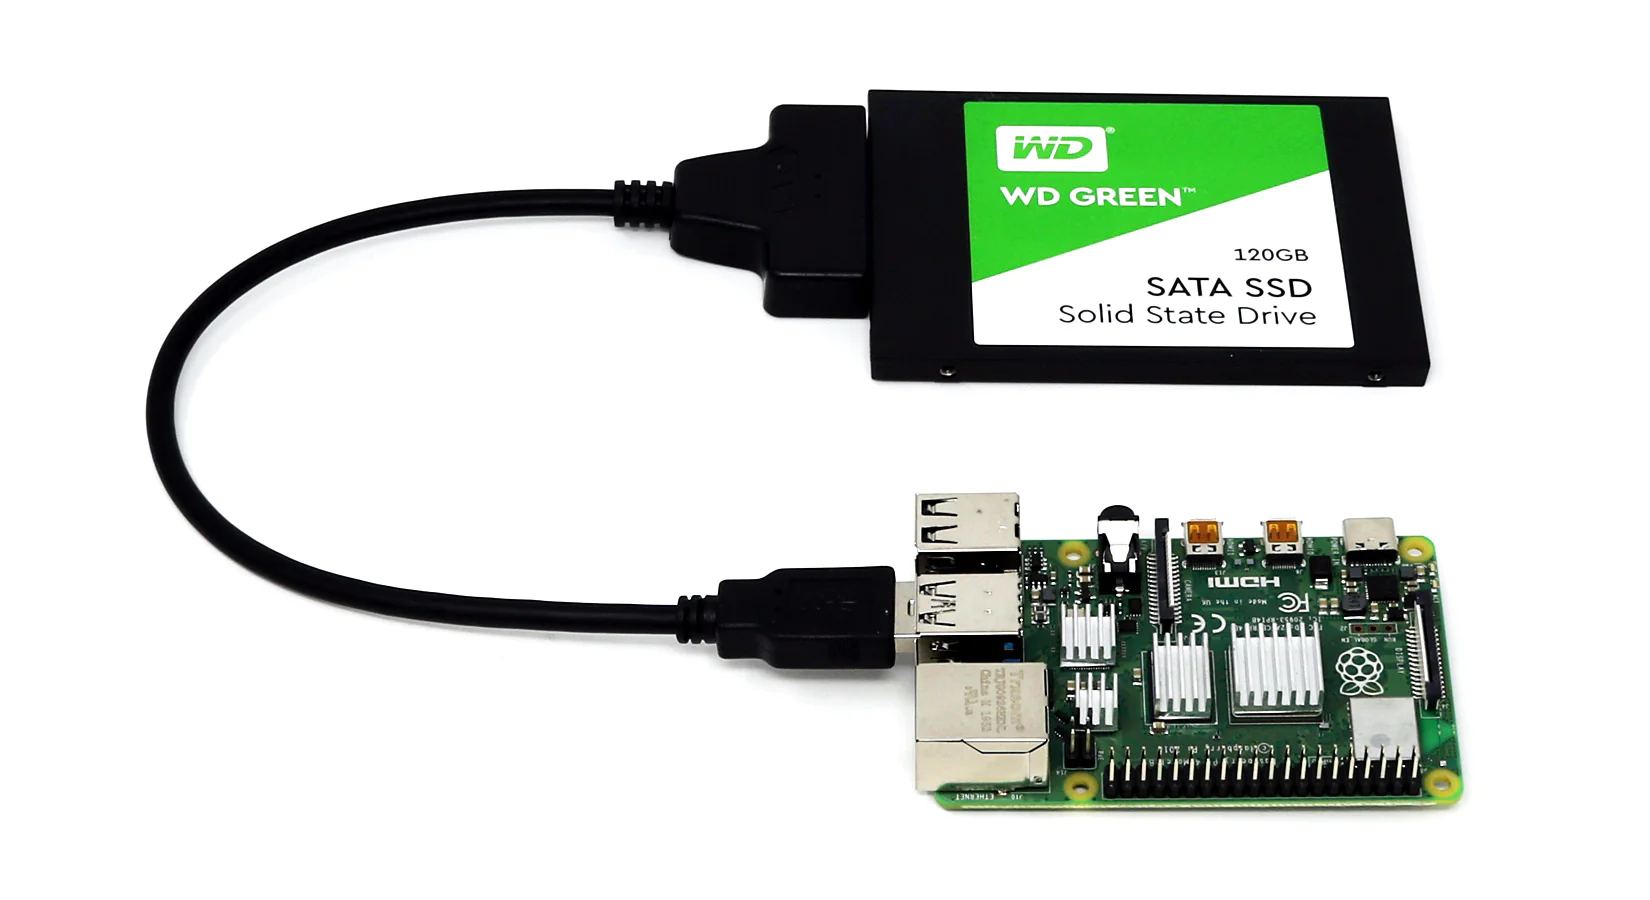
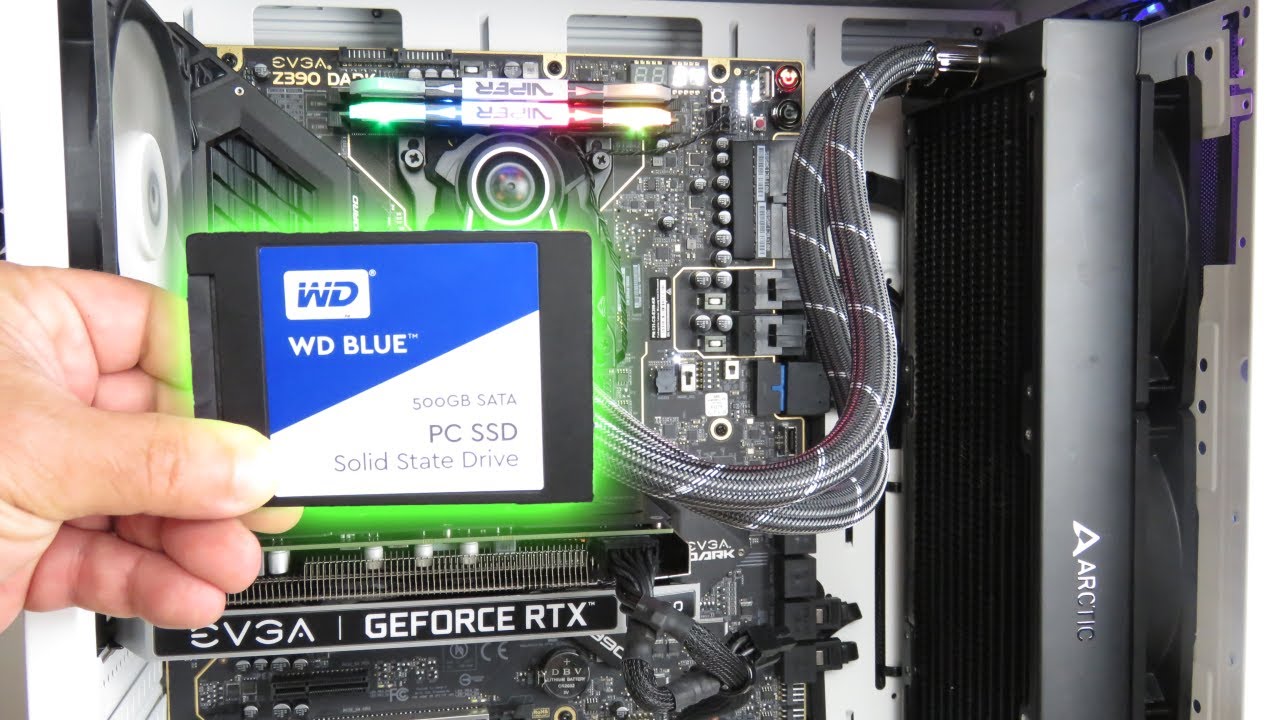
Connecting the SSD
Now that you have gathered the necessary tools and equipment, it’s time to connect the SSD to your computer. This step involves physically installing the SSD and ensuring it is properly connected for optimal performance.
First, locate an available storage bay or slot inside your computer where you will install the SSD. This could be a dedicated SSD bay or an empty space where a traditional hard drive would typically be placed. Check your computer’s user manual or the manufacturer’s website for the exact location and mounting requirements.
Using your screwdriver, carefully remove any screws or fasteners holding the storage bay or slot in place. Gently slide the SSD into the bay, making sure it aligns properly with the screw holes or mounting points. Secure the SSD in place by reattaching the screws or fasteners you removed earlier. Be cautious not to overtighten the screws, as it may cause damage to the SSD or the computer’s internal components.
Next, locate the SATA data cable and connect one end to the SSD’s SATA data port. The SATA data port is usually L-shaped and can be found on the side or back of the SSD. Align the connector and gently push it into the port until it clicks into place. Take care not to apply excessive force to avoid bending or damaging the connector pins.
Now, connect the other end of the SATA data cable to an available SATA port on your computer’s motherboard. The SATA ports are typically labeled and can be found near the storage bays or slots. Again, ensure the connector is aligned properly and firmly push it into the SATA port until it clicks into place.
Finally, connect the SSD to the power supply. Locate an available SATA power cable or use a Molex to SATA power adapter if necessary. Connect one end of the power cable to the SSD’s power input, which is usually located near the data port. Connect the other end to an available power connector from the power supply. Ensure a secure connection, but avoid forcing the connectors together.
With the SSD properly connected to both the data and power cables, you have successfully completed the physical installation process. Double-check all the connections to ensure they are secure and firmly seated.
In the next section, we will cover the initialization process, where we will guide you through setting up the SSD and preparing it for storage and data transfer.
Initializing the SSD
With the SSD physically connected to your computer, it’s time to initialize it and prepare it for use. The initialization process involves several steps to ensure the SSD is recognized by your computer and ready to store data.
The first step is to power on your computer. Once the system has booted up, it will automatically detect the newly installed SSD. However, if the SSD is not detected, you may need to access the BIOS or UEFI settings to enable the SATA port or check for any compatibility issues.
To access the BIOS or UEFI settings, reboot your computer and look for the prompt to press a specific key on your keyboard. The key to enter the settings may vary depending on your computer’s manufacturer but commonly includes F2, Delete, or Escape. Once in the BIOS or UEFI settings, navigate to the storage or SATA configuration section and make sure the SATA port to which the SSD is connected is enabled. Save your changes and exit the settings.
Upon rebooting, your computer should now detect the SSD. However, it may not be immediately visible in the operating system. To resolve this, you will need to initialize the SSD and create partitions.
To initialize the SSD in Windows, follow these steps:
- Open the “Disk Management” utility by right-clicking on the Start button and selecting “Disk Management” from the context menu.
- Locate the newly installed SSD, which should be listed as a “Disk” without any partitions.
- Right-click on the unallocated space of the SSD and select “Initialize Disk”. Choose the appropriate disk initialization method (MBR or GPT) based on your system requirements.
- Once the SSD is initialized, right-click on the unallocated space again and select “New Simple Volume”. Follow the on-screen instructions to create partitions and allocate the desired disk space.
- Format the newly created partitions with the desired file system (such as NTFS) and assign drive letters as needed.
After completing these steps, the SSD will be initialized, partitioned, and ready for use. It will now be visible in Windows Explorer or Finder (for Mac). You can begin transferring files, installing programs, or using the SSD for any storage needs.
It’s important to note that initializing the SSD will erase any existing data on it. Therefore, make sure you have backed up your important files and documents before proceeding with the initialization process.
In the next section, we will cover the steps to partition and format the newly initialized SSD for optimal performance and data organization.
Partitioning the SSD
Now that you have initialized the SSD and created unallocated space, it’s time to partition the SSD to organize your data and optimize its performance. Partitioning allows you to divide the storage space into separate sections, also known as partitions, which can be treated as separate drives. This helps in better file organization and makes it easier to manage your data.
To partition the SSD in Windows, follow these steps:
- Open the “Disk Management” utility by right-clicking on the Start button and selecting “Disk Management” from the context menu.
- Locate the initialized SSD, which should be listed as a “Basic Disk” with unallocated space.
- Right-click on the unallocated space and select “New Simple Volume”. The “New Simple Volume Wizard” will guide you through the partition creation process. Specify the size, drive letter, and file system for the partition.
- Repeat the process to create additional partitions if desired, allocating the remaining available space on the SSD.
By creating multiple partitions, you can separate your data into different categories or use them for specific purposes. For example, you might have one partition for your operating system and another for personal files or applications.
When partitioning the SSD, consider the size and type of files you will be storing. It’s recommended to allocate more space to partitions that will contain large files like videos, games, or multimedia projects. Keep in mind that the number of partitions you create is a personal preference, and the best partitioning strategy depends on your specific needs.
In addition to partitioning the SSD in Windows, you can also utilize third-party partitioning tools like EaseUS Partition Master or MiniTool Partition Wizard for more advanced partition management options and features.
Once the SSD is partitioned, you can format each partition with a file system such as NTFS. Formatting prepares the partition for data storage and ensures compatibility with your operating system. Remember that formatting a partition will erase any existing data, so ensure you have backed up your important files before proceeding.
With the SSD partitioned and formatted, you now have a structured and organized storage solution ready to accommodate your data and applications. In the next section, we will discuss formatting the SSD partitions in more detail to ensure optimal performance.
Formatting the SSD
Once you have partitioned the SSD, the next step is to format the partitions. Formatting prepares the partitions for data storage and ensures compatibility with your operating system. It also helps optimize the performance of the SSD.
To format the SSD partitions in Windows, follow these steps:
- Open the “Disk Management” utility by right-clicking on the Start button and selecting “Disk Management” from the context menu.
- Locate the partition you want to format within the initialized SSD.
- Right-click on the partition and select “Format”. Choose the appropriate file system, such as NTFS, FAT32, or exFAT.
- Modify the volume label if desired, and select the allocation unit size. The default settings are usually suitable for most scenarios.
- Click “OK” or “Format” to initiate the formatting process.
Formatting the SSD partitions will erase any existing data on them. Therefore, ensure that you have backed up any important files before proceeding with the formatting process.
While NTFS is the recommended file system for Windows, you may choose FAT32 or exFAT if compatibility with other operating systems or devices is a priority. FAT32 is compatible with both Windows and Mac systems, but it has certain limitations, such as a maximum file size of 4GB. exFAT, on the other hand, overcomes some of the limitations of FAT32 and offers better compatibility across different platforms.
In addition to formatting the SSD partitions in Windows, you can utilize third-party disk management tools like EaseUS Partition Master or MiniTool Partition Wizard for more advanced formatting options and features.
After formatting the SSD partitions, they will be ready to store your data, install applications, and provide efficient access to files. You can now begin transferring your files from the backup to the respective partitions, setting up your software, or customizing the SSD to suit your needs.
In the next section, we will discuss the process of transferring data from your old storage device to the newly formatted SSD.
Transferring Data
With the SSD partitions formatted and ready for use, it’s time to transfer your data from your old storage device to the newly set up SSD. This step ensures that you can access your files, documents, and applications seamlessly on the faster and more reliable SSD.
There are several methods you can use to transfer data to the SSD:
- Manual Copying: Simply open both your old storage device and the SSD in separate windows or file explorer. Then, navigate to the files and folders you want to transfer and copy them from the old storage device to the corresponding partitions on the SSD.
- External Backup and Restore: If you backed up your data to an external hard drive or cloud storage, you can restore the data to the SSD. Connect your external storage to the computer and copy the files back to the appropriate partitions on the SSD.
- Migration Software: Consider using specialized migration software like Acronis True Image, EaseUS Todo Backup, or Samsung Data Migration. These tools make the data transfer process more streamlined and provide options to clone your old storage device to the SSD.
When transferring your data, pay attention to the organization and structure of your files. It’s a good opportunity to declutter and reorganize your files for improved accessibility.
If you have applications installed on your old storage device, you may need to reinstall them on the SSD. It’s recommended to download the latest versions of the applications and perform a clean installation to ensure optimal performance and compatibility with the new SSD.
During the data transfer process, it’s important to verify that all your important files and documents have been successfully transferred to the SSD. Take the time to go through your data and compare it with the backup to ensure nothing was missed.
Once you have transferred your data to the SSD, you can start using the SSD as your primary storage device. Enjoy faster boot times, quicker file access, and improved overall performance for your applications and games.
In the next section, we will cover the essential steps to configure system settings for your new SSD to maximize its performance and ensure an optimal user experience.
Configuring System Settings
Now that you have successfully transferred your data to the new SSD, it’s time to configure the system settings to optimize its performance and ensure a seamless user experience.
Here are some essential steps to consider:
- Set the Boot Order: Access your computer’s BIOS or UEFI settings and set the SSD as the primary boot device. This ensures that your system boots from the SSD for faster startup times.
- Enable AHCI Mode: Verify that the SATA controller is set to AHCI (Advanced Host Controller Interface) mode in the BIOS or UEFI settings. AHCI mode provides better performance and additional features for SSDs.
- Disable Indexing: Since SSDs have fast access times, indexing, which is designed to speed up file searches on traditional hard drives, is unnecessary and can put unnecessary strain on the SSD. Disable indexing for your SSD to enhance performance.
- Disable Defragmentation: SSDs do not require defragmentation like traditional hard drives. In fact, excessive defragmentation can potentially reduce the lifespan of the SSD. Ensure that automatic defragmentation is disabled for your SSD.
- Enable TRIM: TRIM is a command that helps optimize the performance and longevity of SSDs by allowing the operating system to inform the SSD which blocks of data are no longer in use. Ensure that TRIM is enabled in your operating system settings.
- Update Firmware and Drivers: Periodically check for firmware updates for your SSD and install them to ensure optimal performance and compatibility. Similarly, keep your system drivers up to date to avoid any compatibility issues that could affect the performance of the SSD.
- Regular Maintenance: Though SSDs are relatively maintenance-free, it’s still a good practice to periodically check for and install any available updates for the SSD’s firmware and drivers. Additionally, performing regular disk cleanup and optimizing your operating system can help maintain the SSD’s performance over time.
Configuring these system settings will help ensure that your SSD operates at its full potential and prolong its lifespan. It’s important to note that the specific steps and options may vary depending on your operating system and computer configuration.
Lastly, always prioritize data backup to prevent any potential data loss. Even though SSDs are generally reliable, unexpected issues can occur. Regularly back up your important files to an external drive, cloud storage, or another reliable backup solution.
Congratulations! You have successfully set up and configured your new SSD. Enjoy the enhanced performance and improved user experience that this high-speed storage device brings to your computer.
Conclusion
Setting up a new SSD can greatly enhance the speed, performance, and reliability of your computer. By following the steps outlined in this guide, you have successfully embarked on the process of installing, initializing, partitioning, and configuring your new SSD.
Throughout the process, we emphasized the importance of backing up your data, gathering the necessary tools, connecting the SSD, initializing and formatting the partitions, and transferring your data. Taking these steps ensures a smooth and efficient installation.
Remember to configure important system settings such as the boot order, AHCI mode, and enabling TRIM to maximize your SSD’s performance. Regular maintenance, firmware updates, and driver updates will help keep your SSD running smoothly over time.
We hope this guide has provided you with the necessary knowledge and guidance to set up your new SSD successfully. By following these steps, you can enjoy faster boot times, quicker file access, and overall improved performance for your computer.
As technology continues to advance, keeping your storage devices up to date is vital. SSDs have revolutionized computing by offering faster speeds, lower power consumption, and greater reliability. Take advantage of these benefits by ensuring your computer has an SSD installed.
Thank you for using our guide. If you have any further questions or need assistance, feel free to refer back to this guide or seek additional help from knowledgeable professionals. Enjoy your new SSD!