Introduction
Setting up a Linux server for remote accessing IoT devices is essential for managing and controlling these devices efficiently. Whether you are a system administrator or an IoT enthusiast, having remote access to your devices allows you to monitor and control them from anywhere in the world. By utilizing a Linux server, you can establish secure connections and ensure seamless communication with your IoT devices.
In this guide, we will walk you through the process of setting up a Linux server for remote accessing IoT devices. We will cover the installation and configuration of necessary software, as well as implementing security measures to protect your devices and network.
Before we begin, it is important to note that this guide assumes you have basic knowledge of Linux operating systems, command-line interfaces, and networking concepts. Additionally, you will need a compatible IoT device and a stable internet connection. Now let’s dive into the step-by-step process of setting up your Linux server for remote accessing IoT devices.
Prerequisites
Before you begin setting up your Linux server for remote accessing IoT devices, there are a few prerequisites you need to consider:
- A Linux-based operating system: Ensure that your server is running a Linux distribution such as Ubuntu, Debian, or CentOS. These distributions offer excellent support and compatibility for IoT device management.
- SSH access: Make sure that your Linux server has SSH (Secure Shell) enabled. This allows you to remotely access the server and execute commands securely over a network.
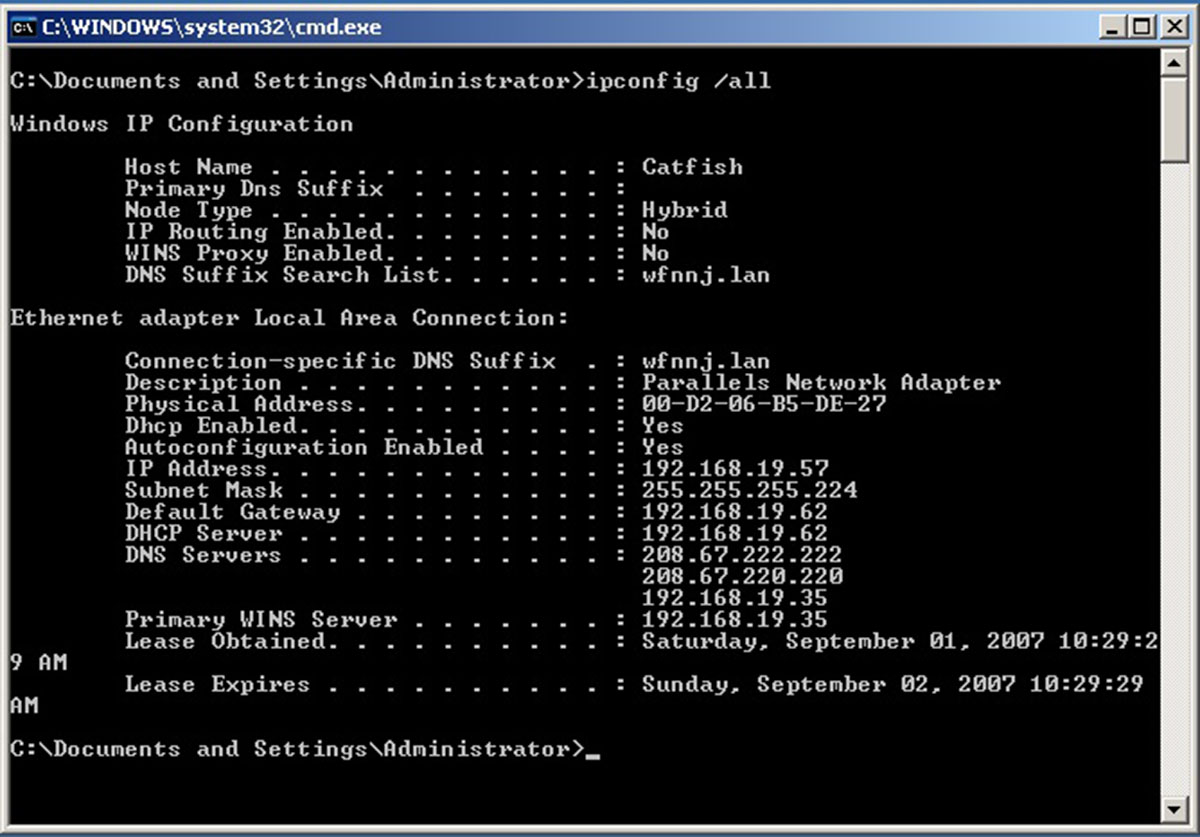
- Static IP address: Assign a static IP address to your Linux server. This ensures that the server always has the same IP address, making it easy to establish a stable remote connection.
- Domain Name System (DNS): Set up DNS resolution on your server to access it using a domain name instead of an IP address. This simplifies the remote access process and makes it easier to remember the server’s address.
- Port forwarding: Configure your router to forward the necessary ports to your Linux server. This allows external devices to establish connections with your server through the internet.
- Virtual Private Network (VPN): Consider setting up a VPN on your server for an added layer of security. A VPN creates an encrypted tunnel between your device and the server, ensuring the privacy and integrity of your remote connections.
By having these prerequisites in place, you will be well-prepared for the subsequent steps of setting up a Linux server for remote accessing IoT devices. It is essential to have a solid foundation before proceeding to ensure a smooth and secure setup process.
Step 1: Install Linux on the Server
The first step in setting up a Linux server for remote accessing IoT devices is to install a Linux operating system on the server. Here’s a general overview of the installation process:
- Select a Linux distribution: Choose a Linux distribution that meets your requirements and is compatible with your server hardware. Popular choices include Ubuntu, Debian, and CentOS.
- Create a bootable installation media: Download the ISO file of your chosen Linux distribution and create a bootable USB drive or DVD. This will be used to install the Linux operating system on your server.
- Boot from the installation media: Insert the bootable USB drive or DVD into your server and restart it. Configure the server’s BIOS or UEFI settings to boot from the installation media.
- Follow the installation wizard: The installation wizard will guide you through the setup process. Choose the appropriate language, keyboard layout, and installation options. You can typically select a graphical or command-line installation.
- Partition the disk: If required, partition the disk on your server according to your needs. You can choose to have separate partitions for the root directory, home directory, and other directories.
- Set up user accounts: Create a user account with administrative privileges. This will be used to manage the server and install software.
- Complete the installation: Once all the necessary settings have been configured, the installation process will commence. This may take some time, depending on the speed of your server.
- Reboot the server: After the installation is complete, remove the installation media and reboot the server. It will now boot into the newly installed Linux operating system.
Following this installation process will result in a fresh and clean Linux installation on your server. With the Linux operating system in place, you can proceed to the next steps of setting up remote access for your IoT devices.
Step 2: Set up SSH
SSH (Secure Shell) is a secure network protocol that allows you to remotely access and manage your Linux server. In this step, we will guide you through the process of setting up SSH on your server for secure remote access.
Here’s how you can set up SSH on your Linux server:
- Install OpenSSH server: Start by installing the OpenSSH server package on your Linux server. You can do this by running the relevant command in the terminal, depending on your Linux distribution. For example, on Ubuntu or Debian, you can use the command
sudo apt install openssh-server. - Configure SSH settings: Once OpenSSH server is installed, you need to configure its settings. The configuration file is usually located at
/etc/ssh/sshd_config. Open the file using a text editor and make any necessary changes, such as specifying the SSH port (default is 22), disabling root login, or allowing only specific users to connect via SSH. - Start the SSH service: After configuring the SSH settings, start the SSH service on your server for it to listen for incoming SSH connections. The command to start the service varies depending on your Linux distribution. For example, on Ubuntu or Debian, you can use the command
sudo service ssh start. - Test the SSH connection: Once the SSH service is running, you can test the connection from a remote computer. Use an SSH client software, such as PuTTY for Windows or the built-in Terminal for Linux or macOS, to connect to your server using its IP address or domain name. Ensure that you are using the correct SSH port and the credentials of a user with SSH access.
By following these steps, you will have successfully set up SSH on your Linux server. This will allow you to securely access and manage your server remotely, which is crucial for setting up remote access for your IoT devices in the next steps.
Step 3: Configure IP Address and DNS
In order to access your Linux server and IoT devices remotely, you need to configure their IP addresses and Domain Name System (DNS) settings. This will ensure that you can easily connect to them using either their IP addresses or domain names.
Here are the steps to configure the IP address and DNS settings on your Linux server:
- Assign a static IP address: By assigning a static IP address to your server, you ensure that it always has the same IP address, making it easier to connect to. Edit the network configuration file on your server, which is typically located at
/etc/network/interfacesor/etc/sysconfig/network-scripts/ifcfg-eth0, and specify the desired static IP address. - Set up DNS resolution: Configure your server to use a DNS server for resolving domain names. You can either use a public DNS server, such as Google DNS (8.8.8.8), or set up your own DNS server. Edit the DNS configuration file on your server, which is usually located at
/etc/resolv.conf, and add the IP addresses of the preferred DNS servers. - Test the IP address and DNS settings: After configuring the IP address and DNS settings, restart the network service on your server to apply the changes. You can do this by running the relevant command, such as
sudo service networking restarton Ubuntu or Debian. - Verify connectivity: Verify that your server can access the internet by pinging external IP addresses or domain names. Similarly, test the DNS resolution by pinging domain names and ensuring they resolve correctly to IP addresses.
With the IP address and DNS settings properly configured on your Linux server, you can now easily connect to it and access your IoT devices remotely using their respective IP addresses or domain names. The next step involves setting up port forwarding to enable external access to your server and devices.
Step 4: Set up Port Forwarding
Port forwarding is a crucial step to enable external access to your Linux server and IoT devices. By setting up port forwarding on your router, you can direct incoming traffic from the internet to the appropriate ports on your server, allowing remote access from outside your local network.
Follow these steps to set up port forwarding on your router:
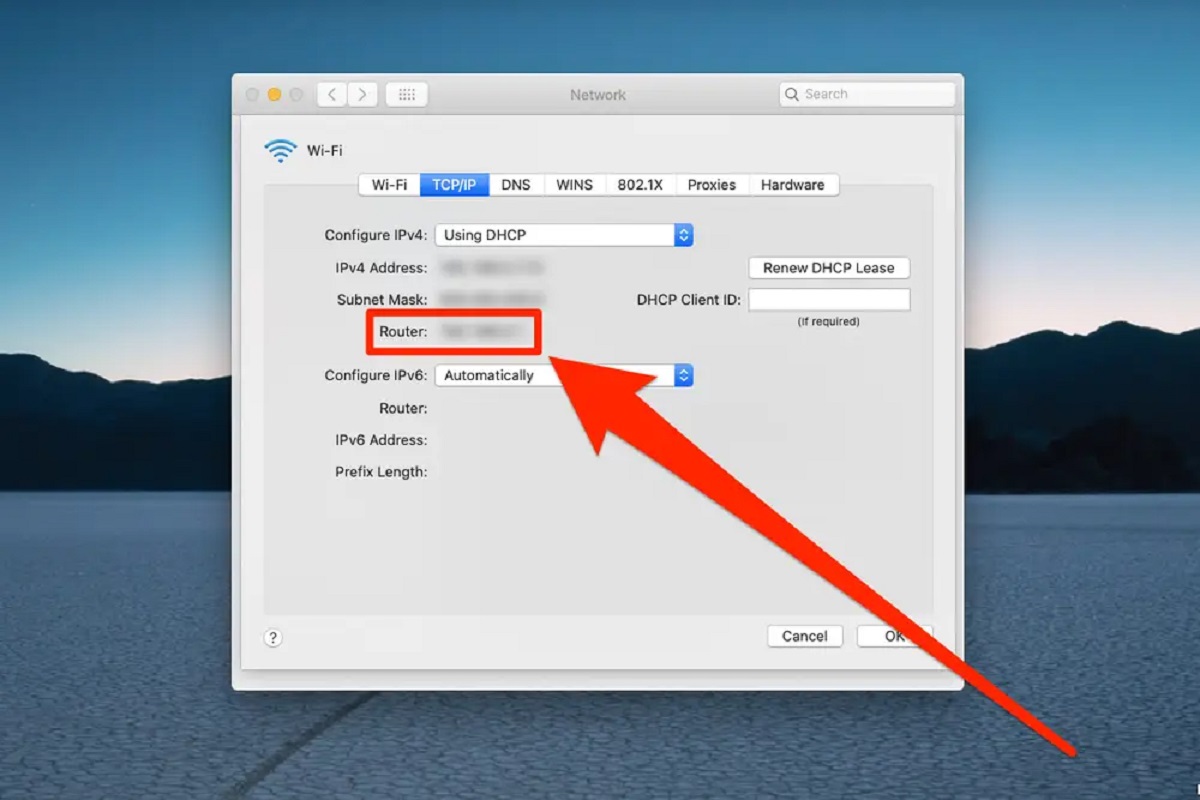
- Access your router’s configuration page: Open a web browser and enter your router’s IP address in the address bar. The IP address is typically printed on the router or can be found in your network settings.
- Log in to the router’s administration panel: Enter the login credentials for your router. If you haven’t changed them, refer to the router’s documentation for the default username and password.
- Find the Port Forwarding section: The location of the Port Forwarding settings may vary depending on your router’s make and model. Look for options such as “NAT,” “Virtual Server,” or “Port Forwarding.”
- Add a new port forwarding rule: Create a new port forwarding rule by specifying the protocol (TCP or UDP), the external port range, the internal IP address of your server or IoT device, and the corresponding internal port.
- Save the changes: Once you have entered the necessary information, save the port forwarding rule and apply the changes. The router will then start forwarding external traffic to the specified ports on your server or devices.
- Test the port forwarding configuration: To verify that the port forwarding is functioning correctly, try accessing your server or IoT device from outside your local network using the external IP address of your router and the specified port. Ensure that your firewall settings allow incoming connections to the specified port.
By setting up port forwarding, you enable external access to your Linux server and IoT devices. This allows you to connect to them remotely from anywhere in the world. However, security should be a top priority, so it is important to implement additional security measures such as VPN in the next step.
Step 5: Install and Configure VPN
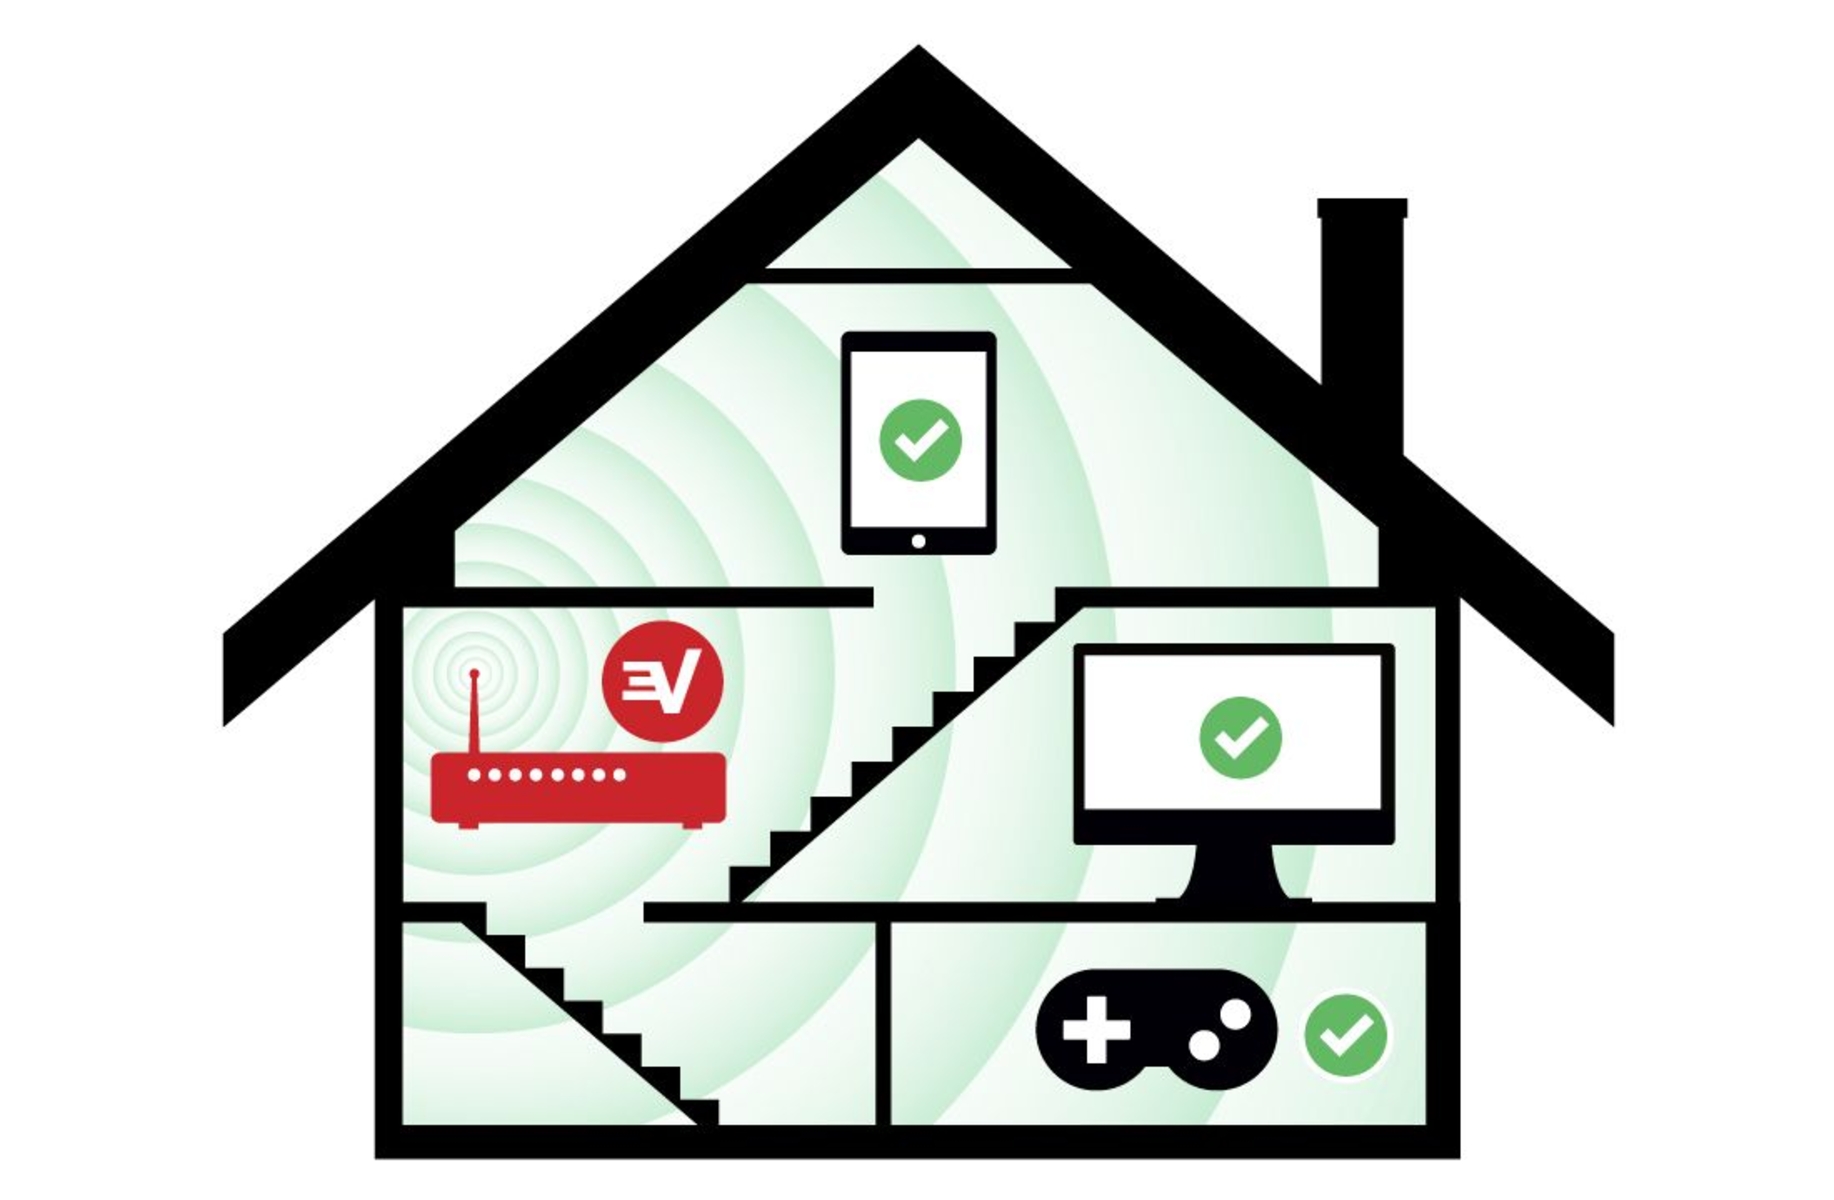
Installing and configuring a Virtual Private Network (VPN) on your Linux server provides an additional layer of security for remote accessing your IoT devices. A VPN creates an encrypted tunnel between your device and the server, ensuring the privacy and integrity of your remote connections.
Follow these steps to install and configure a VPN on your Linux server:
- Select a VPN software: There are various VPN software options available for Linux, such as OpenVPN, WireGuard, or SoftEther. Choose the one that best suits your requirements and install it on your server.
- Configure the VPN server: Once the VPN software is installed, you need to configure the VPN server parameters. This includes setting up the IP addresses and port numbers for incoming VPN connections, selecting the encryption method, and specifying the authentication process.
- Create VPN user accounts: Set up user accounts for VPN access, including usernames and passwords. These accounts will be used by remote devices to establish VPN connections with your server.
- Set up VPN client configuration: To connect to the VPN server, you need to configure the client devices. This involves installing the VPN client software on each device, importing the VPN server configuration file or manually specifying the server details, and entering the user credentials.
- Test the VPN connection: After setting up the VPN server and client configurations, test the VPN connection by connecting to your server from a remote device. Verify that the VPN connection is established successfully and that you can access the server and IoT devices securely.
With the VPN installed and configured, you can rest assured that your remote connections to your Linux server and IoT devices are secured with encryption. This helps protect your data and ensures the privacy and integrity of your remote access sessions.
Step 6: Install IoT Device Management Software
Installing IoT device management software on your Linux server is essential to effectively monitor and control your IoT devices remotely. This software provides a centralized platform for managing and configuring your IoT devices, making it easier to oversee their operation and perform necessary actions.
Follow these steps to install IoT device management software on your Linux server:
- Research available options: Explore different IoT device management software solutions available for Linux servers. Consider factors such as compatibility with your IoT devices, ease of use, and the features offered by each software.
- Select and download the software: Once you have identified an IoT device management software that meets your requirements, download the software package from the official website or a trusted source.
- Install the software: Follow the installation instructions provided by the software vendor to install the IoT device management software on your Linux server. This typically involves running a series of commands or executing an installation script.
- Configure the software: After the installation is complete, configure the IoT device management software by setting up options such as device discovery, authentication methods, access controls, and notifications.
- Connect and manage your IoT devices: Once the software is properly configured, you can connect your IoT devices to the management platform. Depending on the software, this may involve registering your devices, specifying their communication protocols, and assigning them to specific groups or categories for easier management.
- Utilize the management features: Take advantage of the management features provided by the IoT device management software. This may include monitoring device status, collecting and analyzing data, configuring device settings, and executing remote commands.
By installing and utilizing IoT device management software on your Linux server, you can streamline the monitoring, control, and management of your IoT devices. This allows for efficient remote access and ensures that your IoT ecosystem operates smoothly and securely.
Step 7: Set up Security Measures
Setting up security measures is crucial to protect your Linux server and IoT devices from unauthorized access and potential security threats. By implementing security measures, you can ensure that your remote access infrastructure is robust, reliable, and secure.
Here are some key security measures you should consider implementing:
- Firewall configuration: Set up a firewall on your Linux server to control incoming and outgoing network traffic. Configure the firewall rules to allow only necessary connections and block any unauthorized access attempts.
- Secure authentication: Enforce strong authentication mechanisms for accessing your server and IoT devices. Utilize secure protocols such as SSH key-based authentication, multi-factor authentication (MFA), or certificate-based authentication.
- Regular software updates: Keep your Linux server, IoT device management software, and IoT devices up to date with the latest security patches and updates. This helps protect against known vulnerabilities and ensures that your system benefits from the latest security enhancements.
- Implement access controls: Control access to your Linux server and IoT devices based on user roles and permissions. Restrict administrative privileges, create separate user accounts, and limit access to only authorized personnel.
- Encrypt communication channels: Utilize encryption protocols, such as SSL/TLS, to encrypt communication between your server, IoT devices, and remote devices. This ensures that data transmitted over the network is protected from eavesdropping or tampering.
- Monitor and log activities: Implement monitoring and logging mechanisms to track and record activities on your server and IoT devices. Regularly review the logs to detect any suspicious or unauthorized access attempts and take appropriate actions.
- Regular backups: Create regular backups of your server’s configuration, IoT device settings, and important data. This ensures that you can recover in case of any security incidents or system failures.
By implementing these security measures, you can significantly enhance the security of your Linux server and remote accessing infrastructure. Regularly review and update your security measures to stay ahead of emerging threats and ensure the ongoing protection of your IoT devices and data.
Conclusion
Setting up a Linux server for remote accessing IoT devices is a crucial step in effectively managing and controlling your IoT ecosystem. By following the steps outlined in this guide, you can establish a secure and reliable infrastructure that allows you to monitor and control your IoT devices from anywhere in the world.
Throughout this process, we covered the essential steps starting from installing Linux on your server to setting up SSH, configuring IP addresses and DNS, implementing port forwarding, installing a VPN, deploying IoT device management software, and setting up important security measures. Each step contributes to creating a robust and secure environment for remote access to your IoT devices.
Remember to stay vigilant regarding security practices and regularly update and monitor your system to protect against potential threats. Additionally, keep your server and IoT device management software up to date with the latest security patches and firmware updates.
By following these steps and implementing security measures, you can ensure the smooth operation of your IoT ecosystem while safeguarding your devices, data, and network from potential risks and vulnerabilities. Embrace the power of remote accessing and take full control of your IoT devices with confidence.


