Introduction
In today’s digital age, privacy and online security have become paramount concerns for individuals and businesses alike. With the increasing prevalence of cyber threats, government surveillance, and data breaches, it is crucial to take proactive measures to safeguard your sensitive information. One effective way to protect your online presence is by using a Virtual Private Network (VPN).
A VPN creates a secure and encrypted connection between your device and the internet, routing your internet traffic through an encrypted tunnel. This ensures that your online activities, such as browsing websites, accessing online services, or transferring files, are shielded from prying eyes. Whether you are using a public Wi-Fi network or working remotely, a VPN provides an additional layer of security to keep your data safe.
Beyond security, a VPN also offers other benefits. It allows you to bypass geo-restrictions and access content that may be blocked or unavailable in your location. By connecting to VPN servers in different countries, you can enjoy unrestricted access to streaming services, websites, and online gaming platforms from anywhere in the world.
Before diving into the technical setup process, it is essential to choose the right VPN service that suits your needs. There are various factors to consider, including server locations, connection speed, encryption protocols, and compatibility with different devices and operating systems. In this guide, we will explore how to set up a VPN on popular platforms such as Windows, macOS, iOS, Android, and Linux, along with some essential features and settings to consider.
By the end of this guide, you will have a clear understanding of how to set up a VPN on your preferred device and maximize its functionality to ensure a secure and private online experience. So, let’s get started on the journey to enhance your online security and privacy with a VPN!
What is a VPN?
A Virtual Private Network (VPN) is a technology that creates a secure and private network connection over the internet. It acts as a virtual tunnel that encrypts and protects your data, ensuring that your online activities are kept private and secure from potential threats.
When you connect to the internet through a VPN, your internet traffic is routed through a remote server operated by the VPN provider. This server assigns you a new IP address, making it appear as if you are connecting to the internet from a different location. This process helps to mask your actual identity and location from websites, online services, and even your own Internet Service Provider (ISP).
The key feature of a VPN is its ability to encrypt the data that travels between your device and the VPN server. This encryption makes it extremely difficult for anyone to intercept and decipher your data, ensuring that your sensitive information, such as passwords, credit card details, and personal communications, remain protected.
Furthermore, a VPN offers an added layer of security when using public Wi-Fi networks, which are notorious for being vulnerable to hacking and data theft. By encrypting your internet traffic, a VPN shields your personal and financial information from prying eyes, preventing cybercriminals from accessing your data.
Moreover, a VPN allows you to bypass geo-restrictions imposed by certain websites, streaming services, or governments. By connecting to VPN servers in different countries, you can access content that may be blocked or restricted in your location. This is particularly useful for users who want to stream videos, access social media platforms, or use online services that are limited to specific regions.
In summary, a VPN offers the following key benefits:
- Enhanced security and privacy by encrypting your online data
- Protection against potential threats, such as hackers and data breaches
- Anonymity and masking of your IP address and online identity
- Bypassing geo-restrictions and accessing restricted content
- Secure access to public Wi-Fi networks
Now that we understand the basics of what a VPN is and why it is essential, let’s explore the process of choosing the right VPN service for your needs.
Why do you need a VPN?
In today’s digital landscape, where online threats and privacy concerns are on the rise, using a VPN has become increasingly important. Let’s take a look at some compelling reasons why you need a VPN:
- Enhanced Online Security: One of the primary reasons to use a VPN is to enhance your online security. When you connect to the internet through a VPN, all your data is encrypted, making it virtually impossible for hackers, ISPs, or other malicious entities to intercept and decipher your information. This is especially important when you’re connecting to public Wi-Fi networks, as they are often unsecured and vulnerable to cyber attacks.
- Privacy and Anonymity: With the growing concerns surrounding online privacy, using a VPN can help protect your anonymity. When you connect to a VPN server, your online activities are routed through that server, making it appear as if you’re browsing from a different location. In addition, your IP address is masked, ensuring that your online identity remains hidden. This provides an additional layer of privacy and helps prevent websites, advertisers, or even governments from tracking your online activities.
- Bypassing Geo-Restrictions: Many online services and streaming platforms have region-based restrictions, meaning that content may be inaccessible in certain locations. By using a VPN, you can bypass these geo-restrictions and access content that would otherwise be blocked. With a VPN, you can connect to a server in a different country and enjoy unrestricted access to streaming services, social media platforms, and websites.
- Secure Remote Access: If you frequently work remotely or need to access sensitive information on the go, a VPN can provide a secure remote connection. By connecting to your workplace’s VPN, you can access resources and files securely, as all data is encrypted. This eliminates the risk of data breaches and ensures that your confidential information remains protected.
- Torrenting and P2P File Sharing: If you engage in torrenting or peer-to-peer (P2P) file sharing, a VPN is essential. It helps to conceal your activities from your ISP or copyright monitoring agencies, as well as protecting your IP address from being exposed to other users in the torrent swarm. This allows you to download and share files anonymously without the fear of legal consequences.
Ultimately, a VPN provides you with peace of mind, knowing that your online activities are secure and private. From protecting your data to bypassing restrictions and maintaining anonymity, a VPN is an invaluable tool in today’s digital age. Now that you understand the importance of a VPN, let’s move on to the next step: choosing the right VPN service.
Choosing the right VPN service
When it comes to selecting a VPN service, it’s essential to choose one that aligns with your specific needs and requirements. With numerous options available in the market, here are some key factors to consider when choosing the right VPN service:
- Security and Privacy: Look for a VPN service that prioritizes security and privacy. Ensure that they use strong encryption protocols (such as OpenVPN or IKEv2) to protect your data and have a strict no-logs policy, meaning they do not collect or store any of your online activities.
- Server Locations and Coverage: Consider the VPN service’s server coverage and availability of servers in locations that interest you. More server locations provide you with more options to bypass geo-restrictions and access content from different regions.
- Connection Speed and Performance: Check the VPN service’s connection speed and performance. A reliable VPN should offer fast and stable connections to ensure smooth browsing, streaming, and file downloads.
- Device Compatibility: Ensure that the VPN service supports all the devices and operating systems you intend to use it on. Whether it’s Windows, macOS, iOS, Android, Linux, or routers, compatibility is crucial for a seamless experience.
- User-Friendly Interface: Consider the VPN service’s user interface and ease of use. Look for intuitive and user-friendly VPN apps that make it simple to set up and connect to servers.
- Customer Support: Evaluate the customer support options provided by the VPN service. Look for options like live chat or email support to ensure quick resolution of any issues or inquiries.
- Pricing and Plans: Compare the pricing and subscription plans offered by different VPN services. Look for affordable options that provide a good balance between price and features.
- Additional Features: Consider any additional features and settings offered by the VPN service. Some VPNs may offer features like ad-blocking, split tunneling, or malware protection, which can further enhance your online experience.
Take the time to research and read reviews about different VPN services to make an informed decision. Look for reputable providers that have a proven track record and positive user feedback.
Remember, the right VPN service is one that meets your specific needs in terms of security, privacy, features, and performance. Carefully evaluate your requirements before making a final decision. Once you’ve selected the right VPN service, you’re ready to move on to the next step: setting up the VPN on your chosen device.
Setting up a VPN on Windows
If you’re using a Windows operating system, setting up a VPN can be a straightforward process. Follow these steps to set up a VPN on Windows:
- Choose a VPN: Start by selecting a VPN service that is compatible with Windows. Ensure that the VPN provider offers a Windows app or provides manual setup instructions for Windows.
- Download and Install the VPN App: If the VPN service has a dedicated Windows app, download it from the VPN provider’s website. Follow the on-screen instructions to complete the installation process.
- Launch the VPN App: Once the installation is complete, launch the VPN app on your Windows device.
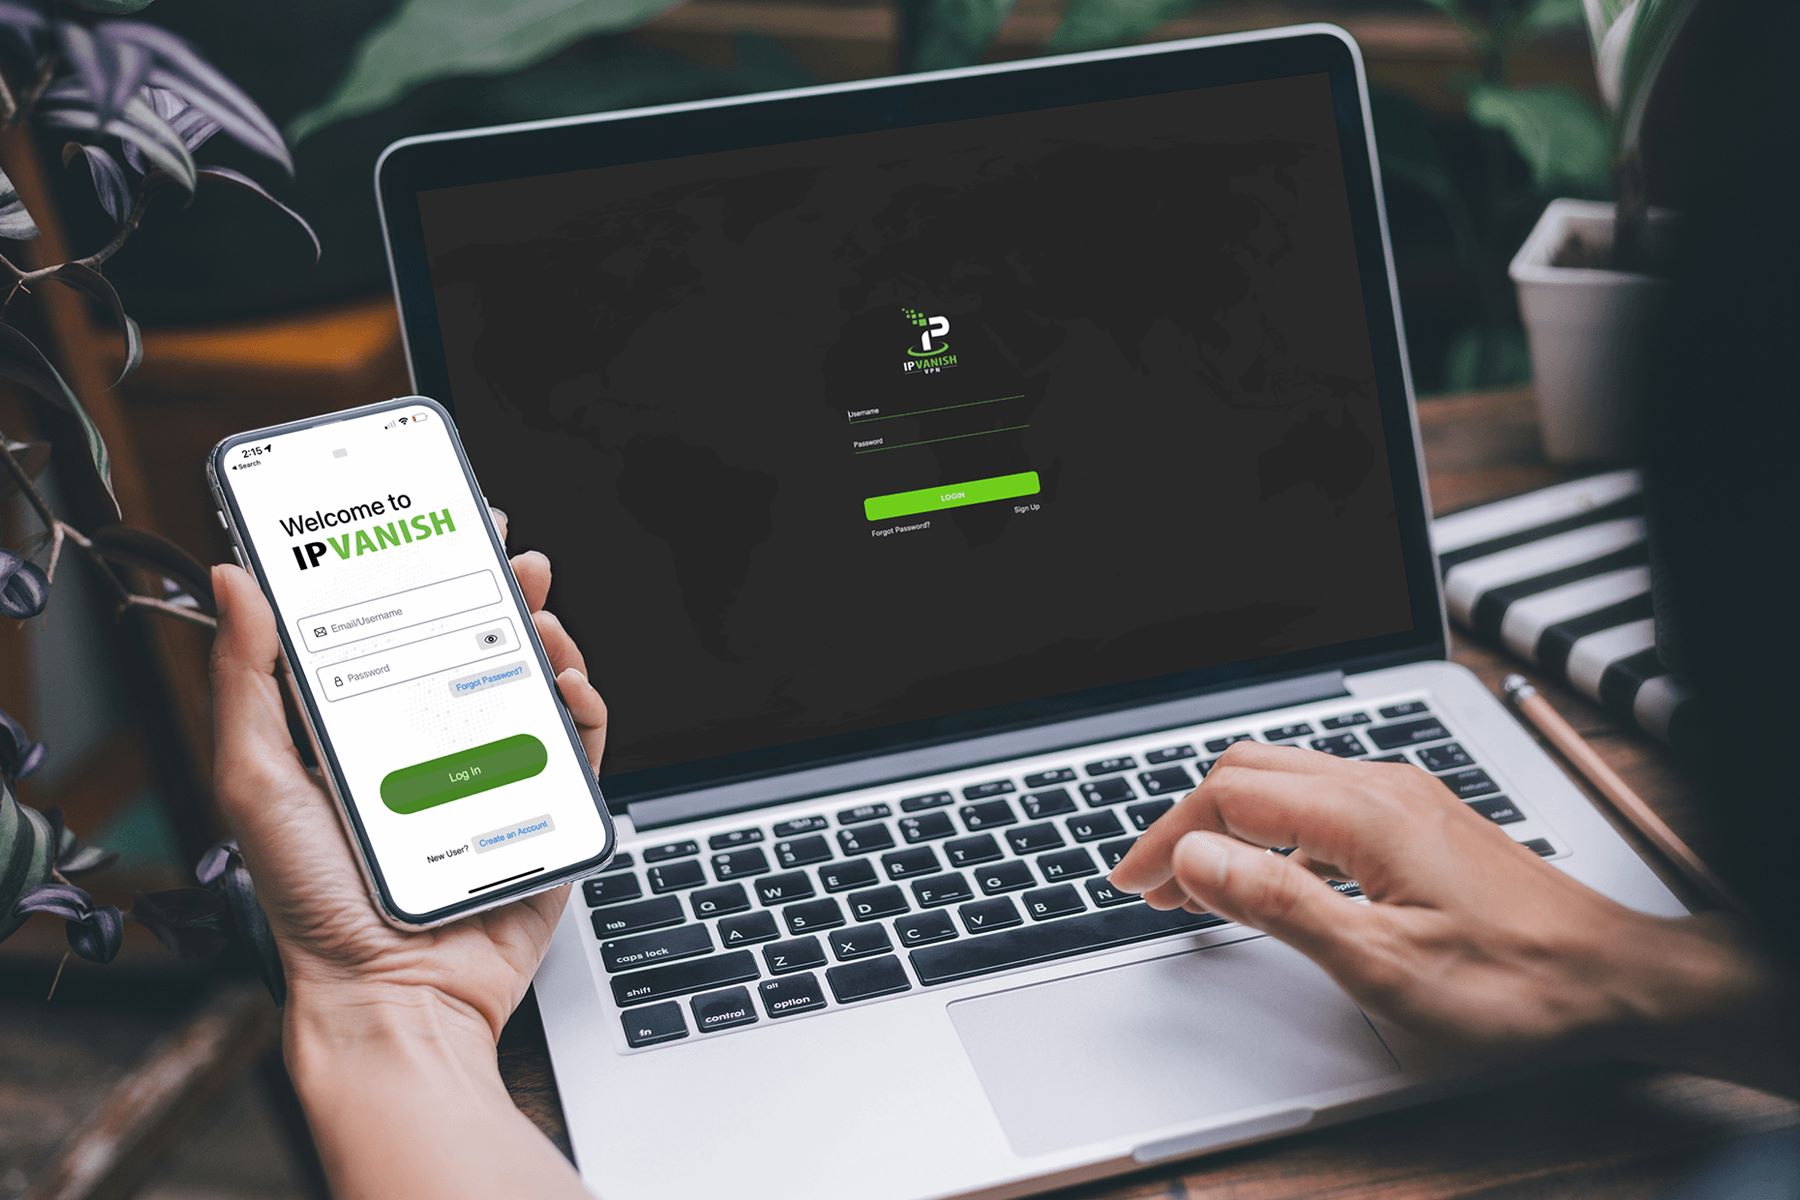
- Log in/Register: If you already have an account with the VPN service, log in using your credentials. If not, register for a new account and set up your subscription.
- Connect to a Server: Within the VPN app, you’ll typically find a list of available servers. Choose a server location based on your needs, such as bypassing geo-restrictions or accessing content from a specific region. Click on the server to connect.
- Adjust Settings (Optional): Explore the app’s settings to customize your VPN experience. You may have options to enable features like auto-connect on startup, DNS leak protection, or kill switch functionality.
- Verify Connection: Once connected, verify that your VPN connection is active. You can do this by visiting a website that displays your IP address. It should show your new IP address, indicating that you’re connected to the VPN server.
Once you have successfully connected to the VPN server, all your internet traffic will be routed through the secure VPN tunnel, ensuring your online activities are encrypted and protected. You can now browse the internet, access restricted content, and enjoy a more secure online experience.
If you prefer manual configuration, some VPN providers also offer setup guides for configuring Windows’ built-in VPN client. This allows you to set up a VPN connection without using a dedicated VPN app.
Now that you have set up a VPN on Windows, you can enjoy the benefits of enhanced online security, privacy, and access to geo-restricted content. If you encounter any issues or have questions, refer to the VPN provider’s support resources or contact their customer support for assistance.
Setting up a VPN on macOS
If you’re using a macOS device, setting up a VPN is a simple process. Here are the steps to set up a VPN on macOS:
- Select a VPN: Begin by choosing a VPN service that supports macOS. Ensure that the VPN provider offers a macOS app or provides manual configuration instructions for macOS.
- Download and Install the VPN App: If the VPN service provides a dedicated macOS app, download it from the VPN provider’s website. Follow the installation instructions to complete the setup.
- Launch the VPN App: After installing the VPN app, launch it on your macOS device.
- Log in/Register: If you already have an account with the VPN service, log in using your credentials. Otherwise, create a new account and subscribe to the VPN service.
- Connect to a Server: Within the VPN app, you’ll typically find a list of available servers. Choose a server location based on your requirements, such as bypassing geo-restrictions or accessing region-specific content. Click on the server to connect.
- Adjust Settings (Optional): Explore the app’s settings to customize your VPN experience. You may have options to enable features like automatic connection on startup, protocol selection, or internet kill switch functionality.
- Verify Connection: Once you’re connected, verify that your VPN connection is active. You can do this by visiting a website that displays your IP address. It should show your new IP address, indicating that you’re connected to the VPN server.
After successfully connecting to the VPN server, all your internet traffic will be encrypted and routed through the VPN tunnel, ensuring your online activities are secure and private. You can now browse the internet, access geo-restricted content, and enjoy a safer online experience.
For users who prefer manual configuration, some VPN providers also offer step-by-step guides for setting up a VPN connection using macOS’ built-in VPN client. This allows you to establish a VPN connection without using a dedicated VPN app.
If you encounter any issues or have questions during the setup process, refer to the VPN provider’s support resources or contact their customer support for assistance.
Now that you have successfully set up a VPN on macOS, you can enjoy the benefits of enhanced online security, privacy, and unrestricted access to content from around the world.
Setting up a VPN on iOS
If you’re using an iOS device, such as an iPhone or iPad, setting up a VPN is a straightforward process. Follow these steps to set up a VPN on iOS:
- Choose a VPN: Start by selecting a VPN service that offers support for iOS devices. Ensure that the VPN provider has a dedicated iOS app or provides manual setup instructions for iOS.
- Download the VPN App: If the VPN service offers a dedicated iOS app, download it from the App Store on your iPhone or iPad. Install the app by following the on-screen instructions.
- Launch the VPN App: Once the installation is complete, open the VPN app on your iOS device.
- Log in/Register: Log in to the VPN app using your existing account credentials or create a new account if you don’t have one. Subscribe to the VPN service if required.
- Connect to a Server: Within the VPN app, you will find a list of available servers. Choose a server location based on your needs, such as bypassing geo-restrictions or accessing region-specific content. Tap on the server to connect.
- Adjust Settings (Optional): Explore the app’s settings to customize your VPN experience. You may find options to enable features like auto-connect on Wi-Fi networks, protocol selection, or split tunneling.
- Verify Connection: Once you’re connected to the VPN server, confirm that the VPN connection is active. You can do this by visiting a website that displays your IP address. It should show your new IP address, indicating that you’re connected through the VPN server.
After successfully connecting to the VPN server, all your internet traffic on your iOS device will be routed through the VPN tunnel, ensuring your online activities are encrypted and secure. You can now browse the internet, access geo-restricted content, and protect your privacy while using public Wi-Fi networks.
If you prefer manual configuration, some VPN providers also offer step-by-step guides to manually set up a VPN connection on iOS devices using the built-in VPN settings.
If you encounter any issues or have questions during the setup process, consult the VPN provider’s support resources or contact their customer support for assistance.
Now that you have successfully set up a VPN on your iOS device, you can enjoy the benefits of enhanced online security, privacy, and unrestricted access to content while on the go.
Setting up a VPN on Android
If you’re using an Android device, setting up a VPN is a relatively simple process. Here are the steps to set up a VPN on Android:
- Select a VPN: Begin by choosing a VPN service that supports Android devices. Ensure that the VPN provider offers an Android app or provides manual configuration instructions for Android.
- Download the VPN App: If the VPN service has a dedicated Android app, download it from the Google Play Store on your Android device. Install the app by following the on-screen instructions.
- Launch the VPN App: Once the app is installed, open the VPN app on your Android device.
- Log in/Register: Log in to the VPN app using your existing account credentials or create a new account if you don’t have one. Subscribe to the VPN service if required.
- Connect to a Server: Within the VPN app, you’ll find a list of available servers. Choose a server location based on your requirements, such as bypassing geo-restrictions or accessing region-specific content. Tap on the server to connect.
- Adjust Settings (Optional): Explore the app’s settings to customize your VPN experience. Depending on the VPN app, you may have options for features like auto-connect on different networks, protocol selection, or ad-blocking.
- Verify Connection: Once connected, verify that your VPN connection is active. You can do this by visiting a website that displays your IP address. It should show your new IP address, indicating that you’re connected through the VPN server.
After successfully connecting to the VPN server, all your internet traffic on your Android device will be encrypted and routed through the VPN tunnel. This ensures the security and privacy of your online activities. You can now browse the internet, access geo-restricted content, and use public Wi-Fi networks without compromising your data.
If you prefer manual configuration, some VPN providers also offer step-by-step guides for configuring VPN settings on Android devices using the built-in VPN settings.
If you encounter any issues or have questions during the setup process, refer to the VPN provider’s support resources or contact their customer support for assistance.
Now that you have successfully set up a VPN on your Android device, you can enjoy the benefits of enhanced online security, privacy, and unrestricted access to content while on the go.
Setting up a VPN on Linux
If you’re using a Linux-based operating system, setting up a VPN can vary depending on the distribution you’re using. Here is a general guide on setting up a VPN on Linux:
- Select a VPN: Start by choosing a VPN service that provides support for Linux. Look for VPN providers that offer guides or Linux-friendly apps.
- Follow Provider’s Instructions: Each VPN provider may have different setup instructions for Linux. Refer to their website or documentation for specific instructions based on your distribution.
- Install Required Packages: Depending on your distribution, you may need to install additional packages to support the VPN protocol used by your chosen VPN service. This could include packages like OpenVPN or PPTP.
- Configure VPN Settings: Once the required packages are installed, follow the provider’s instructions to configure the VPN settings. This typically involves creating a VPN connection profile and entering the necessary details provided by the VPN provider, such as server address, authentication credentials, and encryption settings.
- Connect to VPN: Once the VPN settings are configured, you can connect to the VPN using the provided instructions. This usually involves running a command or using a GUI tool specific to your distribution.
- Verify Connection: Once connected, verify that your VPN connection is active. You can use terminal commands or visit a website that displays your IP address to ensure that your internet traffic is being routed through the VPN server.
Since Linux distributions can vary significantly, it’s important to refer to the VPN provider’s documentation or support resources for specific instructions. They may provide detailed guides, scripts, or even pre-configured packages to facilitate the setup process.
For more advanced users, manual configuration using network manager tools or command-line interfaces is also an option. This allows for finer control and customization of the VPN connection on Linux.
If you encounter any issues during the setup process, consult the VPN provider’s support resources or community forums for assistance from fellow Linux users.
Now that you have successfully set up a VPN on Linux, you can enjoy the benefits of enhanced online security, privacy, and the ability to access restricted content while using your Linux-based operating system.
Additional VPN features and settings to consider
When selecting a VPN service, it’s important to consider additional features and settings that can enhance your overall VPN experience. Here are some key features to look out for:
- Split Tunneling: Split tunneling allows you to route some of your internet traffic through the VPN while sending other traffic directly through your regular internet connection. This can be useful when you want to access local resources or use specific apps or services outside of the VPN tunnel.
- Multi-Platform Support: If you use multiple devices and operating systems, consider a VPN service that offers apps and support for a wide range of platforms. This ensures that you can protect your online activities across all your devices.
- Kill Switch: A kill switch is a handy feature that automatically disconnects your internet connection if the VPN connection drops. This prevents your real IP address and online activities from being exposed during an unexpected VPN disconnect.
- Ad Blocking: Some VPN services offer built-in ad-blocking capabilities. This can enhance your browsing experience by blocking intrusive ads and potentially improving page load times.
- Multihop Connections: Multihop, also known as double VPN, allows you to route your internet traffic through multiple VPN servers in different locations. This adds an extra layer of anonymity and security to your online activities, as it becomes more difficult to trace the origin of your traffic.
- Protocol Selection: Look for VPN services that offer a variety of VPN protocols. Popular protocols include OpenVPN, IKEv2, and WireGuard. Having multiple options allows you to choose the most suitable protocol for your needs in terms of security, speed, and compatibility.
- Streaming and Torrenting Support: If you’re specifically looking to stream geo-restricted content or engage in torrenting activities, choose a VPN service that explicitly supports these features. Some VPN providers have dedicated servers optimized for streaming or P2P file sharing.
- Simultaneous Connections: Consider the number of simultaneous connections allowed by the VPN service. If you want to protect multiple devices simultaneously without having to disconnect/reconnect frequently, look for VPN services that offer multiple device connections under a single subscription.
The availability of these features may vary depending on the VPN provider. Consider your specific needs and prioritize the features that are most important to you. Keep in mind that additional features may come at an extra cost or be included only in certain subscription plans.
By carefully considering these additional features and settings, you can select a VPN service that caters to your specific requirements and enhances your online security, privacy, and overall browsing experience.
Troubleshooting common VPN issues
While VPNs are generally reliable, you may occasionally encounter some issues that can disrupt your VPN connection. Here are some common VPN issues and troubleshooting steps to resolve them:
- Connection Drops: If your VPN connection frequently drops, try connecting to a different server or switching to a different VPN protocol. Additionally, check your internet connection to ensure it is stable and not causing the VPN to disconnect.
- Slow Connection Speed: If your internet speed slows down significantly while connected to the VPN, try connecting to a server closer to your physical location or one with less server load. You can also try switching to a different VPN protocol, as some protocols may offer better performance.
- Incompatibility with Certain Websites or Services: In some cases, certain websites or online services may block or restrict access to VPN IP addresses. If you encounter such issues, try connecting to a different server or contacting your VPN provider’s support for assistance.
- Unable to Access Local Devices or Resources: If you’re unable to access devices or resources on your local network while connected to the VPN, check if your VPN client has split tunneling enabled. Disabling it may allow access to local resources while maintaining a secure VPN connection.
- DNS Leaks: A DNS leak can occur when your internet traffic bypasses the VPN and is sent through your ISP’s DNS servers. To prevent DNS leaks, ensure that your VPN client has DNS leak protection enabled. Alternatively, you can manually configure your DNS settings to use secure DNS servers.
- Firewall or Antivirus Interference: Some firewall or antivirus software may interfere with VPN connections. Temporarily disable such software to see if it resolves the issue. If so, adjust the settings to allow the VPN traffic through while keeping your computer protected.
- Outdated VPN Software: Ensure that your VPN client application is up to date. VPN providers often release updates that address performance issues, security vulnerabilities, and compatibility with the latest operating systems.
- Authentication or Login Problems: If you’re unable to authenticate or log in to your VPN service, double-check your login credentials. Ensure that your username and password are entered correctly, and consider resetting your password if needed.
If you continue to experience issues with your VPN connection, contact your VPN provider’s support team for further assistance. They can provide specialized troubleshooting steps based on your specific setup and configuration.
By troubleshooting these common VPN issues, you can often resolve connectivity problems and ensure a seamless and secure VPN experience.
Conclusion
Setting up a VPN is a crucial step in safeguarding your online security, protecting your privacy, and accessing geo-restricted content. By encrypting your internet traffic and routing it through a secure VPN server, you can enjoy a private and anonymous online experience.
In this guide, we explored the importance of using a VPN, the process of choosing the right VPN service, and step-by-step instructions for setting up a VPN on Windows, macOS, iOS, Android, and Linux devices. We also discussed additional features and settings to consider when selecting a VPN and provided troubleshooting tips for common VPN issues.
It’s important to remember that while a VPN can enhance your online security, it doesn’t replace other good cybersecurity practices, such as using strong and unique passwords, keeping your devices updated, and being cautious of phishing attempts.
When selecting a VPN service, be sure to evaluate its security protocols, server locations, connection speed, compatibility with your devices, and additional features that align with your needs. Research VPN providers and consider customer reviews to make an informed decision.
By following the steps outlined in this guide and selecting a reputable VPN service, you can take control of your online privacy and security, access unrestricted content, and browse the internet with peace of mind.