Introduction
Welcome to our guide on how to set up the Yi IoT Camera! In this article, we will walk you through the step-by-step process of unboxing your camera, connecting it to Wi-Fi, and configuring the settings to get started with your Yi IoT Camera. Whether you’re a tech enthusiast looking to add a new security camera to your home or a beginner who’s never set up a camera before, this guide is designed to make the process simple and straightforward.
The Yi IoT Camera is a versatile and feature-rich device that allows you to monitor your home or office remotely. With its high-resolution video capabilities and smart detection features, it provides a reliable and convenient solution for keeping an eye on your surroundings. Whether you want to keep an eye on your property, monitor your pets, or ensure the safety of your loved ones, the Yi IoT Camera has you covered.
In this comprehensive guide, we will cover everything you need to know to set up your camera successfully. We understand that the setup process can be overwhelming, especially for users who are not familiar with technology or networking devices. But don’t worry – we’ll break down each step into simple, easy-to-follow instructions that anyone can follow.
Before we dive into the setup process, it’s essential to ensure that you have all the necessary items. The Yi IoT Camera package includes the camera itself, a power adapter, a USB cable, a wall mount, and the documentation. Having everything ready will make the setup process smoother and more efficient.
So, let’s get started! In the following sections, we will guide you through unboxing the camera, downloading the Yi Home app, connecting the camera to Wi-Fi, configuring the camera settings, and accessing the live feed. We will also explore additional features and functions that will enhance your experience with the Yi IoT Camera.
Without further ado, let’s begin the journey of setting up your Yi IoT Camera!
What is Yi IoT Camera?
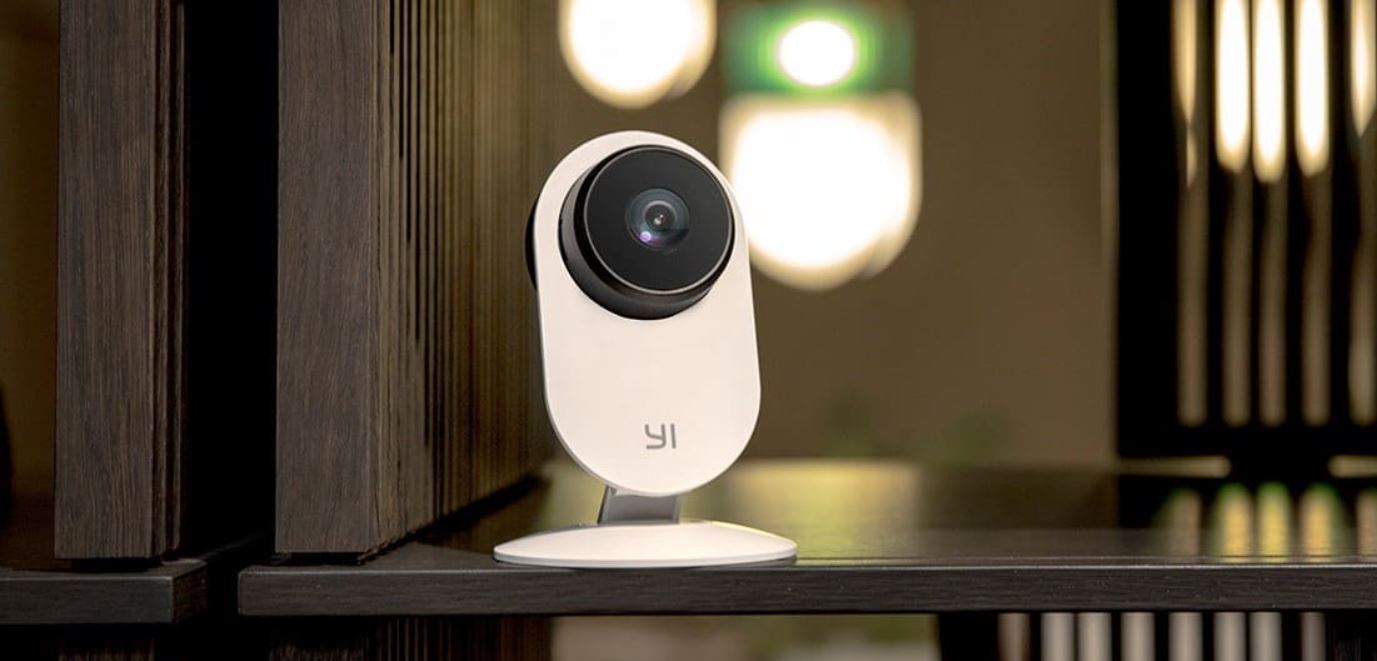
The Yi IoT Camera is a state-of-the-art surveillance device that allows you to monitor your home or office from anywhere, at any time. Designed with advanced technology and packed with smart features, the Yi IoT Camera offers superior video quality, real-time alerts, and convenient remote access.
Whether you want to keep an eye on your property, monitor your pets, or ensure the safety of your loved ones, the Yi IoT Camera provides peace of mind by providing a reliable and intuitive solution for home security.
One of the standout features of the Yi IoT Camera is its high-resolution video capabilities. With a resolution of up to 1080p, you can capture every detail with sharp clarity. This ensures that you never miss a thing, whether it’s capturing an intruder’s face or monitoring your child’s activities.
Another key feature is the smart detection technology built into the Yi IoT Camera. It uses advanced algorithms to analyze and detect motion and sound, allowing it to send you instant alerts directly to your smartphone. You can customize the settings to receive notifications for specific events, such as detecting a person, a pet, or even a crying baby.
Remote access is a crucial aspect of modern surveillance systems, and the Yi IoT Camera excels in this area. With the accompanying Yi Home app, you can access the live video feed from anywhere, as long as you have an internet connection. Whether you’re at work, on vacation, or simply in another room, you can check in on your property and stay connected at all times.
Setting up the Yi IoT Camera is also remarkably simple and user-friendly. With the intuitive mobile app and step-by-step instructions, even those with minimal technical knowledge can get the camera up and running within minutes.
Overall, the Yi IoT Camera is a reliable, feature-rich solution for anyone looking to enhance their home security. With its high-resolution video, smart detection, and remote access capabilities, it provides convenience and peace of mind in an increasingly connected world.
Now that we have an understanding of what the Yi IoT Camera is and what it offers let’s move on to the next section where we will guide you through unboxing the camera and getting started with the setup process.
Step 1: Unboxing and Contents
Before we begin setting up the Yi IoT Camera, let’s start by unboxing the package and familiarizing ourselves with the contents. It’s essential to ensure that all the necessary components are present for a smooth setup process. Here’s what you can expect to find in the box:
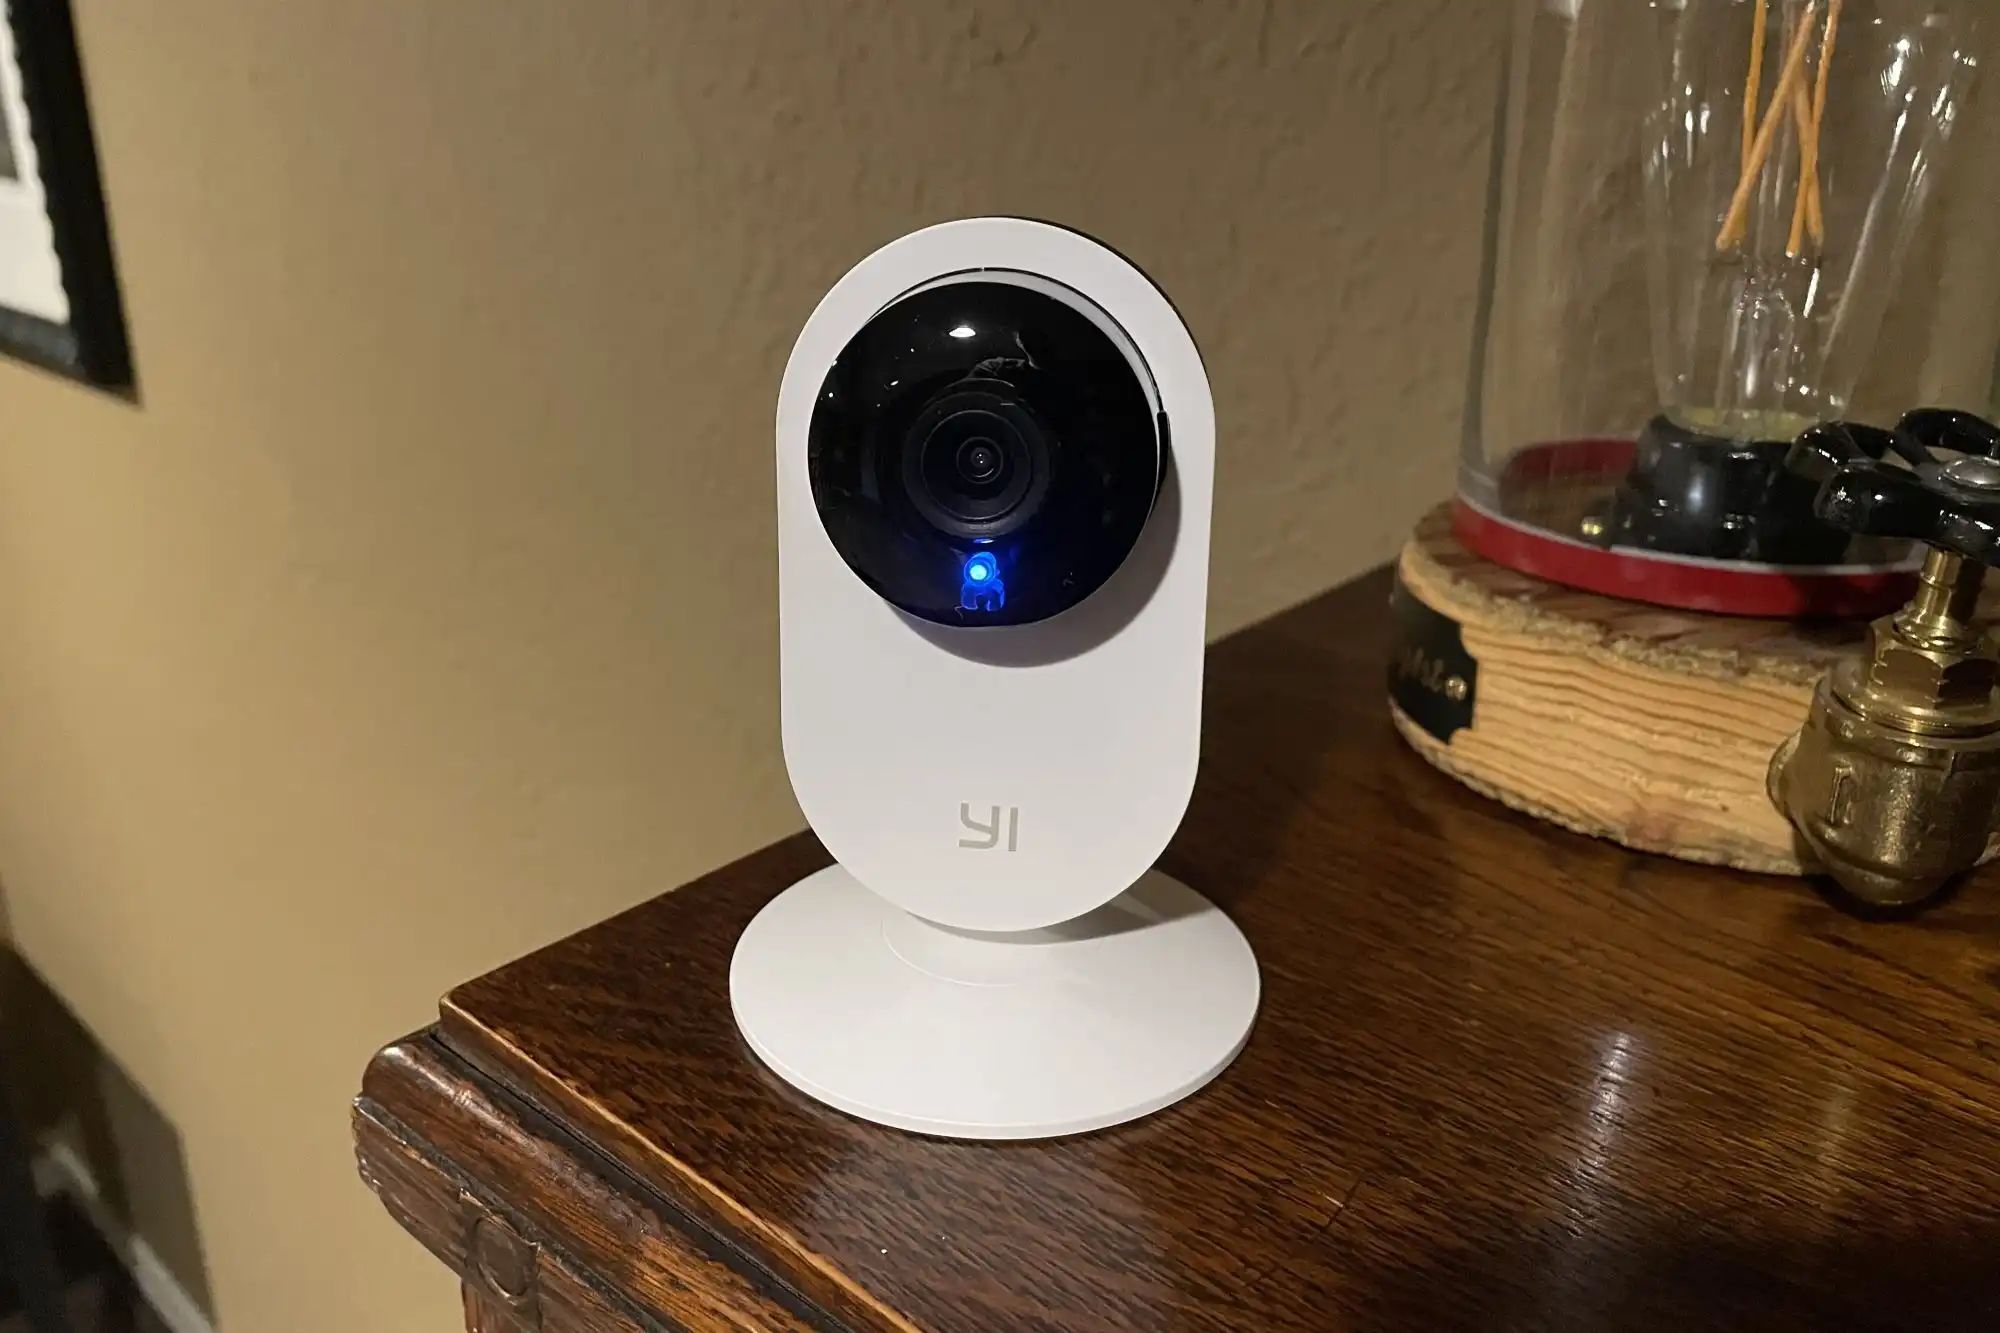
1. The Yi IoT Camera: The camera itself is the heart of the surveillance system. It is compact in size and designed with a sleek and modern look.
2. Power Adapter: The power adapter is used to provide electrical power to the camera. It will need to be plugged into a nearby power outlet for the camera to function.
3. USB Cable: The USB cable serves as the connection between the power adapter and the camera. It provides both power and data transfer capabilities.
4. Wall Mount: The wall mount allows you to securely attach the Yi IoT Camera to any flat surface, such as walls or ceilings. It provides flexibility in positioning the camera for optimal viewing angles.
5. Documentation: The package includes a user manual and quick start guide. These documents provide detailed instructions on the setup process, camera features, and troubleshooting tips.
It’s crucial to go through the documentation before proceeding with the setup to familiarize yourself with the camera’s functions and best practices for installation. This will ensure a smooth and successful setup process.
Once you have unboxed the Yi IoT Camera and checked that all the components are present, you can move on to the next step: downloading the Yi Home app. The app will be your main interface for configuring the camera and accessing its features, so it’s essential to have it installed on your smartphone or tablet.
Now that we have unboxed the camera and become acquainted with the contents, let’s move forward and download the Yi Home app onto your mobile device in the next step.
Step 2: Downloading the Yi Home App
Now that you have unboxed your Yi IoT Camera and familiarized yourself with the contents, it’s time to download the Yi Home app. The Yi Home app is available for both iOS and Android devices and serves as the central hub for configuring and managing your camera.
To download the Yi Home app, follow these simple steps:
- Open the App Store or Google Play Store on your mobile device.
- In the search bar, type “Yi Home” and press enter.
- Look for the official Yi Home app, which is developed by Yi Technology.
- Tap on the “Install” or “Get” button to download and install the app.
- Once the app is installed, open it and create a Yi account. You can sign up using your email address or phone number.
- Follow the on-screen instructions to complete the registration process.
Once you have successfully created a Yi account and logged into the app, you are ready to proceed to the next step: powering on the camera.
It’s important to note that the Yi Home app requires certain device permissions to function correctly. Make sure to grant it access to your camera, microphone, and storage when prompted for permissions. These permissions are necessary for the app to communicate with your Yi IoT Camera and provide you with the full functionality it offers.
Downloading and installing the Yi Home app is an essential step as it allows you to access and control your camera from anywhere using your mobile device. With the app, you can adjust camera settings, view live footage, receive notifications, and much more.
In the next step, we’ll guide you through the process of powering on the camera and preparing it for the initial setup.
Step 3: Powering On the Camera
Now that you have downloaded and installed the Yi Home app, it’s time to power on your Yi IoT Camera. Follow these steps to ensure a successful power-on process:
- Locate a suitable spot to place your camera. Ensure that it is near a power outlet for easy access.
- Take the provided USB cable and connect one end to the power adapter and the other end to the camera’s USB port.
- Plug the power adapter into a nearby power outlet.
- Wait for the camera to power on. A light indicator on the camera will indicate that it is receiving power.
- If the camera has a physical power switch, ensure it is in the “on” position.
Once the camera is successfully powered on, it will go through a startup sequence. During this time, you may hear audible prompts or see LED lights blinking. This indicates that the camera is initializing and preparing for the setup process.
It’s important to give the camera sufficient time to complete the startup process. In most cases, this should take no more than a few minutes.
If the camera does not power on or you encounter any issues, double-check that the power adapter is securely connected, and the power outlet is functional. You can also refer to the camera’s documentation for troubleshooting tips.
Once the camera is powered on and ready, it’s time to proceed to the next step: connecting the Yi IoT Camera to your Wi-Fi network. This will allow you to establish a connection between the camera and your mobile device, enabling remote access and control.
With the camera powered on and connected to power, you’re one step closer to setting up your Yi IoT Camera. In the next step, we’ll guide you through the process of connecting to Wi-Fi.
Step 4: Connecting to Wi-Fi
With your Yi IoT Camera powered on and ready to go, it’s time to connect it to your Wi-Fi network. Follow these steps to establish a connection:
- Open the Yi Home app on your smartphone or tablet.
- Ensure that your mobile device is connected to the Wi-Fi network you want to connect the camera to. This will ensure a smooth pairing process.
- In the app, tap on the “+” icon to add a new device.
- Select “Yi IoT Camera” from the options provided.
- Follow the on-screen instructions to put your camera into pairing mode. This usually involves pressing and holding a setup button on the camera until you hear a voice prompt or see a blinking LED light.
- The app will prompt you to enter your Wi-Fi network’s SSID (name) and password. Make sure to enter the correct details to ensure a successful connection.
- Wait for the app to establish a connection between the camera and your Wi-Fi network. This process may take a few minutes.
- Once the connection is established, you will receive a notification in the app confirming the successful pairing.
It’s important to note that during the setup process, it’s recommended to keep your mobile device in close proximity to the camera to ensure a stable and reliable connection.
If the pairing process fails, double-check that the Wi-Fi network credentials you entered are correct. Additionally, ensure that your mobile device has a stable internet connection and try moving closer to the camera during the setup process.
Once the Yi IoT Camera is successfully connected to your Wi-Fi network, it’s ready for the next step: setting up the camera and adjusting its settings to meet your preferences and needs.
In the next step, we’ll guide you through the process of configuring the Yi IoT Camera to ensure optimal performance and functionality.
Step 5: Setting up the Yi IoT Camera
With your Yi IoT Camera successfully connected to your Wi-Fi network, it’s time to dive into the setup process and configure the camera to your preferences. Follow these steps to get started:
- Open the Yi Home app on your smartphone or tablet.
- Go to the device list and select the connected Yi IoT Camera.
- You will be prompted to set a name for your camera. Choose a name that is descriptive and easy to remember, as it will help identify the camera among multiple devices.
- Next, you will have the option to set up a Micro SD card for local storage. If you have a Micro SD card, insert it into the designated slot on the camera. This will allow you to store recorded videos and access them later from the app.
- Proceed to choose your preferred video resolution. Higher resolutions provide better image quality but consume more bandwidth and storage space. Select the option that suits your needs.
- Set up other camera settings such as motion detection, sound detection, and the length of recorded clips. These settings can be customized based on your specific requirements.
- Once you’ve configured the settings, save them and exit the settings menu.
It’s worth mentioning that the Yi Home app provides additional advanced settings and features that you can explore at your own pace. These include options for scheduling, activity zones, two-way audio, and more. Feel free to explore these features and customize the camera’s settings according to your preferences.
Throughout the setup process, make sure to keep the Yi IoT Camera within the Wi-Fi network’s range to ensure a stable connection. Additionally, ensure that your mobile device has a stable internet connection for smoother configuration.
With the camera successfully set up, you’re now ready to access the live feed and start monitoring your surroundings. In the next step, we’ll guide you through accessing the live feed and exploring the camera controls.
Step 6: Adjusting Camera Settings
Now that the Yi IoT Camera is set up and connected, it’s time to fine-tune and adjust the camera settings to meet your specific needs. Follow these steps to customize the camera settings:
- Open the Yi Home app on your smartphone or tablet.
- Select the connected Yi IoT Camera from the device list.
- Navigate to the camera settings within the app.
- Explore the various options available to adjust and customize the camera settings.
- Some common settings you might want to consider modifying include:
- Motion Detection: Enable or disable motion detection and adjust the sensitivity level to receive alerts for specific movement within the camera’s field of view.
- Sound Detection: Enable or disable sound detection to receive alerts for specific sound events, such as crying babies or breaking glass.
- Notifications: Configure the notification settings to receive alerts or push notifications on your mobile device when the camera detects motion or sound.
- Video Quality: Adjust the video quality settings to optimize the image resolution based on your network bandwidth and storage capacity.
- Recording Settings: Customize the recording settings to specify the length of recorded clips and whether to save them to local storage or cloud storage.
- Privacy Controls: Activate privacy controls to disable audio recording or video streaming from the camera when privacy is required.
- Make sure to save any changes you make to the camera settings.
Remember that adjusting and fine-tuning the camera settings is a personal preference. Experiment with different settings to find the optimal configuration that suits your monitoring needs. The Yi Home app provides an intuitive interface that allows you to easily navigate and customize the camera settings.
With the camera settings adjusted to your liking, you’re ready to access the live feed and start monitoring your premises. In the next step, we’ll guide you through accessing the live feed and exploring the camera controls within the app.
Step 7: Accessing Live Feed and Camera Controls
Now that your Yi IoT Camera is set up and the settings are adjusted, it’s time to access the live feed and explore the camera controls within the Yi Home app. Follow these steps to access the live feed and take control of your camera:
- Open the Yi Home app on your smartphone or tablet.
- Select the connected Yi IoT Camera from the device list.
- The app will display the live feed from the camera’s perspective.
- Swipe across the screen to pan the camera and explore different areas within the field of view.
- Use pinch-to-zoom gestures to zoom in and out for a closer look.
- Tap on the screen to focus on specific areas or objects within the frame.
- Depending on the camera model, you may have additional camera controls available, such as tilt or rotate.
- Explore the icons or buttons within the app to access additional functionalities, such as taking screenshots, recording videos, or activating the two-way audio feature.
- Use the camera controls to adjust settings on-the-go, such as enabling or disabling motion detection, adjusting the video quality, or enabling night vision.
With the live feed and camera controls readily accessible within the app, you have full control over monitoring and managing your Yi IoT Camera. Use these features to keep an eye on your home, office, or any other area you wish to monitor.
Remember to keep your mobile device connected to the internet, and the Yi Home app running in the background, to ensure seamless access to the live feed and camera controls wherever you are.
In the next step, we’ll explore additional features and functions that can enhance your experience with the Yi IoT Camera.
Step 8: Additional Features and Functions
In addition to the basic setup and live feed accessibility, the Yi IoT Camera offers a range of additional features and functions that can further enhance your monitoring experience. Let’s explore some of these features:
- Scheduling: The Yi Home app allows you to create schedules for the camera, enabling you to define specific time periods for motion detection, recording, or alerts. This feature is useful if you want to customize camera behavior based on your daily routine.
- Activity Zones: With activity zones, you can define specific areas within the camera’s field of view where you want to focus on motion detection. This is particularly useful if you want to exclude certain regions or pay more attention to specific areas, such as entryways or windows.
- Two-Way Audio: Some models of the Yi IoT Camera come equipped with a built-in speaker and microphone, enabling two-way audio communication. This allows you to hear what’s happening in the vicinity of the camera and speak to individuals within range, making it convenient for monitoring and interaction.
- Cloud Storage: Yi offers cloud storage options for storing recorded video clips. This provides additional backup and accessibility to your footage, giving you peace of mind knowing that your important recordings are securely stored in the cloud.
- Integration with Smart Home Systems: The Yi IoT Camera can be integrated with popular smart home systems, such as Amazon Alexa or Google Assistant. With such integration, you can control the camera using voice commands and even incorporate it into your smart home routines or automations.
- Camera Sharing: The Yi Home app allows you to share camera access with family members or trusted individuals. This is especially useful for households with multiple occupants or if you want someone else to monitor or control the camera remotely.
- Advanced Motion/Sound Detection: The Yi IoT Camera offers advanced motion and sound detection capabilities, allowing you to customize sensitivity levels, set specific detection zones, and receive precise alerts when specified sound or motion events occur.
These additional features and functions provide flexibility, convenience, and enhanced control over your Yi IoT Camera. Take the time to explore and experiment with these features to fully leverage the capabilities of your camera.
With this, you have completed the setup process and are now familiar with the various features and functions offered by the Yi IoT Camera. Enjoy the peace of mind and convenience that comes with monitoring your surroundings from anywhere, at any time.
Conclusion
Congratulations! You have successfully set up your Yi IoT Camera and learned how to configure its settings, access the live feed, and explore additional features. With your camera up and running, you can now enjoy the benefits of remote monitoring and enhanced home security.
The Yi IoT Camera offers a versatile and user-friendly solution for keeping an eye on your home or office. Its high-resolution video capabilities, smart detection features, and convenient remote access make it an ideal choice for anyone seeking a reliable surveillance system.
Throughout the setup process, we walked you through each step, from unboxing the camera and downloading the Yi Home app, to powering on the camera, connecting to Wi-Fi, adjusting settings, and accessing the live feed. We also highlighted additional features and functions that can further enhance your monitoring experience.
Remember to periodically review and update your camera settings to adapt to changing needs or preferences. Stay updated with firmware upgrades and new features that Yi Technology releases to ensure the optimal performance of your camera.
Should you encounter any issues or have further questions, consult the camera’s documentation, visit Yi Technology’s website, or reach out to their customer support. They are available to assist you and provide guidance in resolving any concerns you may have.
Enjoy the peace of mind that comes with having a reliable security camera system in place. Whether you’re using the Yi IoT Camera for home security, pet monitoring, or keeping an eye on your loved ones, you can now monitor your surroundings with ease and convenience.
Thank you for following this guide, and we hope it has been helpful in setting up your Yi IoT Camera. Happy monitoring!