Introduction
Welcome to this guide on how to connect your Yi IoT Camera. Whether you are a tech enthusiast or just someone looking to enhance your home security, the Yi IoT Camera offers a convenient and reliable solution. With its easy setup and advanced features, this camera allows you to monitor your space anytime, anywhere.
In this article, we will provide you with a step-by-step guide to help you connect your Yi IoT Camera seamlessly. From unboxing the camera to exploring its features, we will cover everything you need to know to get started. So, let’s dive in and get your Yi IoT Camera up and running!
Before we begin, it’s important to note that the instructions provided here are general guidelines. The setup process may vary slightly depending on the model of your Yi IoT Camera. Make sure to consult the user manual or the official Yi website for specific instructions related to your camera model.
Okay, now that we have the disclaimers out of the way, let’s move on to the first step: unboxing the Yi IoT Camera.
Step 1: Unboxing the Yi IoT Camera
Before you can start setting up your Yi IoT Camera, you need to unbox it and familiarize yourself with what’s included in the package. The contents may vary depending on the specific model you have, but here are the common items you can expect to find:
- The Yi IoT Camera
- Power adapter
- Micro USB cable
- Mounting bracket
- Screws and anchors
- User manual
Take a moment to carefully unpack each item and inspect it for any visible damage. Make sure that all the components are present and in good condition.
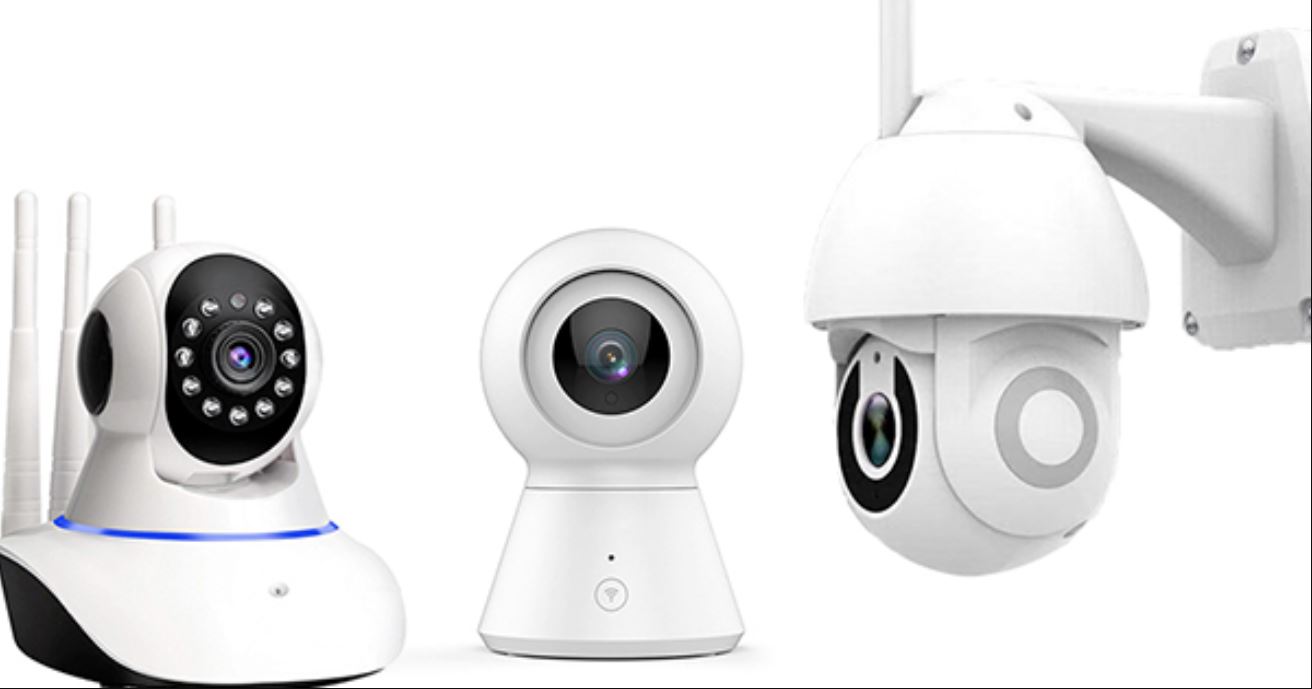
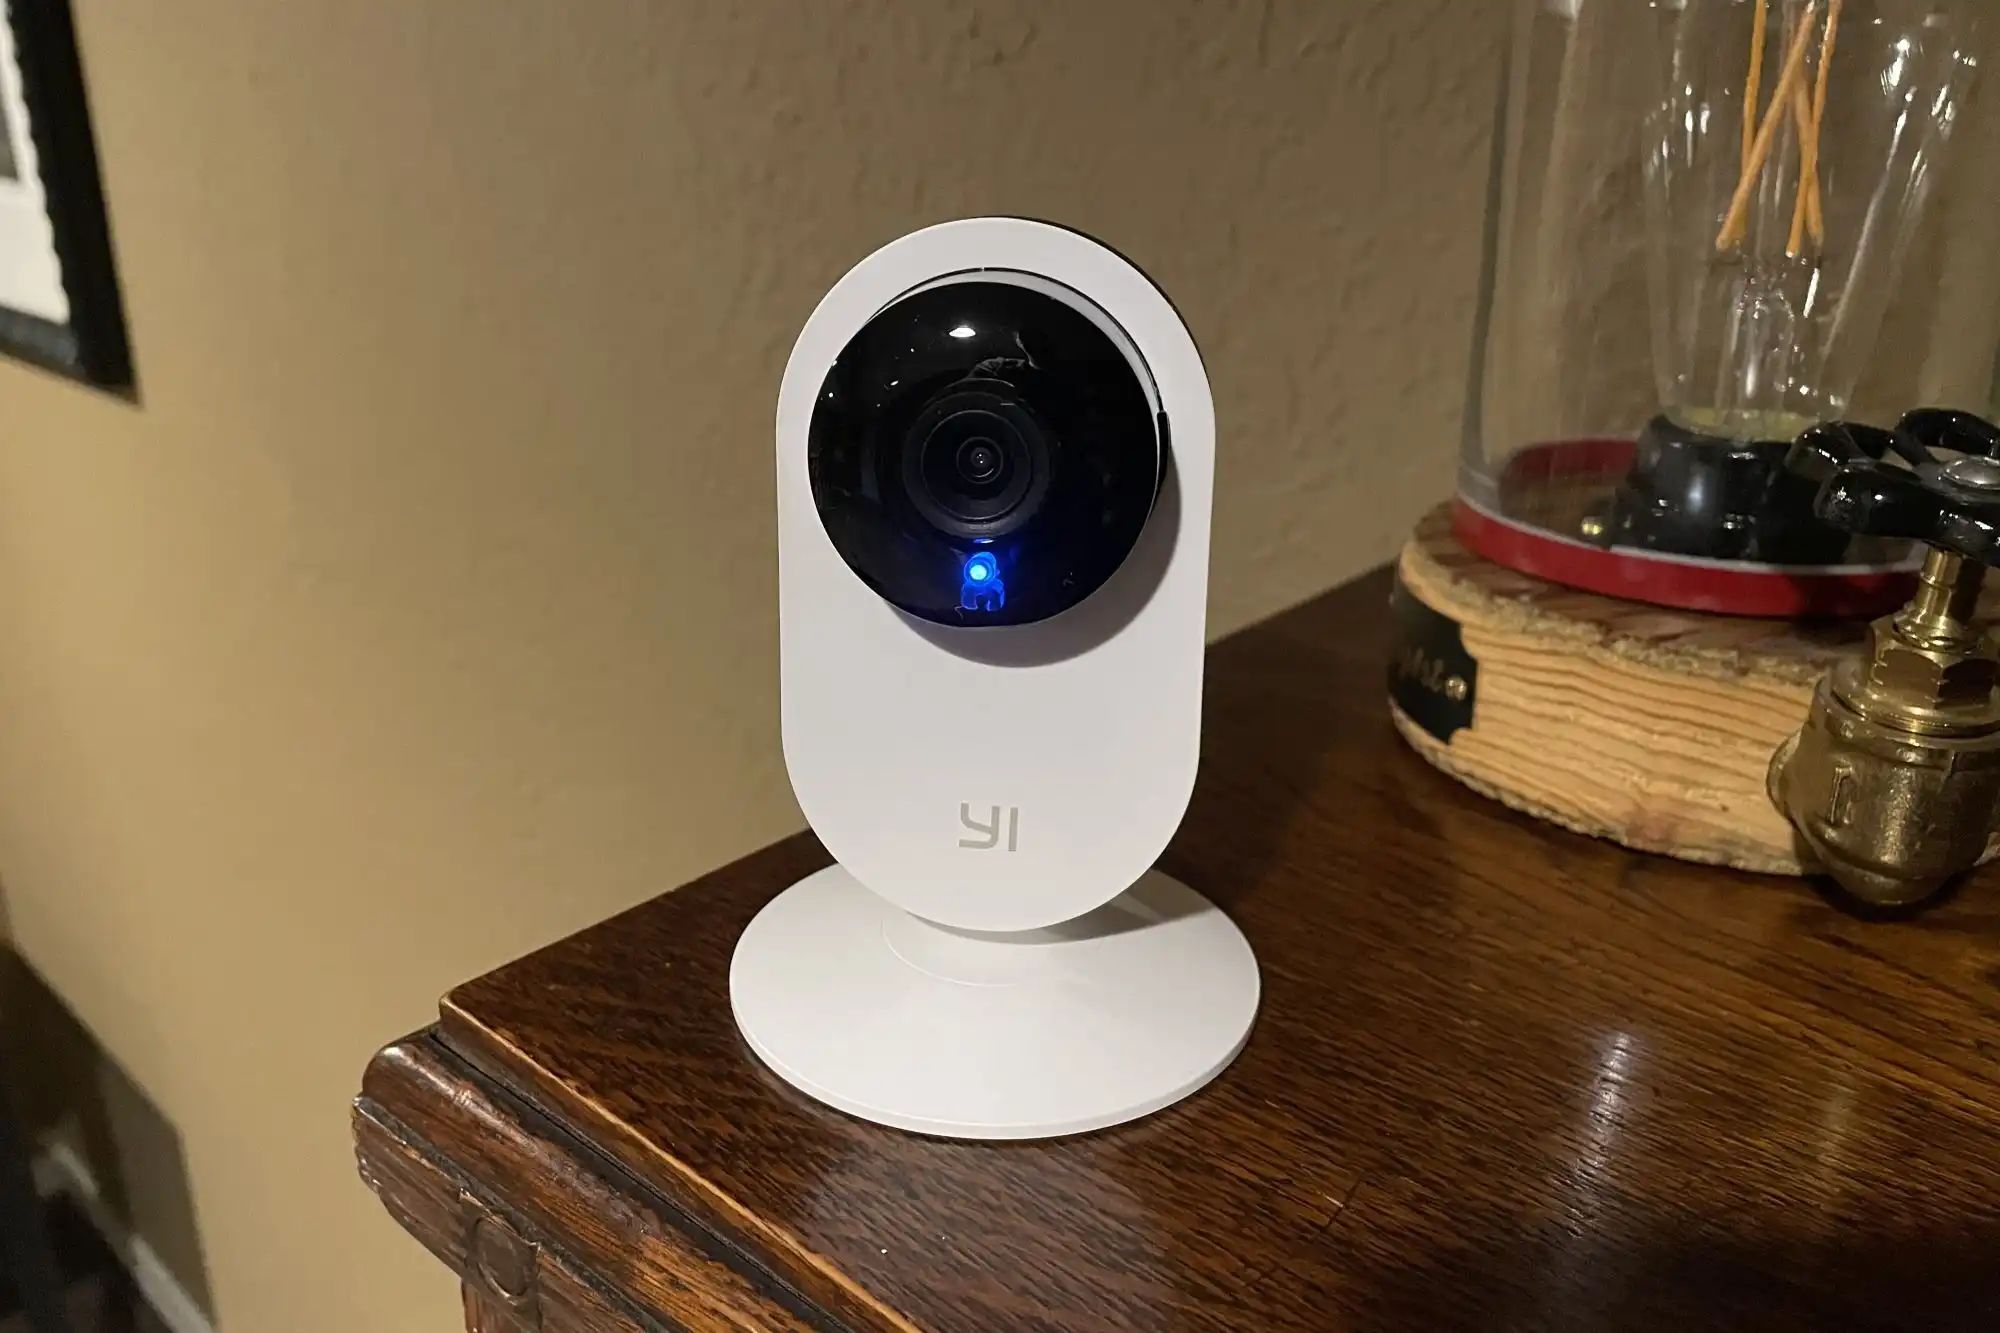
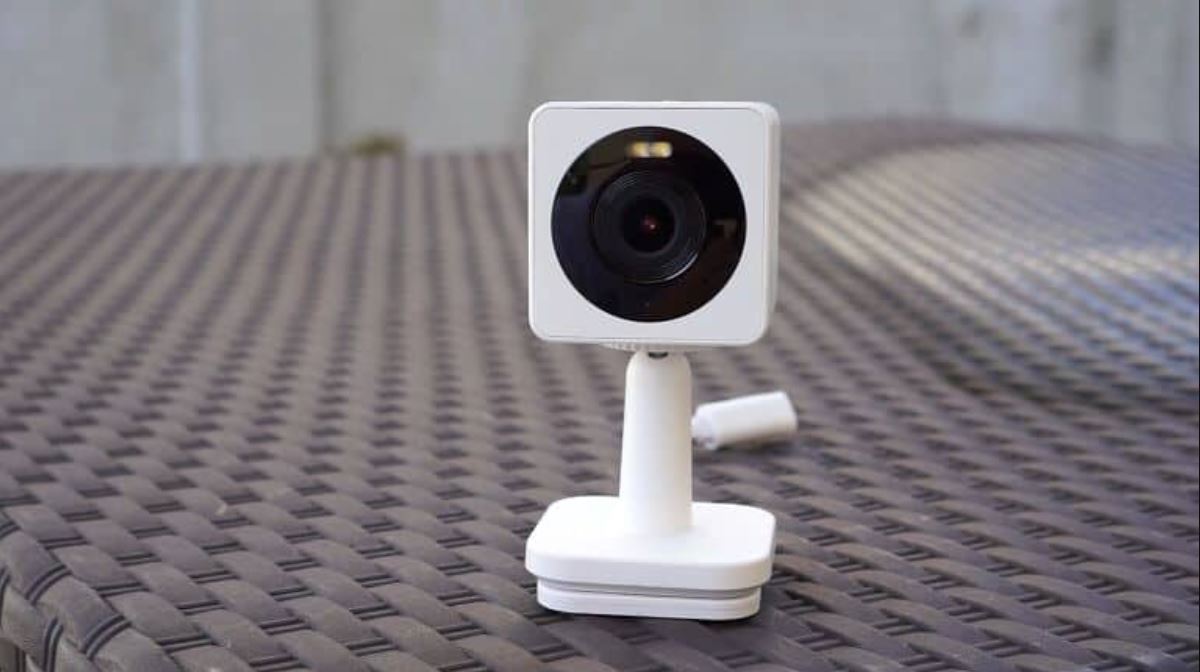
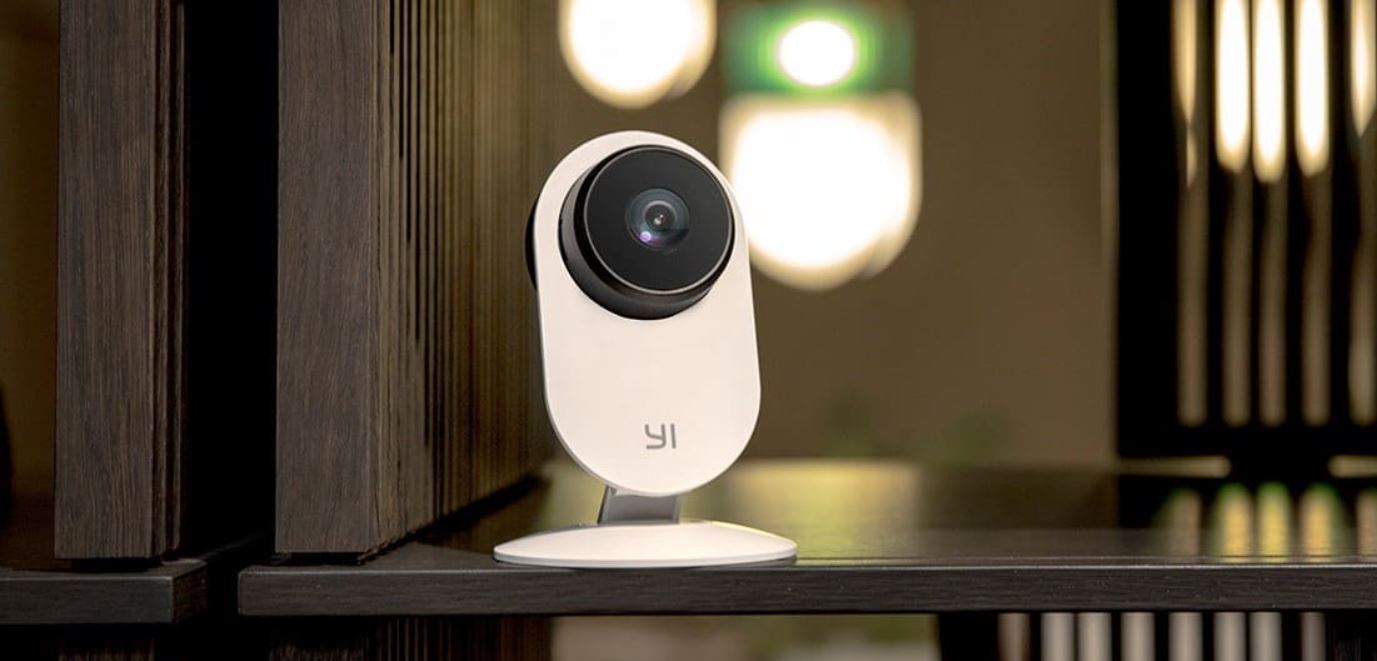
Next, familiarize yourself with the Yi IoT Camera itself. The sleek and compact design makes it easy to fit into any environment. Take a close look at the lens, power button, and other physical features of the camera.
Once you have unpacked and inspected everything, you are ready to move on to the next step: connecting the camera to power.
Step 2: Connecting the Camera to Power
Now that you have unboxed your Yi IoT Camera, it’s time to connect it to a power source. This step is crucial as it ensures that your camera has a continuous supply of power to function properly.
To connect your Yi IoT Camera to power, follow these steps:
- Locate the power adapter and micro USB cable that came with your camera.
- Plug the micro USB cable into the port on the back of the camera.
- Connect the other end of the micro USB cable to the power adapter.
- Plug the power adapter into a nearby electrical outlet.
Make sure that the power adapter is securely plugged in and that the camera’s power button is in the off position. Once you have completed these steps, the camera will start receiving power.
It’s worth noting that some Yi IoT Camera models may have different power requirements or alternative power options, such as battery power or solar panels. Refer to the user manual or the manufacturer’s instructions for specific information regarding your camera model.
With your camera now connected to power, you are ready to proceed to the next step: downloading the Yi Home App.
Step 3: Downloading the Yi Home App
In order to control and access the features of your Yi IoT Camera, you’ll need to download the Yi Home App on your mobile device. The Yi Home App is available for both Android and iOS devices, making it accessible to a wide range of users.
Follow these simple steps to download the Yi Home App:
- Open the App Store (for iOS users) or Google Play Store (for Android users) on your mobile device.
- Search for “Yi Home” in the search bar.
- Select the official Yi Home App from the search results.
- Tap the “Install” or “Get” button to download and install the app on your device.
Once the Yi Home App has finished downloading and installing, locate the app icon on your device’s home screen and tap on it to open the app.
It’s important to note that the Yi Home App is regularly updated to improve performance and introduce new features. It’s recommended to keep the app updated on your device to ensure compatibility with the latest camera firmware and to benefit from any enhancements or bug fixes released by the developers.
With the Yi Home App successfully downloaded and installed on your mobile device, you are prepared to move on to the next step: creating an account.
Step 4: Creating an Account
In order to fully utilize the features of the Yi Home App and connect your Yi IoT Camera, you will need to create an account. Creating an account ensures that your camera settings, footage, and other important data are securely stored and accessible from any device.
Follow these steps to create an account:
- Open the Yi Home App on your mobile device.
- On the login page, tap on the “Sign Up” or “Create Account” option.
- Enter your email address or phone number in the provided field.
- Create a strong and unique password for your account.
- Complete any additional information requested, such as your name or profile picture (optional).
- Review the terms of service and privacy policy, then accept them to proceed.
- Tap the “Sign Up” or “Create Account” button to finalize the process.
Once your account has been successfully created, you will have access to the full functionality of the Yi Home App. It’s important to remember your login credentials and keep them secure to protect the privacy and security of your camera and account.
In case you already have an existing Yi Home account, simply log in using your credentials to access your account and proceed to the next step.
With your Yi Home account set up and ready to use, you’re now one step closer to connecting your Yi IoT Camera.
Step 5: Adding the Camera to the App
Now that you have created your Yi Home account, it’s time to add your Yi IoT Camera to the app. This will enable you to control and monitor your camera directly from your mobile device.
To add your camera to the Yi Home App, follow these steps:
- Open the Yi Home App on your mobile device.
- Log in to your Yi Home account using your email address or phone number and password.
- Tap on the plus sign (+) or “Add Device” button.
- Select “Camera” as the device type.
- Follow the on-screen instructions to put your camera into pairing mode.
- Wait for the app to detect your camera.
- Once your camera is detected, select it from the list of available devices.
- Follow any additional prompts to complete the pairing process.
During the pairing process, you may be asked to enter additional information such as the camera’s serial number or QR code. This information is typically found on the camera itself or in the user manual.
After successfully adding your camera to the app, you will be able to access its live feed, customize settings, and control various features directly from your mobile device. You can add multiple cameras to the Yi Home App if you have more than one camera set up in your space.
Congratulations! You have now added your Yi IoT Camera to the Yi Home App. The next step is to connect the camera to your Wi-Fi network.
Step 6: Connecting the Camera to Wi-Fi
Now that you have successfully added your Yi IoT Camera to the Yi Home App, it’s time to connect the camera to your Wi-Fi network. This step is crucial as it allows you to access the camera remotely and receive real-time notifications on your mobile device.
Follow these steps to connect your camera to Wi-Fi:
- Ensure that your mobile device is connected to the Wi-Fi network you wish to connect your camera to.
- Open the Yi Home App on your mobile device.
- From the app’s home screen, select the camera you want to connect to Wi-Fi.
- Tap on the settings icon or “Device Settings” option for the selected camera.
- Select the “Wi-Fi Settings” or “Network Settings” option.
- Choose your Wi-Fi network from the list of available networks.
- Enter the network password if prompted and click “Connect” or “Join”.
- Wait for the camera to connect to the Wi-Fi network, which may take a few moments.
- Once connected, the camera’s status should change to indicate a successful connection.
It’s important to ensure that your Wi-Fi network is stable and provides sufficient signal strength in the area where you plan on placing your Yi IoT Camera. A weak or unstable Wi-Fi connection may result in intermittent camera feed or disconnections.
Now that your camera is connected to your Wi-Fi network, you can proceed to the next step: positioning the camera.
Step 7: Positioning the Camera
Now that your Yi IoT Camera is connected to your Wi-Fi network, it’s time to find the perfect spot to position it. Proper camera placement is essential for ensuring optimal coverage and capturing the desired areas or angles.
Consider the following tips when positioning your camera:
- Choose a location that provides a clear line of sight to the area you want to monitor. Avoid obstructions such as walls, furniture, or plants that could block the camera’s view.
- Mount the camera securely using the included mounting bracket and screws. Make sure the camera is stable and positioned at the desired angle.
- Place the camera at a suitable height, taking into account the specific purpose of monitoring (e.g., home security, baby monitoring) and the field of view you want to capture.
- Consider the lighting conditions in the area. Ensure that the camera is not directly facing bright lights or windows, as this can affect the image quality.
- If you’re using multiple cameras, strategically position them to effectively cover different areas of your home or space.
It’s recommended to test the camera’s view and adjust the positioning as needed. Check the live feed on the Yi Home App to ensure that the camera captures the desired areas and provides clear visuals.
Remember to periodically check the positioning of your camera, especially if you make changes to your space or if you experience any issues with the camera’s view or coverage.
With your camera properly positioned, you can now move on to the final step: exploring the camera’s features.
Step 8: Exploring the Camera’s Features
Now that your Yi IoT Camera is set up and positioned, it’s time to delve into its features and make the most out of your investment. The Yi Home App offers a range of functionalities to enhance your camera’s performance and provide you with a seamless monitoring experience.
Here are some key features you can explore:
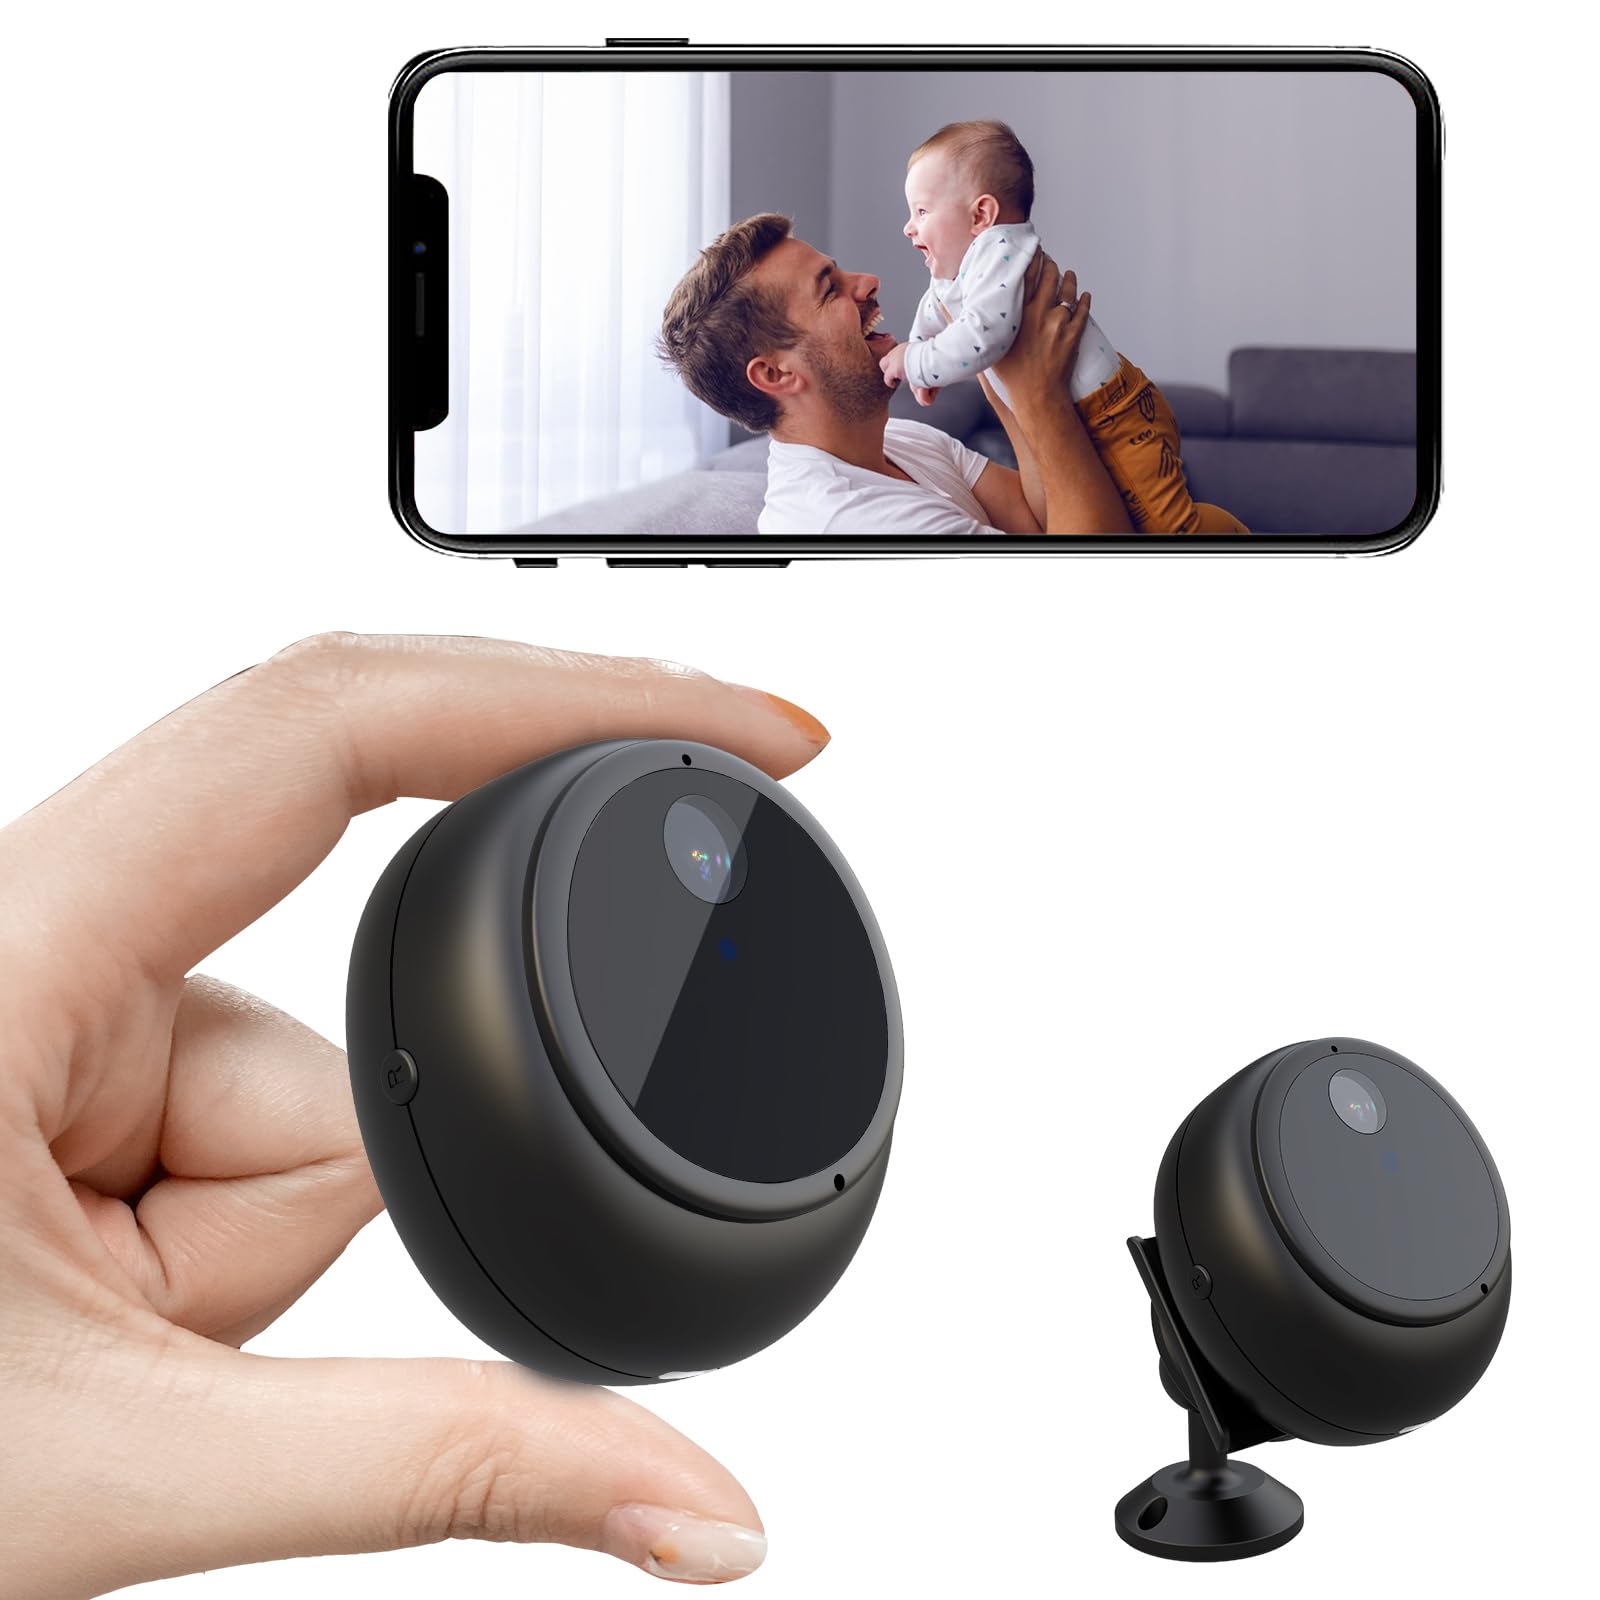
- Live View: Access the live feed from your camera anytime, anywhere through the Yi Home App. Monitor your space in real-time and ensure everything is secure.
- Two-Way Audio: Utilize the built-in microphone and speaker to communicate with individuals near the camera. This feature is particularly useful for home security or for checking in on pets or loved ones.
- Motion Detection: Enable motion detection to receive instant alerts on your mobile device whenever the camera detects movement. Customize the sensitivity settings to reduce false alarms.
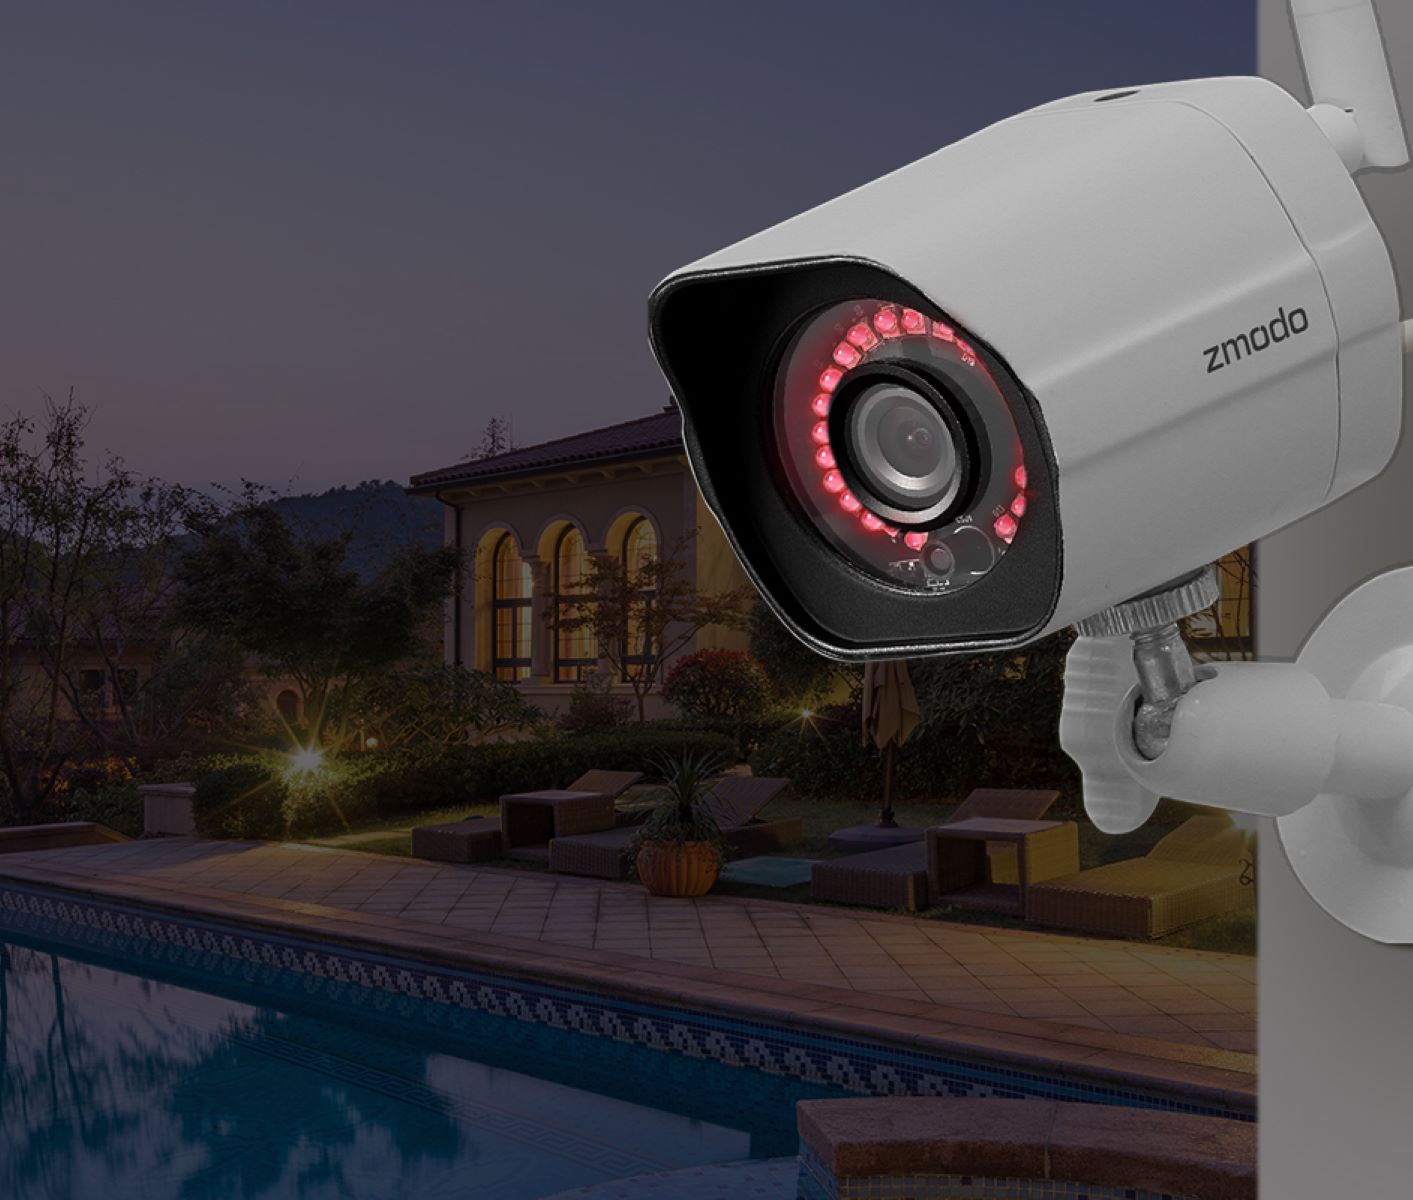
- Night Vision: Take advantage of the camera’s night vision capability, allowing you to monitor your space even in low-light or dark conditions.
- Cloud Storage: Consider subscribing to a cloud storage plan offered by Yi Technology. This allows you to store and access recorded footage securely in the cloud, providing an extra layer of protection.
- Smart Home Integration: Explore the compatibility of your Yi IoT Camera with other smart home devices. Connect it with voice assistants like Amazon Alexa or Google Assistant for hands-free control.
Take your time to navigate through the Yi Home App and familiarize yourself with the different settings and options available to you. Experiment with various features to find the combination that best suits your needs and preferences.
It’s worth noting that Yi Technology regularly updates the firmware and adds new features to enhance the performance and capabilities of their cameras. Keep an eye out for any updates and take advantage of the latest advancements.
With a thorough understanding of your Yi IoT Camera’s features, you are now well-equipped to enjoy the convenience and security it brings to your home or space.
Conclusion
Congratulations! You have successfully connected your Yi IoT Camera and explored its various features. By following the step-by-step guide provided in this article, you have taken the necessary steps to ensure seamless monitoring and enhanced security in your home or space.
Remember, the Yi IoT Camera offers you the flexibility to monitor your space remotely, access the live feed, receive instant alerts, and communicate through two-way audio. Take advantage of these features to stay connected and in control at all times.
As you continue to use your Yi IoT Camera, consider periodically reviewing and adjusting its settings to optimize performance based on your specific needs. Check for any software updates or new firmware releases from Yi Technology to ensure that your camera remains up to date with the latest enhancements and features.
Whether you’re using the camera for home security, pet monitoring, or simply for peace of mind, the Yi IoT Camera offers a reliable and user-friendly solution. It’s important to maintain the camera’s positioning, ensure a stable Wi-Fi connection, and regularly review the footage for any suspicious activity.
We hope that this guide has been helpful in assisting you with setting up and connecting your Yi IoT Camera. If you encounter any issues or have further questions, refer to the user manual or visit the official Yi Technology website for additional support.
Enjoy the peace of mind that comes with knowing you can monitor your space anytime, anywhere with the Yi IoT Camera. Stay connected and keep your surroundings secure!