Introduction
Welcome to the world of wireless connectivity! Setting up a wireless router is a crucial step towards enjoying the convenience and flexibility of a wireless network. Whether you’re upgrading your existing network or venturing into the realm of wireless for the first time, this guide will provide you with step-by-step instructions to get your wireless router up and running.
A wireless router serves as the central hub for your home or office network, allowing multiple devices to connect to the internet wirelessly. Gone are the days of being tethered to a cable or Ethernet connection – with a wireless router, you can enjoy internet access from anywhere within range of your network.
Not only does a wireless router eliminate the need for inconvenient and unsightly cables, but it also enables you to connect a variety of devices, including laptops, smartphones, tablets, gaming consoles, and smart home devices. Whether you’re streaming your favorite movies, playing online games, or conducting video conferences, a wireless router provides the connectivity and freedom you need.
Setting up a wireless router may sound like a daunting task, but fear not – it’s simpler than you might think. This guide will walk you through each step of the process, from gathering the necessary equipment to connecting your devices to the wireless network.
Before we dive into the setup process, let’s first make sure you have all the equipment you’ll need:
Step 1: Gather the necessary equipment
Before you begin setting up your wireless router, it’s important to ensure that you have all the necessary equipment on hand. This will help streamline the setup process and prevent any unnecessary delays. Here’s what you’ll need:
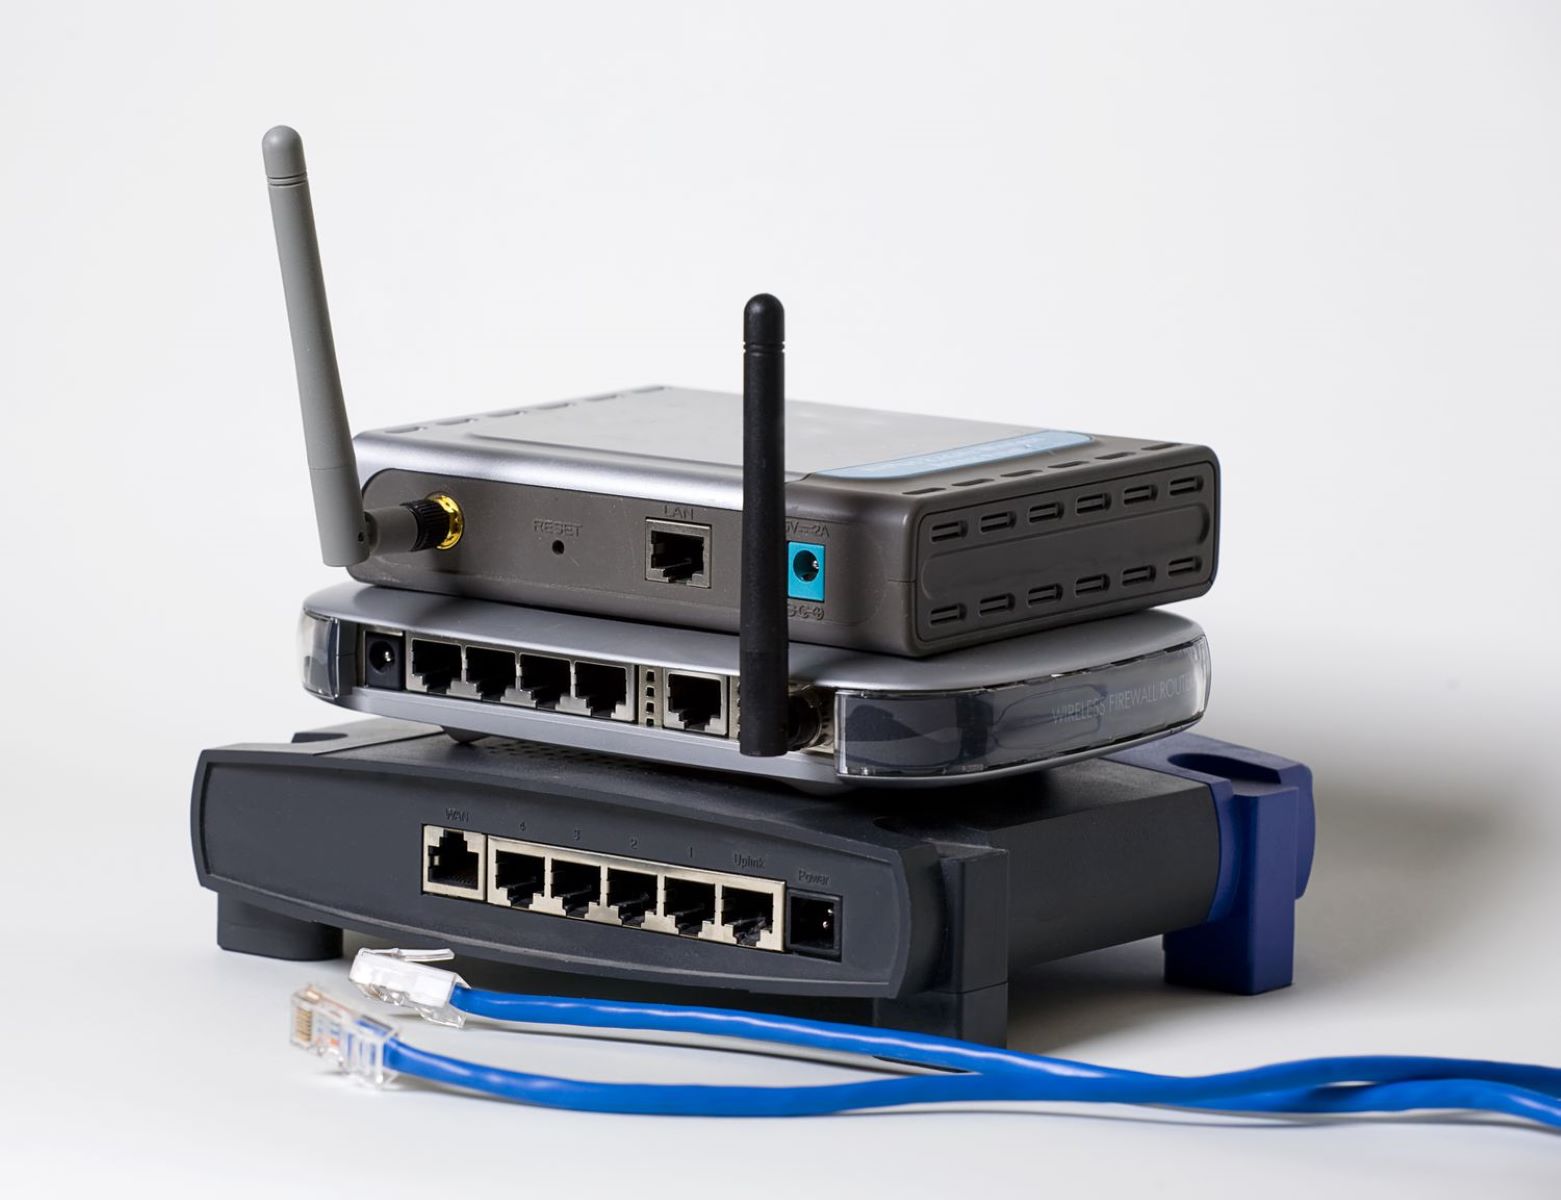
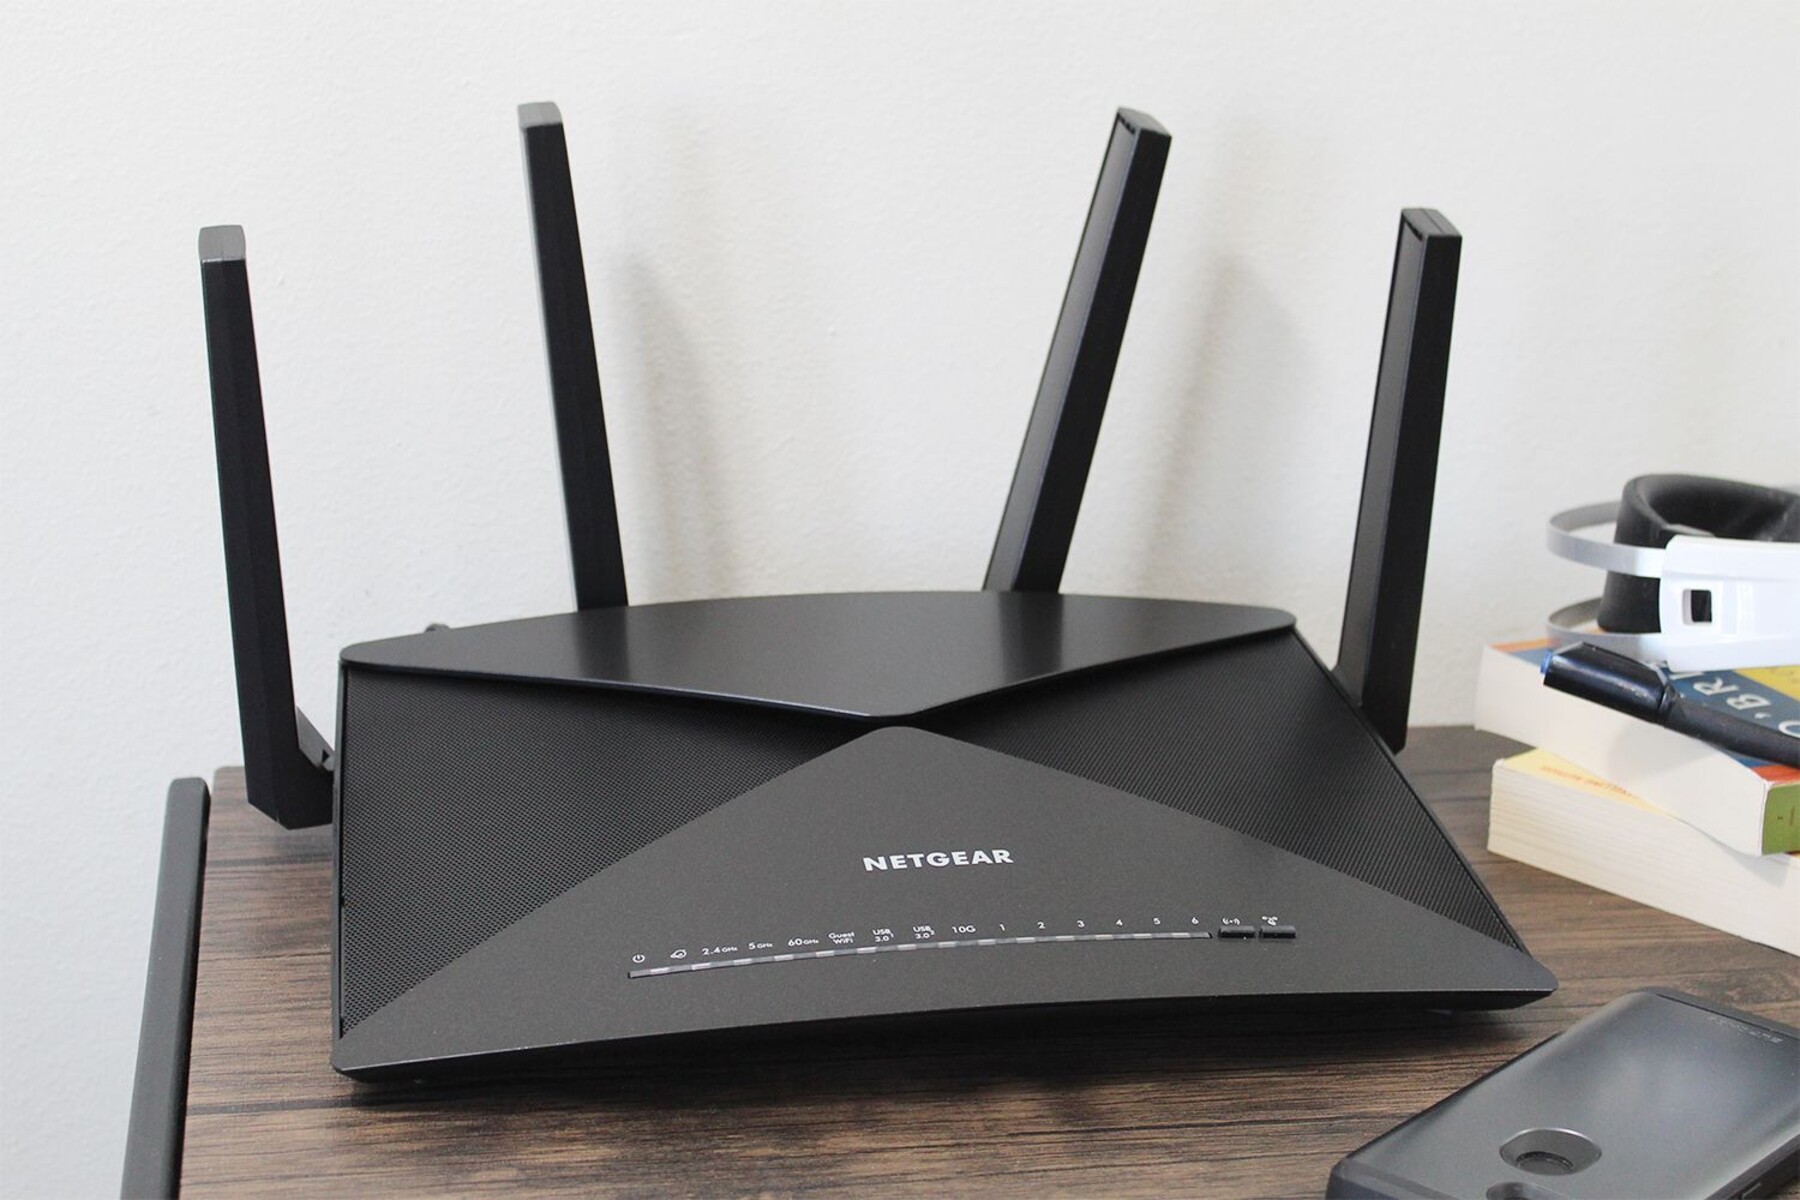
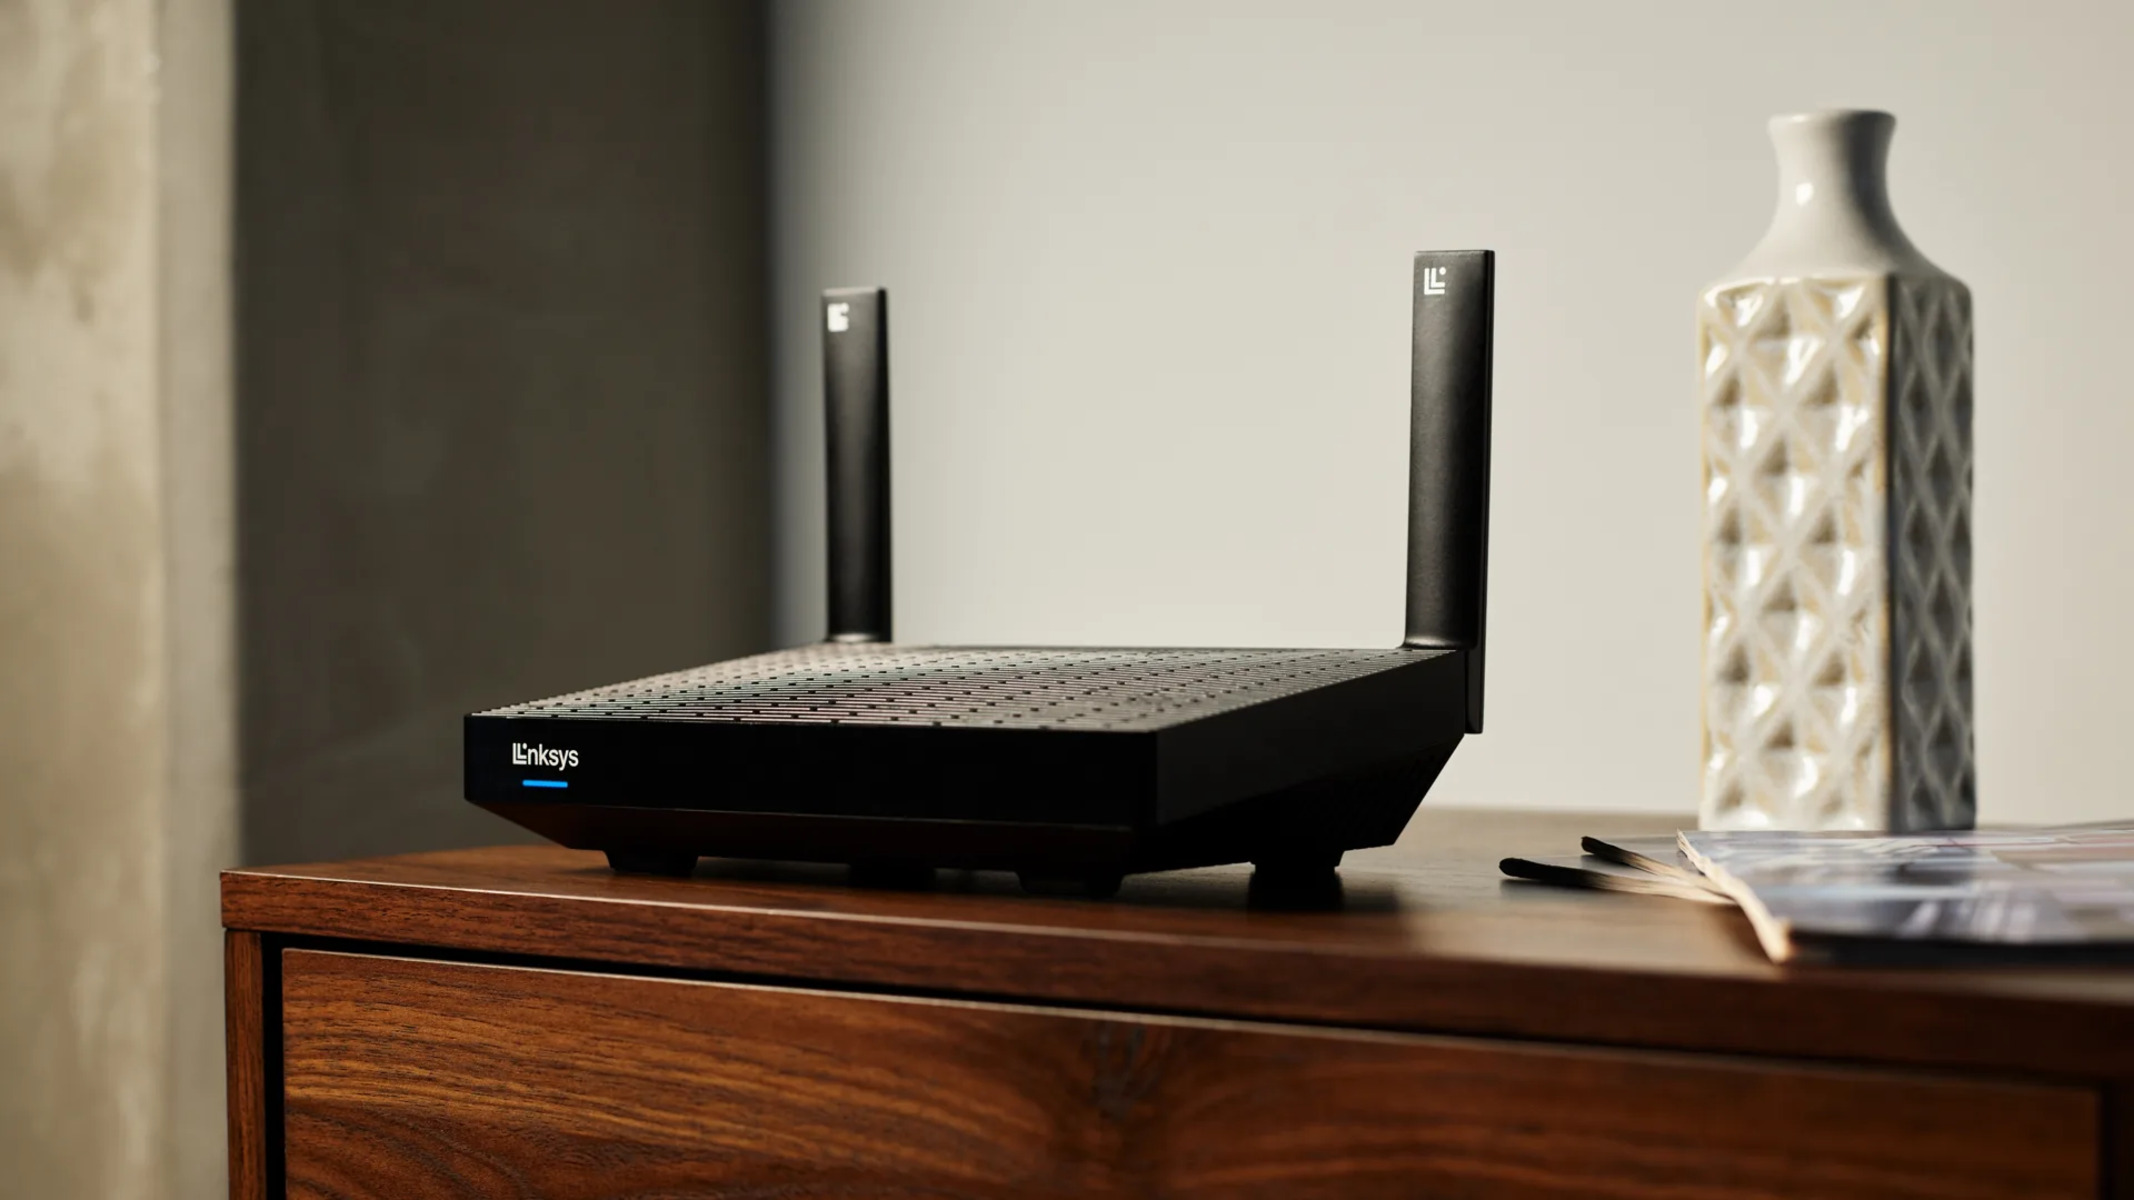
- Wireless router: The heart of your wireless network, the wireless router is responsible for transmitting the internet signal wirelessly to your devices. Make sure you choose a router that supports the latest wireless standards, such as 802.11ac or 802.11ax, for optimal performance.
- Modem: The modem is the device that connects your network to the internet service provider (ISP). It’s important to have a modem that is compatible with your ISP’s network technology. If you’re not sure about compatibility, contact your ISP for assistance.
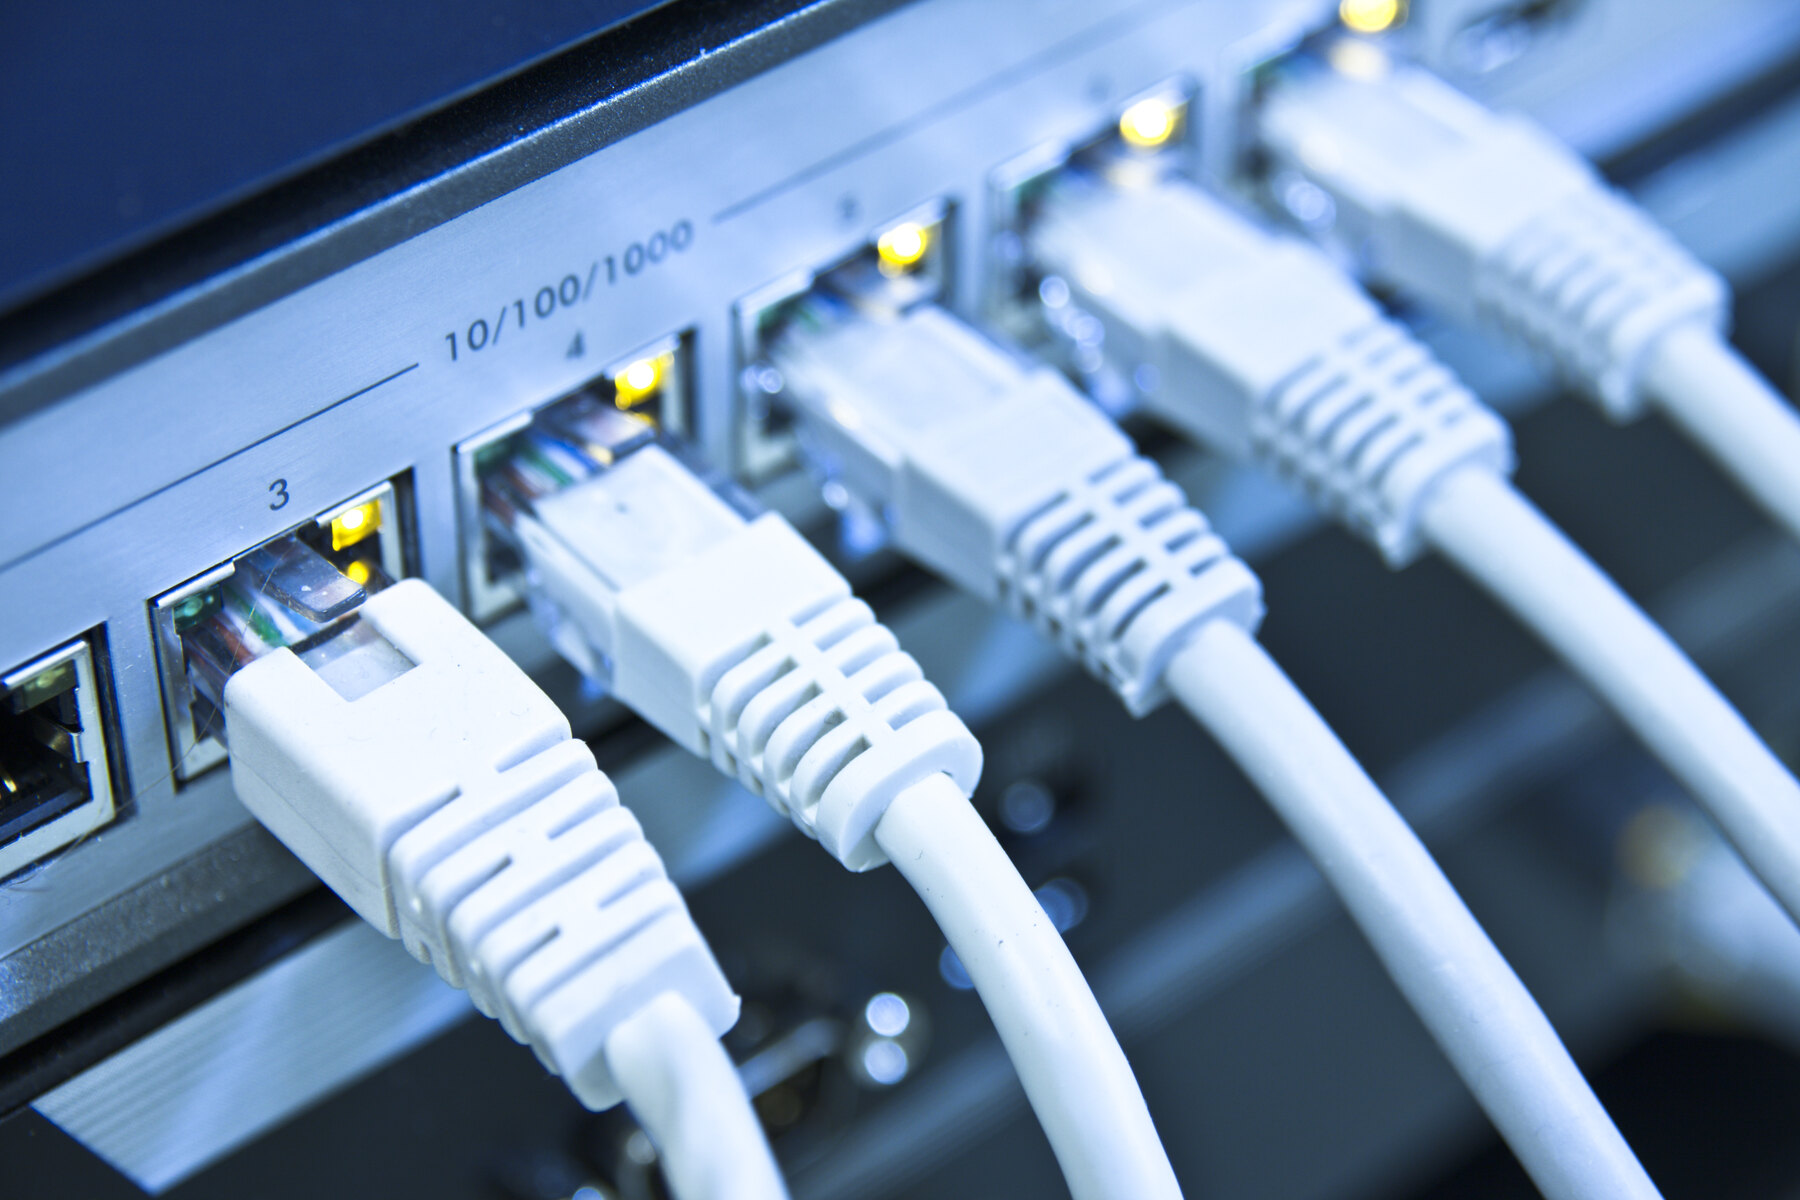
- Ethernet cables: You’ll need at least one Ethernet cable to connect the router to your modem during the initial setup process. It’s a good idea to have a few extra cables on hand in case you need them for future troubleshooting or device connections.
- Power adapter: The wireless router will require a power source, so make sure you have the appropriate power adapter that comes with the router. Double-check the voltage requirements to ensure compatibility with your electrical outlets.
- Computer or mobile device: To access the router’s settings and configure the wireless network, you’ll need a computer or mobile device with a web browser. Most modern routers can be set up through a user-friendly web interface, eliminating the need for complex software installations.
- Network information: Keep your network information handy, including the network name (SSID) and password. If you’re setting up a new network, choose a unique and memorable SSID and a strong, secure password to protect your network from unauthorized access.
Once you’ve gathered all the necessary equipment, you’re ready to move on to the next step: choosing the optimal location for your wireless router.
Step 2: Choose the optimal location for your wireless router
The location of your wireless router can greatly impact the performance and coverage of your wireless network. It’s important to choose a spot that allows for optimal signal strength and minimizes interference. Here are a few things to consider when selecting the location for your wireless router:
- Central and elevated position: Place your router in a central area of your home or office to ensure even coverage throughout the space. An elevated position, such as a shelf or desk, can also help improve signal strength and range.
- Away from obstructions: Keep your wireless router away from obstructions such as walls, furniture, and large appliances. These can interfere with the wireless signal and reduce performance. If possible, position the router in a clear line of sight with the devices you’ll be connecting to it.
- Avoid interference: Certain household devices, such as cordless phones, microwaves, and baby monitors, can interfere with the wireless signal. Keep your router away from these devices to minimize interference. Additionally, if you have multiple wireless routers in close proximity, make sure they are set to different channels to avoid congestion.
- Temperature considerations: Wireless routers generate heat, so it’s important to place them in a well-ventilated area to prevent overheating. Avoid placing the router in enclosed spaces or near heat-generating appliances.
Once you’ve found the ideal location for your wireless router, you can move on to the next step: connecting the router to your modem.
Step 3: Connect the router to your modem
Now that you’ve chosen the optimal location for your wireless router, it’s time to connect it to your modem. The router acts as a bridge between your modem and your devices, allowing them to access the internet wirelessly. Follow these steps to connect your router to the modem:
- Power off your modem: Before making any connections, power off your modem by unplugging it from the power outlet. This ensures that the connection is not disrupted during the setup process.
- Disconnect your computer from the modem: If your computer or laptop is connected to the modem via Ethernet cable, disconnect it to avoid any conflicts during the setup process.
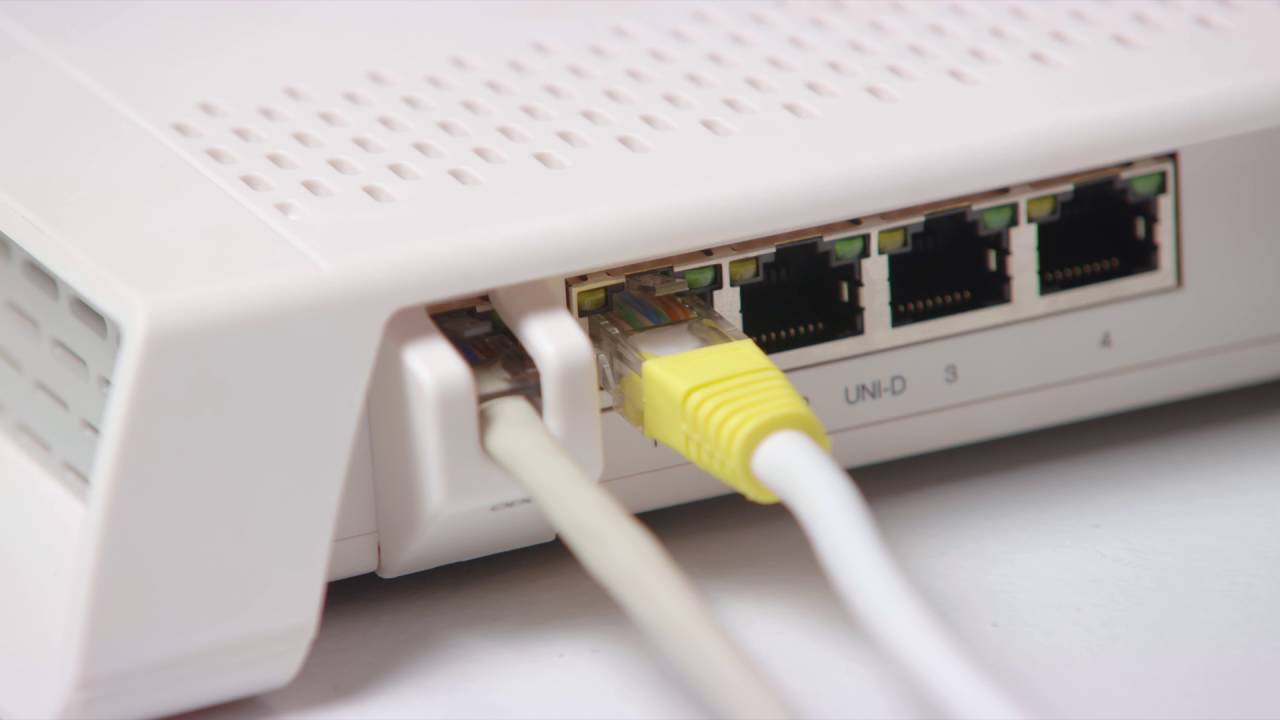
- Take an Ethernet cable: Grab one end of the Ethernet cable and connect it to the Ethernet port on the back of your modem. Make sure the connection is secure.
- Connect the other end to the router: Take the other end of the Ethernet cable and connect it to the WAN or internet port on the back of your wireless router. This port is usually labeled and may be a different color from the other ports.
- Power on the modem: Plug the power adapter of your modem back into the power outlet and power it on. Wait for a few minutes until the modem fully boots up. This process may vary depending on your specific modem model.
- Power on the router: Plug the power adapter of your wireless router into a power outlet and power it on. Wait for a few minutes for the router to boot up. It may take a bit longer during the initial setup.
Once you’ve connected the router to your modem and powered them both on, they should start communicating with each other. The next step is to access the router’s settings through a web browser.
Step 4: Power up the router and modem
After connecting your wireless router to the modem, it’s time to power them both on. This step ensures that they are ready to communicate with each other and provide internet access to your devices. Follow these instructions to power up your router and modem:
- Modem: Locate the power cable of your modem and plug it into a power outlet. Make sure the power socket is switched on.
- Router: Connect the power adapter of your router to a power outlet. Ensure that the power socket is switched on.
- Wait for the devices to boot up: After powering on the modem and router, allow them some time to boot up and establish a connection. This can take a minute or two, so be patient.
- Check the status lights: Keep an eye on the status lights on both the modem and router. These lights indicate various functions and connectivity status. Wait for the lights to stabilize, which means they have successfully established a connection.
- Verify the internet connection: Once the power and status lights have stabilized on both the modem and router, check the internet connection on your computer or connected devices. Try opening a web browser and loading a website to ensure that you have a working internet connection.
If you encounter any issues with the power-up process or if the status lights on your devices don’t stabilize, try power cycling both the modem and router. This involves turning them off, waiting for a minute, and then turning them back on. This can help resolve any temporary glitches or connectivity problems.
Once you’ve successfully powered up the router and modem, it’s time to access the router’s settings through a web browser to continue with the setup process.
Step 5: Access the router’s settings through a web browser
After powering up your router and modem, the next step is to access the router’s settings through a web browser. This will allow you to configure and customize various aspects of your wireless network. Follow these steps to access the router’s settings:
- Ensure your computer or device is connected to the router: Make sure your computer or device is connected to the wireless network of the router either through a wired Ethernet connection or via Wi-Fi.
- Open a web browser: Launch your preferred web browser, such as Chrome, Firefox, or Safari.
- Enter the router’s IP address: In the address bar of your web browser, type in the IP address of your router. The default IP address is usually “192.168.1.1” or “192.168.0.1”. If you’re unsure, refer to the documentation that came with your router or check the manufacturer’s website for the specific IP address.
- Press Enter: Once you’ve entered the IP address, press Enter or Return on your keyboard. This will initiate a connection to the router’s web-based interface.
- Enter the login credentials: You will be prompted to enter the login credentials to access the router’s settings. The default username and password are typically provided in the router’s documentation. If you’ve changed the login information before, use the updated credentials. If you can’t remember the login details, you may need to reset the router to its factory settings.
- Explore the router’s settings: Once you’ve successfully logged into the router’s web interface, you can explore the various settings and options available. This includes setting up your wireless network name (SSID), password, and other advanced features such as port forwarding, parental controls, and guest networks.
It’s important to note that the router’s web interface may vary depending on the brand and model of your router. However, most routers provide a user-friendly interface that allows you to navigate and configure the settings easily.
Now that you’ve accessed the router’s settings, you’re ready to move on to the next step: setting up a wireless network name (SSID) and password.
Step 6: Set up a wireless network name (SSID) and password
Setting up a wireless network name (SSID) and password is an essential step to secure your wireless network and ensure that only authorized devices can connect. Follow these steps to set up your wireless network name and password:
- Access the router’s settings: As mentioned in the previous step, access your router’s web interface through a web browser using the router’s IP address and login credentials.
- Navigate to the wireless settings: Within the router’s settings, find the section or tab related to wireless settings. It may be labeled as “Wireless,” “Wireless Settings,” or something similar.
- Locate the SSID field: In the wireless settings, you’ll find a field labeled “SSID” or “Network Name.” This is where you can set the name for your wireless network. Choose a unique and identifiable name that is easy to remember.
- Set your network password: Look for the field labeled “Password” or “Security Key.” This is where you can set a password for your wireless network. Choose a strong password that combines a mix of uppercase and lowercase letters, numbers, and special characters. This will help protect your network from unauthorized access.
- Save or apply the settings: After entering the desired network name and password, save or apply the settings within the router’s web interface. This will update the configuration of your wireless network.
It’s important to note that the process of setting up an SSID and password may vary slightly depending on the brand and model of your router. Some routers may offer additional security options, such as WPA2 encryption or guest network capabilities. Take the time to explore the settings and choose the options that best fit your needs.
Once you’ve set up your wireless network name and password, you’re one step closer to enjoying a secure and reliable wireless network. The next step is to customize any advanced settings, if desired.
Step 7: Customize advanced settings (optional)
Customizing advanced settings allows you to tailor your wireless network to your specific needs and preferences. While these settings are optional, they can enhance the performance, security, and functionality of your network. Follow these steps to customize advanced settings on your router:
- Access the router’s settings: Open a web browser and enter the router’s IP address to access the router’s web interface.
- Explore the advanced settings: Within the router’s web interface, navigate to the advanced settings section. This area may be labeled differently depending on your router’s brand and model. Look for options such as “Advanced Settings,” “Advanced Configuration,” or a similar label.
- Configure wireless security: If you want to enhance the security of your wireless network, consider enabling WPA2 encryption, which provides stronger protection against unauthorized access. You can also create a separate guest network to allow visitors to access the internet without compromising the security of your main network.
- Set up port forwarding: Port forwarding allows you to direct incoming internet traffic to specific devices on your network. This is useful for activities such as online gaming, remote access, and running local servers. Specify the necessary ports and the IP addresses of the devices you want to forward the ports to.
- Enable parental controls: If you have children or want to restrict internet access during certain hours, explore the parental control options available on your router. You can set up website filtering, schedule internet access, and block specific devices.
- Update firmware: Check for firmware updates for your router and install them if available. Firmware updates often include bug fixes, performance improvements, and security enhancements.
- Save or apply the settings: After customizing the advanced settings, save or apply the changes within the router’s web interface. Allow the router a few moments to update and apply the new settings.
It’s important to note that not all routers have the same advanced settings, and the options available may vary. Consult the documentation provided with your router or refer to the manufacturer’s website for more information on the specific advanced settings and features available on your router model.
With your advanced settings customized, you’re now ready to connect devices to your wireless network. Let’s move on to the next step.
Step 8: Connect devices to the wireless network
Now that you have set up your wireless network and customized any advanced settings, it’s time to connect your devices and enjoy the wireless freedom. Follow these steps to connect your devices to the wireless network:
- Ensure that Wi-Fi is enabled: On each device you want to connect to the network, make sure that Wi-Fi is turned on. This can usually be done through the device’s settings or by toggling the Wi-Fi button.
- Scan for available networks: On each device, search for available wireless networks. The network list should display the SSID (network name) you set up in a previous step.
- Select your network: From the list of available networks, choose your network’s SSID. If you have multiple networks, make sure to select the correct one.
- Enter the network password: When prompted, enter the network password you set up in a previous step. Ensure that you enter it correctly, paying attention to uppercase and lowercase letters if applicable.
- Connect to the network: After entering the correct password, click or tap on the “Connect” or “Join” button to connect the device to the wireless network.
- Verify the connection: Once connected, the device should display a confirmation message or symbol indicating a successful connection to the network. Test the connection by opening a web browser or using any internet-dependent applications.
- Repeat for other devices: Repeat the above steps for each device you want to connect to the wireless network. This includes laptops, smartphones, tablets, gaming consoles, smart TVs, and any other compatible devices.
It’s important to note that some devices may require additional setup steps, such as installing drivers or configuring network settings. Refer to the documentation or support resources for each device if you encounter any issues during the connection process.
Congratulations! You have successfully connected your devices to the wireless network. Enjoy the freedom and convenience of wireless connectivity throughout your home or office.
Conclusion
Setting up a wireless router may initially seem like a complex and daunting task, but with the right guidance, it can be a straightforward process. By following these step-by-step instructions, you have successfully learned how to set up a wireless router and create a secure and reliable wireless network.
A wireless router opens the door to a world of convenience, allowing you to connect multiple devices to the internet without the hassle of wired connections. Whether you’re streaming movies, working from home, or gaming online, a wireless network provides the flexibility and freedom to stay connected from any corner of your home or office.
Remember to gather all the necessary equipment, choose the optimal location for your router, and connect it to your modem. By accessing the router’s settings through a web browser, you can set up a wireless network name (SSID) and password, as well as customize advanced settings to enhance security and performance.
Lastly, connect your devices to your new wireless network and enjoy the seamless and reliable internet connectivity. With careful consideration of your router’s placement, proper security measures, and periodic firmware updates, you can ensure a smooth and secure wireless network experience.
If you encounter any issues during the setup process or need further assistance, don’t hesitate to refer to your router’s documentation or reach out to customer support. They can provide additional guidance tailored to your specific router model.
Now, go ahead and enjoy the benefits of your newly set up wireless network. Say goodbye to tangled cables and embrace the convenience and freedom of wireless connectivity!


