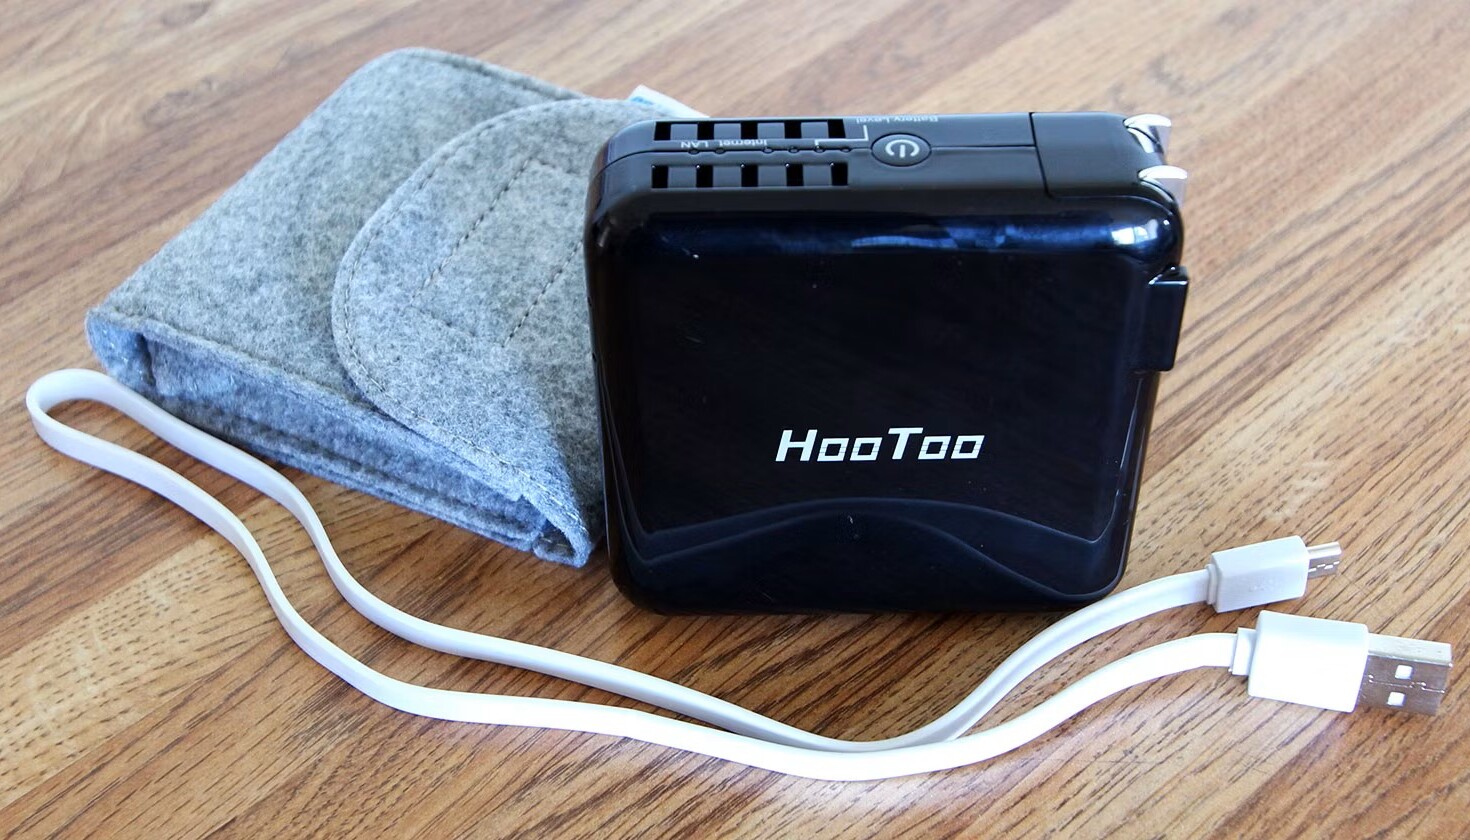
Introduction
Installing a wireless router is essential for setting up a home or office network and enjoying a seamless internet connection. With a wireless router, you can connect multiple devices to the internet wirelessly, eliminating the need for messy cables and allowing you to enjoy internet access from anywhere within the range of your network.
In this guide, we will walk you through the step-by-step process of installing a wireless router. Whether you’re a tech-savvy enthusiast or a complete novice, this guide will help you set up your router quickly and easily.
Before we dive into the installation process, it’s important to ensure that you have all the necessary equipment. You will need a wireless router, a modem, an Ethernet cable, and a device (such as a computer or smartphone) to access the router’s web interface.
Additionally, it’s a good idea to familiarize yourself with the user manual that comes with your router. While this guide will provide the general steps, specific routers may have different setup processes and features.
Now, let’s get started and set up your wireless router to enjoy fast and reliable internet connectivity!
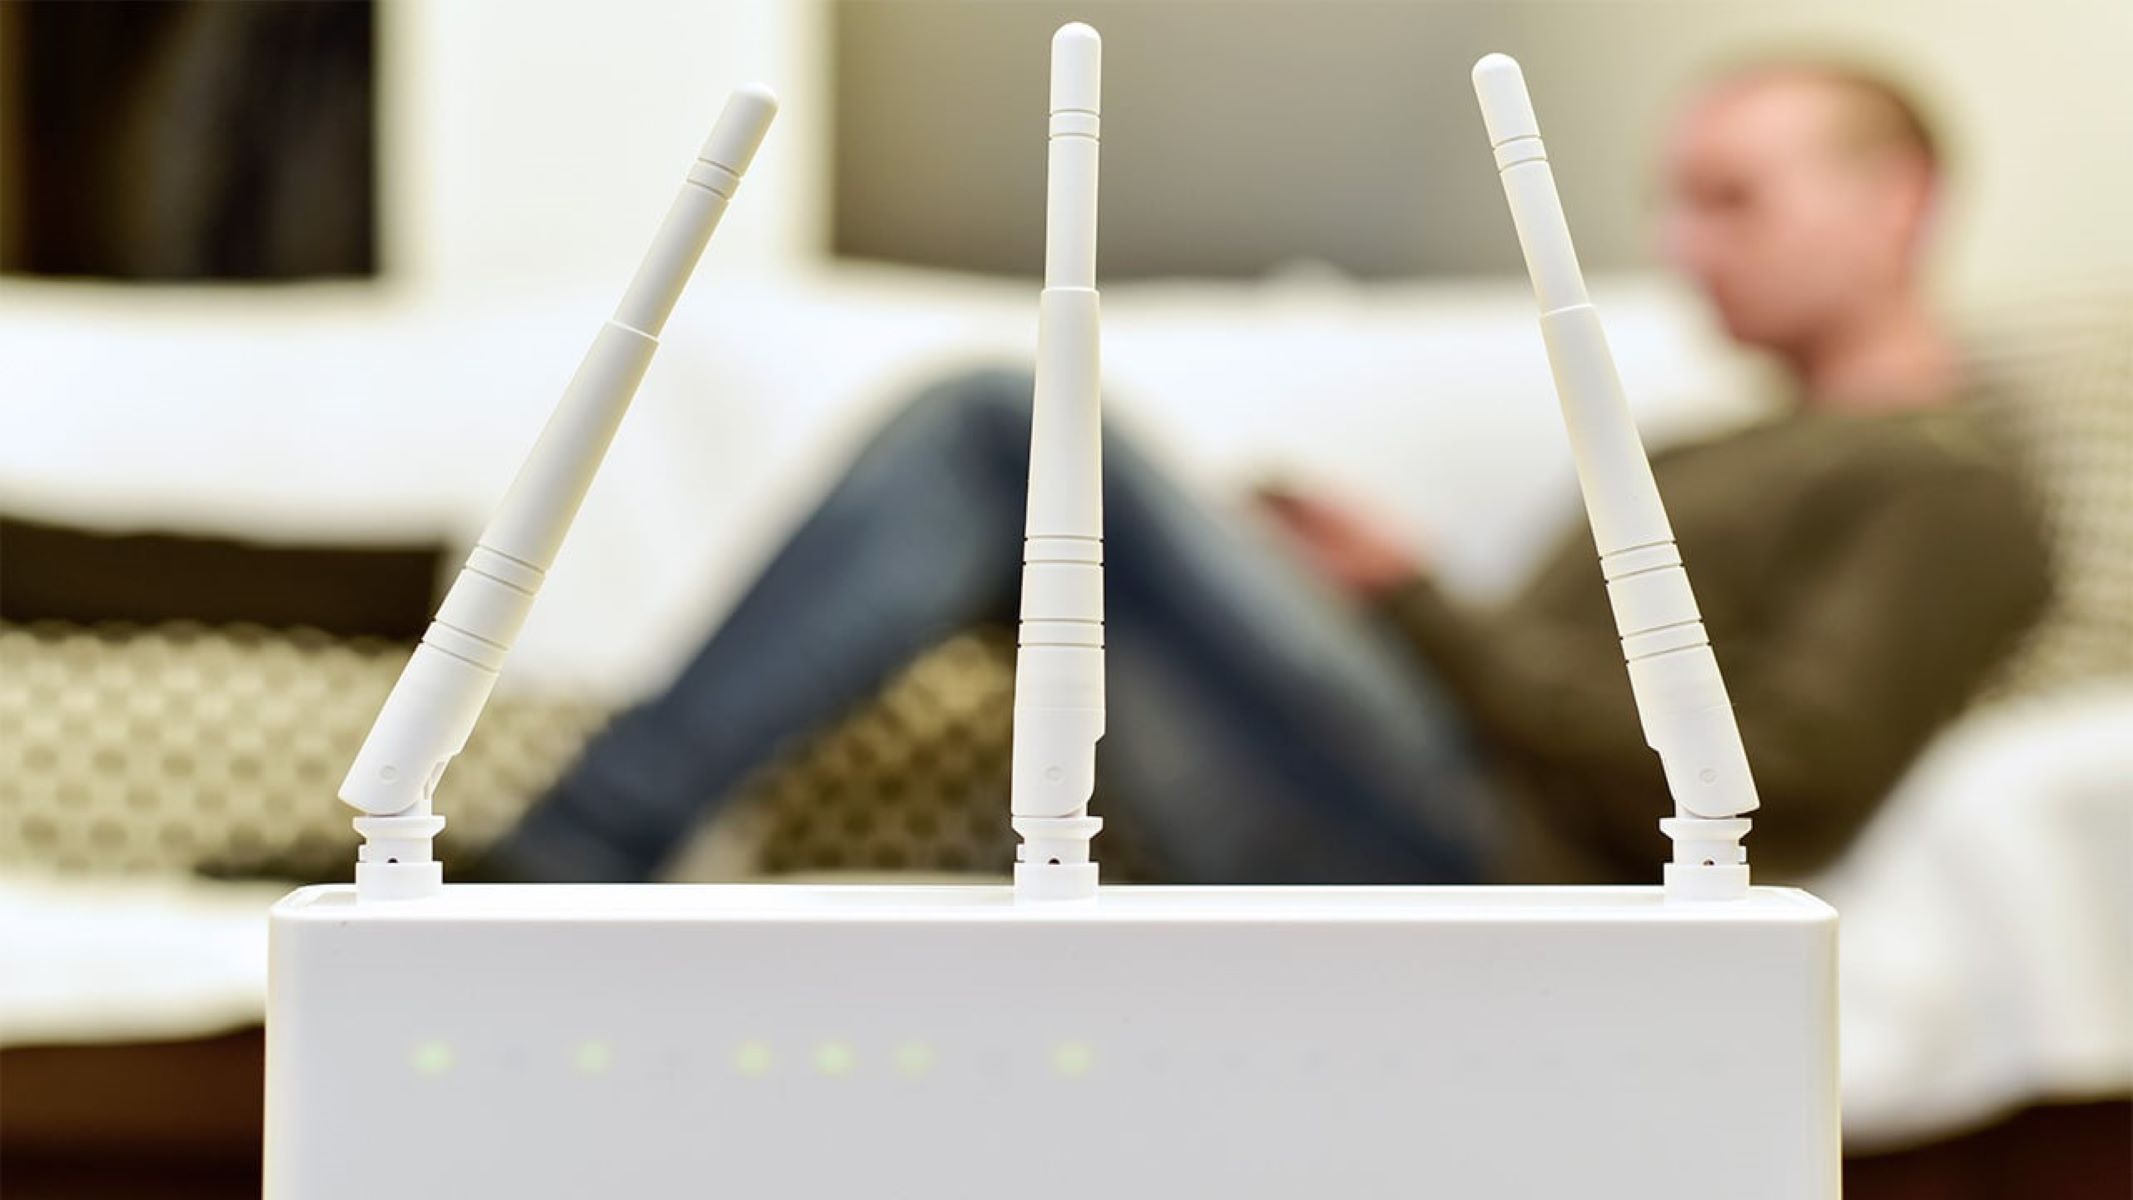
Step 1: Choose a Suitable Location for Your Router
Choosing the right location for your wireless router is crucial for ensuring optimal network performance and coverage. Here are some key considerations to keep in mind:
- Central Location: Place the router in a central location within your home or office. This will help distribute the Wi-Fi signal evenly and provide the best coverage to all areas.
- Avoid Obstructions: Keep the router away from physical obstructions, such as walls, furniture, and appliances. These can interfere with the wireless signal and weaken its strength.
- Away from Interference: Minimize interference by placing the router away from devices that emit electromagnetic waves, such as cordless phones, baby monitors, and microwave ovens.
- Elevated Placement: Position the router at a higher elevation, such as on a shelf or mounted on the wall. This can help improve the signal range and reduce interference from lower-level obstructions.
- Avoid Moisture and Heat: Keep the router away from areas with excessive moisture or heat, such as bathrooms and kitchens. These conditions can damage the router and degrade its performance.
- Proximity to Devices: Consider the location of the devices that will be connected to the wireless network. If you have specific areas where you need a strong signal, position the router closer to those areas.
Take the time to experiment with different locations to find the one that provides the best coverage and signal strength throughout your space. Keep in mind that the ideal location may vary depending on the size and layout of your home or office.
Once you have identified the best location, you can proceed to the next step of connecting your router to your modem.
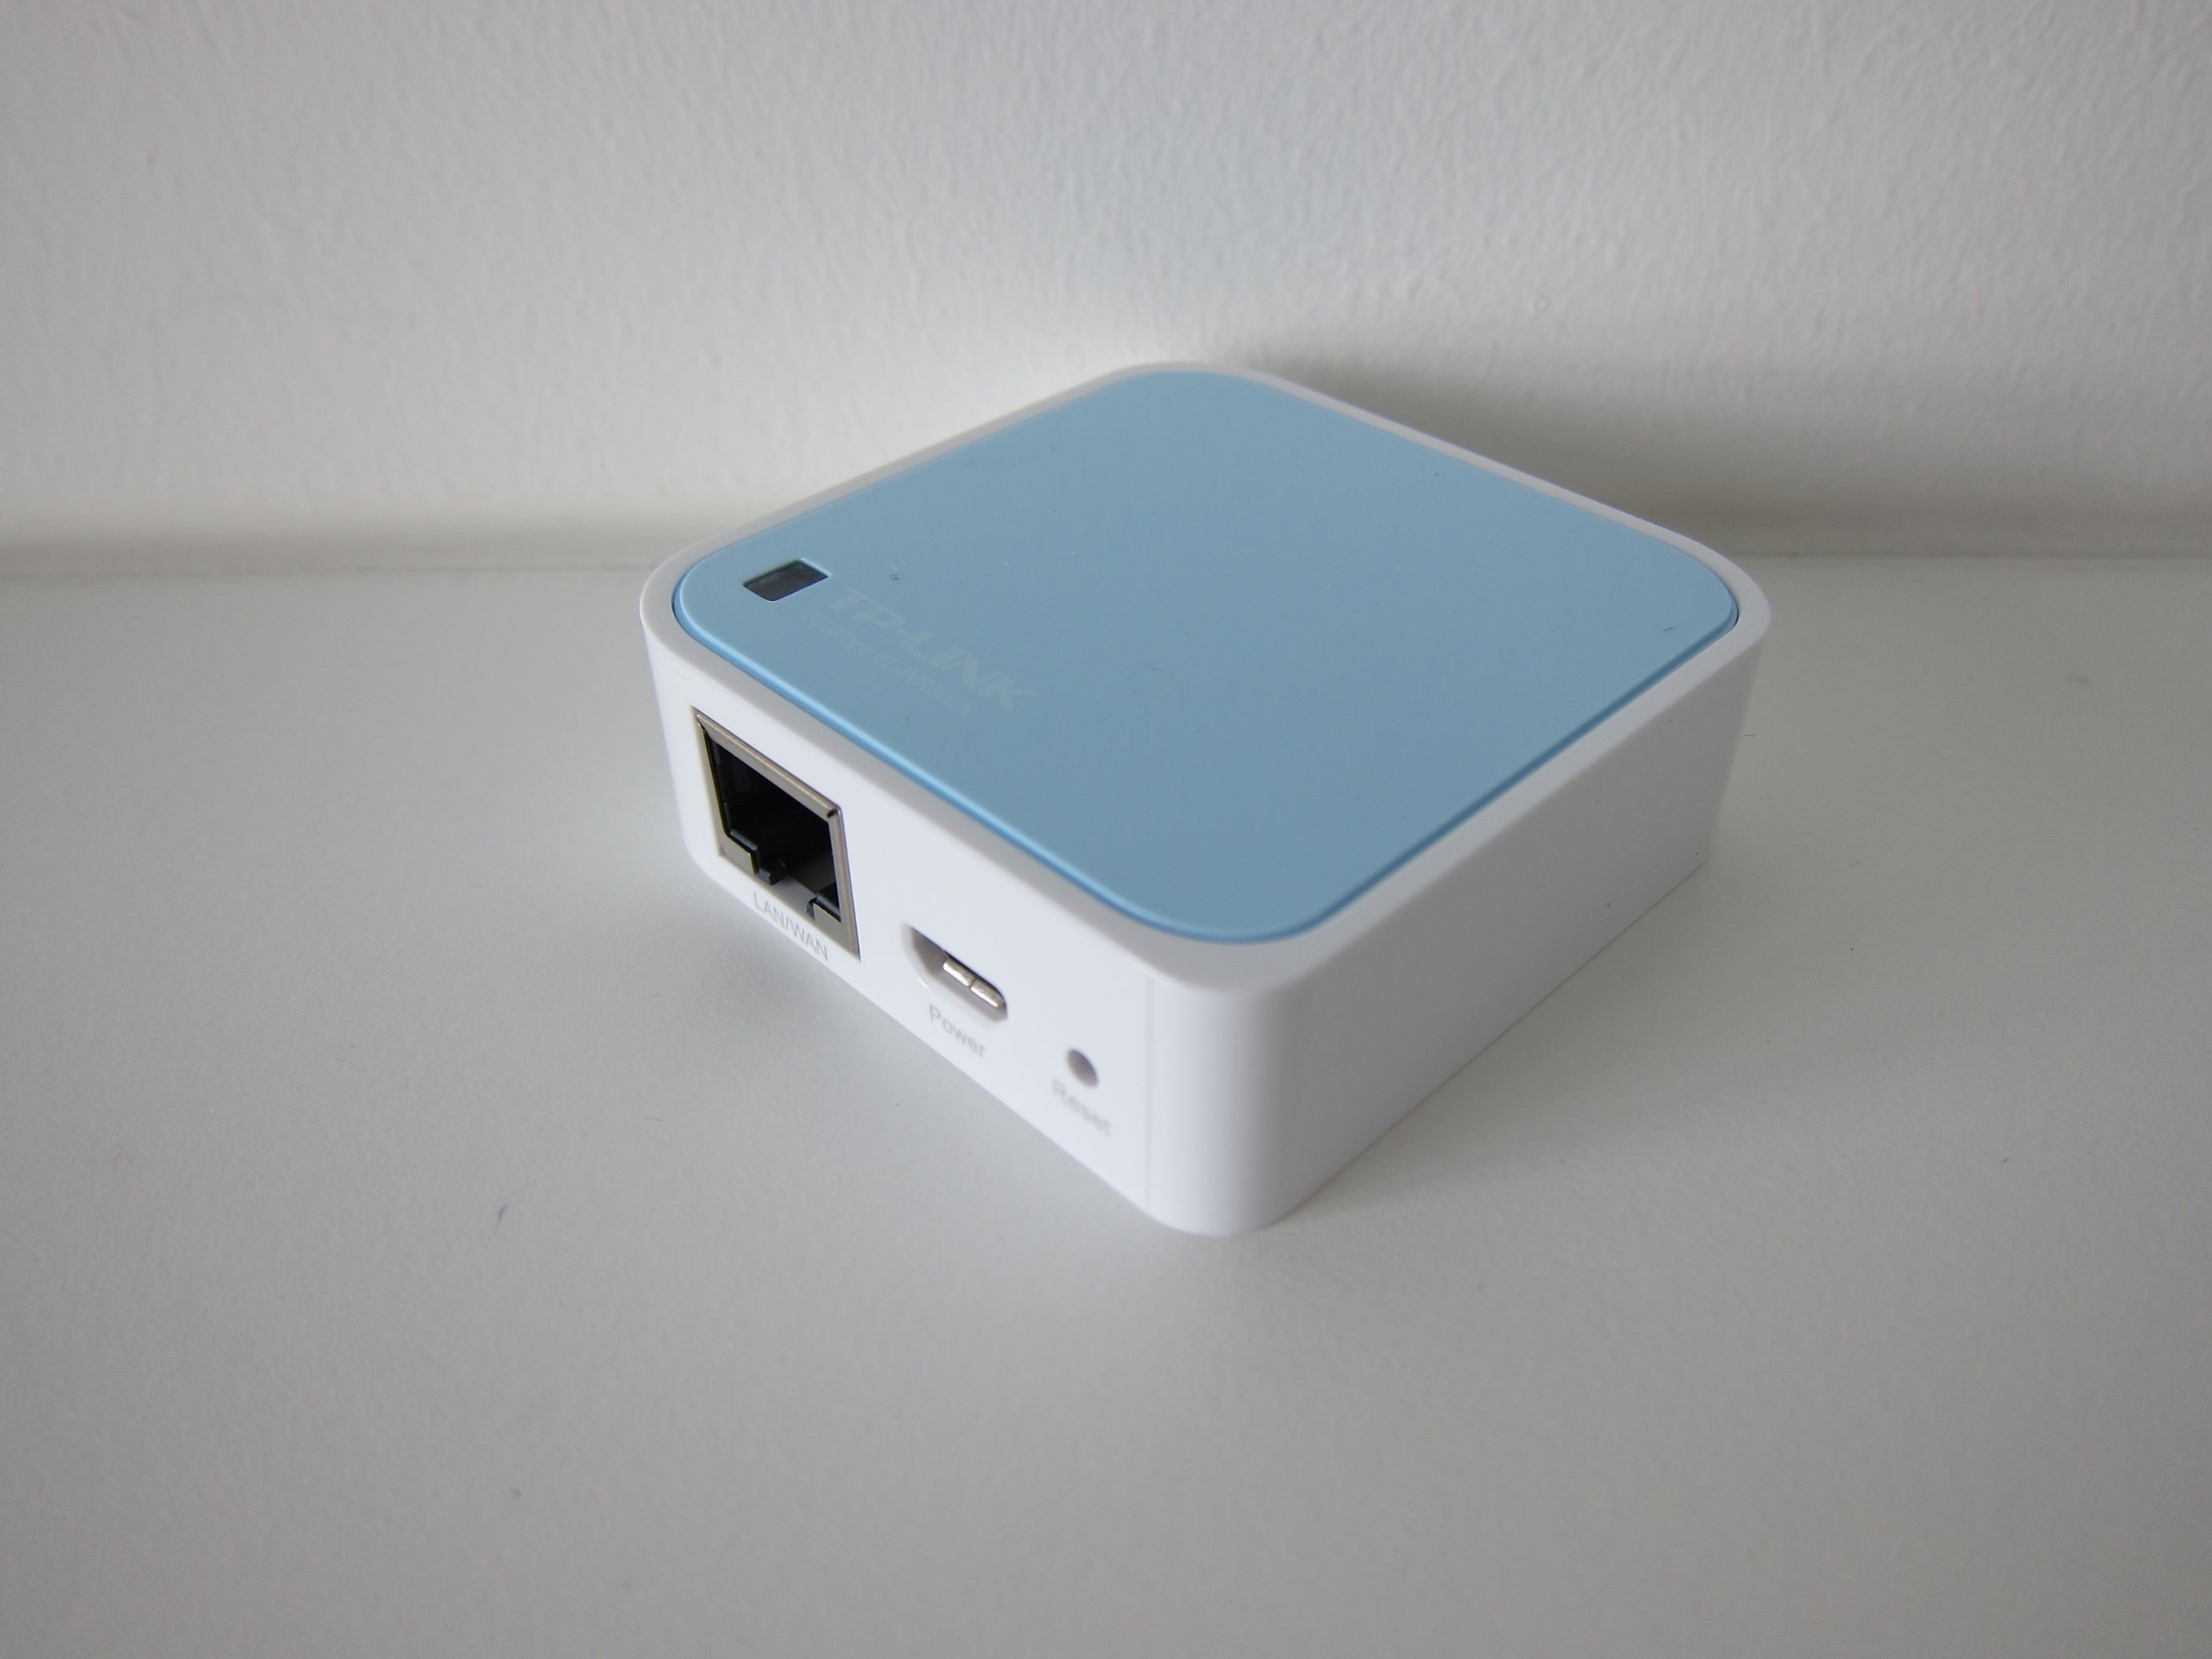
Step 2: Connect the Router to Your Modem
Before you can start enjoying your wireless network, you need to connect your router to your modem. The modem is the device that receives the internet signal from your internet service provider (ISP) and the router is responsible for distributing the signal to all your connected devices.
Follow these steps to connect your router to the modem:
- Power Off: Turn off your modem and unplug it from the power source. This is important to ensure a proper connection and prevent any potential damage.
- Connect the Ethernet Cable: Take one end of the Ethernet cable and plug it into the Ethernet port on the back of your modem. The Ethernet port is usually labeled as “Internet,” “WAN,” or something similar.
- Connect to the Router: Plug the other end of the Ethernet cable into the WAN (wide area network) or Internet port on the back of your router. This port is typically labeled distinctly from the other LAN (local area network) ports.
- Power On: Plug in your modem and wait for it to fully power on. This may take a few minutes. Ensure that the modem has established a stable connection with your ISP.
- Power On the Router: Once the modem is fully connected, plug in your router and wait for it to power on. It may take a couple of minutes for the router to initialize.
After completing these steps, your router should be successfully connected to your modem. The router will now start distributing the internet signal to all your connected devices through its Wi-Fi network.
Now that your router is connected to the modem, you can proceed to the next step of powering up the router and accessing its web interface.
Step 3: Power Up the Router
Now that your router is connected to the modem, it’s time to power it up and start configuring its settings. Follow these steps to properly power up your router:
- Ensure Proper Connections: Double-check that all the necessary cables are securely connected to the router, including the power cable and any Ethernet cables.
- Locate the Power Button: Most routers have a power button located on the back or side. Locate this button and make sure it is in the “Off” or “Power” position.
- Plug in the Power Cable: Connect the power cable to the router’s power input port and plug the other end into a nearby power outlet. Ensure that the power outlet is easily accessible.
- Power On the Router: Press the power button or toggle the switch to the “On” position. The router will start booting up, and the lights on the front panel should start to blink.
- Wait for Initialization: Give the router a few minutes to initialize and establish a stable connection. During this time, avoid moving or unplugging the router to prevent any disruptions.
- Check the LED Lights: Once the router is powered on and initialized, check the LED lights on the front panel. These lights indicate the status of the router’s different functions, such as power, internet connectivity, and Wi-Fi signal.
After powering up the router, it’s essential to ensure that it is functioning properly before proceeding to the next step. Verify that the router’s LED lights are displaying the expected status, indicating a successful power-up and connection.
Now that your router is powered up and ready to go, you can move on to the next step of accessing the router’s web interface to configure its settings.
Step 4: Access the Router’s Web Interface
Once you’ve powered up your router, you’ll need to access its web interface to configure its settings. The web interface is a user-friendly graphical interface that allows you to customize various aspects of your router, such as network settings, security options, and device management.
Follow these steps to access the router’s web interface:
- Connect to the Router: Ensure that your computer or device is connected to the router either via an Ethernet cable or through the Wi-Fi network (if available).
- Open a Web Browser: Launch a web browser on your connected device, such as Chrome, Firefox, or Safari.
- Enter the Router’s IP Address: In the address bar of the web browser, type the IP address of your router. The default IP address is often printed on the router or mentioned in the user manual. Common router IP addresses include 192.168.0.1, 192.168.1.1, or 192.168.2.1.
- Press Enter: After entering the IP address, press Enter to load the router’s web interface.
- Enter Login Credentials: You will be prompted to enter login credentials to access the router’s settings. If you haven’t changed the default login information, consult the router’s user manual or check the manufacturer’s website for the default username and password. It is highly recommended to change the default credentials for enhanced security.
Once you’ve successfully logged into the router’s web interface, you will have access to a range of settings and options that you can customize to meet your specific needs. These settings may include wireless network settings, DHCP configurations, port forwarding, and parental controls.
Remember to save any changes you make in the router’s web interface to ensure they take effect. Consult the router’s user manual or online documentation for further guidance on configuring specific settings.
Now that you have accessed the router’s web interface, you can proceed to the next step of changing the default router password to enhance the security of your network.
Step 5: Change the Default Router Password
When setting up a new router, it is crucial to change the default password to secure your network against unauthorized access. Default passwords are well-known and can make your network vulnerable to potential security threats.
Follow these steps to change the default router password:
- Access the Router’s Web Interface: Ensure that you are logged into the router’s web interface. If you haven’t done so already, refer to Step 4 for instructions on how to access the web interface.
- Locate the Password Settings: In the router’s web interface, navigate to the settings section that pertains to changing the password. This section may be labeled as “Administration,” “Security,” or something similar.
- Enter a New Password: Choose a strong password that is easy for you to remember but difficult for others to guess. An ideal password should include a combination of uppercase and lowercase letters, numbers, and special characters. Aim for a minimum of eight characters.
- Save the Changes: Once you have entered the new password, save the changes within the router’s web interface. This will apply the new password and ensure that it takes effect immediately.
Changing the default router password is an important step in securing your network. By doing so, you significantly reduce the risk of unauthorized access and potential malicious activity.
Remember to keep your new password in a secure place and avoid using easily guessable information, such as your name or address. Regularly changing your password is also a good practice to maintain a high level of security.
Now that you’ve changed the default router password, you can move on to the next step of configuring the wireless network settings.
Step 6: Configure Wireless Network Settings
Configuring the wireless network settings of your router allows you to customize the name of your Wi-Fi network (SSID) and set a password to secure it. Follow these steps to configure the wireless network settings:
- Access the Router’s Web Interface: Make sure you are still logged into the router’s web interface as mentioned in Step 4.
- Navigate to Wireless Settings: Look for the section in the router’s web interface that allows you to configure wireless settings. This section might be labeled as “Wireless,” “Wi-Fi,” or something similar.
- Change the SSID: Enter a unique and easily identifiable name for your Wi-Fi network in the SSID field. Avoid using personal information or any sensitive data in the network name.
- Set a Password: Enable the network security feature and choose a strong password for your Wi-Fi network. As mentioned earlier, a strong password should include a combination of uppercase and lowercase letters, numbers, and special characters.
- Save the Changes: Once you have configured the wireless network settings, make sure to save the changes within the router’s web interface. This will apply the new settings and update your Wi-Fi network accordingly.
Configuring the wireless network settings allows you to personalize your network and protect it from unauthorized access. A strong password ensures that only authorized users can connect to your Wi-Fi network.
Additionally, you may also have the option to adjust advanced settings such as network mode (802.11ac, 802.11n, etc.), channel selection, and signal strength. These settings can fine-tune your network’s performance and stability, depending on your specific needs.
Now that you have configured the wireless network settings, you can move on to the next step of connecting your devices to the Wi-Fi network.
Step 7: Connect Your Devices to the Wireless Network
Now that your wireless network is configured and secured, it’s time to connect your devices and start enjoying a wireless internet connection. Follow these steps to connect your devices to the wireless network:
- Locate the Wi-Fi Icon: On your device, locate the Wi-Fi icon in the system tray or settings menu. This icon may look like a series of curved lines or it may be labeled with “Wi-Fi.”
- Open the Wi-Fi Settings: Tap or click on the Wi-Fi icon to open the Wi-Fi settings on your device.
- Find Your Network: In the list of available Wi-Fi networks, locate the SSID (name) of your wireless network. It should be the same as the one you set in Step 6.
- Connect to Your Network: Select your Wi-Fi network from the list and, if prompted, enter the password you set during the configuration process. Ensure that you enter the password correctly to establish a successful connection.
- Wait for Connection: Your device will attempt to connect to the wireless network. Once the connection is established, the Wi-Fi icon on your device should change to indicate a successful connection.
- Test the Connection: Open a web browser or any internet-dependent application to test the connection. If you can access websites or use online services smoothly, it means that you have successfully connected your device to the wireless network.
Repeat these steps for each device you want to connect to your wireless network, such as smartphones, tablets, laptops, or gaming consoles.
Note that some devices may have slightly different steps to connect to a Wi-Fi network. Refer to the device’s user manual or the manufacturer’s website for specific instructions if needed.
Now that your devices are connected to your wireless network, you can enjoy the freedom and convenience of wireless internet access throughout your home or office.
Step 8: Secure Your Wireless Network
Securing your wireless network is essential to protect your data and prevent unauthorized access. Follow these steps to enhance the security of your wireless network:
- Change the Default Network Name (SSID): Consider changing the default network name (SSID) to something unique that does not reveal personal information. This will make it harder for potential attackers to identify your network.
- Enable Network Encryption: Ensure that your network is using encryption to scramble the data transmitted over your Wi-Fi network. The most common encryption protocols are WPA2 (Wi-Fi Protected Access 2) and WPA3. Avoid using outdated and less secure encryption protocols.
- Set a Strong Wi-Fi Password: Choose a strong, complex password for your Wi-Fi network. The password should be at least 12-15 characters long and include a combination of uppercase and lowercase letters, numbers, and special characters. Avoid using easily guessable information such as your name or address.
- Disable WPS (Wi-Fi Protected Setup): WPS can provide a convenient way to connect devices to your network, but it can also be vulnerable to brute force attacks. Disable WPS in your router’s settings if you don’t use it regularly.
- Enable MAC Address Filtering: MAC address filtering allows you to specify which devices are allowed to connect to your network. By adding the MAC addresses of your devices to the router’s settings, you can restrict access to unknown devices.
- Regularly Update Firmware: Keep your router’s firmware up to date by checking for updates on the manufacturer’s website. Firmware updates often include security patches to address any vulnerabilities in the router’s software.
- Disable Remote Management: Turn off the remote management option on your router to prevent unauthorized access to your router’s settings from outside your local network.
- Regularly Monitor Connected Devices: Periodically check the list of connected devices in your router’s settings to ensure that only authorized devices are using your network.
By implementing these security measures, you can significantly reduce the risk of unauthorized access and protect your wireless network and personal information.
Remember to also educate yourself and your network users about good Wi-Fi security practices, such as avoiding connecting to public Wi-Fi networks without proper encryption and using strong passwords for their devices.
With a properly secured wireless network, you can enjoy peace of mind and a safe online experience.
Step 9: Update Firmware (if required)
Firmware is the software that runs on your router and is responsible for its functionality and performance. Periodically updating your router’s firmware is crucial to ensure optimal performance, fix bugs, and address any security vulnerabilities. Follow these steps to update your router’s firmware:
- Check for Firmware Updates: Visit the manufacturer’s website or access the router’s web interface to check if there are any available firmware updates. Look for a support or downloads section on the manufacturer’s website where you can find the latest firmware version for your specific router model.
- Download the Firmware Update: If a new firmware version is available, download it from the manufacturer’s website. Be sure to choose the correct firmware for your router model.
- Backup Router Settings: Before proceeding with the firmware update, it is recommended to backup your current router settings. This ensures that you can revert to your previous configuration if any issues arise during the update process.
- Upload the Firmware Update: Access the router’s web interface and navigate to the firmware upgrade section. Follow the instructions provided by the manufacturer to upload the downloaded firmware update file.
- Initiate the Firmware Update: Once the firmware file is uploaded, initiate the firmware update process. Be patient and avoid interrupting the process as it may take several minutes for the update to complete.
- Restart the Router: After the firmware update is successfully installed, the router will automatically restart. It may take a few minutes for the router to fully reboot and apply the new firmware.
Regularly updating your router’s firmware is essential to ensure that you have the latest features, bug fixes, and security improvements. It is recommended to check for firmware updates every few months or as advised by the manufacturer.
Keep in mind that the exact steps for updating firmware may vary depending on the router model and manufacturer. Refer to the manufacturer’s documentation and support resources for specific instructions tailored to your router.
With an updated firmware, your router will be equipped with the latest enhancements, providing you with a more reliable and secure network connection.
Conclusion
Congratulations! You have successfully installed and configured your wireless router, allowing you to enjoy a seamless internet connection throughout your home or office. By following the steps in this guide, you have set up a secure and reliable network for all your devices.
Remember, the key steps include choosing a suitable location for your router, connecting it to your modem, powering it up, accessing its web interface, changing the default router password, configuring wireless network settings, connecting your devices, securing your network, and updating the firmware if necessary.
By choosing a central location for your router and avoiding obstructions, you can ensure optimal coverage and performance. Connecting your router to the modem establishes the connection with your internet service provider. Accessing the router’s web interface allows you to customize various settings, such as the network name and password.
Securing your wireless network with a strong password, enabling encryption, and disabling unnecessary features like WPS and remote management help protect your network from unauthorized access. Regularly updating your router’s firmware ensures that you have the latest features and security enhancements.
Keep in mind that every router may have slightly different settings and features, so refer to your router’s user manual and the manufacturer’s documentation for specific instructions tailored to your device.
Now that you have completed the installation and configuration process, you can enjoy the benefits of a wireless network, such as convenient internet access from any corner of your home or office. Stay vigilant and periodically review your network’s security settings to ensure continued protection.
Thank you for following this guide, and we hope you have found it helpful in setting up your wireless router. Enjoy your fast and reliable internet connection!