Introduction
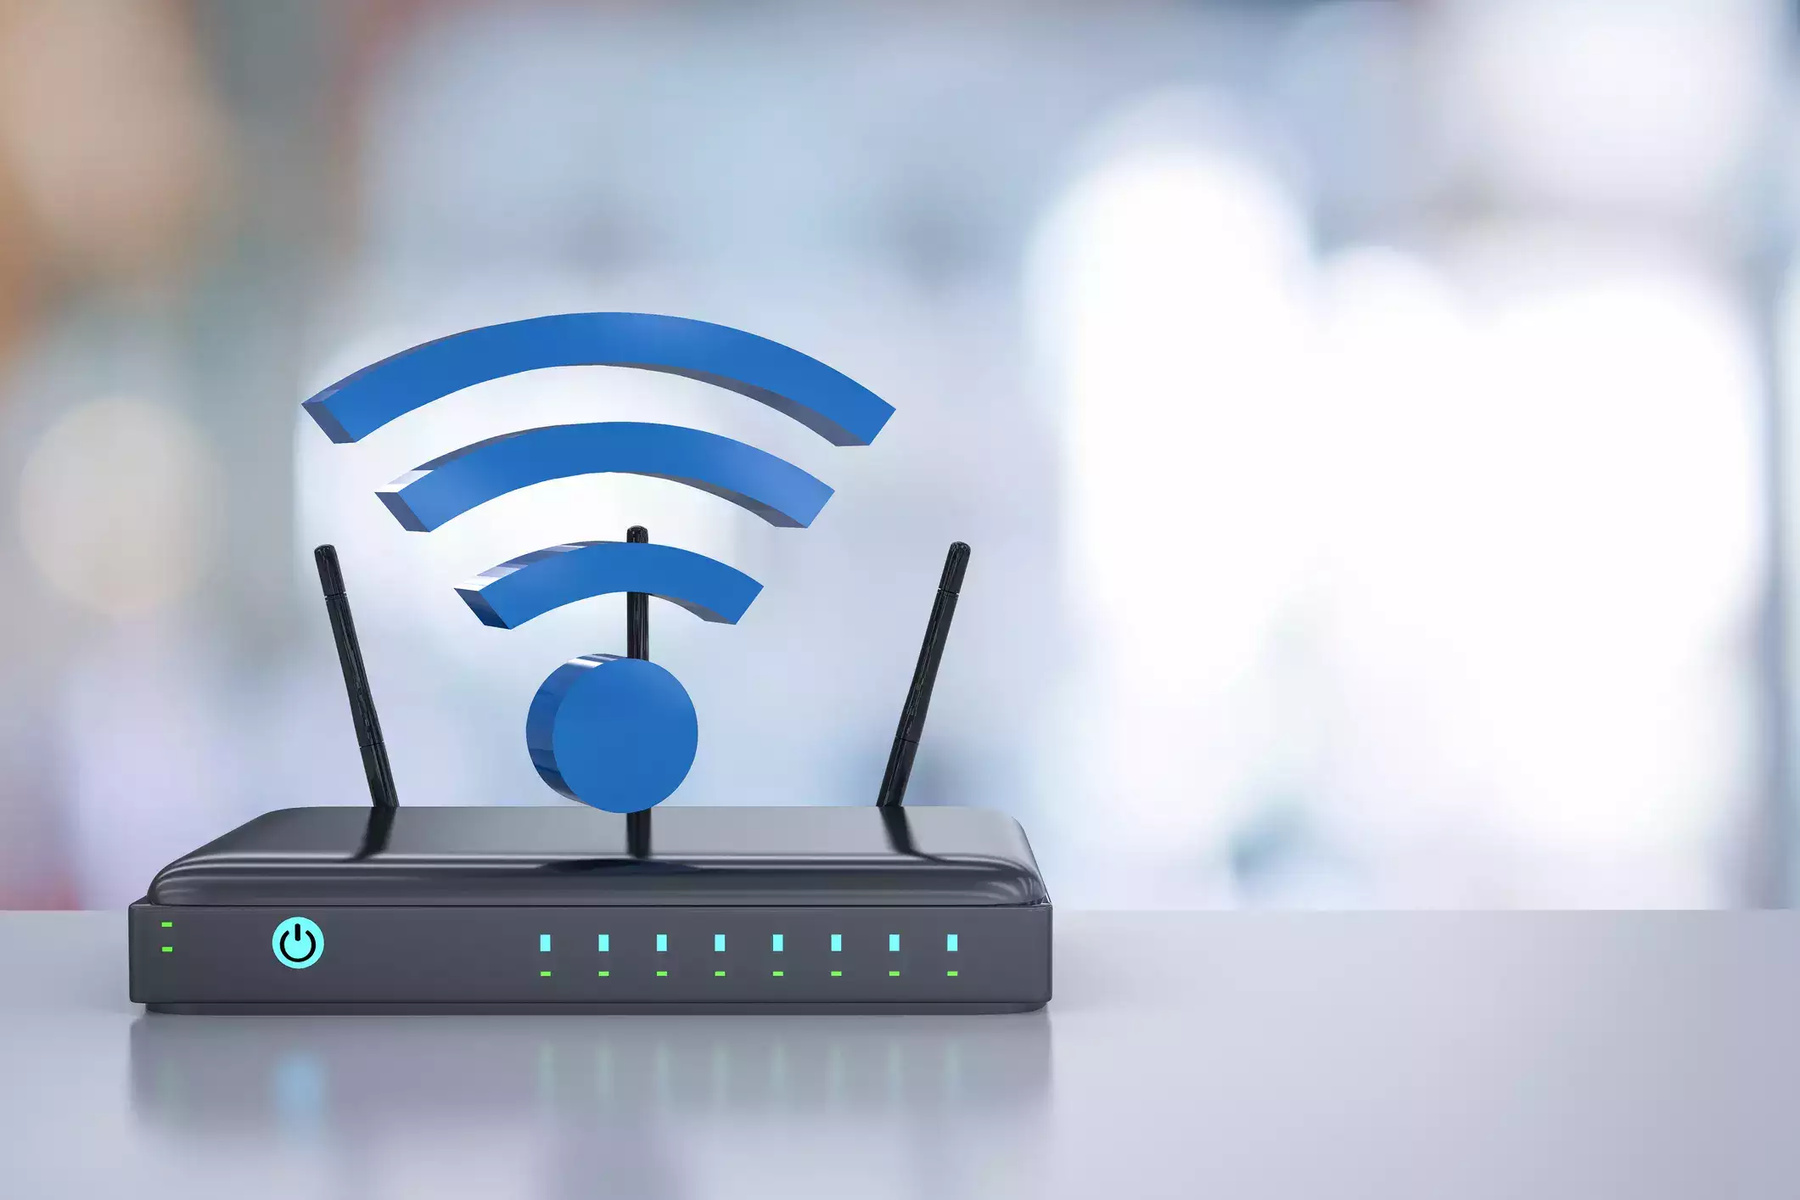
Welcome to our guide on how to replace your wireless router. If you’ve been experiencing slow internet speeds, dropped connections, or simply want to upgrade to a newer model, replacing your wireless router can greatly improve your home network performance. In this step-by-step tutorial, we’ll walk you through the process of replacing your old router with a new one.
A wireless router is a critical component of your home network, providing wireless internet connectivity to all your devices. Over time, routers can become outdated or start experiencing issues that affect their performance. Upgrading to a newer model can help you take advantage of the latest technologies and features, resulting in faster and more reliable internet speeds.
Before embarking on this replacement process, it’s important to note that every router is different, so the specific steps may vary depending on the make and model. However, the general process of replacing a wireless router remains the same. By following this guide, you can gain a better understanding of the overall process and adapt it to your specific router model.
Replacing your wireless router involves several steps, including determining the type of router you need, gathering the necessary tools and materials, disconnecting the current router, installing the new router, configuring the wireless network, and connecting your devices to the new network. It may seem intimidating at first, but fear not – we’ll walk you through each step in detail to make the process as smooth as possible.
Whether you’re a tech-savvy individual or a complete beginner, we’ve got you covered. By the end of this guide, you’ll be equipped with the knowledge and confidence you need to replace your wireless router and enjoy a faster, more reliable internet connection for all your devices.
Step 1: Determine the type of router you need
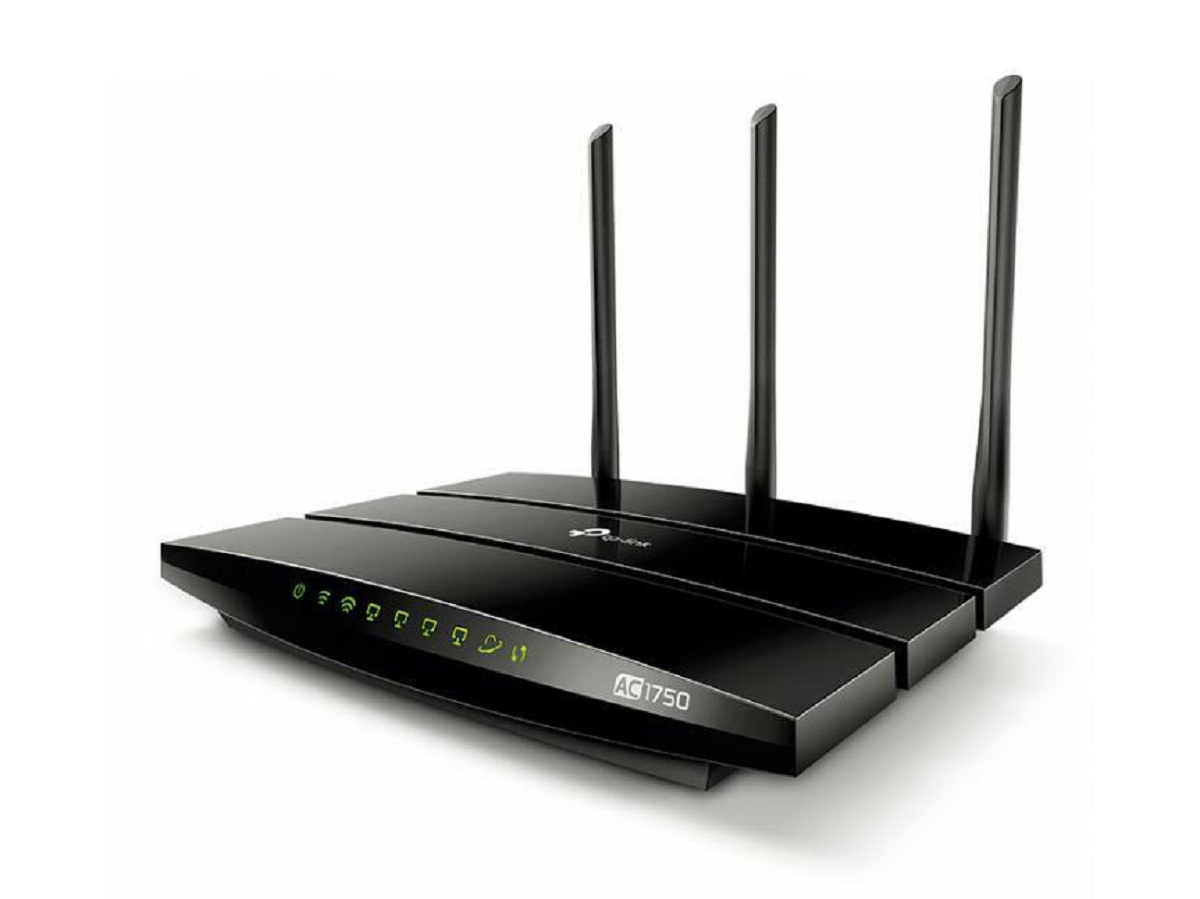
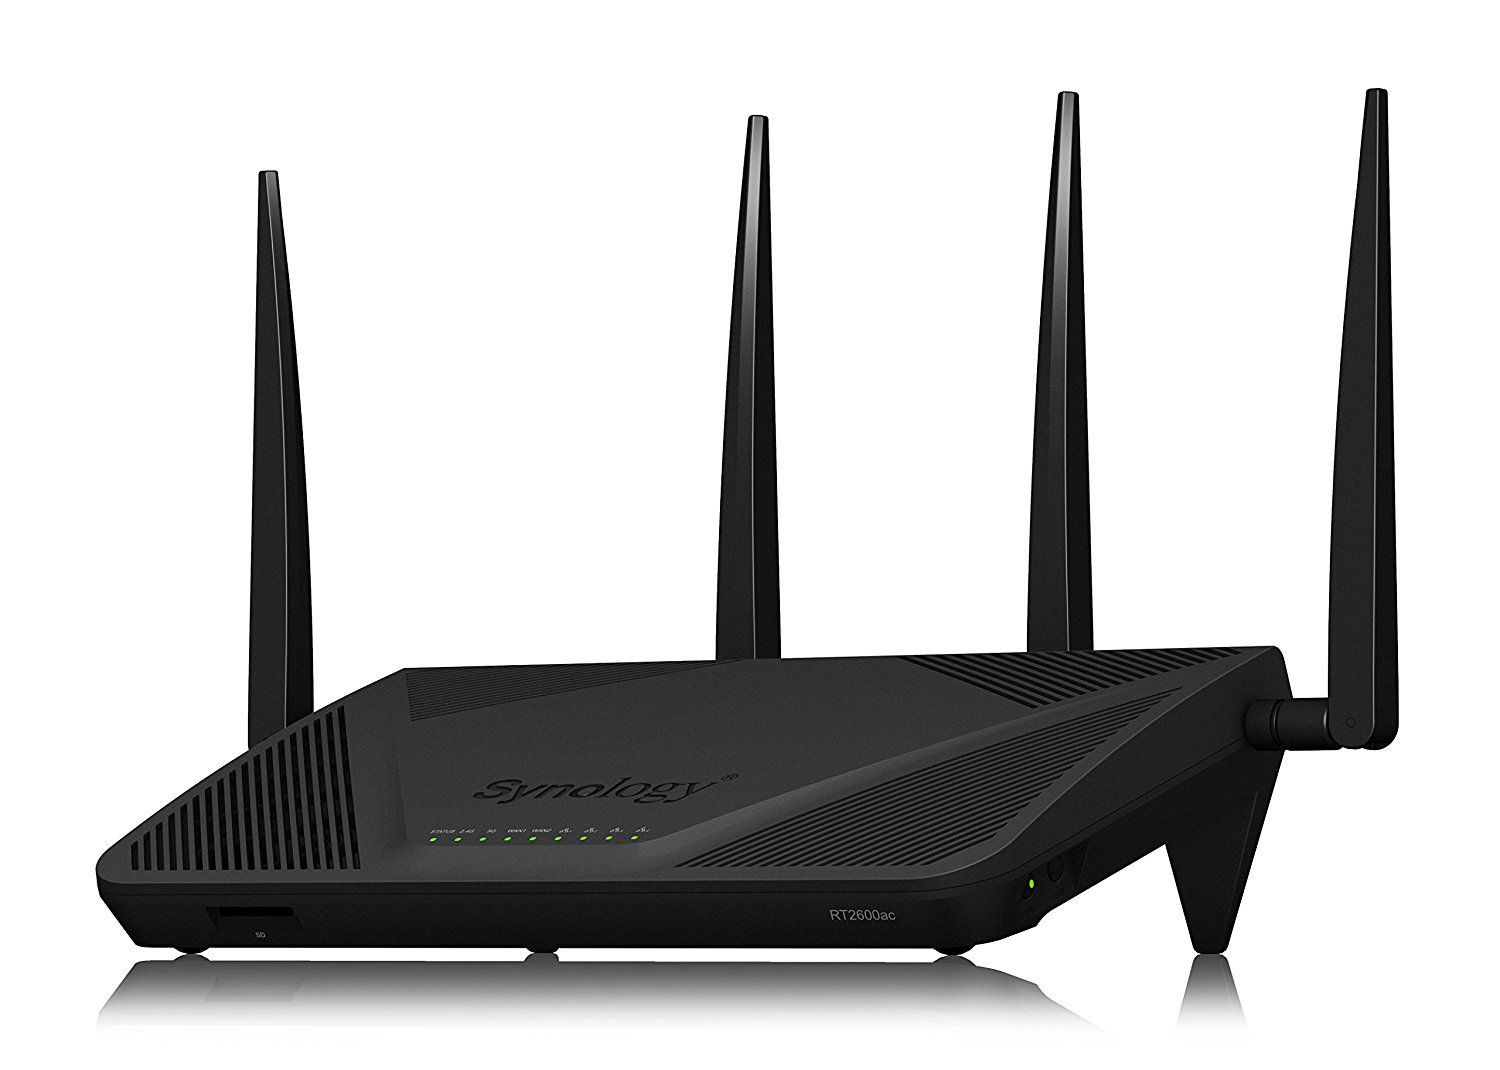
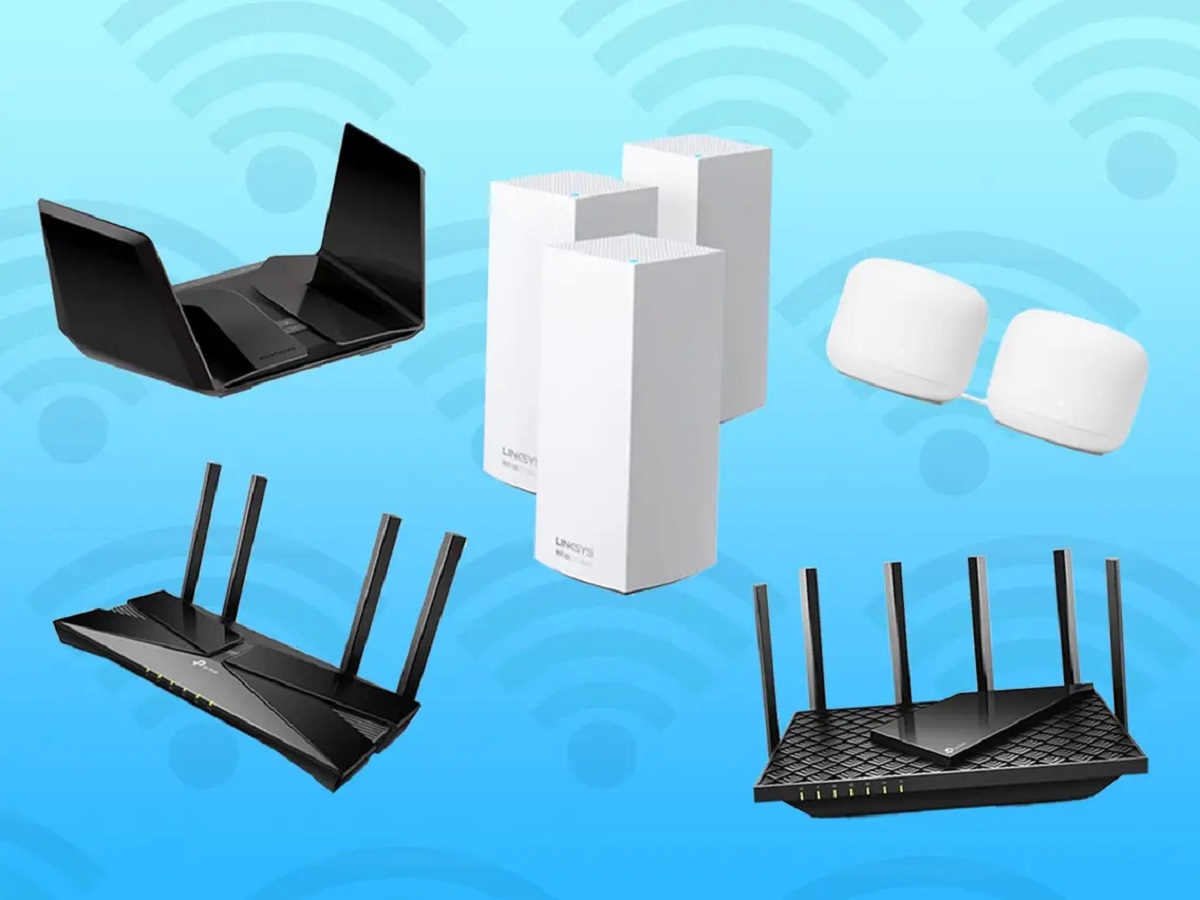
The first step in replacing your wireless router is to determine the type of router that best suits your needs. With so many options available in the market, it’s important to understand the key factors to consider when selecting a router.
One of the primary considerations is the router’s wireless standard. The most common standard for wireless routers is 802.11ac, which offers faster speeds and better coverage compared to older standards like 802.11n. However, if your devices do not support 802.11ac, it may be more cost-effective to opt for an 802.11n router.
Another important factor to consider is the router’s maximum theoretical speeds. Higher speeds can provide a smoother online experience, especially if you regularly engage in activities that require a lot of bandwidth, such as streaming HD videos or online gaming. Keep in mind that the actual speeds you achieve may be lower than the advertised maximums due to various factors such as distance from the router and network congestion.
Additionally, consider the number of devices in your household that will be connected to the router. If you have multiple devices simultaneously accessing the internet, it’s essential to choose a router with sufficient bandwidth and multiple antennas to handle the increased demand.
It’s also worth considering the router’s security features. Look for routers that support WPA3 encryption, which provides the highest level of security for your wireless network. Additionally, features like guest network support and parental controls can offer additional convenience and peace of mind.
Budget is another key consideration when choosing a router. While high-end routers may offer advanced features and faster speeds, they can come at a higher cost. Set a budget that aligns with your needs and compare the specifications and features of different routers within that price range. It’s important to strike the right balance between performance and affordability.
Lastly, pay attention to reviews and recommendations from reputable sources. Reading user reviews and expert opinions can provide valuable insights into the reliability and performance of a particular router model.
By carefully considering these factors, you can determine the type of router that best meets your needs and ensures optimal performance for your home network.
Step 2: Gather the necessary tools and materials
Before you can begin replacing your wireless router, it’s important to gather all the necessary tools and materials. Having everything prepared in advance will ensure a smooth and efficient replacement process.
The following are the tools and materials you’ll need:
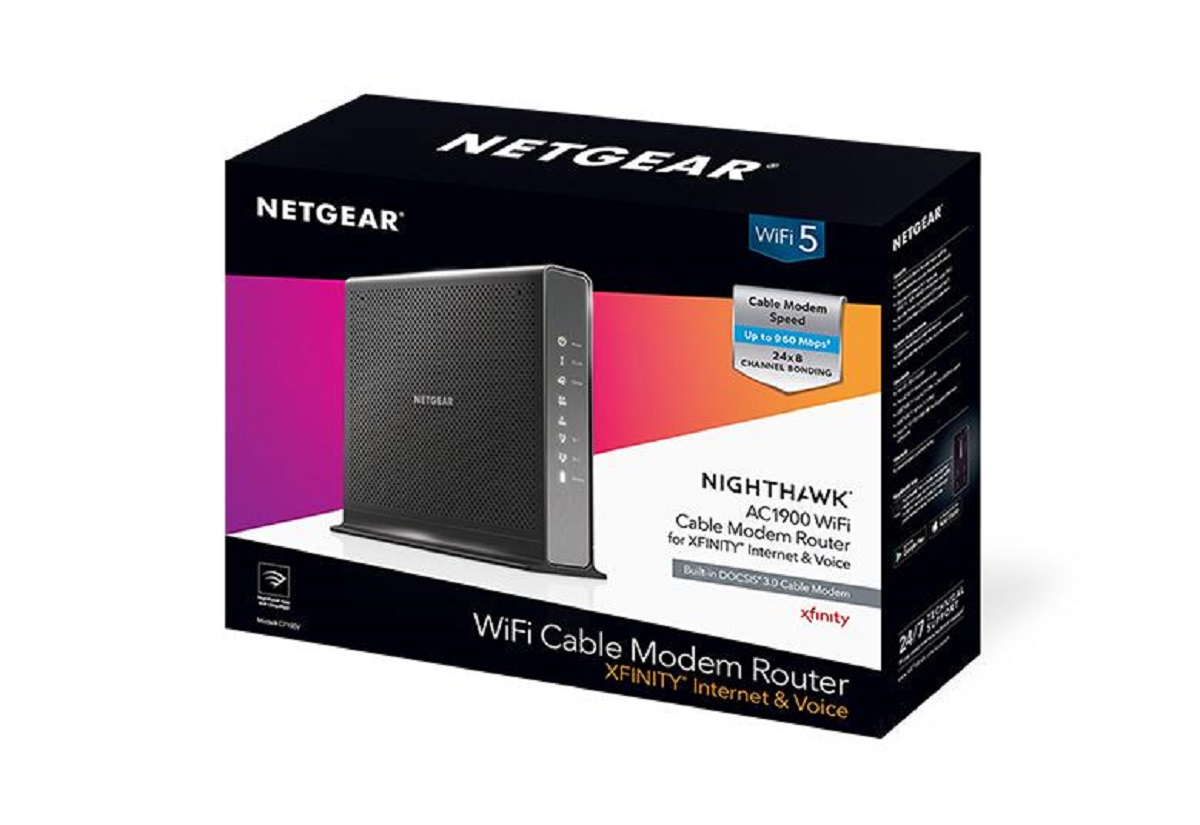
- A new wireless router: Research and purchase a router that meets your requirements based on the factors mentioned in Step 1.
- An Ethernet cable: This cable will be used to connect your new router to the modem during the installation process. Make sure the cable is long enough to reach from the modem to the router’s designated location.
- A power adapter: Most wireless routers come with a power adapter that needs to be plugged into an electrical outlet. Ensure the power adapter is included with your new router.
- A computer or mobile device: You’ll need a device with Wi-Fi capabilities to access the router’s settings and configure the wireless network.
- Your ISP information: Gather the necessary information provided by your internet service provider (ISP), such as the username and password for your internet connection.
- A pen and paper: It’s helpful to have a pen and paper nearby to jot down any important information, such as the new router’s default settings or any custom configurations.
Make sure all the tools and materials are easily accessible before you begin the replacement process. Keep them in a safe and convenient location, preferably near the area where you plan to install the new router.
By ensuring that you have all the necessary tools and materials on hand, you can avoid interruptions or delays during the replacement process. This preparedness will streamline the installation and configuration of your new wireless router.
Step 3: Unplug and disconnect the current router
Before installing your new wireless router, you need to unplug and disconnect the current router from your network. Follow these steps to safely disconnect your old router:
- Locate your current router: Identify the physical location of your existing wireless router.
- Power off the old router: Press the power button on the router to turn it off. Wait for a few moments to ensure it has completely shut down.
- Unplug the power cord: Disconnect the power cord from the electrical outlet.
- Disconnect all Ethernet cables: Gently unplug any Ethernet cables connected to your old router. These cables may be connecting your current router to your modem or other devices.
- Remove any additional connections: Check for any other connections, such as USB devices or telephone lines, and disconnect them from the router if necessary.
- Label the cables: To make the installation process of the new router easier, you can label the cables you have removed. Use masking tape or adhesive labels to mark each cable with its corresponding port or device name.
Once you have completed these steps, make sure to carefully organize the cables and store them in a safe place. You will need them again during the installation of your new wireless router.
It’s important to note that disconnecting your old router may interrupt your internet connection for a short period of time. If you rely on a wired connection, consider using a mobile device or have a backup plan to stay connected during this process.
By following these steps to unplug and disconnect the current router, you are preparing your network for the installation of your new wireless router. This will ensure a smooth and seamless transition from the old to the new router without any disruptions.
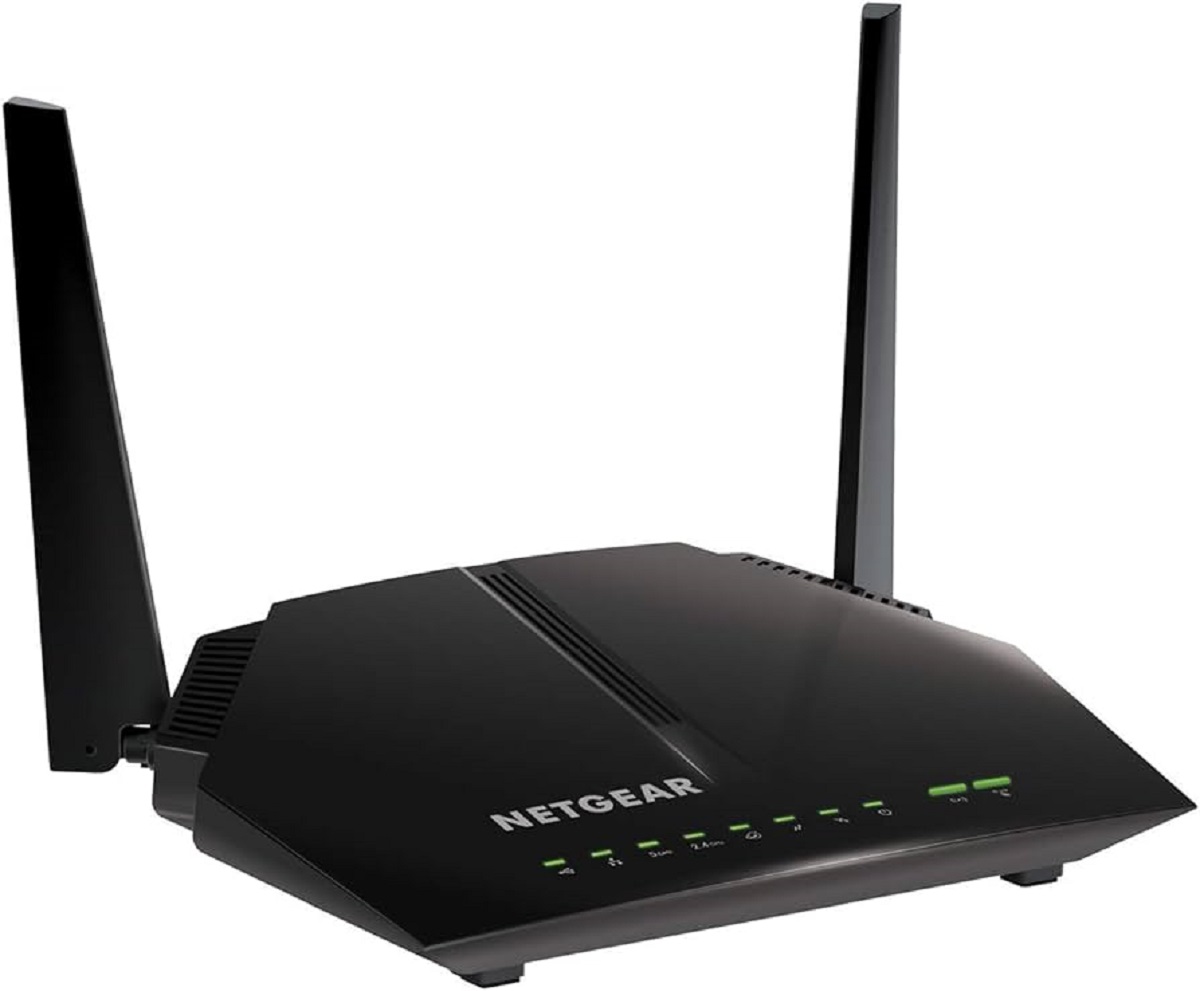
Step 4: Install the new router
Now that you’ve disconnected your old router, it’s time to install your new wireless router. Follow these steps to ensure a successful installation:
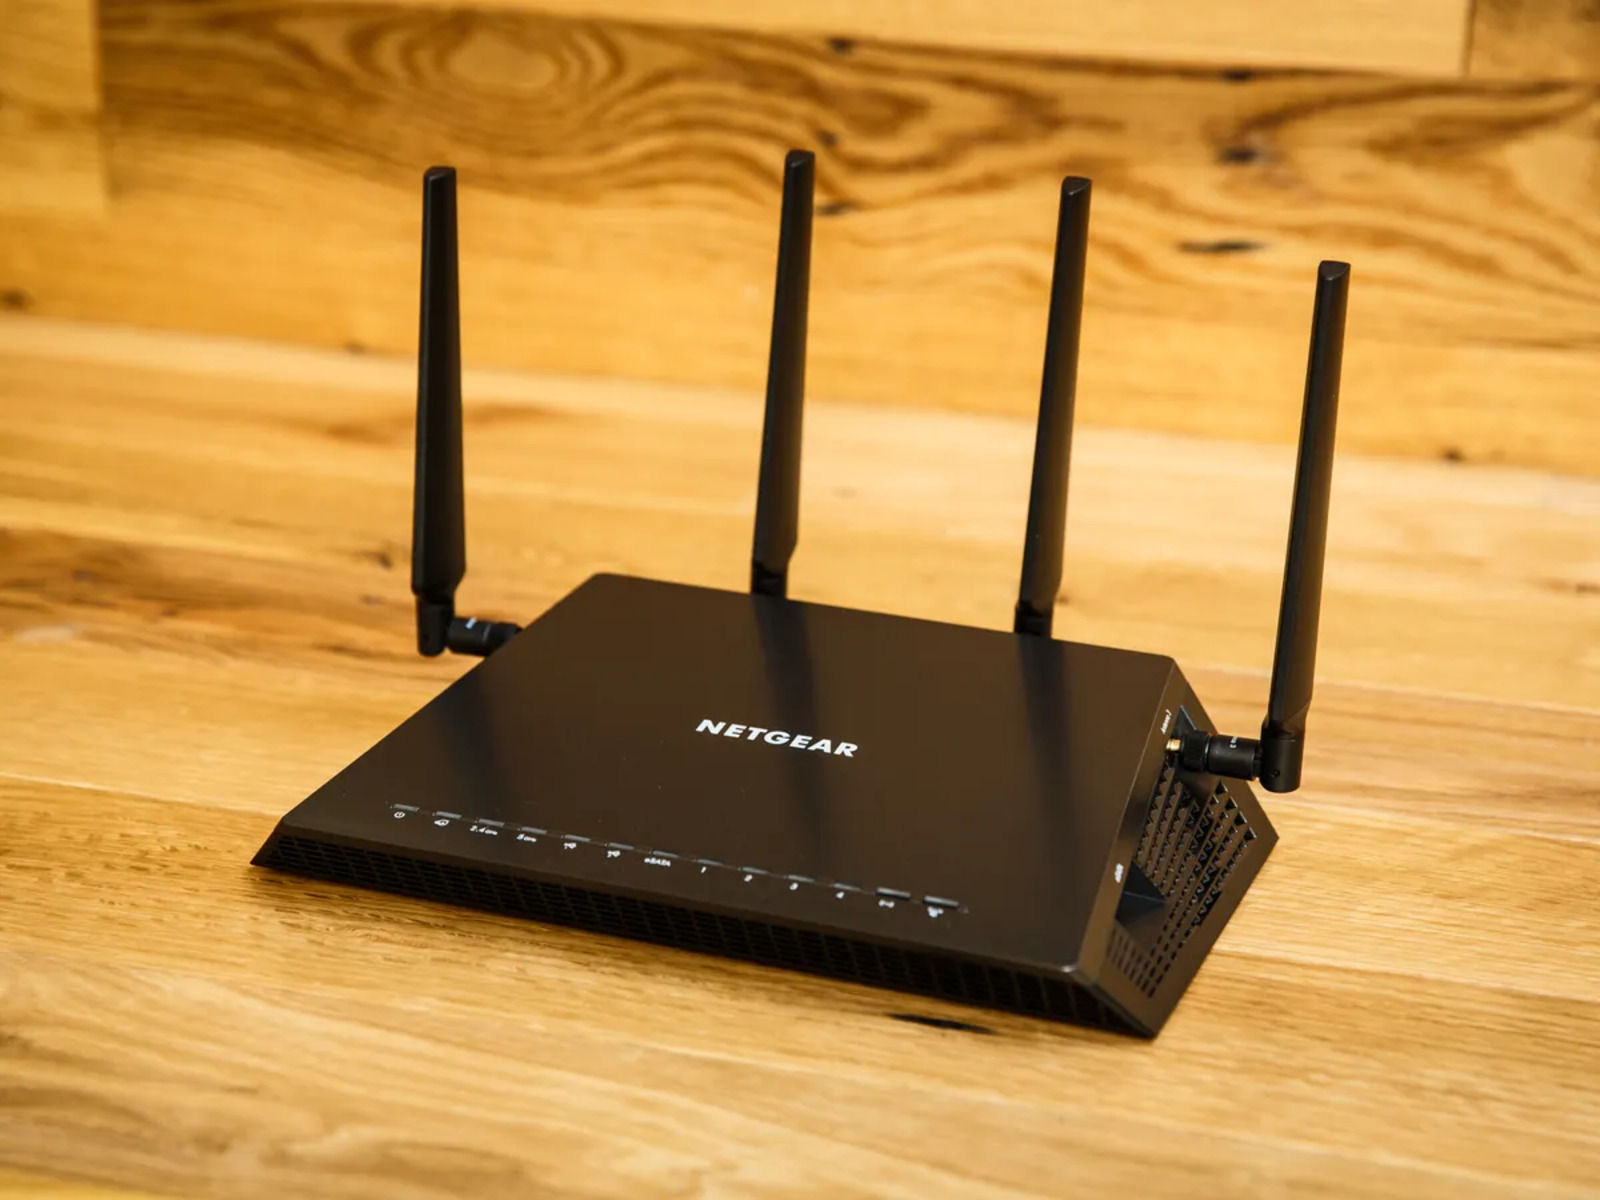
- Choose the router’s location: Select an ideal location for your new router. It should be centrally positioned to provide optimal coverage throughout your home. Keep in mind that walls and other obstructions can weaken the Wi-Fi signal, so try to avoid placing the router near them.
- Connect the router to power: Plug the power adapter into a nearby electrical outlet and connect it to your new router. Make sure the power source is stable and secure.
- Connect the router to the modem: Using an Ethernet cable, connect one end to the router’s WAN or Internet port and the other end to the modem’s Ethernet port. This connection will establish communication between the router and the modem.
- Power on the router: Press the power button on the router to turn it on. Wait for a few moments to allow it to boot up properly.
- Wait for the router to initialize: It may take a few minutes for the router to initialize and establish a connection with the modem. During this time, the router’s lights will indicate the progress. Refer to the router’s documentation for specific light indications.
At this stage, the physical installation of your new router is complete. However, you still need to configure the router settings to establish a wireless network and connect your devices. This will be covered in the next step.
It’s essential to consult your router’s user manual or manufacturer’s website for specific installation instructions and troubleshooting tips. Different router models may have slight variations in their installation process.
By following these steps to install your new router, you are one step closer to enjoying faster and more reliable internet connectivity throughout your home.
Step 5: Connect the router to power and modem
Now that your new router is installed physically, it’s time to establish the necessary connections to power and the modem. Follow these steps to ensure a proper connection:
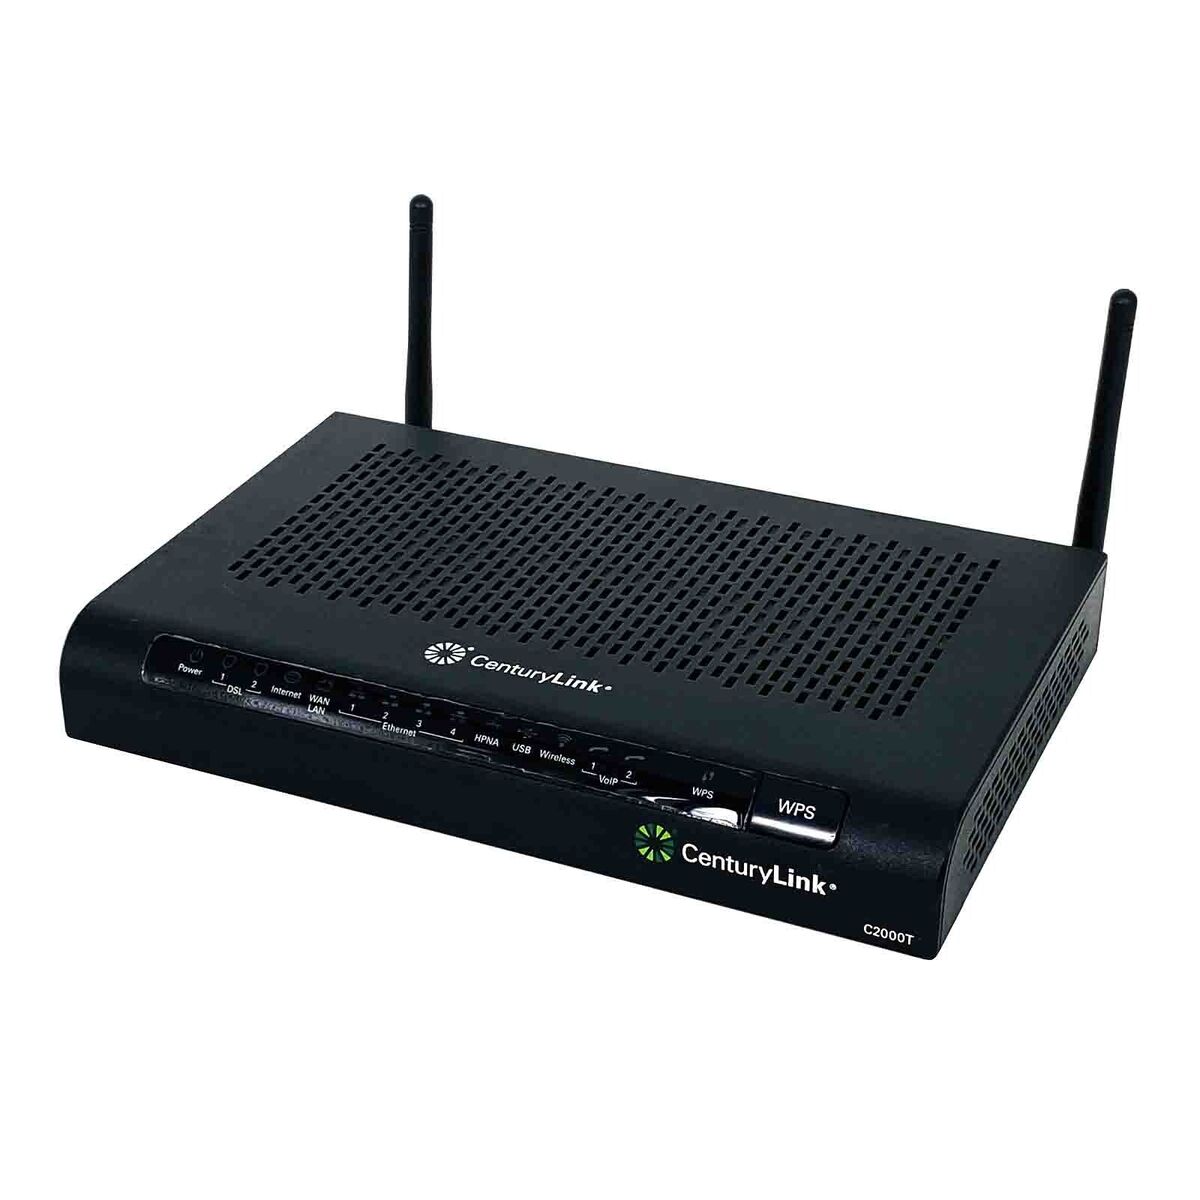
- Locate your modem: Identify the modem, which is usually provided by your internet service provider (ISP). It receives the internet signal from your ISP and transmits it to your router.
- Disconnect the power source of the modem: Unplug the power cord from the electrical outlet to power off the modem. This will ensure a safe connection process.
- Connect the modem to the router: Take one end of the Ethernet cable and plug it into the modem’s Ethernet port. Then, connect the other end of the cable to the WAN or Internet port of your new router.
- Connect the power supply to the modem: Plug the power cord of the modem back into the electrical outlet and wait for it to power on. Allow a few moments for the modem to initialize and establish a connection with your ISP.
- Connect the power supply to the router: Plug the power adapter of your new router into an electrical outlet. This will supply power to the router.
- Ensure stable connections: Make sure that all cables are securely plugged in and there are no loose connections. Check that the cables are not stretched or tangled, as this can affect the quality of the connection.
- Wait for the router to boot up: Give your router a few moments to boot up and establish a connection with the modem. During this time, the router’s lights will indicate the progress. Refer to the router’s documentation for specific light indications.
Now that your new router is connected to both power and the modem, it is ready to establish a secure and reliable connection to the internet. In the next step, we will configure the router settings to create a wireless network.
It’s important to note that different router models may have slightly different connection ports and indicators. Always refer to your router’s user manual or the manufacturer’s website for specific instructions.
By following these steps to connect the router to power and the modem, you are setting the foundation for the wireless network and ensuring a smooth internet connection for all your devices.
Step 6: Access router settings and configure wireless network
Now that your new router is physically connected to power and the modem, it’s time to access the router settings and configure your wireless network. Follow these steps to set up your router:
- Open a web browser: On your computer or mobile device, open a web browser of your choice.
- Enter the router’s IP address: In the address bar of the web browser, enter the router’s IP address. The IP address is typically mentioned on the router itself or can be found in the router’s user manual or manufacturer’s website.
- Enter your router’s login credentials: You will be prompted to enter your router’s login credentials. This information is usually provided on the router or in the documentation. If you haven’t changed the default credentials, they can often be found in the router’s manual or on the manufacturer’s website.
- Access the router’s settings: Once you have successfully logged in, you will be directed to the router’s settings page. Here, you can configure various aspects of your router, such as the wireless network name (SSID) and password, security settings, and parental controls.
- Configure the wireless network: Look for the wireless settings section in the router’s settings page. Enter a name for your wireless network (SSID) that you can easily identify. Choose a strong password for your network to ensure its security. You can also select the encryption method (e.g., WPA2-PSK) for added protection.
- Save the changes: Once you have made the necessary configurations, remember to save the changes. This will update the router’s settings with your new wireless network name and password.
- Restart the router (if required): Some routers may require a restart for the changes to take effect. Refer to your router’s documentation on whether a restart is necessary.
After configuring the wireless network settings, your router will be ready to provide a secure and reliable connection to your devices. Make sure to connect them to the new wireless network using the network name (SSID) and password you set.
Remember to keep your router’s login credentials secure and regularly update your wireless network password for added protection.
It’s important to note that the exact steps and options in the router settings may vary depending on your router model and firmware version. Refer to your router’s documentation for specific instructions.
By following these steps to access the router settings and configure your wireless network, you are ensuring a customized and secure wireless connection for all your devices in your home or office.
Step 7: Connect devices to the new wireless network
With your new wireless network configured, it’s time to connect your devices and enjoy the benefits of your upgraded router. Follow these steps to connect your devices to the new wireless network:
- Locate the Wi-Fi settings on your device: Depending on the device you are using, find and open the Wi-Fi settings. This is usually found in the settings menu or the system tray.
- Select the new wireless network: In the list of available networks, locate your new wireless network by its name (SSID). It should be the one you configured in Step 6.
- Enter the wireless network password: If you set a password for your new wireless network during the router configuration, enter it when prompted. Make sure to enter the password correctly as it is case-sensitive.
- Connect to the network: Once the correct password is entered, your device should establish a connection to the wireless network. Depending on your device, you may see a confirmation message or a network indicator showing the successful connection.
- Repeat for other devices: If you have multiple devices, such as smartphones, tablets, laptops, or smart TVs, repeat the above steps for each device to connect them to the new wireless network.
It’s important to note that some devices may have slightly different steps or settings to connect to a wireless network. However, the general process remains the same.
If you experience any connectivity issues, make sure that you have entered the correct network name (SSID) and password. Additionally, double-check that your device’s Wi-Fi is turned on and within range of the router’s signal.
By connecting your devices to the new wireless network, you can enjoy the improved speed, coverage, and reliability provided by your upgraded router. You can now seamlessly browse the web, stream videos, play online games, and connect with your smart devices throughout your home or office.
Step 8: Test the new router and connectivity
After connecting your devices to the new wireless network, it’s important to test the new router and ensure that everything is functioning correctly. Follow these steps to test the router and check the connectivity:
- Test the internet speed: Use an internet speed testing service or app to measure the speed of your internet connection. This will help you determine if your new router is providing the expected speeds. Compare the results to the speeds promised by your internet service provider (ISP) to ensure that you’re getting the level of performance you expect.
- Browse the web: Open your web browser and visit various websites to check if they load quickly and smoothly. This will help assess the overall performance of your internet connection and ensure that there are no browsing issues.
- Stream videos or music: Try streaming videos or music from popular platforms to test the streaming performance of your new router. Play videos in high definition to see if there are any buffering or playback issues.
- Connect additional devices: If you have more devices to connect, such as smart home devices, gaming consoles, or printers, connect them to the new wireless network and ensure that they can communicate with each other and access the internet.
- Check coverage and signal strength: Move around your home or office with your mobile device and check for any areas with weak or no signal. This will help you identify any range or coverage issues, allowing you to optimize the placement of your router or consider using wireless range extenders if necessary.
- Revisit router settings if needed: If you encounter any issues or want to further optimize your wireless network, you can revisit the router settings and make adjustments. For example, you may want to enable QoS (Quality of Service) settings to prioritize certain devices or applications.
By testing your new router and checking the connectivity, you can ensure that it is functioning properly and meeting your expectations. If you encounter any issues, refer to your router’s documentation or reach out to the manufacturer’s customer support for assistance.
Regularly testing your router’s performance is a good practice to ensure that you are maximizing your internet connection’s potential. It allows you to identify any issues early on and address them accordingly, ensuring a seamless and efficient network experience.
Conclusion
Congratulations! You have successfully replaced your old wireless router with a new one, giving your home network a boost in performance and reliability. By following the step-by-step guide outlined in this article, you have learned how to determine the type of router you need, gather the necessary tools and materials, unplug and disconnect the old router, install the new router, connect it to power and the modem, access the router settings and configure the wireless network, connect devices to the new network, and test the router’s connectivity.
With your new wireless router, you can experience faster internet speeds, better coverage, and enhanced network security. Your devices can seamlessly connect to the wireless network, allowing you to browse the web, stream videos, play online games, and connect with smart devices with ease. Regularly monitoring and optimizing your router’s performance will ensure that your network stays efficient and meets your needs.
Remember, each router model may have specific variations and features, so always refer to your router’s user manual or the manufacturer’s website for detailed instructions and troubleshooting tips.
We hope that this guide has been helpful in assisting you with the process of replacing your wireless router. Enjoy your improved network connectivity and make the most out of your online experiences!