Introduction
Updating your wireless router’s firmware is an essential task to ensure optimal performance and security. Firmware is the software that runs on the router, controlling its functions and features. Manufacturers regularly release firmware updates to address bugs, improve performance, and patch security vulnerabilities.
In this article, we will guide you through the process of updating your wireless router’s firmware. A firmware update can potentially fix connectivity issues, enhance signal strength, improve data transfer speeds, and introduce new features.
Before diving into the steps for updating your router’s firmware, it’s important to understand the benefits of keeping your router up to date. Firstly, firmware updates often include security patches that protect your network from potential threats and attacks. By installing the latest firmware, you can strengthen your network’s defenses and stay one step ahead of cybercriminals.
Secondly, firmware updates can resolve compatibility issues with new devices and ensure smooth communication between your router and connected devices. This can help avoid connectivity problems, performance degradation, and other issues that might arise with outdated firmware.
Lastly, firmware updates often come with performance enhancements that can boost the overall efficiency of your wireless network. These updates may bring improvements in data transfer speeds, wireless signal range, and stability, which can lead to a better internet experience for all your connected devices.
While the process of updating your wireless router’s firmware may seem daunting, don’t worry – it’s usually a straightforward procedure that you can easily follow with the right guidance. In the following sections, we will break down the steps involved in updating your router’s firmware, making the process simple and accessible for users of all levels of technical expertise.
Step 1: Check the current firmware version
Before proceeding with the firmware update, it’s crucial to check the current version of your router’s firmware. This will help you determine if an update is necessary and ensure that you install the correct firmware for your specific model.
To check the firmware version, you’ll need to access your router’s web interface. Launch your preferred web browser and enter the IP address of your router in the address bar. Typically, the default IP address is “192.168.1.1” or “192.168.0.1”, but it may vary depending on the router brand and model. If you’re unsure about the IP address, you can find it in the user manual or by contacting the manufacturer’s support.
Once you’ve entered the IP address, hit the Enter key, and you will be directed to the login page of your router’s web interface. Enter the username and password to log in. If you don’t remember the credentials, consult the user manual or check the label on the router itself, as manufacturers often provide default login information.
After successfully logging in, you will have access to the router’s settings and configuration options. The exact location of the firmware information may vary depending on the router’s interface, but it is typically found in the “Administration” or “System” section.
Look for a subheading like “Firmware,” “Software,” or “Router Update” to view the current version. Take note of the version number, as you will compare it to the latest firmware available on the manufacturer’s website.
If your current firmware is outdated or if you’re experiencing issues that are addressed in newer versions, it’s time to update your router’s firmware. Proceed to the next step to identify your router model and download the latest firmware.
Step 2: Identify the router model
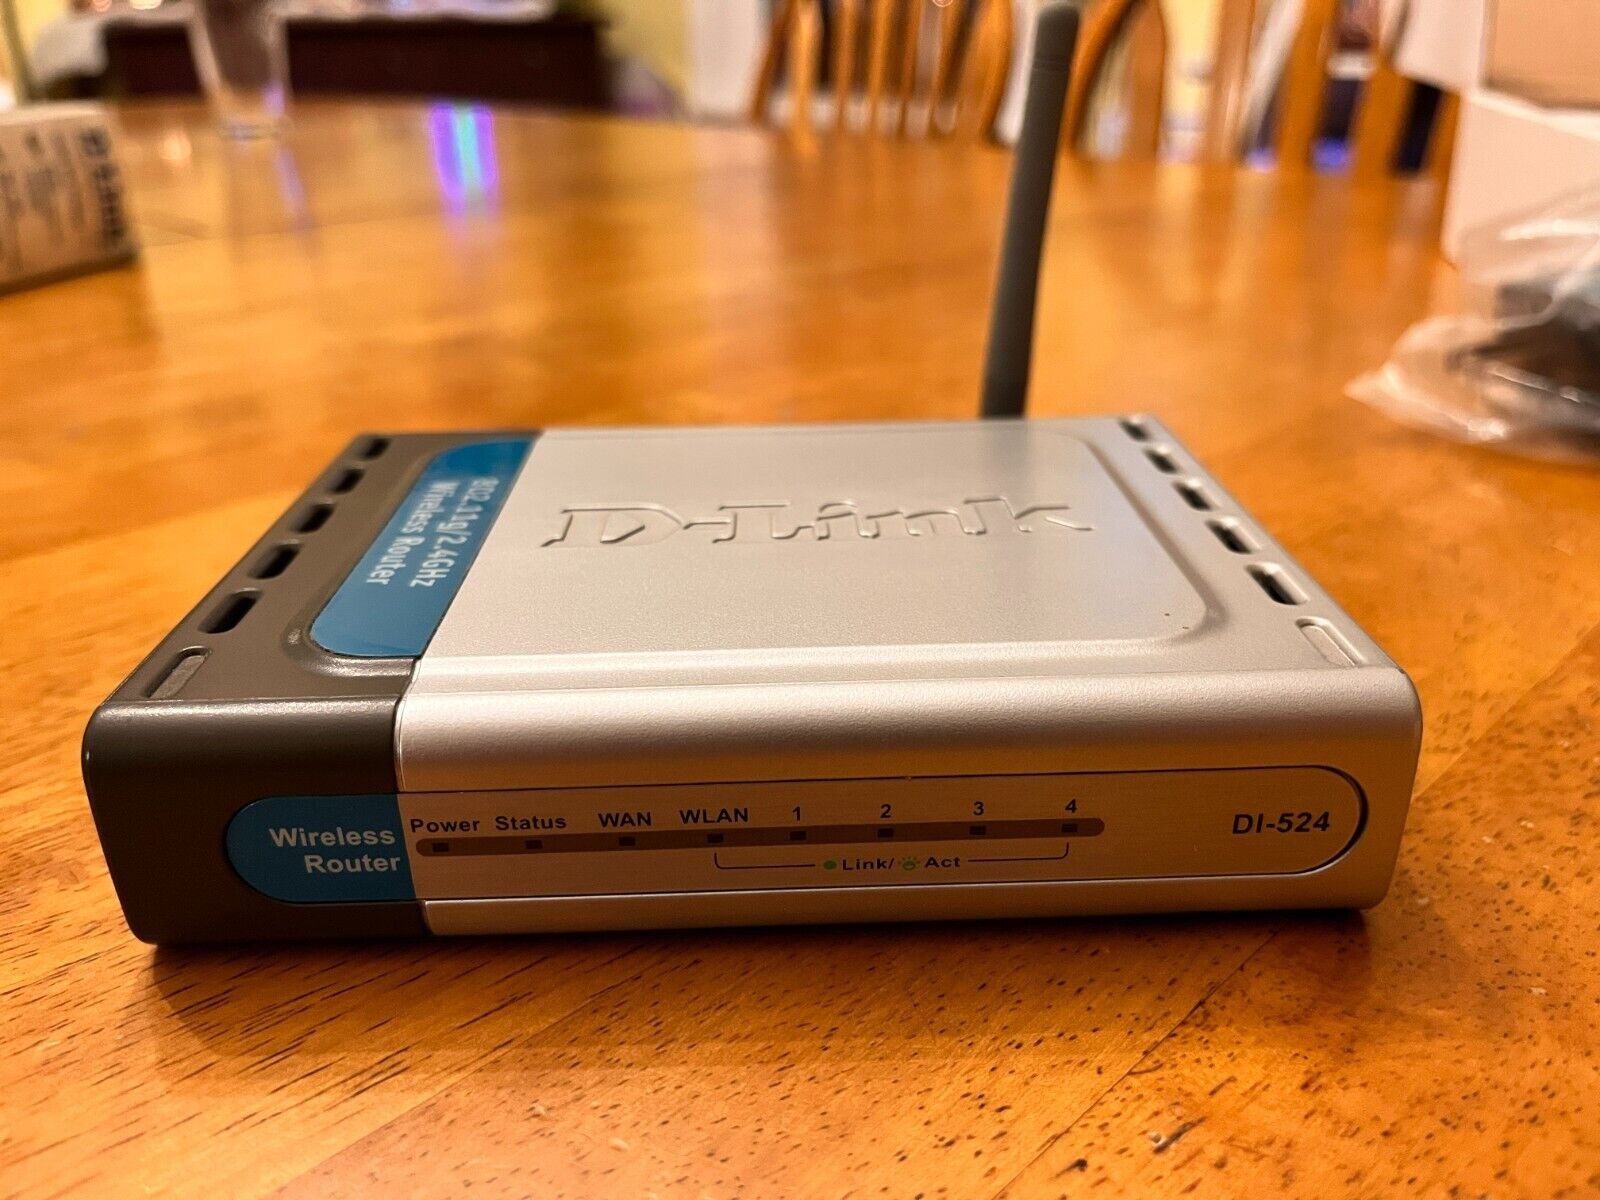
Identifying the specific model of your wireless router is crucial to ensure that you download the correct firmware. Each router model has its own firmware, and using the wrong firmware can lead to compatibility issues and potentially render your router inoperable.
The router model information can usually be found on a label or sticker on the back or bottom of the device. Look for the model name or number, which is often a combination of letters and numbers. Take note of this information as you will need it to download the appropriate firmware from the manufacturer’s website.
If the label or sticker is not visible or has faded, you can check the router’s web interface for the model information. Follow the steps outlined in the previous section to access the web interface. Once logged in, navigate to the “Status,” “System,” or “Device Info” section. Here, you should find the router model listed.
If you’re still unable to determine your router’s model, you can search for it online using the brand name and any identifying details you have found. Manufacturers typically have support pages on their websites where you can enter your router’s serial number or other information to identify the model.
Once you have successfully identified the router model, proceed to the next step to download the latest firmware from the manufacturer’s website. Ensure that you download the firmware that matches your specific router model and version to avoid any compatibility issues or firmware installation failures.
By correctly identifying your router model, you’re one step closer to updating its firmware and enjoying the benefits of enhanced performance, improved security, and additional features.
Step 3: Download the latest firmware
After identifying your router model, it’s time to download the latest firmware from the manufacturer’s website. Manufacturers regularly release firmware updates, so it’s important to ensure you have the most recent version to benefit from bug fixes, improvements, and security patches.
Start by opening your web browser and typing in the manufacturer’s website address. Once on the website, navigate to the support or downloads section. Look for a page dedicated to router firmware updates or search for your specific router model.
On the firmware downloads page, you may be prompted to enter your router model or select it from a drop-down menu. Make sure to choose the correct model to ensure you download the appropriate firmware version.
After selecting the router model, you should see a list of available firmware versions. Look for the most recent release and click on the download button next to it. Some manufacturers may provide specific instructions on which firmware version is recommended for certain scenarios, so pay attention to any additional details provided.
The firmware file will be downloaded to your computer as a compressed file, typically in the form of a ZIP archive. Locate the downloaded file on your computer and extract its contents using a file extraction tool like WinRAR or 7-Zip. Inside the extracted folder, you should find the firmware file itself, usually with a “.bin” or “.img” file extension.
Before proceeding to the next step, it’s a good practice to create a backup of your current router settings. This will allow you to restore your settings in case anything goes wrong during the firmware update. Refer to your router’s user manual or the manufacturer’s website for instructions on how to back up your settings.
Now that you have the latest firmware downloaded and your router settings backed up, you’re ready to proceed to the next step, which involves accessing your router’s web interface.
Step 4: Connect to the router’s web interface
To update your router’s firmware, you need to access its web interface. This interface allows you to configure and manage your router’s settings through a user-friendly web-based portal.
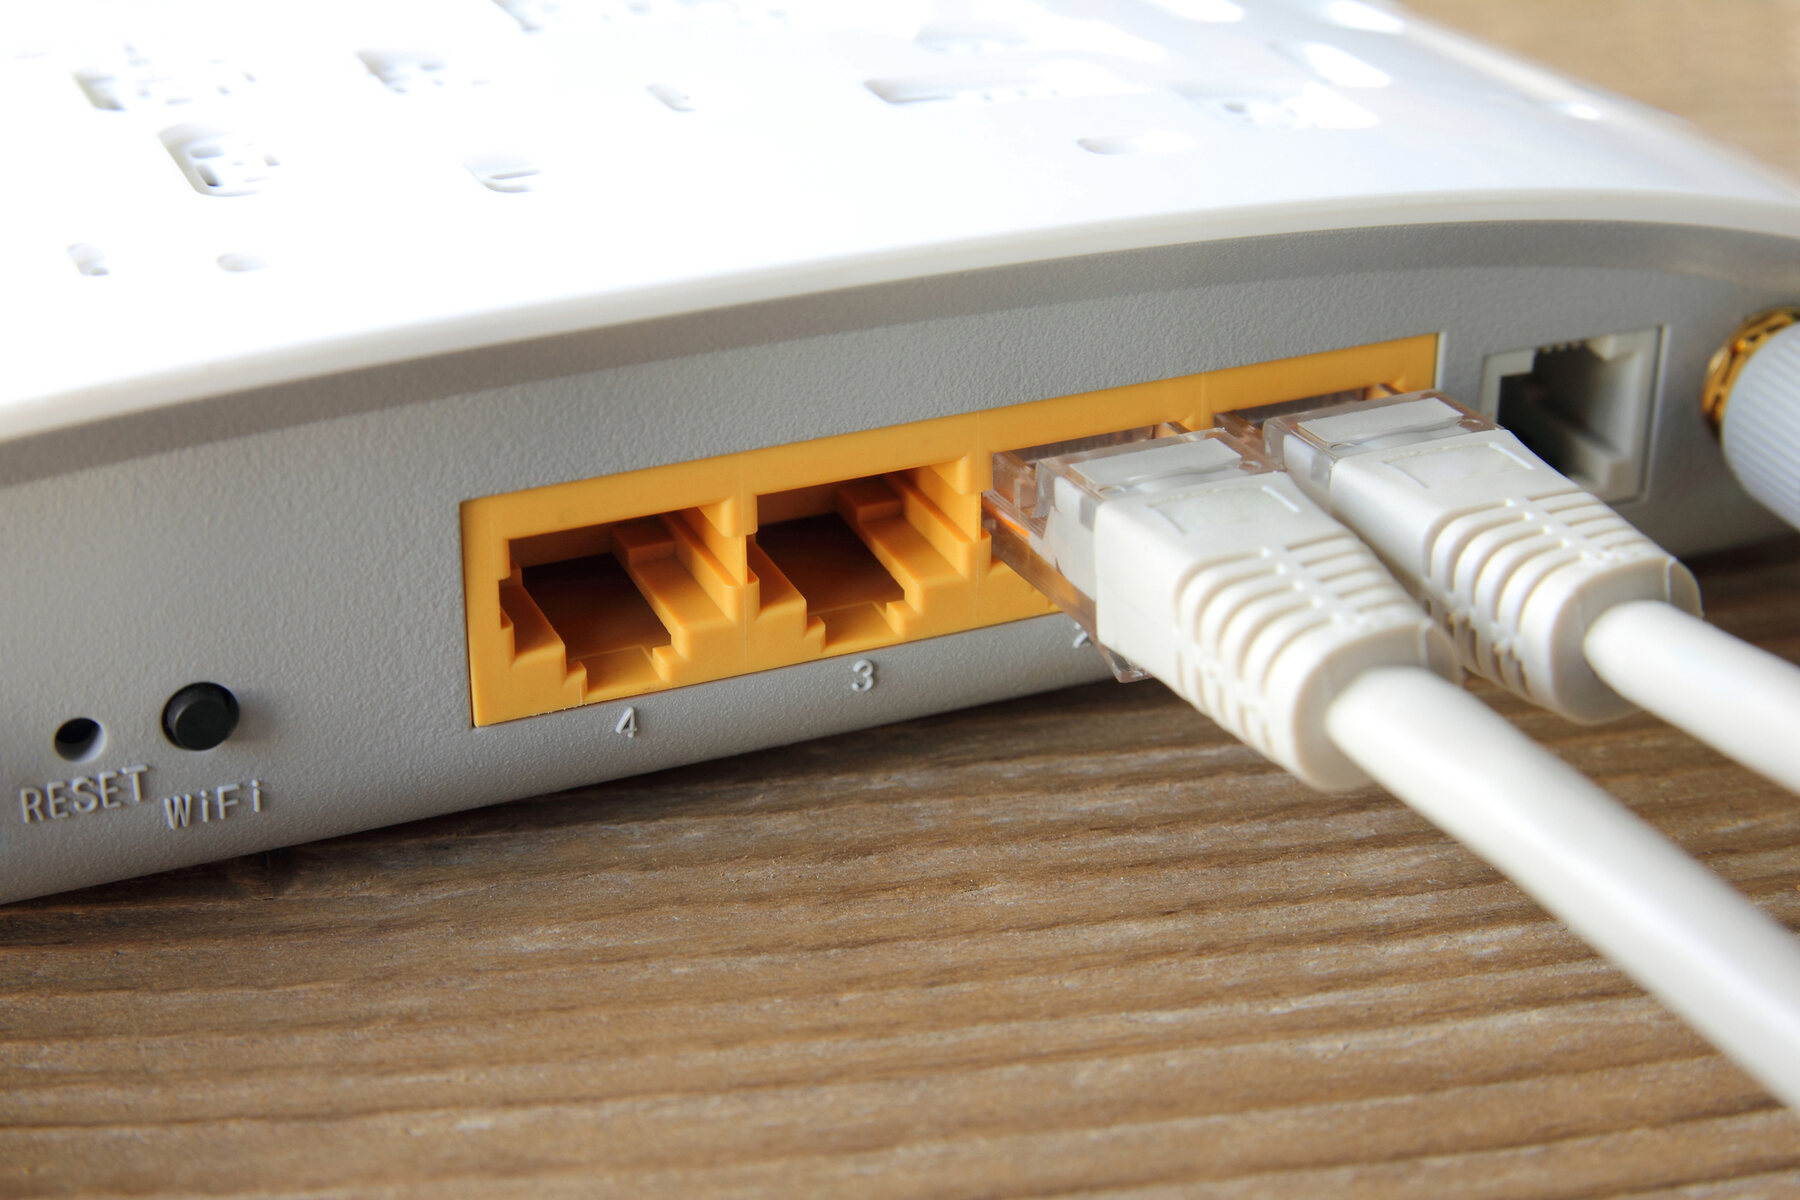
Start by ensuring that your computer is connected to the same network as your router. Use an Ethernet cable to connect your computer directly to one of the router’s LAN ports or connect to the router’s Wi-Fi network if it supports wireless connections.
Next, open your preferred web browser and enter the IP address of your router in the address bar. The default IP address is typically “192.168.1.1” or “192.168.0.1”, but it may vary depending on the router brand and model. If you’re unsure, refer to the router’s manual or check the manufacturer’s website for the correct IP address.
Press the Enter key, and you will be directed to the login page of your router’s web interface. Here, you will need to enter the username and password to access the settings. If you have not changed these credentials, you can find the default username and password in the router’s manual or on the label located on the router itself.
Once you have entered the correct login credentials, click the Login or Submit button to access the router’s web interface. This will open up a dashboard or landing page that displays various settings and configuration options for your router.
If you encounter any issues logging in or accessing the web interface, make sure you have entered the correct IP address and login credentials. If problems persist, you may need to consult the router’s manual or contact the manufacturer’s support for further assistance.
With successful access to the router’s web interface, you can now proceed to the next step, which involves entering the router’s login credentials.
Step 5: Enter router login credentials
After accessing your router’s web interface, you will need to enter your login credentials to gain full administrative access. These credentials ensure that only authorized users can make changes to the router’s settings and firmware.
On the login page of the web interface, you will typically find fields to enter the username and password. If you have not changed these credentials, refer to the router’s manual or look for the default login information on the label attached to the router.
Enter the correct username and password in the designated fields. The username and password are case-sensitive, so make sure to enter them exactly as specified. If you have forgotten the login details or changed them in the past, you may need to perform a factory reset of the router to restore the default credentials. Refer to the router’s manual for instructions on how to reset it.
Once you have entered the login credentials, click the Login or Submit button to proceed. If the credentials are valid, you will be granted access to the router’s full range of settings and options.
It’s important to note that changing the default username and password is highly recommended for security purposes. Using easily guessable or widely known login credentials can put your router and network at risk. Create a strong, unique password that combines upper and lowercase letters, numbers, and special characters to secure your router’s access.
Now that you have successfully entered the router’s login credentials, you can move on to the next step, which involves locating the firmware update section in the router’s web interface.
Step 6: Locate the firmware update section
Once you have logged into your router’s web interface, it’s time to locate the firmware update section. This section will allow you to initiate the firmware update process and apply the downloaded firmware file to your router.
The location of the firmware update section may vary depending on the router’s interface and firmware version. Look for menu options such as “Administration,” “System,” or “Firmware Update.” These options are typically found in a navigation bar or sidebar within the web interface.
If you’re having trouble finding the exact location, refer to the router’s manual or the manufacturer’s website for guidance. Many manufacturers provide detailed instructions or video tutorials on how to navigate their router’s web interface.
Once you have located the firmware update section, you may see information about the current firmware version, any available updates, and options for applying the update.
Some routers may have an automatic update feature that allows the router to check for updates and install them automatically. If this option is available, you can enable it to simplify the update process. However, if you have downloaded the latest firmware file manually, you can choose the option to apply it manually.
Remember to read any instructions or warnings provided in the firmware update section. Pay attention to any specific requirements or precautions mentioned by the manufacturer to ensure a successful firmware update.
Once you have familiarized yourself with the firmware update section and are ready to proceed, move on to the next step, which involves choosing the downloaded firmware file for installation.
Step 7: Choose the downloaded firmware file
Now that you have located the firmware update section within your router’s web interface, it’s time to choose the downloaded firmware file for installation. This step will ensure that the latest firmware version is applied to your router, bringing you the benefits of improved performance, enhanced security, and bug fixes.
In the firmware update section, you will typically find an option to browse or choose the firmware file that you downloaded earlier. Look for buttons or links labeled “Browse” or “Choose File”.
Click on the appropriate button to open a file dialog box that allows you to navigate to the location where you saved the downloaded firmware file on your computer.
Locate and select the firmware file from the file dialog box, then click “Open” or “Choose” to confirm your selection. The file name of the firmware file should now be displayed in the appropriate field or next to the file browsing button.
It’s essential to ensure that you have selected the correct firmware file that matches your router model and firmware version. Installing an incompatible firmware file may cause errors, malfunctions, or even render your router inoperable. Double-check the file name and verify its accuracy before proceeding.
If you cannot find the downloaded firmware file or accidentally selected the wrong file, go back and repeat the previous step to download the correct firmware file from the manufacturer’s website.
Once you have chosen the correct firmware file, you’re now ready to proceed to the next step and initiate the firmware update process.
Step 8: Initiate the firmware update
After choosing the downloaded firmware file, it’s time to initiate the firmware update process. This step will apply the new firmware version to your router, bringing you the latest features, improvements, and bug fixes.
In the firmware update section of your router’s web interface, you will typically find a button or link labeled “Update,” “Apply,” or something similar. Click on this button to start the firmware update process.
Before proceeding, make sure that you have a stable power supply and a reliable internet connection. Interrupting the firmware update process can cause severe issues, so it’s crucial to ensure a smooth and uninterrupted update.
Once you click the update button, the router will begin the firmware installation process. This may take several minutes, during which the router may restart or display progress indicators.
It’s important not to interrupt the update process or power off the router. Doing so can have severe consequences, including damage to the router or an incomplete firmware installation that may cause malfunctions.
As the firmware update progresses, you may see status messages or progress bars indicating the update’s status. It’s normal for the router to restart or temporarily disconnect from the network during the update process. Avoid any actions that may disrupt the update, such as accessing the router’s web interface or disconnecting cables.
Be patient and allow the firmware update process to complete. Once finished, your router will reboot, and the updated firmware version will be applied.
After the reboot, your router should be running the latest firmware version. To confirm the successful update, you can check the firmware version in the router’s web interface, following the steps outlined in earlier sections.
Congratulations! You have successfully initiated the firmware update process. Now, proceed to the next step to monitor the update progress and ensure everything is working correctly.
Step 9: Monitor the update progress
After initiating the firmware update process, it’s important to monitor the progress to ensure everything is proceeding as expected. Monitoring the update will help you identify any potential issues or errors that may require your attention.
During the firmware update, your router may display status messages or progress indicators on its web interface. It’s a good practice to keep an eye on these messages to track the update’s progress.
While the update is in progress, refrain from making any changes to your router’s settings or interrupting the update process. Doing so can lead to complications or unsuccessful firmware installation.
The update process may take several minutes to complete, depending on the size of the firmware file and the performance of your router. To avoid any disruptions or interruptions, make sure your router has a stable power supply and a reliable internet connection.
If the update process encounters any errors or issues, it may display error messages or fail to complete. In such cases, it’s recommended to consult the router’s manual or contact the manufacturer’s support for assistance. They can provide guidance on troubleshooting the issue and resolving any firmware update-related problems.
Once the firmware update process is complete, your router will automatically restart, and the updated firmware will be applied. It’s common for the router to go offline temporarily during the reboot process. Wait for a few moments to allow the router to regain connectivity.
After the router has restarted, verify that the firmware update was successful by checking the firmware version in the router’s web interface. Ensure that it matches the newly installed version that you downloaded.
If the updated firmware version is displayed correctly, it indicates that the firmware update was successfully applied. But if the version hasn’t changed or you encounter any issues after the update, you may need to repeat the process or seek technical support to troubleshoot the problem.
By monitoring the update progress closely, you can ensure that your router is running the latest firmware version for optimal performance and security.
Step 10: Reboot the router
After the firmware update process is complete, it’s essential to reboot your router to ensure that the new firmware is fully implemented and all changes take effect. Rebooting your router will help finalize the update and ensure a smooth transition to the updated firmware.
To reboot your router, locate the power source and disconnect it. This can typically be done by unplugging the power adapter from the router or disconnecting the power cable from the wall outlet. Wait for a few seconds to allow the router to fully power down.
After the brief waiting period, plug the power adapter back into the router or reconnect the power cable to the wall outlet. The router will start to power on, and you should see the lights or indicators on the router change or illuminate. This indicates that the router is rebooting and initializing with the updated firmware.
It may take a minute or two for the router to fully boot up and establish a stable connection. During this time, avoid making any configuration changes or interrupting the process. Allow the router to complete the reboot process naturally.
Once the reboot is complete, the router will be running on the latest firmware version. You can now proceed to use your router as usual, taking advantage of the improvements, bug fixes, and new features that the updated firmware offers.
If you experience any issues or connectivity problems after the reboot, try restarting your devices (such as computers, smartphones, or game consoles) to ensure they are properly synchronized with the updated router.
By rebooting your router after a firmware update, you can ensure a seamless transition to the new firmware version and optimize the performance and stability of your network.
Conclusion
Updating the firmware of your wireless router is a crucial task that helps improve performance, enhance security, and ensure compatibility with new devices. By following the steps outlined in this guide, you can successfully update your router’s firmware and enjoy the benefits of a more efficient and secure network.
Throughout the process, you have learned the importance of checking the current firmware version, identifying your router model, and downloading the latest firmware from the manufacturer’s website. You have also discovered the significance of connecting to the router’s web interface, entering the login credentials, and locating the firmware update section.
You have gained knowledge on how to choose the downloaded firmware file, initiate the firmware update, and monitor the progress to ensure a successful installation. Additionally, you have understood the importance of rebooting the router after the update to finalize the firmware implementation.
Remember, keeping your router’s firmware up to date is vital for maintaining optimal performance and security. It’s recommended to periodically check for new firmware updates and apply them as they become available. Regularly updating your router’s firmware will ensure that you have access to the latest features, bug fixes, and security patches.
If you encounter any issues during the firmware update process or have questions about the specific instructions for your router model, consult the manufacturer’s documentation or reach out to their support team for assistance.
By following these steps and understanding the importance of firmware updates, you can ensure that your wireless router operates at its best, providing a reliable and secure internet connection for all your devices.