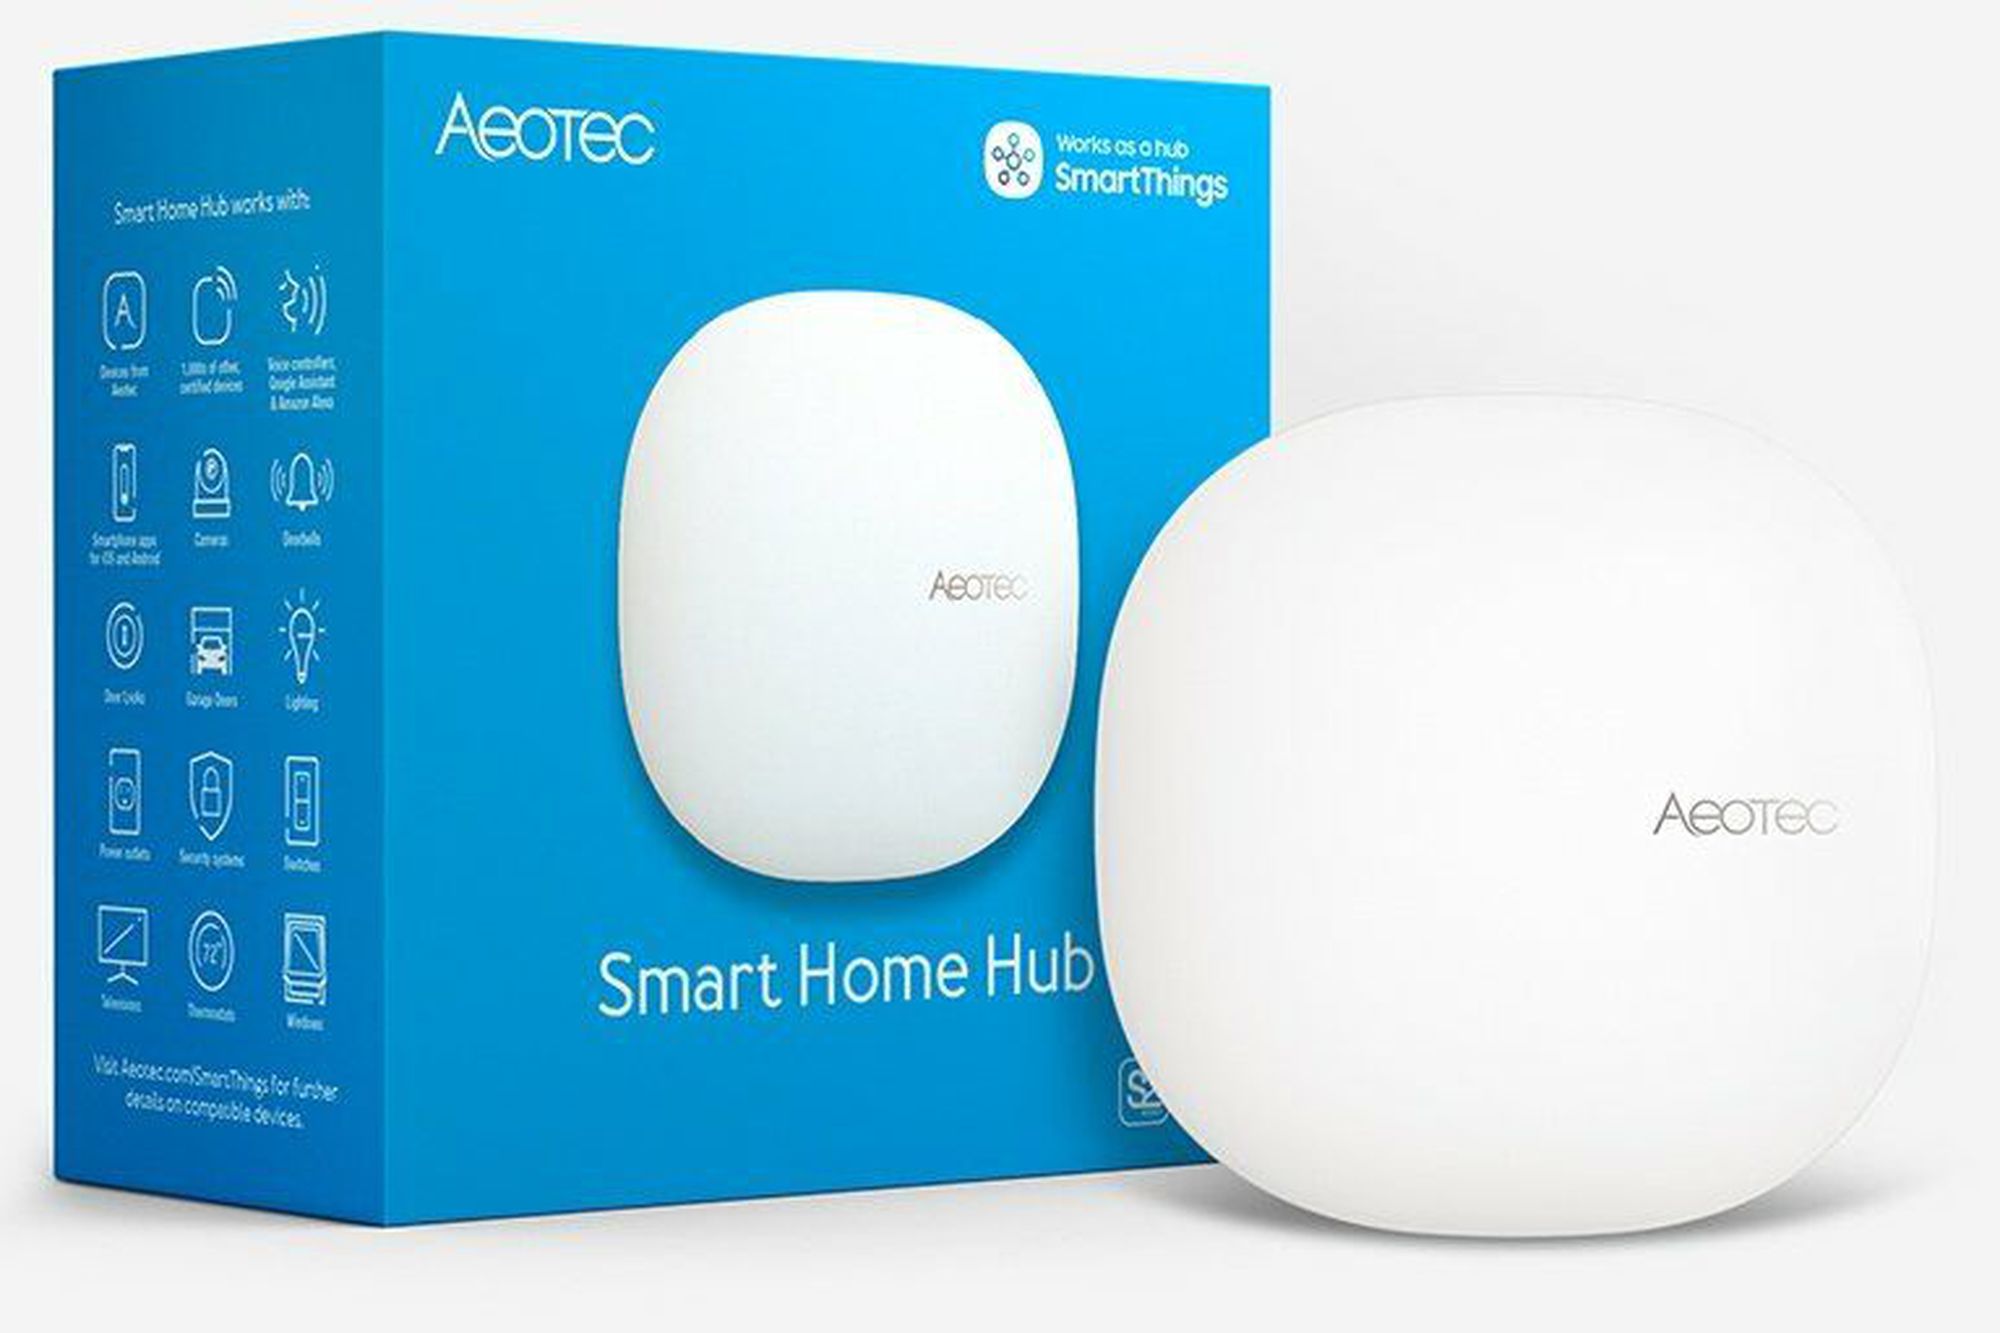
Introduction
Welcome to the world of smart homes! With the rapid advancements in technology, transforming your home into a smart hub of interconnected devices is now easier than ever. A smart home hub serves as the central control unit that manages all your smart devices, allowing you to conveniently control and automate various aspects of your home life.
Are you tired of fumbling with multiple remote controls or smartphone apps to turn on your lights, adjust the temperature, or lock your doors? A smart home hub eliminates the hassle by acting as a single point of control for all your smart devices, bringing harmony and efficiency to your daily routines.
But why should you invest in a smart home hub? Aside from the sheer convenience and control it provides, a smart hub unlocks endless possibilities for creating a truly interconnected home. Imagine arriving home to a perfectly illuminated pathway, a thermostat set to your preferred temperature, and a welcoming ambiance that lights up as you walk through the door – all thanks to your smart hub orchestrating everything seamlessly.
The key to setting up a smart home hub lies in selecting the right one for your needs. There are different types of hubs available in the market, each with its own unique features and compatibility with various smart devices. It’s important to choose a hub that supports the devices you already own or plan to incorporate into your smart home ecosystem.
In this guide, we will walk you through the step-by-step process of setting up a smart home hub, from the initial hardware installation to customizing settings and creating automations. Whether you’re a newbie or a tech-savvy enthusiast, this guide will ensure a smooth and efficient setup process, allowing you to enjoy the full benefits of a smart home system.
What is a Smart Home Hub?
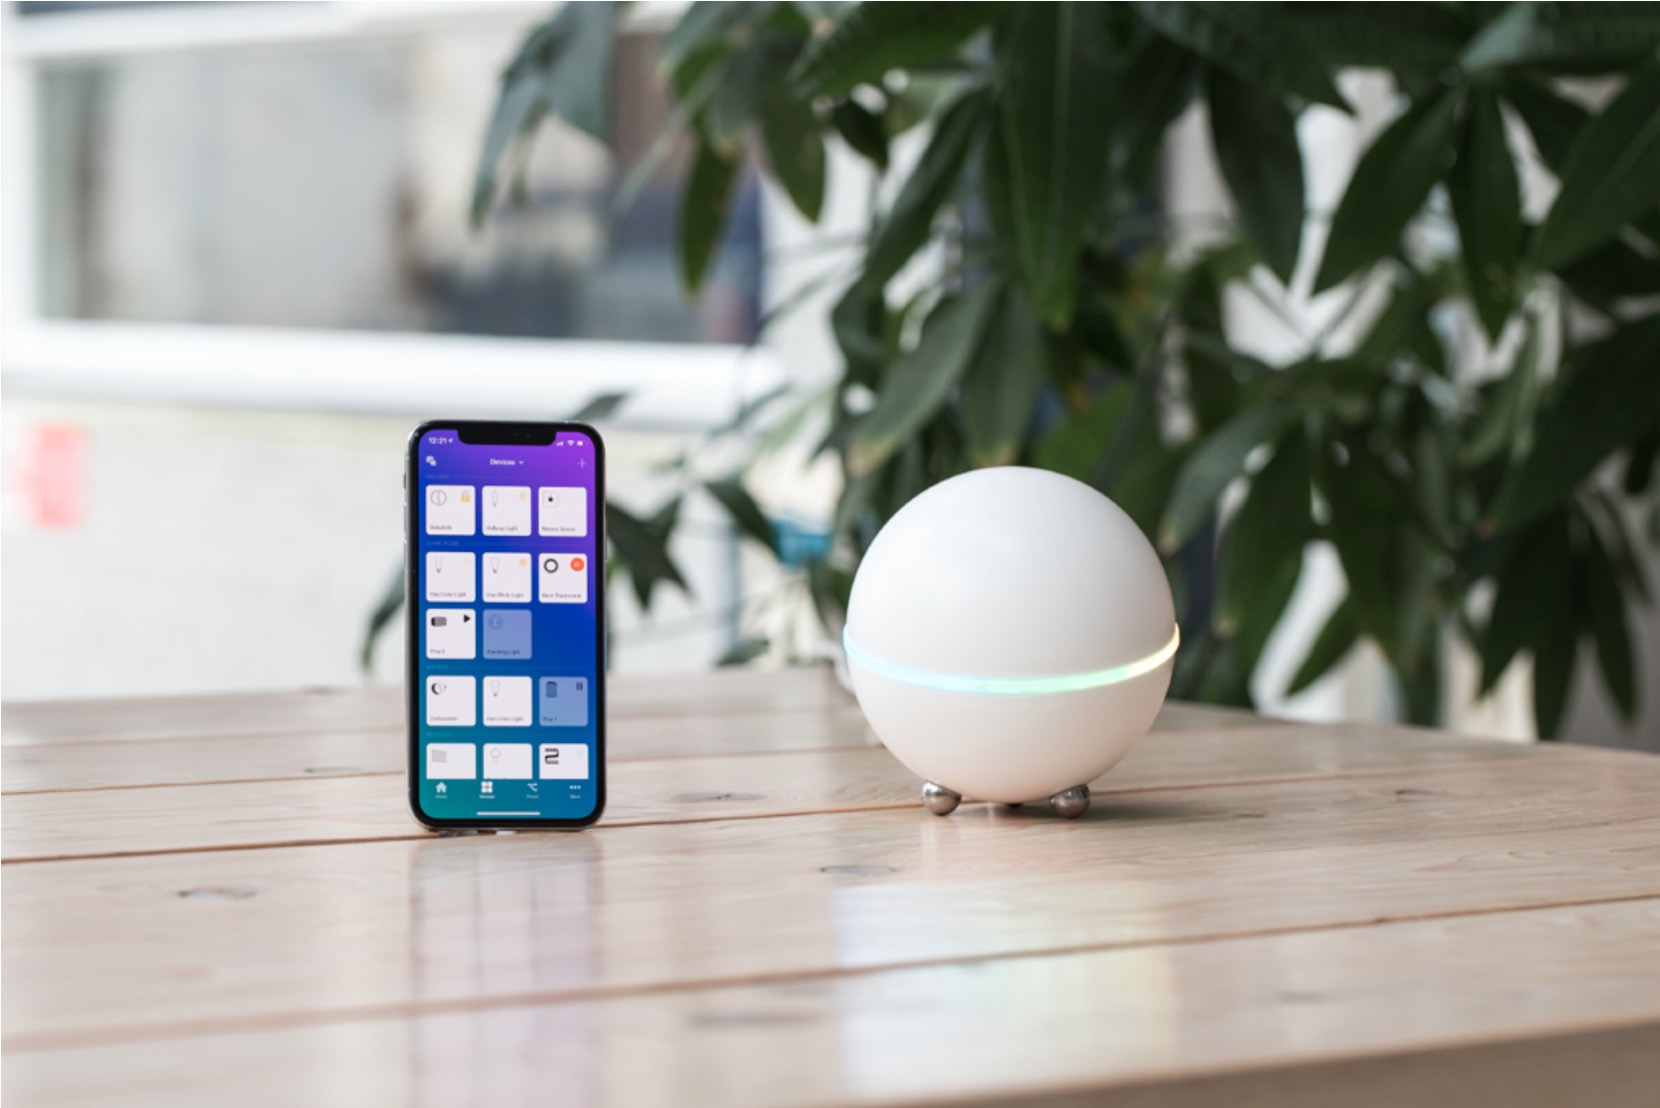
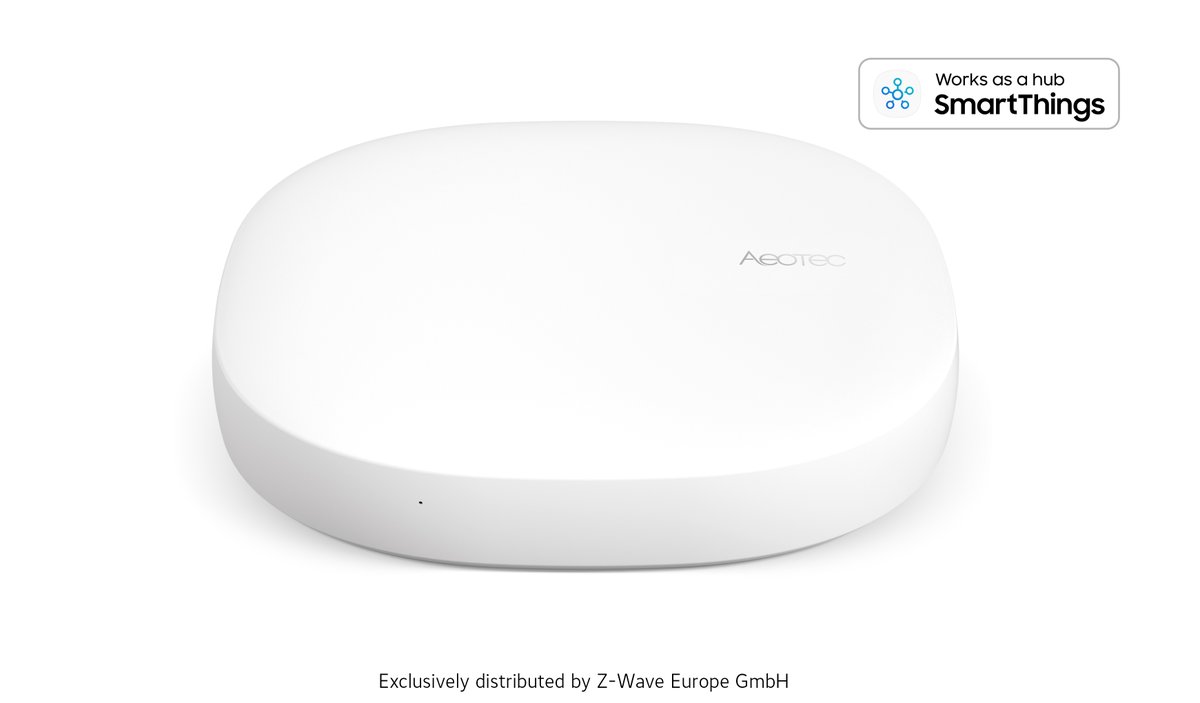
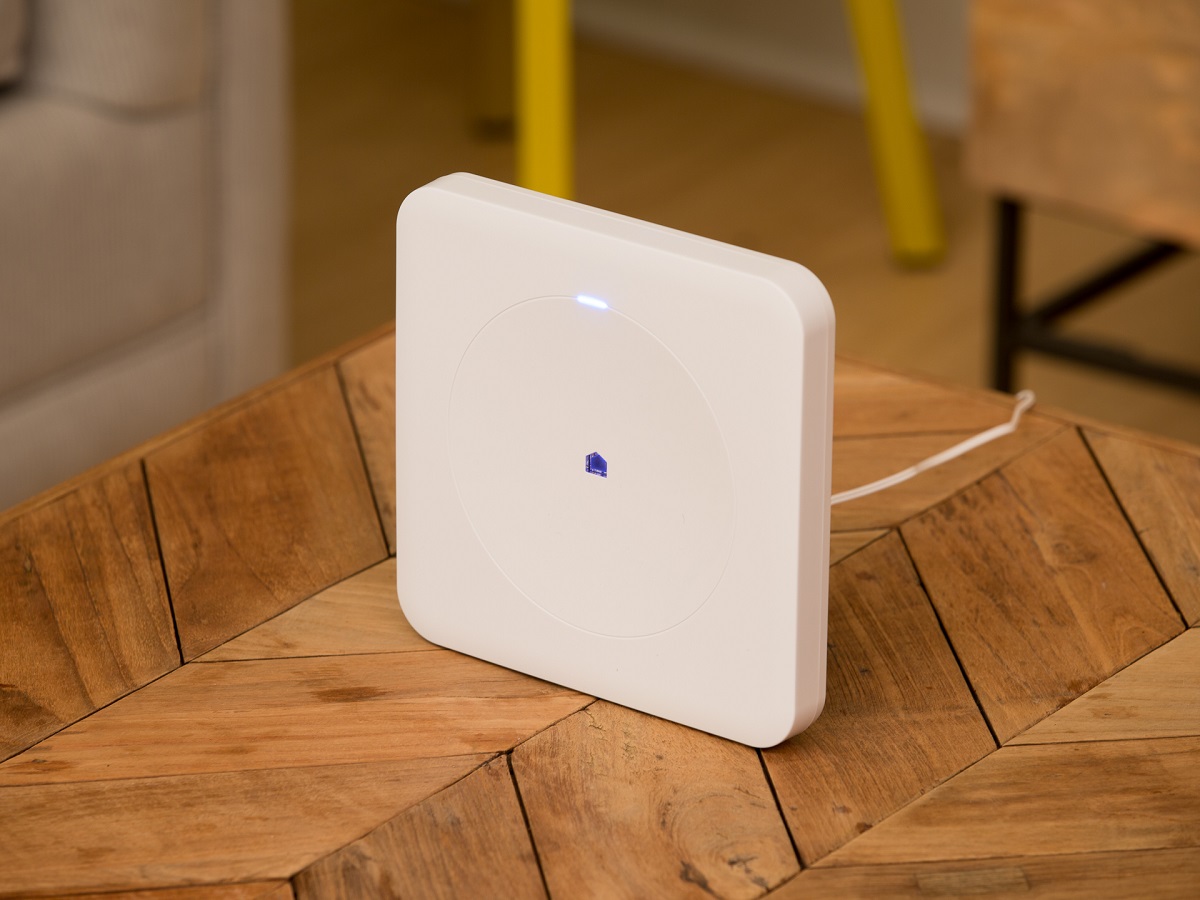
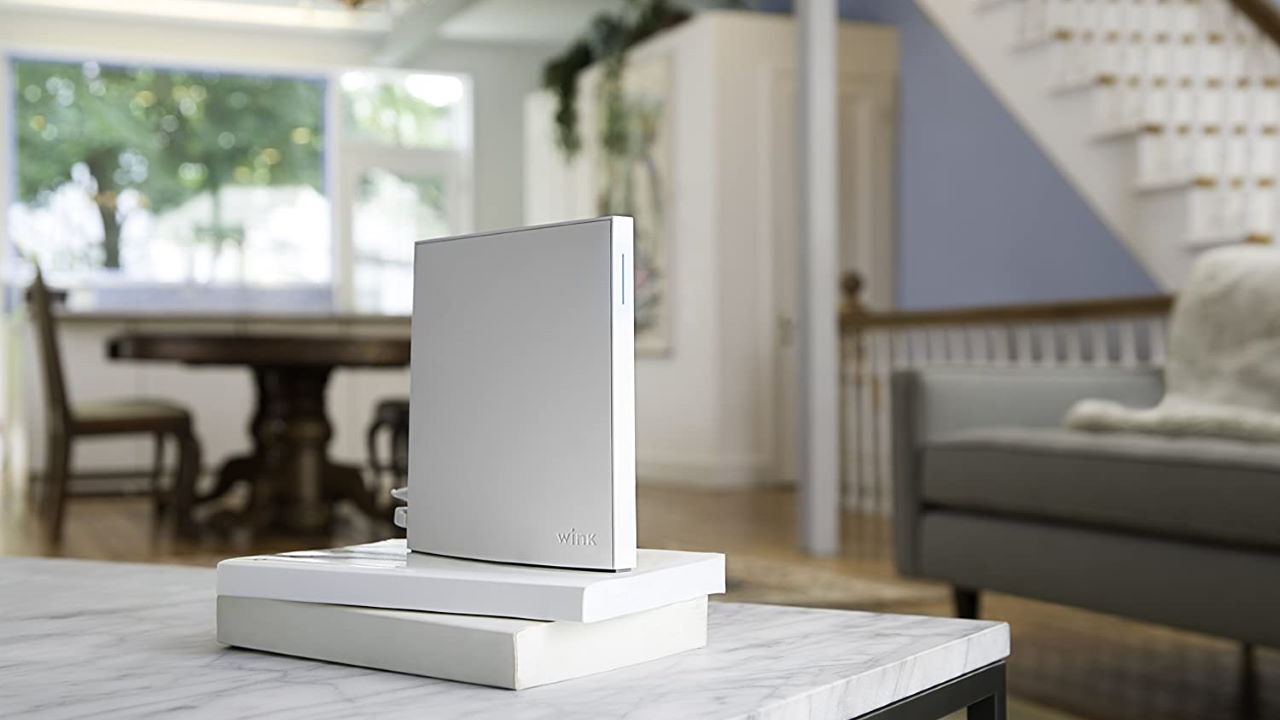
A smart home hub is a central device that connects and controls various smart devices in your home. It serves as the brain of your smart home ecosystem, allowing you to manage and automate your devices from a single control point.
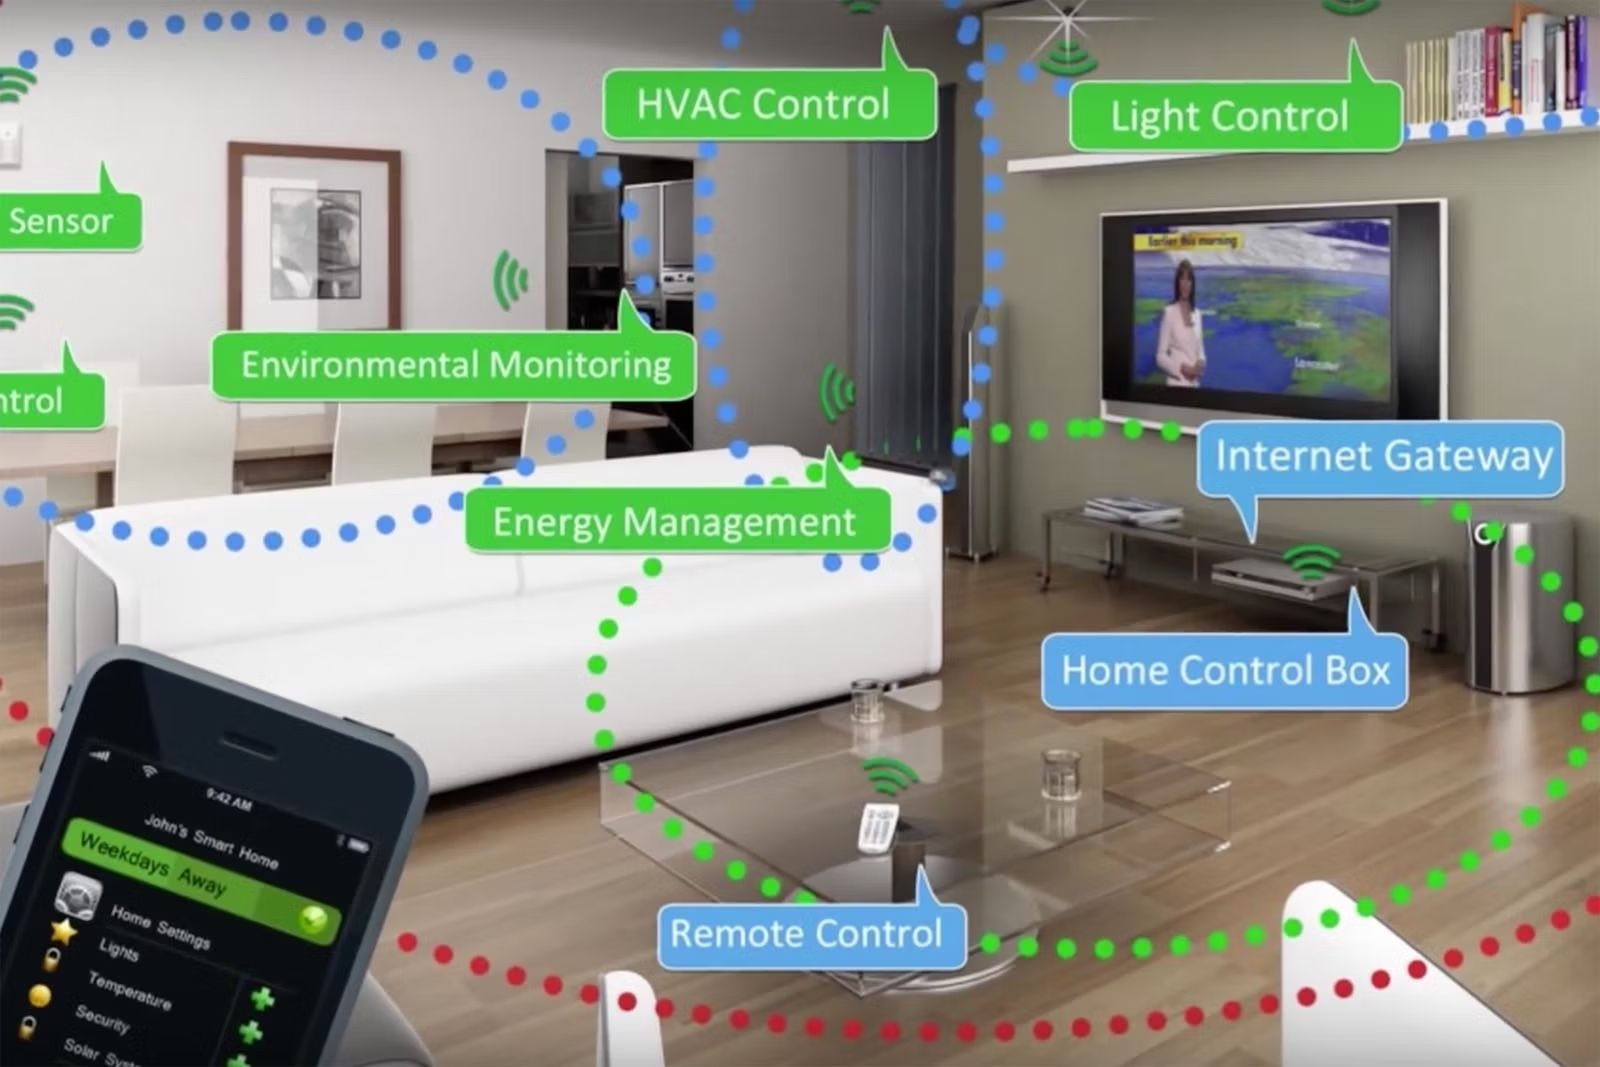
Think of the hub as a conductor, orchestrating the interactions between your smart devices. It acts as a bridge between different technologies, protocols, and brands, enabling seamless communication and integration among your devices. With a smart home hub, you can control and monitor your devices using a single app or voice commands, simplifying the way you interact with your smart home.
The hub functions by creating a wireless network, such as Wi-Fi, Zigbee, or Z-Wave, that connects all the devices in your smart home. This network allows the devices to communicate with each other, enabling synchronized actions and automation. For example, the hub can communicate with your smart lights, locks, thermostats, and security cameras, allowing you to control them remotely and create custom scenes or routines.
Furthermore, a smart home hub provides a unified interface for managing and controlling your devices. Instead of juggling multiple apps or remotes, you can access and control all your devices from a single app or voice assistant, simplifying the user experience. This centralization of control offers convenience, efficiency, and a more streamlined approach to managing your smart home.
Another crucial aspect of a smart home hub is its compatibility with various smart devices and protocols. Different smart devices use different communication protocols, such as Wi-Fi, Bluetooth, Zigbee, or Z-Wave. A smart home hub that supports multiple protocols ensures that you can integrate and control devices from different brands and technologies. This compatibility makes it easier to expand and customize your smart home system, as you’re not limited to a specific brand or ecosystem.
In summary, a smart home hub is the central command center that brings together all your smart devices, allowing you to control and automate them from one convenient location. It provides compatibility, convenience, and customization options, transforming your home into an interconnected and intelligent environment.
Why do you need a Smart Home Hub?
You may be wondering why you need a smart home hub when you can control your smart devices individually through their dedicated apps or voice assistants. While it’s true that you can operate your devices without a hub, having one offers several compelling advantages that enhance your smart home experience.
Firstly, a smart home hub brings all your devices together, allowing for seamless integration and control. Instead of managing each device separately, a hub enables you to control them collectively through a single interface. This centralized control simplifies the management of your smart home and eliminates the need for multiple apps or voice commands.
Secondly, a smart home hub enables automation and enhanced functionality. With a hub, you can create custom routines, scenes, and automations that coordinate the actions of multiple devices. For example, you can set up a “Goodnight” scene that turns off the lights, adjusts the thermostat, and locks the doors at a specific time every night. These automations make your home more efficient, convenient, and secure, without manual intervention.
Additionally, a smart home hub acts as a buffer between your devices and the internet. It provides an additional layer of security by creating a private network for your devices, separating them from your main Wi-Fi network. This isolation helps protect your network from potential vulnerabilities and ensures a more secure smart home environment.
Another important reason for having a smart home hub is its compatibility with different devices and communication protocols. A hub that supports multiple protocols, such as Wi-Fi, Zigbee, and Z-Wave, enables you to connect and control a wide range of devices from various brands. This flexibility allows you to choose the devices that best fit your needs and preferences, rather than being limited to a specific brand or ecosystem.
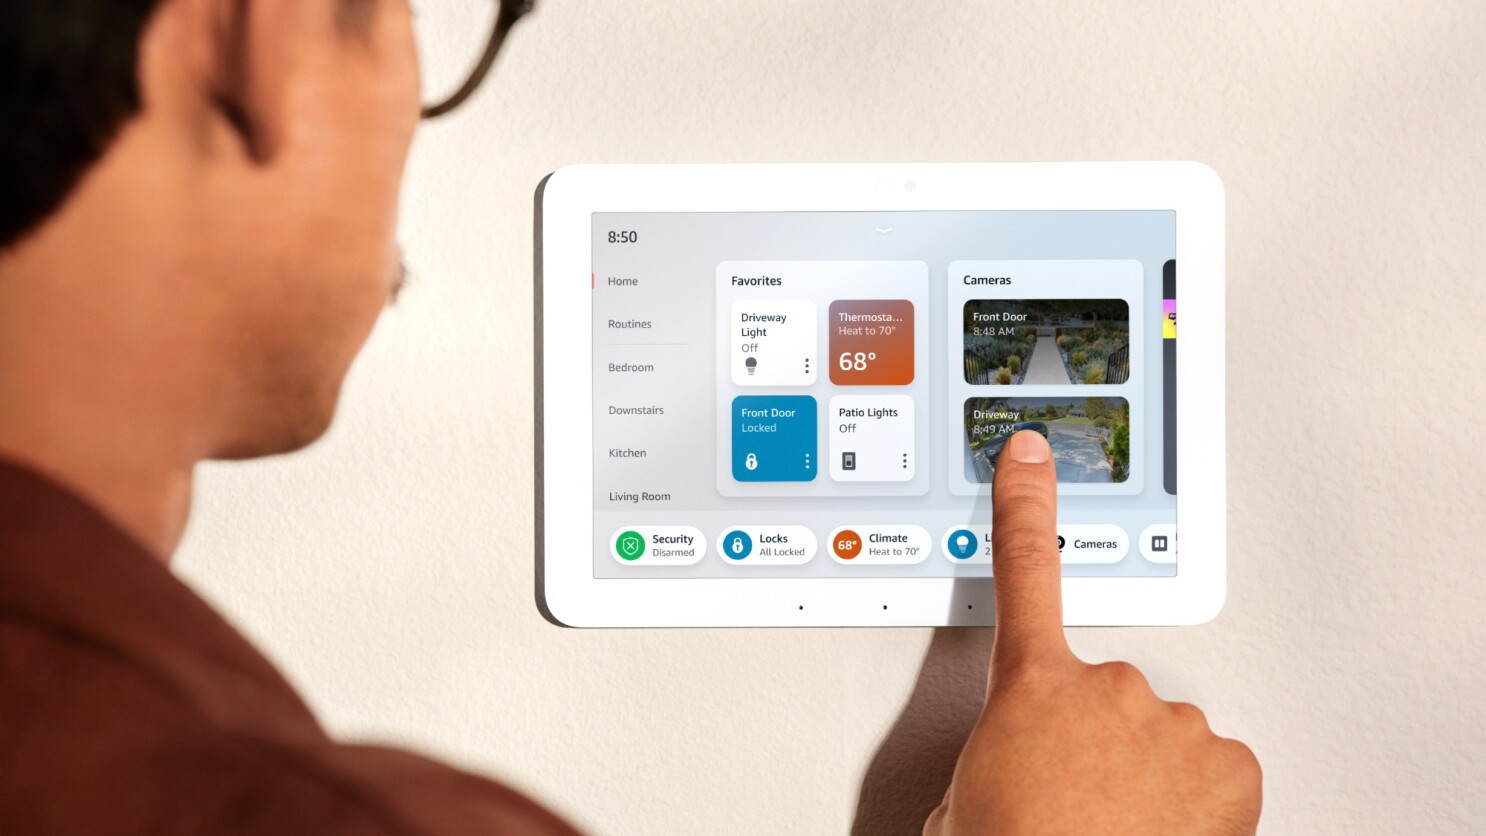
Furthermore, a smart home hub reduces the reliance on voice commands. While voice assistants like Alexa and Google Assistant are convenient, they may not always be practical or available. With a hub, you can control your devices through a mobile app or a dedicated control panel, providing alternative methods of control for different situations.
In summary, a smart home hub is not just a luxury but a valuable addition to your smart home ecosystem. It offers centralized control, automation capabilities, enhanced security, compatibility, and alternative control options. With a hub, you can truly unlock the full potential of your smart devices and create a connected home that works harmoniously to simplify your life.
Choosing the Right Smart Home Hub
Choosing the right smart home hub is crucial to ensure compatibility and seamless integration with your smart devices. With the variety of options available in the market, it’s important to consider several factors to make an informed decision.
1. Compatibility: The first thing to consider is the compatibility of the hub with your existing or planned smart devices. Check if the hub supports the communication protocols used by your devices, such as Wi-Fi, Zigbee, or Z-Wave. Some hubs may also have additional compatibility with specific brands or ecosystems, so make sure to research and select one that suits your needs.
2. Device Support: Look for a hub that offers a wide range of device support. The more devices the hub can connect and control, the more flexibility you’ll have in building and expanding your smart home system. Ensure that the hub can handle the specific types of devices you want to integrate, such as lights, locks, thermostats, cameras, and sensors.
3. User Interface: Consider the user interface provided by the hub. Look for a hub with a user-friendly interface that is easy to navigate and control. A well-designed app or software interface will greatly enhance your smart home experience by providing a seamless and intuitive control panel for managing your devices and creating automations.
4. Automation Capabilities: Check the automation capabilities of the hub. Look for features that allow you to create custom scenes, routines, or schedules for your devices. The more advanced the automation options, the more flexibility you’ll have in customizing your smart home system according to your preferences and routines.
5. Voice Assistant Integration: Consider if the hub integrates with popular voice assistants like Alexa or Google Assistant. Voice control can be a convenient way to interact with your smart home, and having compatibility with voice assistants gives you the flexibility to control your devices using voice commands.
6. Security: Pay attention to the security features offered by the hub. Look for features like encryption, firmware updates, and secure remote access to ensure the protection of your smart home system and personal data.
7. Price: Finally, consider your budget. Smart home hubs come at various price points, so determine how much you are willing to invest in a hub based on your requirements and the features offered.
By carefully evaluating these factors, you can choose the right smart home hub that aligns with your needs, devices, and budget. Remember, the hub will serve as the central control unit for your entire smart home, so it’s essential to make an informed decision to ensure compatibility and a seamless smart home experience.
Step 1: Getting Started
Before diving into setting up your smart home hub, it’s important to start with some initial preparations. This step will help ensure a smooth and successful setup process. Here are a few key steps to get started:
1. Research and Select a Smart Home Hub: Begin by researching and selecting a smart home hub that suits your needs and preferences. Consider factors such as compatibility, device support, user interface, automation capabilities, voice assistant integration, and security features. Once you’ve made your choice, acquire the hub and any accompanying accessories required for setup.
2. Check System Requirements: Review the system requirements of the hub to ensure compatibility with your existing network and devices. This may include checking if you have a compatible Wi-Fi network, a smartphone or tablet that meets the minimum operating system requirements for the hub’s app, or any other prerequisites specified by the manufacturer.
3. Prepare Your Home Network: Ensure that your home network is stable and functioning properly. Check the Wi-Fi connectivity and signal strength in the areas where you plan to place your smart home devices. If needed, consider optimizing your Wi-Fi network by adding range extenders or upgrading your router to ensure reliable connectivity throughout your home.
4. Create a List of Smart Devices: Take inventory of your smart devices and make a list of the devices you want to connect to the smart home hub. This will help you ensure compatibility and have a clear understanding of the devices you need to add during the setup process.
5. Gather Necessary Information: Collect any necessary information for the setup, such as the Wi-Fi network name and password, device login credentials, and any other relevant details required to connect and configure the devices. Having this information readily available will save time during the setup process.
6. Set Up a Dedicated Smart Home Space: Consider designating a central location in your home as a dedicated smart home space. This could be a room, a corner, or even a dedicated drawer or shelf. Having a designated area will help keep your smart home hub, accessories, and related materials organized and easily accessible.
By taking these initial steps, you will set a strong foundation for setting up your smart home hub. This preparation will ensure that you have all the required tools, information, and a stable network to proceed with the setup process smoothly. So, let’s move on to the next step and start setting up the hardware of your smart home hub.
Step 2: Set Up the Smart Home Hub Hardware
Now that you’re ready to set up your smart home hub, it’s time to focus on the hardware components. The specific steps may vary depending on the brand and model of your hub, so be sure to consult the manufacturer’s instructions for detailed guidance. Here are the general steps to set up the hardware of your smart home hub:
1. Unbox and Inspect: Carefully unbox the smart home hub and inspect the contents to ensure that everything is included and in good condition. Take note of any additional cables, power adapters, or accessories that may need to be connected to the hub.
2. Find the Ideal Location: Determine the optimal location for your smart home hub. It should be placed in a central area of your home, ideally close to your Wi-Fi router. Avoid placing it behind obstacles or in areas with poor Wi-Fi reception to ensure a stable connection.
3. Connect the Power: Connect the power adapter to the smart home hub and plug it into a power outlet. Ensure that the hub is receiving power and that the indicator lights, if any, are functioning correctly.
4. Connect to the Network: Depending on the hub, you may need to connect it to your home network using an Ethernet cable or Wi-Fi. Follow the manufacturer’s instructions to establish a network connection. If using Wi-Fi, make sure to have the network name (SSID) and password handy.
5. Power On and Wait: Power on the smart home hub and allow it some time to boot up. The exact time may vary, so refer to the manufacturer’s instructions. During this time, the hub may undergo initialization or firmware updates.
6. Verify Connection: Ensure that the hub is successfully connected to your home network. Check the hub’s indicator lights or use the manufacturer’s app to verify the connection status. You may be prompted to enter your Wi-Fi password or perform other setup steps to complete the network connection.
7. Complete Initial Configuration: Follow the prompts or instructions provided by the manufacturer’s app or software to complete the initial configuration of the smart home hub. This may include creating an account, assigning a name to the hub, and customizing basic settings.
8. Update Firmware: It’s recommended to check if there are any firmware updates available for your smart home hub and apply them if necessary. Firmware updates often include bug fixes, performance improvements, and new features, so keeping the hub up to date is important for optimal functionality.
Once you have completed these steps, the hardware setup of your smart home hub should be successfully completed. The hub is now ready to be connected to your smart devices and configured through the accompanying app or software. In the next step, we will explore how to connect the hub to your network and install the necessary app or software for control and configuration.
Step 3: Connect the Hub to the Network
Now that your smart home hub’s hardware is set up, it’s time to connect it to your home network. Establishing a solid network connection is crucial for the hub to communicate with your smart devices and enable seamless control. Follow these steps to connect your hub to the network:
1. Verify Network Requirements: Check the specific network requirements of your smart home hub. Ensure that you have a compatible Wi-Fi network available. Check if your network requires a specific frequency (2.4GHz or 5GHz) or security protocol (WEP, WPA, WPA2) and configure your network settings accordingly.
2. Hub Identification: Identify the unique identifier for your hub. This could be a serial number, QR code, or MAC address located on the hub or its packaging. Note this identifier as you may need it during the setup process.
3. Open App or Software: Launch the manufacturer’s app or software associated with your smart home hub. Follow the app’s instructions to begin the setup process.
4. Choose Network Connection Method: Depending on your hub, you may have different options for network connection. Common methods include connecting the hub to your Wi-Fi network directly or through an Ethernet cable. Select the appropriate option based on your network setup and follow the instructions provided.
5. Enter Network Credentials: If connecting to your Wi-Fi network, the app or software will prompt you to enter the network name (SSID) and password. Ensure that you enter the correct credentials for your network to establish a successful connection. Double-check for any typos or capitalization errors.
6. Hub Discovery: The app or software will begin searching for your hub on the network. In some cases, you may need to manually enter the unique identifier of your hub to aid in discovery. Follow the instructions provided by the app or software to proceed with the hub discovery process.
7. Follow On-screen Instructions: Once the hub is discovered, the app or software may guide you through additional steps to finalize the network connection. This may include assigning a name to the hub, selecting its location, or configuring advanced network settings. Follow the on-screen instructions to complete the process.
8. Verify Connection: Once the setup process is complete, verify that your smart home hub is connected to the network. The hub’s indicator lights or the app/software should indicate a successful network connection. If you encounter any issues, consult the manufacturer’s troubleshooting guide or contact their customer support for assistance.
By successfully connecting your hub to the network, you’ve paved the way for seamless communication with your smart devices. The hub is now ready to discover and control your devices, allowing you to enjoy the full benefits of a connected and automated home. In the next step, we’ll cover how to install the manufacturer’s app or software to manage your smart home system.
Step 4: Install the Hub’s App or Software
To fully control and configure your smart home hub, you’ll need to install the manufacturer’s app or software on your smartphone, tablet, or computer. This app or software serves as the interface through which you can manage your smart devices, create automations, and customize settings. Follow these steps to install the hub’s app or software:
1. Identify the App or Software: Determine the official app or software provided by the manufacturer for your specific smart home hub. It is usually available for download from your device’s app store or the manufacturer’s website. Take note of the app name and ensure that you download the correct version for your device’s operating system.
2. App Store Search: Open your device’s app store (e.g., Apple App Store or Google Play Store) and search for the hub’s app using its name or the manufacturer’s name. Verify that you are selecting the official app by checking the developer information and user reviews.
3. Download and Install: Tap the download or install button to begin the installation process. Allow the app to download and install on your device. Depending on your internet connection speed, this process may take a few moments.
4. Create or Sign In to an Account: Once the app is installed, open it and follow the on-screen instructions to create a new account or sign in to an existing one. This account will allow you to access and control your smart home hub from anywhere.
5. Grant Necessary Permissions: During the initial setup, you may be prompted to grant certain permissions to the app, such as access to your device’s location, camera, or microphone. Read the permissions carefully and choose whether to grant them based on your preferences and the functionality you desire.
6. Connect the App to the Hub: Follow the app’s instructions on how to connect it to your smart home hub. This process typically involves discovering the hub on your network and establishing a secure connection. Depending on the hub, you may need to enter a unique identifier or press a button on the hub for it to be recognized by the app.
7. Complete Initial Configuration: Once the app is connected to the hub, you may be guided through additional steps to finalize the configuration. This could include setting up your home information, assigning names to devices, or configuring other preferences. Follow the on-screen instructions to complete the process.
8. Explore the App’s Features: Familiarize yourself with the app’s user interface and explore its various features. Take the time to navigate through the different sections, such as device controls, automations, schedules, and settings. Get comfortable with the app’s layout and functionality to maximize your smart home experience.
By installing the hub’s app or software, you gain full control over your smart home hub and its connected devices. This powerful tool allows you to manage and customize your smart home system with ease. In the next step, we’ll discuss how to add and connect devices to your smart home hub.
Step 5: Add Devices to the Hub
With your smart home hub and app or software set up, it’s time to start adding devices to your smart home ecosystem. Adding devices to your hub allows you to control and manage them from a centralized interface. Follow these steps to add devices to your smart home hub:
1. Put Devices in Pairing Mode: Put the devices you want to add to the hub into pairing mode. Check the manufacturer’s instructions for each specific device to find out how to initiate the pairing process. This may involve pressing a button, scanning a QR code, or entering a pairing code.
2. Open the Hub’s App or Software: Launch the app or software associated with your smart home hub. Ensure that your hub is connected to the same network as your devices and that they are within range.
3. Access Device Pairing: Look for a “Add Device” or similar option within the app or software. Tap or click on it to access the device pairing feature.
4. Follow the On-screen Instructions: The app or software will guide you through the pairing process. This may include selecting the device type, such as a light bulb or door lock, or scanning for nearby devices.
5. Confirm Device Discovery: Once the app or software detects your device, confirm its discovery and proceed with the pairing process. This may involve entering any required authentication or security codes.
6. Assign Device Name and Location: Give each device a meaningful name and assign it to a specific location in your home within the app or software. This will help you easily identify and control the devices later on.
7. Repeat for Additional Devices: Repeat the above steps for each device you want to add to the hub. Take your time to carefully pair and configure each device within the app or software.
8. Verify Device Control: Once devices are successfully added, use the app or software to ensure that you can control the devices as expected. Test turning lights on and off, locking and unlocking doors, or adjusting thermostat settings, depending on the type of devices you have added.
By completing these steps, you have successfully added devices to your smart home hub. Your hub can now communicate with and control your devices through the app or software interface. Take a moment to explore the various features and options available for each device within the app or software. In the next step, we’ll cover how to customize your smart home hub settings to tailor your smart home experience to your preferences.
Step 6: Customize Your Smart Home Hub Settings
Now that you have added devices to your smart home hub, it’s time to customize the settings to tailor your smart home experience to your preferences. The hub’s app or software provides a range of options that allow you to personalize and optimize your smart home system. Follow these steps to customize your smart home hub settings:
1. Open the Hub’s App or Software: Launch the app or software associated with your smart home hub.
2. Access Settings: Look for a “Settings” or similar option within the app or software. Tap or click on it to access the hub’s settings menu.
3. Personalize Device Names and Locations: Review and update the names and locations of your devices. Modify them to better reflect their physical placement and make it easier for you to identify and control them. This can be especially useful if you have multiple devices of the same type.
4. Create Rooms or Zones: Consider organizing your devices into rooms or zones within the app or software. This grouping can help you manage and control devices more efficiently. Assign devices to their respective rooms or zones based on their physical location in your home.
5. Set Up Automations: Utilize the automation features provided by the app or software to create custom routines and schedules. Automations allow you to trigger specific actions based on events or conditions. For example, you can set up a “Good Morning” automation to automatically turn on lights and adjust the thermostat at a specific time each day.
6. Configure Notifications: Determine which notifications you want to receive from the app or software. You can customize notifications for different events, such as when a door is opened, a motion sensor is triggered, or a device requires maintenance or battery replacement.
7. Integrate Voice Assistants: If your hub supports voice assistant integration, connect it to your preferred voice assistant, such as Alexa or Google Assistant. This enables you to control your smart home devices using voice commands, providing a hands-free and convenient experience.
8. Explore Additional Features: Take the time to explore the app or software’s additional features. This may include energy monitoring, remote access, or the ability to add more advanced rules and conditions for automations. Familiarize yourself with these features to maximize the capabilities of your smart home system.
By customizing your hub’s settings, you can optimize your smart home experience to suit your needs and preferences. Take advantage of the various options available within the app or software to fully personalize and maximize the functionality of your smart home hub. In the next step, we’ll cover how to create automations and scenes to further enhance your smart home system’s capabilities.
Step 7: Create Automations and Scenes
Automations and scenes are powerful features that allow you to create personalized and hands-free experiences in your smart home. With automations, you can set up your smart devices to perform specific actions based on triggers or events, while scenes enable you to control multiple devices simultaneously with a single command. Follow these steps to create automations and scenes with your smart home hub:
1. Open the Hub’s App or Software: Launch the app or software associated with your smart home hub.
2. Access Automation and Scene Settings: Look for an “Automation” or “Scene” option within the app or software. Tap or click on it to access the automation and scene settings.
3. Create Automations: Explore the options to create automations. Choose the trigger or event that will initiate the automation, such as a specific time, a sensor detecting motion, or the state of another device. Then, specify the action or actions that you want to occur when the trigger is activated. For example, you can set an automation to turn on the lights when the front door is unlocked.
4. Set Conditions and Parameters: Customize your automations by adding conditions and parameters. These can include factors like the time of day, the presence of specific people, or the state of other devices. For instance, you can set an automation to only turn on the lights if it is past sunset.
5. Create Scenes: Explore the scene creation options within the app or software. Choose the devices and their desired states that you want to include in the scene. For example, you can create a “Movie Night” scene that sets the lights to dim and turns on the TV, while also adjusting the thermostat to the desired temperature.
6. Assign Triggers to Scenes: Assign triggers to your scenes to activate them. Triggers can be manual, such as tapping a button in the app or instructing a voice assistant, or based on other events or automations. For instance, you can create an automation that triggers a scene when a specific motion sensor detects movement.
7. Test and Refine: After creating automations and scenes, test them to ensure that they function as desired. If needed, refine the settings to fine-tune the actions and conditions until you achieve the desired outcome.
8. Review and Modify: Regularly review and modify your automations and scenes as your needs evolve. Modify them to accommodate changes in your schedule, preferences, or device setup. Regularly checking and optimizing your automations and scenes will ensure that your smart home system continues to work seamlessly.
By creating automations and scenes, you can simplify your daily routines and make your smart home system work together harmoniously. Whether it’s automatically turning off lights when no motion is detected or creating a cozy ambiance for a movie night, these features enhance the convenience and comfort of your smart home. With the ability to customize and refine them, your smart home hub becomes even more tailored to your lifestyle.
Troubleshooting Common Smart Home Hub Issues
While smart home hubs are designed to simplify and enhance your home automation experience, it’s not uncommon to encounter some challenges along the way. Here are some common issues you may encounter with your smart home hub and troubleshooting steps to resolve them:
1. Connectivity Problems: If your hub is having trouble connecting to your home network, try restarting both your hub and Wi-Fi router. Ensure that they are within range of each other and that there are no physical obstructions impeding the signal.
2. Device Connection Issues: If you are unable to successfully add a device to your hub, make sure the device is in pairing mode and within range of the hub. Check the manufacturer’s instructions for any specific requirements or troubleshooting steps for the device.
3. Unresponsive Hub: If your hub becomes unresponsive or stops responding, try power cycling it by unplugging it from the power source and waiting for a few moments before plugging it back in. This process can help reset the hub’s functionality.
4. App or Software Glitches: If you encounter issues with the app or software associated with your hub, such as crashes or slow performance, try closing the app completely and reopening it. If the problem persists, check for available updates for the app or software and install them.
5. Interference from Other Devices: If you are experiencing connectivity issues or intermittent performance, interference from other devices operating on the same frequency, such as microwave ovens or cordless phones, could be the culprit. Try relocating your hub or other devices to minimize interference.
6. Compatibility Problems: If you’re having trouble controlling certain devices with your hub, verify that they are compatible with your hub’s communication protocol. Some devices may require additional configuration or firmware updates to work seamlessly with your hub.
7. Network Security Settings: If your hub is having difficulty connecting to your network, ensure that your network’s security settings, such as firewall or MAC address filtering, are not blocking the hub’s access. Check your network settings and make any necessary adjustments to allow communication with the hub.
8. Power Supply Issues: If your hub is experiencing power-related issues, such as intermittent power failures or inconsistent performance, check the power supply connection. Consider using a surge protector or a different power outlet to ensure a stable power source for the hub.
If you have tried these troubleshooting steps and are still experiencing issues with your smart home hub, consult the manufacturer’s support documentation or contact their customer support for further assistance. They should be able to provide specific guidance tailored to your hub’s model and address any unresolved issues you may encounter.
Remember, troubleshooting can be a process of trial and error, but with patience and persistence, you can overcome common issues and enjoy the full benefits of your smart home hub.
Conclusion
Congratulations! You have successfully set up your smart home hub and created a fully functional smart home ecosystem. By following the steps outlined in this guide, you’ve gained the ability to control and automate various aspects of your home, bringing convenience, efficiency, and enhanced comfort to your daily life.
Throughout the process, you learned about the importance of selecting the right smart home hub, connecting it to your network, installing the necessary app or software, adding devices, and customizing settings to your preferences. You also explored the creation of automations and scenes, allowing you to further personalize your smart home experience.
While setting up and troubleshooting a smart home hub can sometimes be challenging, remember that persistence and patience are key. It’s important to familiarize yourself with the manufacturer’s instructions, seek support when needed, and continuously update and refine your smart home system as your needs evolve over time.
As you continue to explore and enjoy the possibilities of your smart home hub, don’t forget to stay informed about updates, new device integrations, and improvements in technology. The world of smart homes is constantly evolving, bringing new features and opportunities to enhance your lifestyle even further.
Now that you have a fully operational smart home hub, take the time to explore its capabilities and experiment with different automations and scenes. Tailor your smart home system to your preferences, and enjoy the convenience and comfort that it brings to your everyday life.
Welcome to the future of home automation! Embrace the power of your smart home hub and watch as it transforms your living space into an intelligent, interconnected environment. Say goodbye to manually adjusting devices and say hello to a more seamless, efficient, and enjoyable home experience. Cheers to your smart home journey!


