Introduction
When it comes to online gaming, having clear and crisp communication with your teammates and opponents is essential. That’s where a reliable microphone comes into play. A good microphone allows you to communicate effectively, strategize with your team, and immerse yourself in the gaming experience.
Setting up a microphone for online gaming may seem like a daunting task, especially if you’re new to the world of gaming equipment. However, with the right guidance, it can be a straightforward process that greatly enhances your gaming experience.
In this article, we’ll guide you through the steps of setting up a microphone for online gaming. We’ll cover everything from choosing the right microphone to adjusting the settings for optimal performance. So, whether you’re a beginner or an experienced gamer looking to improve your setup, read on to learn how to make the most of your gaming microphone.
Before we dive into the technical details, it’s important to mention that having a microphone is not just about communication—it’s about creating a more immersive and engaging gaming experience. Imagine being able to trash talk your opponents, coordinate strategies with your team, or communicate crucial information in real-time. All of this becomes possible with a high-quality microphone.
Now that we’ve established the significance of a microphone in online gaming, we can move on to the next step: choosing the right microphone for your needs. Keep in mind that there are several factors to consider, including sound quality, compatibility, and budget. Let’s now explore these factors and help you make an informed decision.
Choosing the Right Microphone
When it comes to choosing the right microphone for online gaming, there are a few important factors to consider. The microphone you choose can greatly impact the quality of your voice communication, so it’s crucial to make an informed decision. Here are some key points to keep in mind:
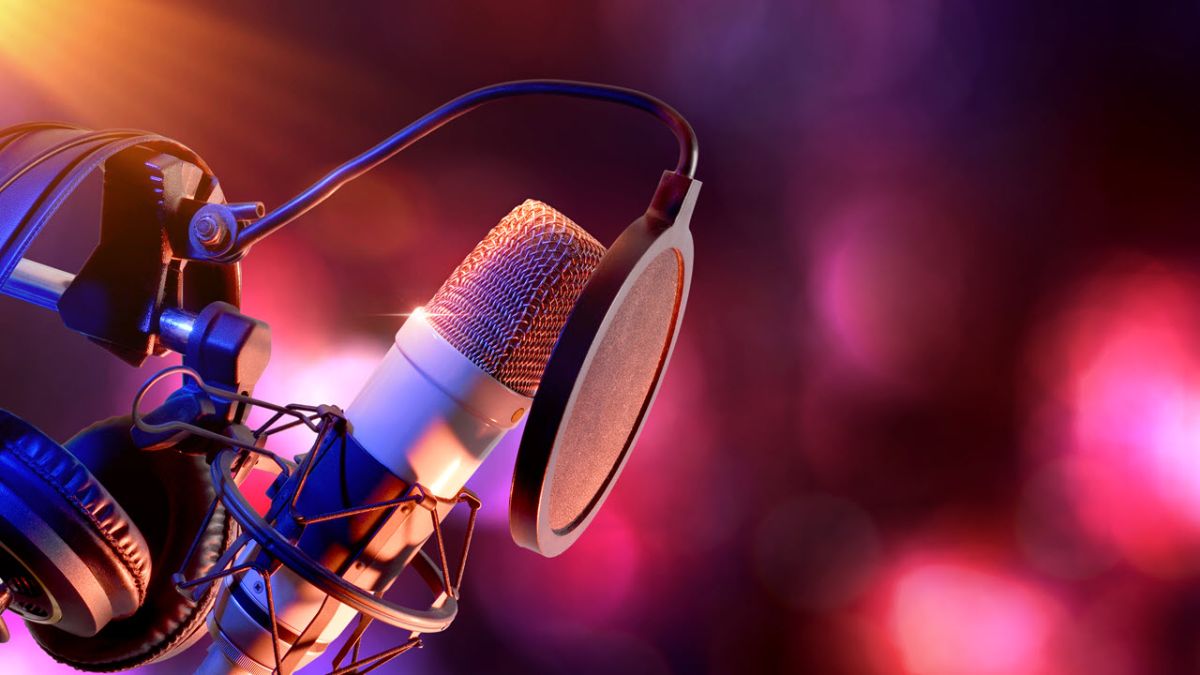
1. Sound quality: The sound quality of your microphone plays a significant role in how you come across to others during gameplay. Look for a microphone that offers clear and crisp audio, with minimal background noise or distortion. Condenser microphones are often preferred for their sensitivity and ability to capture detailed sound.
2. Compatibility: Ensure that the microphone you choose is compatible with your gaming platform or computer. Some microphones are designed specifically for certain platforms, such as PC, PlayStation, or Xbox. Additionally, check if the microphone requires any specific software or drivers for optimal performance.
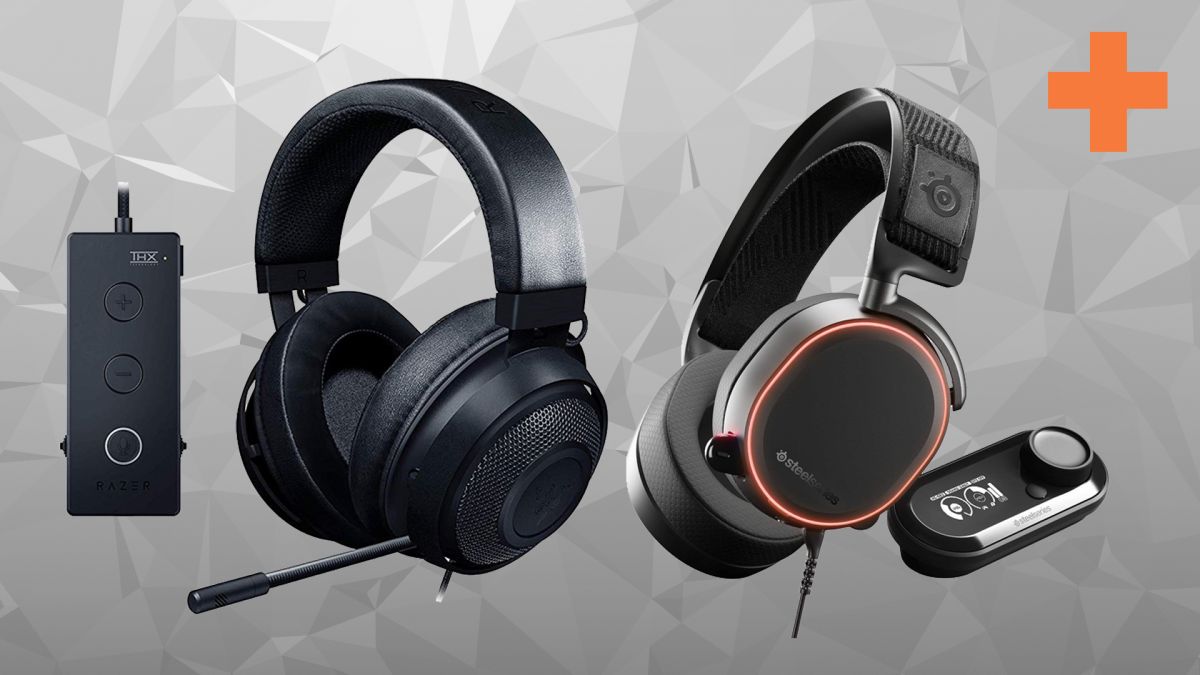
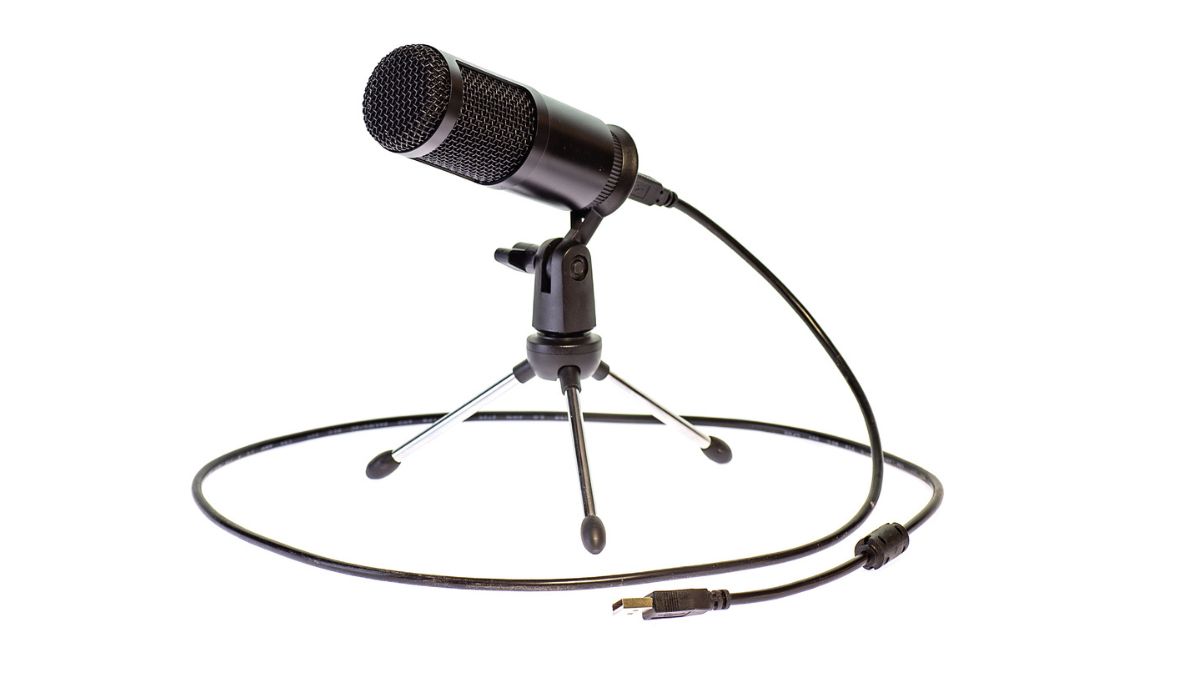
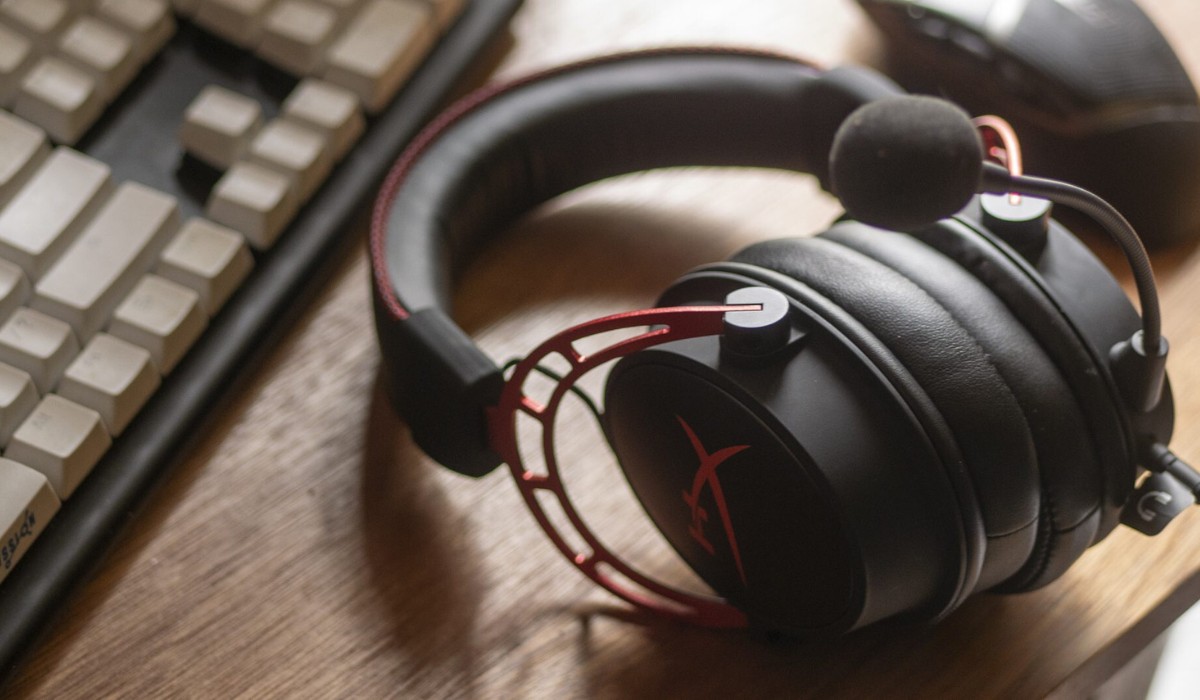
3. Type of microphone: There are different types of microphones available, including USB microphones, XLR microphones, and headset microphones. USB microphones are convenient and easy to set up, while XLR microphones offer higher audio quality but require an audio interface. Headset microphones are integrated into gaming headsets and provide a compact solution.
4. Budget: Set a budget for your microphone purchase. While there are high-end microphones available with advanced features, there are also budget-friendly options that offer decent sound quality for online gaming. Determine your budget range and look for microphones within that range.
5. Reviews and recommendations: Read reviews and seek recommendations from other gamers or online communities. Real user reviews can provide valuable insights into the performance and reliability of different microphone models.
Take the time to research and compare different microphone options before making your final decision. Consider your specific needs and preferences, as well as the technical specifications of the microphone. With the right microphone, you can elevate your gaming experience by delivering crystal-clear audio and enhancing your communication with teammates and opponents alike.
Positioning the Microphone
Once you have chosen the perfect microphone for your online gaming needs, it’s time to set it up in the optimal position for clear and consistent audio capture. Proper positioning ensures that your voice is captured accurately without interference or unwanted background noise. Here are some tips for positioning your microphone:
1. Distance from your mouth: Position the microphone at a comfortable distance from your mouth, typically around 6 to 8 inches. This allows for clear sound capture while minimizing plosive sounds or harsh breathing noises. Experiment with different distances to find the one that works best for you.
2. Microphone angle: Angle the microphone slightly upward to capture your voice directly rather than picking up excessive room ambience or surface vibrations. Tilting the microphone at a 45-degree angle is a good starting point to minimize unwanted sounds.
3. Pop filter: Consider using a pop filter, a device that reduces plosive sounds caused by certain letters or sounds, such as “p” or “s.” The pop filter is typically placed in front of the microphone and helps to improve the overall audio quality by minimizing these unwanted noises.
4. Avoid obstructions: Ensure that there are no physical obstructions between you and the microphone that could block the sound waves. Keep the area around the microphone clear from objects and ensure that your gaming setup allows for a clear line of sight to the microphone.
5. Background noise: Position the microphone in a location that minimizes background noise. Avoid placing it near noisy fans, air conditioning units, or other sources of ambient noise. If possible, use a dedicated space with sound insulation or consider using a noise-canceling software or microphone with built-in noise reduction features.
6. Stability: Use a stable microphone stand or mount to ensure that the microphone stays in place during gameplay. Unwanted vibrations or movement can affect the audio quality, so invest in a reliable stand or mount to keep the microphone secure.
Remember to experiment with the positioning and make adjustments as needed. Test the microphone by recording your voice and listening for any unwanted sounds or inconsistencies. By positioning the microphone correctly, you can ensure that your voice is captured accurately and that your online gaming communication remains clear and uninterrupted.
Connecting the Microphone to Your Computer
Once you have positioned your microphone for optimal audio capture, the next step is to connect it to your computer. The method of connection may vary depending on the type of microphone you have chosen. Here are the common ways to connect a microphone to your computer:
1. USB connection: If you have a USB microphone, connecting it to your computer is as simple as plugging it into an available USB port. USB microphones are plug-and-play devices, meaning they are automatically detected by your computer and do not require any additional software or drivers to be installed. Once connected, your computer should recognize the microphone as an input device.
2. Audio interface: If you have opted for an XLR microphone, you will need an audio interface to connect it to your computer. An audio interface acts as a bridge between your microphone and computer, converting the analog signal from the microphone into a digital signal that your computer can process. Connect the XLR cable from the microphone to the XLR input on the audio interface, and then connect the audio interface to your computer using a USB or Firewire cable.
3. Headset microphone: If you are using a gaming headset with an integrated microphone, you will typically connect it to your computer using either a USB or audio/microphone combo jack. If your headset has a USB connector, simply plug it into an available USB port on your computer. If it uses separate audio and microphone jacks, insert the corresponding plugs into the respective audio and microphone ports on your computer.
Regardless of the type of connection, it is essential to check your computer’s sound settings to ensure that the microphone is recognized and set as the default input device. Here’s how you can do it:
1. Windows: Right-click the speaker icon in the system tray and select “Sounds.” In the “Recording” tab, you should see your microphone listed. Right-click on it and select “Set as Default Device.” You can also adjust the microphone levels and properties from this window.
2. Mac: Go to “System Preferences” and click on “Sound.” In the “Input” tab, you should see your microphone listed. Select it and adjust the input volume if necessary.
Once your microphone is properly connected and recognized by your computer, you’re ready to move on to the next step: adjusting the microphone settings for optimal performance.
Adjusting the Microphone Settings
After connecting your microphone to your computer, it’s important to adjust the microphone settings to ensure optimal performance and audio quality during your online gaming sessions. By tweaking these settings, you can fine-tune the microphone to suit your preferences and improve the clarity of your voice communication. Here are the key settings to consider:
1. Volume/gain control: Adjust the volume or gain control of your microphone to achieve the desired input level. Too low of a volume may result in your voice being too faint, while too high of a volume can cause distortion or clipping. Test your microphone by speaking into it and gradually adjust the volume/gain control until your voice comes through clearly without distortion.
2. Noise cancellation: Many microphones, especially USB or headset microphones, come with built-in noise cancellation features. These features help eliminate background noise and focus on capturing your voice. Check if your microphone has a noise cancellation option and enable it if desired. Alternatively, you can utilize software-based noise cancellation tools to further minimize unwanted background noise.
3. Equalization (EQ) settings: Some microphones offer EQ settings that allow you to adjust the frequency response to enhance or attenuate certain ranges of your voice. Experiment with the EQ settings to find a balance that suits your voice and accentuates the important frequencies for clear communication without overpowering background noise.
4. Sample rate and bitrate: Sample rate and bitrate determine the quality of the audio recording. Higher sample rates (e.g., 44.1kHz or 48kHz) and bitrates (e.g., 16-bit or 24-bit) result in higher audio fidelity but may take up more storage or processing power. Adjust these settings based on your preference and the capabilities of your computer.
5. Monitoring: Enabling real-time monitoring allows you to hear yourself through headphones while speaking into the microphone. This can help ensure that your voice is being captured properly and allows for immediate adjustments if needed. Check if your microphone or audio interface has a monitoring feature and enable it if desired.
6. Test and adjust: It’s crucial to test your microphone in different scenarios and games to ensure that the settings are optimized for optimal performance. Use voice chat applications, record yourself, or test in-game communication to assess the clarity and quality of your voice. Adjust the microphone settings as necessary until you achieve the desired results.
Remember to save and apply your microphone settings after making adjustments. Additionally, it’s a good idea to periodically check and update your microphone drivers or firmware to ensure compatibility with the latest operating system updates and optimize performance.
With the microphone settings properly adjusted, you are now ready to put your microphone to the test and enjoy enhanced voice communication during your online gaming sessions.
Testing the Microphone
After setting up and adjusting the microphone, it’s essential to test it to ensure that it functions correctly and delivers the desired audio quality. Testing the microphone allows you to identify and troubleshoot any issues before engaging in online gaming, ensuring that your communication remains clear and uninterrupted. Here are some steps to effectively test your microphone:
1. Recording software: Open a recording software on your computer, such as Audacity or the built-in voice recorder app. Press the record button and speak into the microphone. Pay attention to the volume, clarity, and absence of background noise or distortion. Listen to the recorded playback to assess the quality of the captured audio.
2. Voice chat applications: Most online games utilize voice chat applications for team communication. Join a voice chat channel or create a test server to check if your microphone is working correctly. Speak into the microphone and ask other users for feedback on your audio quality. Adjust the microphone settings if needed based on their feedback and your own observations.
3. In-game communication: Enter the game and test the microphone within the game’s built-in voice chat system. Engage in conversations with your teammates and ensure that your voice is clearly heard without any issues. Check for any delays, echo, or distorted audio that might indicate a problem. Make adjustments within the game’s settings if necessary.
4. Soundcheck: Perform a thorough soundcheck by testing your microphone in various environments and scenarios. Try speaking softly and loudly to evaluate how the microphone captures your voice at different volumes. Move away from the microphone to determine its range and sensitivity. Test the microphone in different games or applications to verify its compatibility and performance across different platforms.
5. Seek feedback: Ask for feedback from your gaming friends or online communities regarding the audio quality of your microphone. They may be able to provide valuable insights and suggestions for further improvement. Test your microphone during gaming sessions, and actively seek feedback to ensure continuous optimization.
Remember to periodically retest your microphone to ensure that it is functioning correctly over time. Clean the microphone if necessary, as dirt or debris may affect its performance. Additionally, stay updated with the latest drivers or firmware for your microphone to take advantage of any improvements or bug fixes provided by the manufacturer.
By thoroughly testing your microphone and making necessary adjustments, you can ensure that your voice is heard loud and clear during online gaming sessions, leading to better communication and an enhanced gaming experience.
Troubleshooting Common Microphone Issues
While setting up and using a microphone for online gaming, you may encounter some common issues that can affect the audio quality or functionality of your microphone. Understanding these issues and knowing how to troubleshoot them can help ensure a smooth gaming experience. Here are some common microphone issues and their solutions:
1. No sound or low volume: If your microphone is not producing any sound or the volume is too low, first check the physical connections. Ensure that the microphone is securely plugged in and that the cables are not damaged. Adjust the volume/gain control on the microphone or in your computer’s sound settings to increase the input volume. Try using another USB port or audio input/output jack to rule out any hardware-related issues.
2. Background noise or static: Excessive background noise or static can be distracting and hinder clear communication. To alleviate this issue, make sure your microphone is positioned correctly and away from sources of interference, such as fans or electronic devices. Enable noise cancellation features in your microphone settings or use noise reduction software for better sound quality. If using an XLR microphone, ensure that the cables are shielded properly and not picking up electromagnetic interference.
3. Echo or feedback: Hearing an echo or experiencing feedback can make communication difficult. To address this issue, lower your speaker volume or use headphones to prevent audio from your speakers feeding back into the microphone. Adjust the microphone sensitivity or gain settings to avoid picking up sound from your speakers. If using a headset microphone, ensure that it is positioned correctly and does not pick up sounds from the headphones.
4. Distorted or muffled sound: If your voice sounds distorted or muffled, double-check the microphone settings and adjust the volume/gain control to an appropriate level. Make sure there are no obstructions or debris covering the microphone. Clean the microphone if necessary to remove any dirt or debris that may affect sound quality. Disable any audio effects or enhancements that may be enabled in your computer’s sound settings, as they may contribute to distortion or muffling of the audio.
5. Compatibility issues: Ensure that your microphone is compatible with your gaming platform or computer. Check for any specific drivers or software required for proper functionality and install them if necessary. Update your operating system and microphone drivers to the latest versions to ensure compatibility with recent updates. If compatibility issues persist, consider contacting the manufacturer or seeking help from technical support.
6. Inconsistent performance: If your microphone’s performance is inconsistent or intermittently cuts out, check for loose connections or faulty cables. Use a different USB port or audio input/output jack to rule out any issues caused by the specific port. Test the microphone on another computer to determine if the issue is specific to your system. If the problem persists, it may be necessary to seek professional assistance or consider replacing the microphone.
If you have addressed these common microphone issues and are still experiencing problems, consider seeking assistance from online communities or contacting customer support for your microphone. They may be able to provide specific troubleshooting steps or offer further guidance based on the model of your microphone.
By troubleshooting and resolving these common microphone issues, you can ensure that your voice communication remains clear and uninterrupted, allowing for an immersive and enjoyable online gaming experience.
Conclusion
Setting up a microphone for online gaming is a crucial step in enhancing your gaming experience. By choosing the right microphone, positioning it correctly, adjusting the settings, and troubleshooting any issues that may arise, you can ensure clear and crisp communication with your teammates and opponents.
When selecting a microphone, consider factors such as sound quality, compatibility, and your budget. Position the microphone at a comfortable distance from your mouth, angle it properly, and minimize background noise. Connect the microphone to your computer using the appropriate method, whether it’s a USB connection, audio interface, or headset microphone.
Adjust the microphone settings, such as volume/gain control, noise cancellation, and equalization, to achieve optimal performance. Test the microphone using recording software, voice chat applications, and in-game communication to ensure it is functioning correctly and delivering the desired audio quality.
If you encounter any issues, troubleshoot common microphone problems such as no sound, background noise, echo, distortion, and compatibility. Check the physical connections, adjust settings, and seek assistance from online communities or customer support if needed.
Remember, a high-quality microphone can greatly enhance your online gaming experience by providing clear and immersive communication. With a well-set-up microphone, you can strategize effectively with your team, engage in seamless conversations with opponents, and truly immerse yourself in the world of online gaming.
So, take the time to set up your microphone properly and make adjustments as necessary to enjoy crystal-clear audio and seamless communication in your online gaming adventures.