Introduction
Welcome to the world of Apple Watch, where convenience and functionality are at your fingertips. Setting a timer on your Apple Watch can come in handy for a variety of tasks, whether it’s timing your workouts, keeping track of cooking time, or simply setting a reminder for a specific duration. With the built-in Timer app and the power of Siri, you can easily set timers and manage them right from your wrist.
In this guide, we will explore different methods for setting timers on your Apple Watch. Whether you prefer voice commands with Siri or manual settings through the Timer app, we’ve got you covered. We will also delve into advanced features like setting multiple timers, customizing timer settings, and using timer complications on the watch face for quick access.
So, if you’re ready to make the most of your Apple Watch and enhance your productivity, let’s dive into the world of timers and learn how to leverage this feature to simplify your daily routines.
Setting a Timer using Siri
One of the simplest and most convenient ways to set a timer on your Apple Watch is by using Siri, your virtual assistant. Siri on the Apple Watch allows you to execute various tasks using just your voice commands, including setting timers.
To set a timer using Siri, you can activate Siri by raising your wrist and saying “Hey Siri” or by pressing and holding the Digital Crown. Once Siri is activated, you can simply say commands like “Set a timer for 10 minutes” or “Start a timer for 30 seconds” to set a specific duration for your timer.
Siri will then confirm your command and start the countdown for the specified time. You can easily check the remaining time by asking Siri or glancing at the Timer app on your Apple Watch.
Setting a timer using Siri is not only fast and effortless but also allows you to multitask without touching your Apple Watch. Whether you’re in the middle of a workout or your hands are occupied in the kitchen, you can rely on Siri to set a timer and keep track of your time.
It’s worth noting that Siri can also pause, resume, or cancel your timers upon your command. For example, you can say “Pause the timer” or “Cancel the timer” to adjust the timer settings as needed.
Setting a timer using Siri provides a hands-free experience and is especially useful when you’re on the go or need to quickly set a timer without manually navigating through the Timer app. Now, let’s explore another method of setting timers on your Apple Watch using the Timer app.
Setting a Timer using the Timer App
If you prefer a more manual approach to setting timers on your Apple Watch, you can use the Timer app, which provides a user-friendly interface for managing your timers.
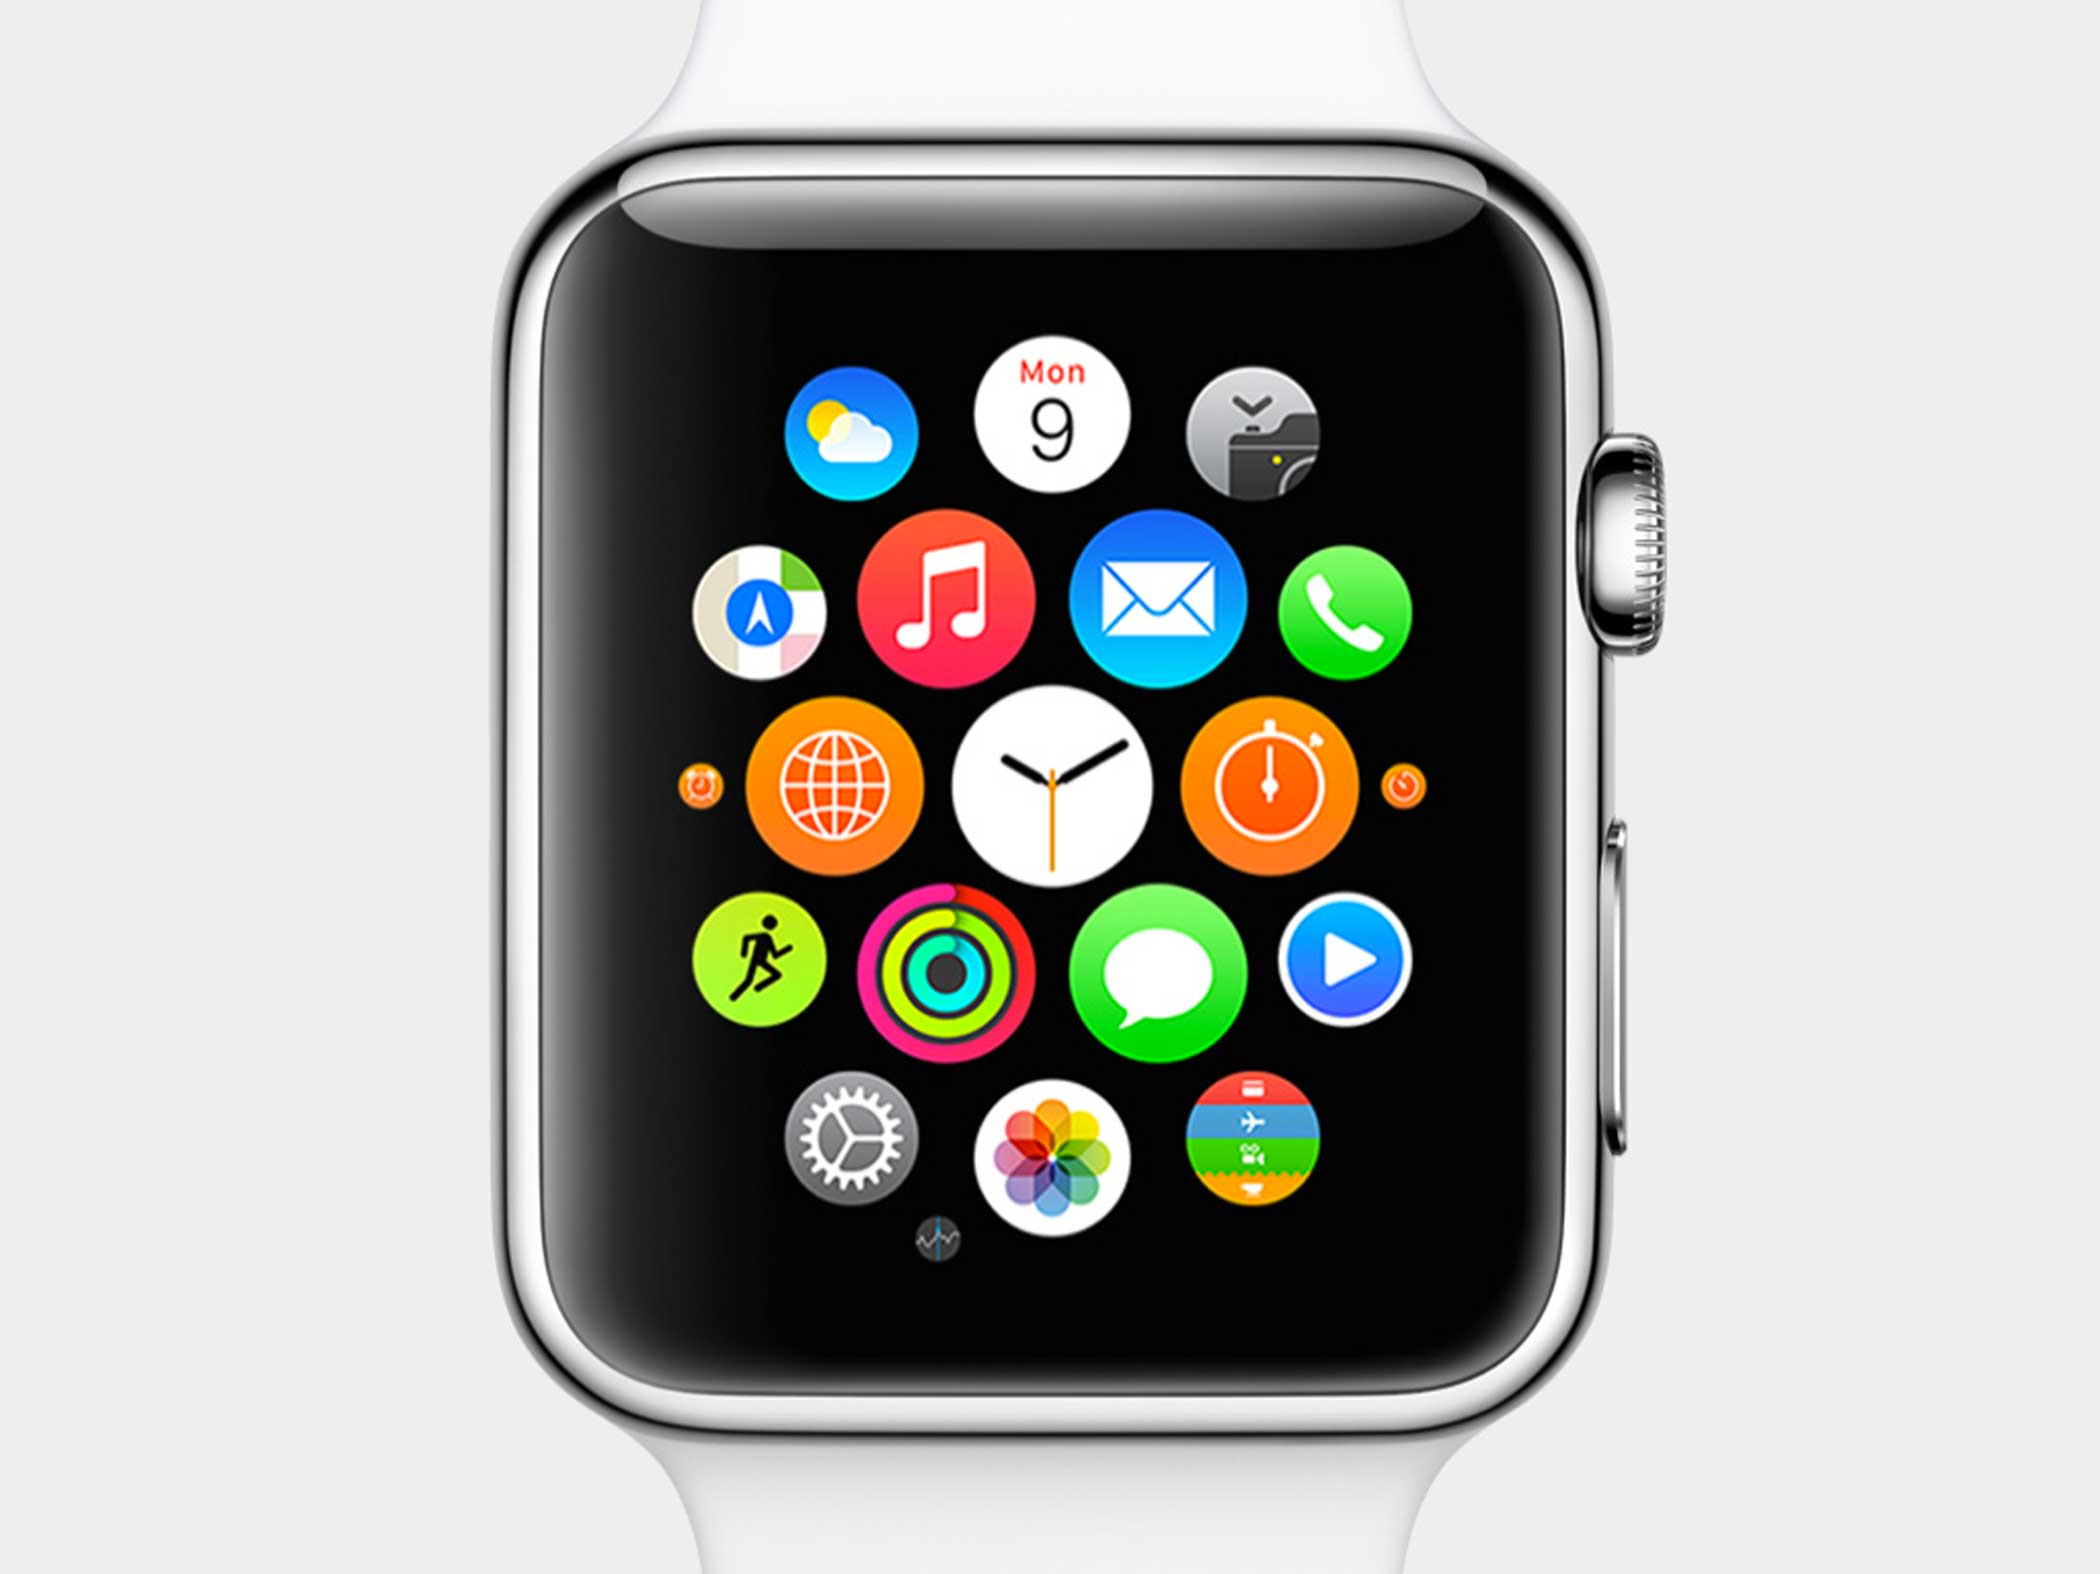
To access the Timer app, simply open the app grid on your Apple Watch and look for the icon with an hourglass. Once you open the Timer app, you’ll be greeted with a clean and intuitive layout that allows you to set timers with ease.
To set a timer using the Timer app, follow these steps:
- Open the Timer app on your Apple Watch.
- Tap on the “+” button to create a new timer.
- Use the digital crown or the “+” and “-” buttons to adjust the desired duration for your timer.
- Swipe left or right to choose a specific hour, minute, or second for your timer.
- Once you’ve set the desired duration, tap on the Start button to initiate the countdown.
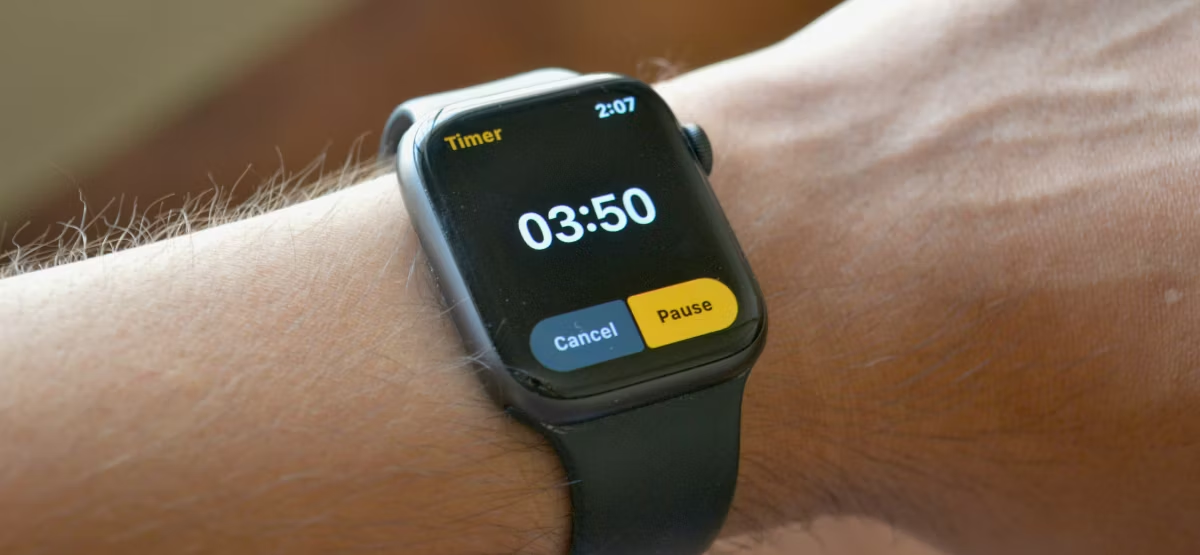
The Timer app will display the remaining time on the screen, allowing you to track the progress of your timer. Additionally, you’ll have options to pause, resume, or cancel the timer if needed.
Using the Timer app gives you more control over the timer duration and allows for precise timing in various scenarios. Whether you need to set a timer for a specific task or want to keep track of intervals during a workout session, the Timer app can meet your needs.
Furthermore, the Timer app offers a range of customization options, such as selecting different tones or vibrations to signal the completion of your timer. You can explore these settings by tapping on the “Options” button in the Timer app, allowing you to personalize your timer experience.
Now that you know how to set a timer using both Siri and the Timer app, let’s move on to the next section, which explores setting multiple timers on your Apple Watch.
Setting Multiple Timers
Need to keep track of multiple timers simultaneously? No problem! The Apple Watch allows you to set and manage multiple timers with ease, giving you the flexibility to time different activities or tasks.
To set multiple timers on your Apple Watch, you can use either Siri or the Timer app. Here’s how:
Using Siri:
- Activate Siri by saying “Hey Siri” or pressing and holding the Digital Crown.
- Ask Siri to set a timer for the desired duration, such as “Set a 5-minute timer for laundry.”
- Repeat the process to set additional timers. For example, you can say “Set a 10-minute timer for baking.”
Siri will create multiple timers based on your commands and keep track of them individually. You can easily check the status of each timer by asking Siri or viewing the Timer app.
Using the Timer app:
- Open the Timer app on your Apple Watch.
- Create a timer using the steps mentioned in the previous section.
- To add another timer, swipe left on the screen and tap on the “+” button again.
- Repeat this process to create as many timers as needed.
With the Timer app, you can set multiple timers with different durations and manage them individually. This is particularly useful when juggling various tasks or keeping track of separate activities.
Whether you choose to use Siri or the Timer app, setting multiple timers on your Apple Watch offers enhanced convenience and organization in your daily routines. Now, let’s explore how you can customize timer settings to tailor the experience to your preferences.
Customizing Timer Settings
The Apple Watch provides several options for customizing your timer settings, allowing you to personalize the timer experience according to your preferences and needs. With these customization features, you can fine-tune your timers to suit different situations and activities.
Here are some ways you can customize your timer settings:
Sound and Vibration:
By default, the Timer app on your Apple Watch uses a standard sound and vibration to alert you when a timer reaches zero. However, you can choose a different tone or even set it to vibrate only, depending on your preference. To customize the sound and vibration settings for your timers, follow these steps:
- Open the Timer app on your Apple Watch.
- Tap on the “Options” button (represented by three dots).
- Select “Sound & Haptics.”
- Choose the desired sound and vibration settings for your timers.
Tapping for Alerts:
In addition to sound and vibration, you can enable haptic alerts that tap your wrist to notify you when a timer reaches zero. This feature can be particularly useful in situations where you might not hear or notice the standard alert. To enable tapping for timer alerts, follow these steps:
- On your iPhone, open the Apple Watch app.
- Navigate to “My Watch” tab, then “Sounds & Haptics.”
- Toggle on the “Prominent Haptic” option.
Background Color:
If you prefer visual cues, you can change the background color of the Timer app on your Apple Watch. This allows you to associate different colors with specific timers, making it easier to identify them at a glance. To change the background color of the Timer app, follow these steps:
- Open the Timer app on your Apple Watch.
- Force touch the screen (press firmly on the display).
- Select the desired color from the available options.
By customizing your timer settings, you can create a personalized timer experience that suits your preferences and enhances your overall Apple Watch usage. Now, let’s move on to setting a timer with a custom label.
Setting a Timer with a Custom Label
In addition to setting timers with specific durations, the Apple Watch allows you to add a custom label to your timers. This feature enables you to give your timers a unique name or description, making it easier to identify their purpose or associated activity.
To set a timer with a custom label, follow these steps:
- Open the Timer app on your Apple Watch.
- Create a new timer using Siri or the Timer app, as mentioned in the previous sections.
- Once the timer is running, swipe left on the timer screen.
- Tap on “Label” to edit the default label.
- Enter your desired custom label using the Apple Watch’s virtual keyboard or by selecting from suggested options.
- Tap “Done” to save your custom label.
With the custom label feature, you can assign meaningful names or descriptions to your timers, such as “Laundry” or “Yoga Stretch.” This makes it easier to differentiate between multiple timers and quickly identify the one you need at a glance.
Additionally, Siri can recognize these custom labels, allowing you to set timers using specific names or activities. For example, you can say “Hey Siri, set a timer for 20 minutes for my workout” or “Hey Siri, start a timer for 10 minutes for meditation.”
Setting a timer with a custom label brings a level of personalization and clarity to your timer experience on the Apple Watch. Now, let’s explore how you can set a timer with a preset duration.
Setting a Timer with a Preset Duration
The Apple Watch offers the convenience of setting timers with preset durations, allowing you to quickly start timers for common activities or time intervals without needing to manually input the duration each time.
To set a timer with a preset duration on your Apple Watch, you can use the Timer app and take advantage of its built-in preset options. Follow these steps:
- Open the Timer app on your Apple Watch.
- Tap on the “+” button to create a new timer.
- Instead of adjusting the duration manually, swipe up on the timer screen.
- You will see a list of preset options, such as “1 minute,” “5 minutes,” or “10 minutes.”
- Tap on the desired preset duration to select it as the timer duration.
- Tap the Start button to begin the timer countdown.
By using preset durations, you can save time and streamline the process of setting timers for common activities. Whether it’s timing your breaks, tracking intervals during a workout, or setting a specific duration for a task, the preset options in the Timer app make it quick and easy.
In addition to the default preset durations, you can customize and add your own preset options in the Timer app settings on your iPhone. This allows you to tailor the preset durations to your specific needs and preferences.
Setting a timer with a preset duration eliminates the need for manual input and enhances the efficiency of time tracking on your Apple Watch. Now, let’s explore how you can make use of timer complications on the watch face.
Using Timer Complications on the Watch Face
The Apple Watch offers a convenient way to access timers directly from your watch face through the use of timer complications. Timer complications are small, interactive icons that display the countdown of a timer and allow you to quickly access and manage timers without opening the Timer app.
To add a timer complication to your watch face, follow these steps:
- Press firmly on the watch face to enter customization mode.
- Tap on the “+ Add” button to access the complication gallery.
- Scroll through the available complications and find the “Timer” complication.
- Select the desired style and tap on it to add it to your watch face.
- Press the Digital Crown to exit customization mode and return to your watch face.
Once added, the timer complication will display the countdown of the active timer directly on your watch face. You can tap on the complication to open the Timer app and manage the timer if needed. This provides quick and easy access to your timers without having to navigate through the app menu.
Furthermore, you can customize the behavior of the timer complication by adjusting the settings in the Apple Watch app on your iPhone. For example, you can choose to display the timer that is currently running or the next upcoming timer in the complication.
Using timer complications on the watch face adds convenience and efficiency to your timer management. Whether you need to keep an eye on your workout time or monitor the progress of a cooking timer, having a visual reminder on your watch face can be incredibly helpful.
Now that we’ve explored how to utilize timer complications, let’s move on to the next section, where we’ll discuss managing timers on the Apple Watch.
Managing Timers on the Apple Watch
Once you’ve set timers on your Apple Watch, you may need to manage them to adjust their settings or keep track of their progress. The Apple Watch provides several options for managing your timers directly from your wrist.
Here are some ways you can manage your timers on the Apple Watch:
Pausing and Resuming:
If you need to temporarily pause a timer, you can do so by opening the Timer app or using Siri. On the Timer app, simply swipe left on the timer screen and tap the pause button. To use Siri, say “Hey Siri, pause the timer.” To resume a paused timer, repeat the same steps or ask Siri to resume the timer.
Canceling:
If you no longer need a timer or want to stop it before it reaches zero, you can cancel it using the Timer app or Siri. In the Timer app, swipe left on the timer screen and tap the cancel button. With Siri, say “Hey Siri, cancel the timer.”
Checking Remaining Time:
To check the remaining time on a running timer, you can simply ask Siri or glance at the Timer app on your Apple Watch. Siri will provide you with the time remaining for the timer, while the Timer app will display it on the screen.
Managing Multiple Timers:
If you have set multiple timers, you can switch between them on the Timer app by swiping left or right. This allows you to keep track of different timers and adjust their settings individually.
Managing timers on your Apple Watch gives you control and flexibility to fine-tune your timer experience. Whether you need to pause, resume, or cancel a timer, the Apple Watch provides intuitive methods to manage your timers without any hassle.
Now that we’ve explored how to manage timers on the Apple Watch, let’s conclude this guide with a recap of what we’ve learned.
Conclusion
Setting and managing timers on your Apple Watch can greatly enhance your productivity and efficiency in various activities. Whether you utilize Siri’s voice commands or the Timer app’s intuitive interface, the process of setting timers is quick and convenient.
We’ve covered different methods for setting timers, including using Siri to set timers with voice commands and manually setting timers through the Timer app. Additionally, we explored advanced features like setting multiple timers, customizing timer settings, adding custom labels, and using preset durations.
The Apple Watch also offers timer complications on the watch face, allowing you to conveniently access timers at a glance without needing to open the Timer app. Managing timers on the Apple Watch is a breeze, enabling you to pause, resume, cancel, and check the remaining time of your timers with ease.
By leveraging the timer functionality on your Apple Watch, you can streamline your daily routines, keep track of your activities, and ensure efficient time management.
So, embrace the power of timers on your Apple Watch and take control of your time like never before. Whether it’s timing your workouts, monitoring cooking durations, or organizing your tasks, the Apple Watch’s timer feature is a valuable tool to have on your wrist.
Now, it’s time to put your newfound knowledge into action and make the most of your Apple Watch’s timer capabilities.