Introduction
Welcome to the world of Discord, where communities gather, friendships are formed, and gaming adventures come to life. Discord is a popular platform for communication, particularly among gamers, offering a wide range of features to connect and interact with others. One of the many ways you can engage with fellow Discord users is by sharing pictures.
Whether you want to share a hilarious meme, a stunning screenshot from your favorite game, or simply showcase your creativity, Discord allows you to seamlessly send pictures to individual users or entire servers. Sharing pictures on Discord not only adds visual appeal to your conversations but also helps you express yourself in a more dynamic and engaging way.
In this guide, we will walk you through the step-by-step process of sending pictures on Discord. Regardless of whether you are a seasoned user or a newbie, by the end of this article, you will have all the knowledge you need to effortlessly share pictures with your friends, teammates, or fellow community members.
So, let’s dive into the exciting world of sending pictures on Discord, and discover how you can make your conversations even more visually captivating and memorable.
Step 1: Creating a New Discord Server
To begin sharing pictures on Discord, you’ll need to create a server or join an existing one. If you haven’t created a server yet, follow these steps:
- Launch the Discord application or visit the Discord website.
- Sign in to your Discord account or create a new one if you don’t have an account yet.
- Once you’re logged in, click on the plus (+) icon on the left sidebar. This will open a menu where you can choose between joining a server or creating a new one.
- Select the “Create a Server” option. You will be prompted to enter a server name.
- Choose a unique and descriptive name for your server. You can also add an icon or logo to personalize it.
- Click the “Create” button to finalize the creation of your server.
Congratulations! You have successfully created a new Discord server. Now it’s time to invite your friends or fellow Discord users to join your server so you can start sharing pictures together. You can invite others by generating an invite link and sending it to them through Discord or other messaging platforms.
Creating your own server gives you complete control over the settings, members, and channels. It provides a dedicated space where you and your friends can connect, interact, and share pictures seamlessly. So, let’s move on to the next step and learn how to join an existing Discord server if you don’t want to create your own.
Step 2: Joining an Existing Discord Server
If you don’t want to create your own Discord server and would rather join an existing one, follow these simple steps:
- Launch the Discord application or visit the Discord website.
- Sign in to your Discord account if you’re not already logged in.
- On the left sidebar, click on the magnifying glass icon to open the Server Discovery menu.
- In the search bar, enter keywords related to the server you want to join. You can search for specific interests, game titles, or communities.
- Browse through the list of suggested servers or use filters to refine your search results.
- Once you find a server that interests you, click on it to view more details.
- Read the server description and rules to ensure it aligns with your interests and values.
- If you’re satisfied, click the “Join” button to become a member of the server.
Now that you have successfully joined an existing Discord server, you can explore the different channels and connect with like-minded individuals. Each server has its own unique set of rules and guidelines, so make sure to familiarize yourself with them to maintain a positive and respectful environment.
Being part of a community or server allows you to participate in discussions, events, and, of course, share pictures with other members. So, let’s move on to the next step and learn how to upload and send pictures on Discord.
Step 3: Uploading a Picture
Now that you are a member of a Discord server, it’s time to learn how to upload a picture. Follow these steps to upload your desired image:
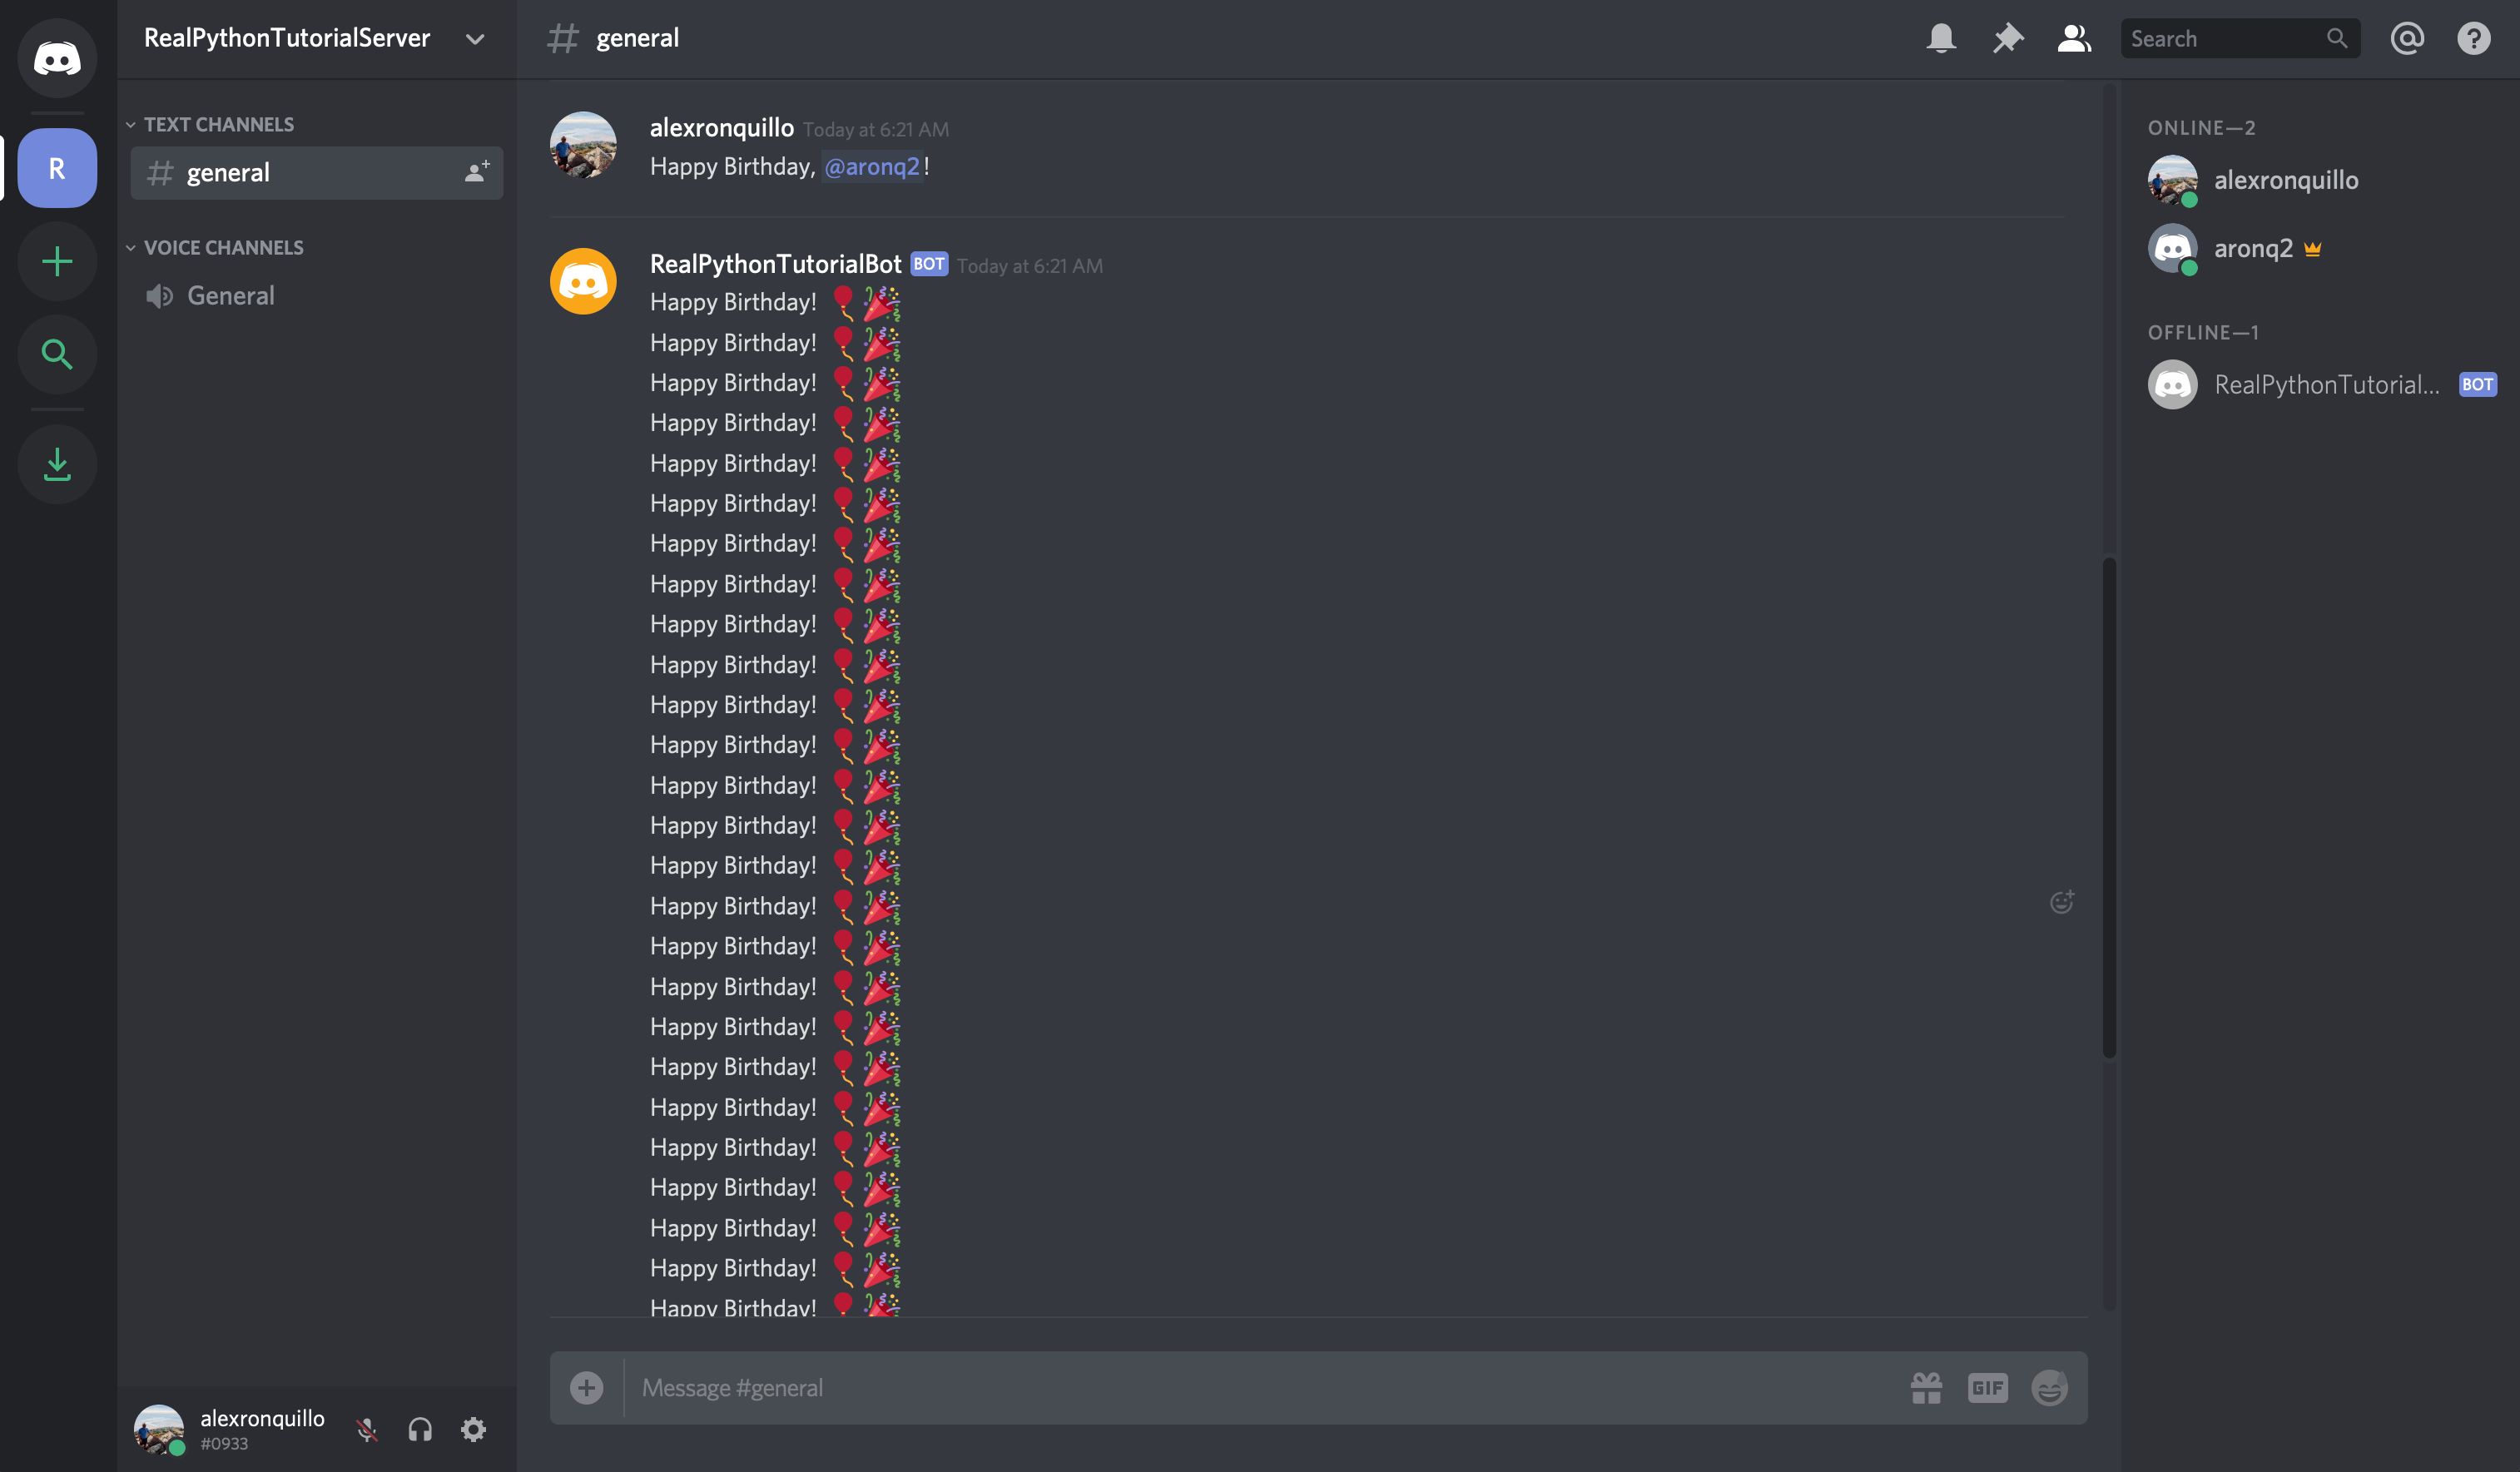
- Navigate to the channel where you want to share your picture. Each Discord server is divided into multiple channels based on specific topics or interests.
- Click on the text input field at the bottom of the channel. This is where you typically type your messages.
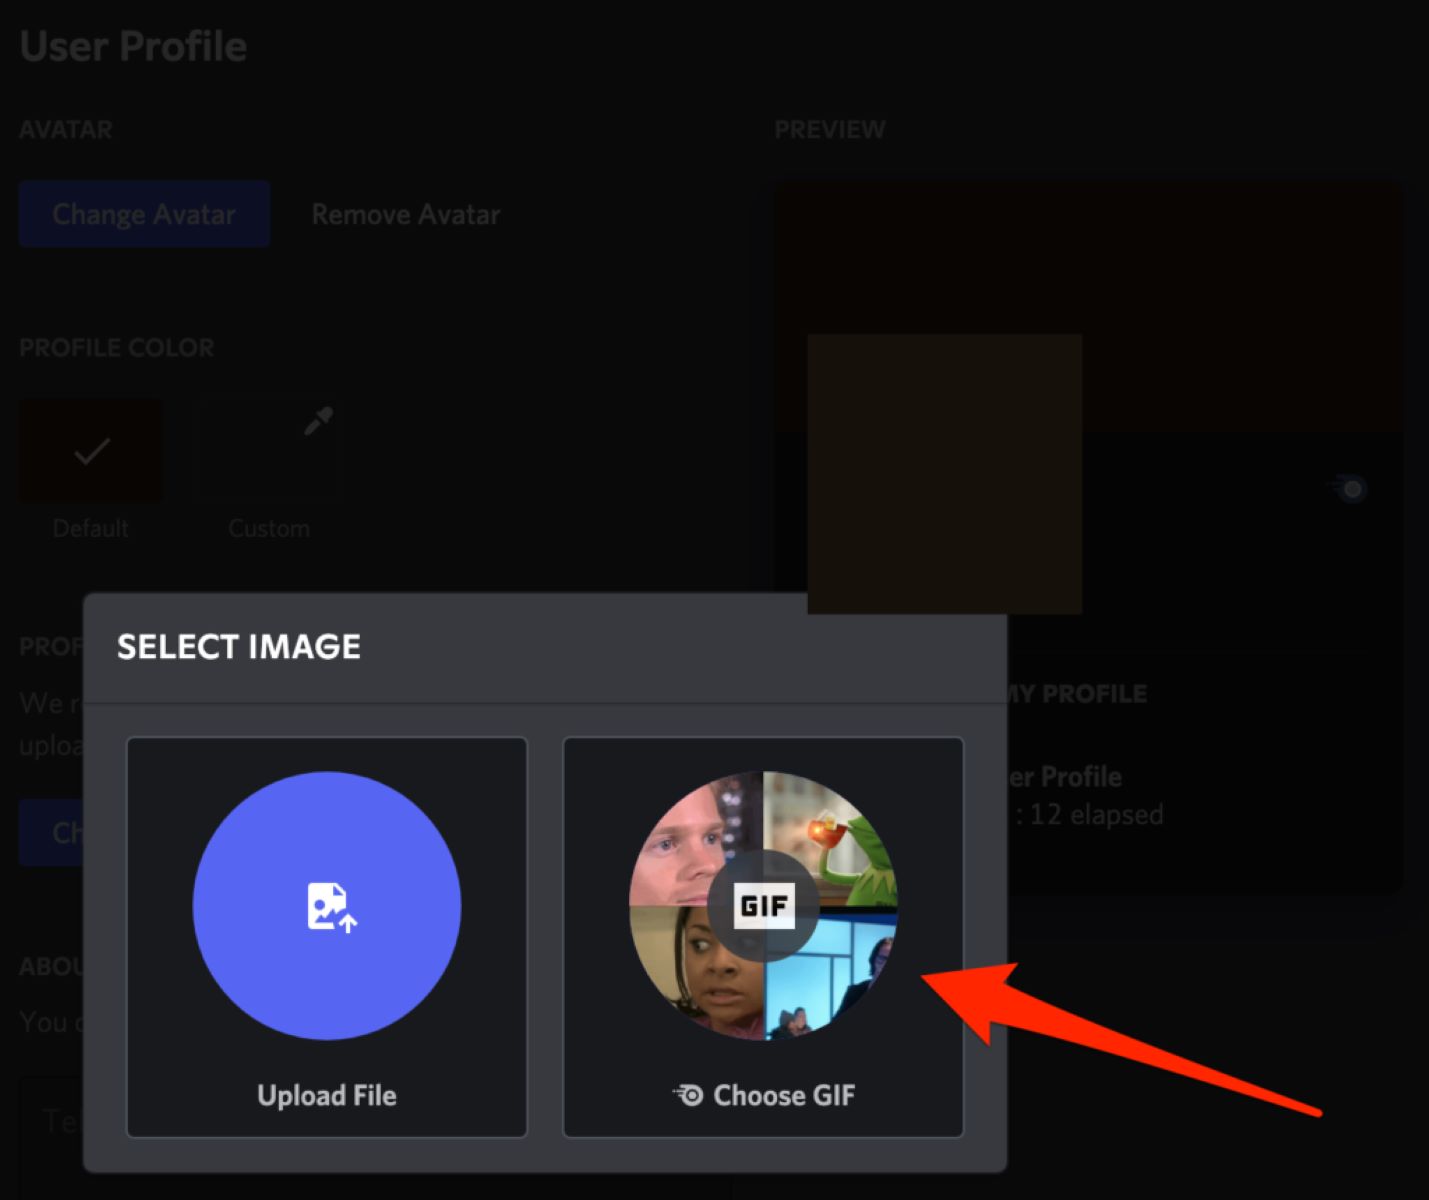
- Locate the image file on your computer or device that you want to share. Make sure the image is in a supported format (such as PNG or JPEG).
- Drag and drop the image file directly into the text input field. Alternatively, you can click the “Upload” button within the text input field and browse for the image file.
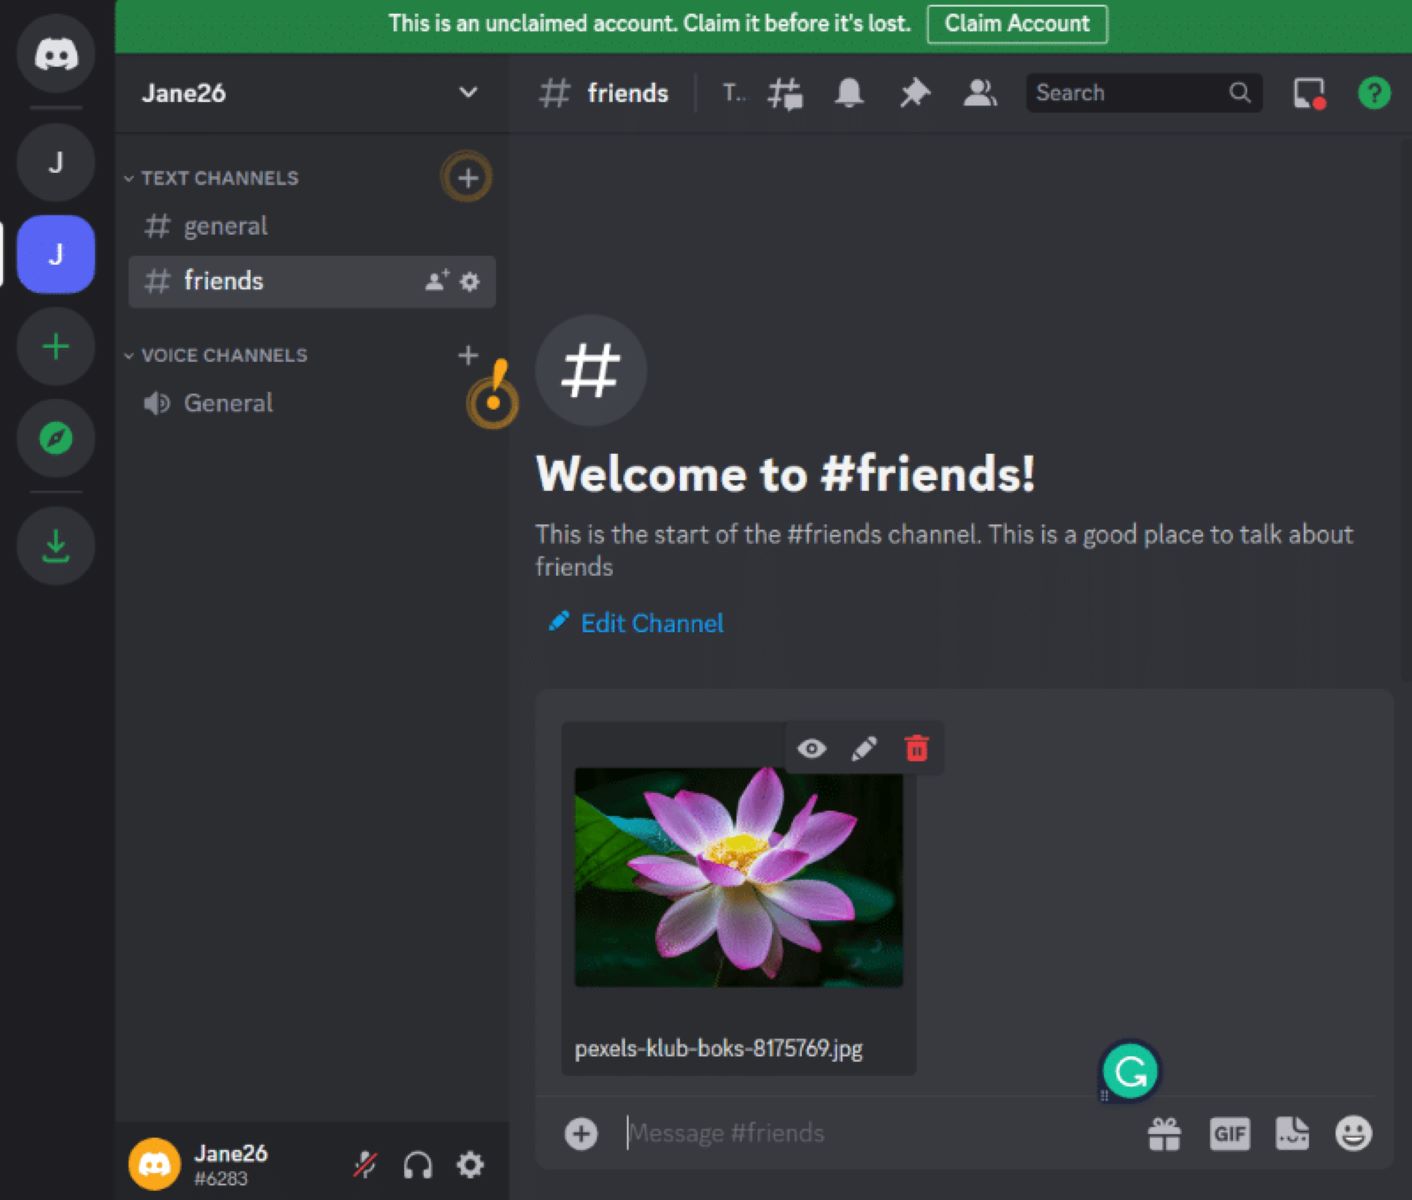
- Once the image is uploaded, Discord will generate a preview of the image within your message.
- Before sending the picture, you have the option to add text or a caption to accompany the image if you wish.
- When you’re ready, click the “Send” button to share the picture with the members of the channel.
That’s it! You have successfully uploaded a picture on Discord. The image will now be visible to all the members of the channel, allowing them to view and engage with your shared content. Keep in mind that each server may have different rules and guidelines regarding the types of pictures that can be shared, so make sure to adhere to the server’s policies to maintain a harmonious and enjoyable community.
Now that you know how to upload pictures, let’s move on to the next step and discover how you can send pictures to a server or through direct messages on Discord.
Step 4: Sending a Picture to a Server or Direct Message
Now that you have successfully uploaded a picture, let’s explore how you can send it to a Discord server or through direct messages:
To send a picture to a server:
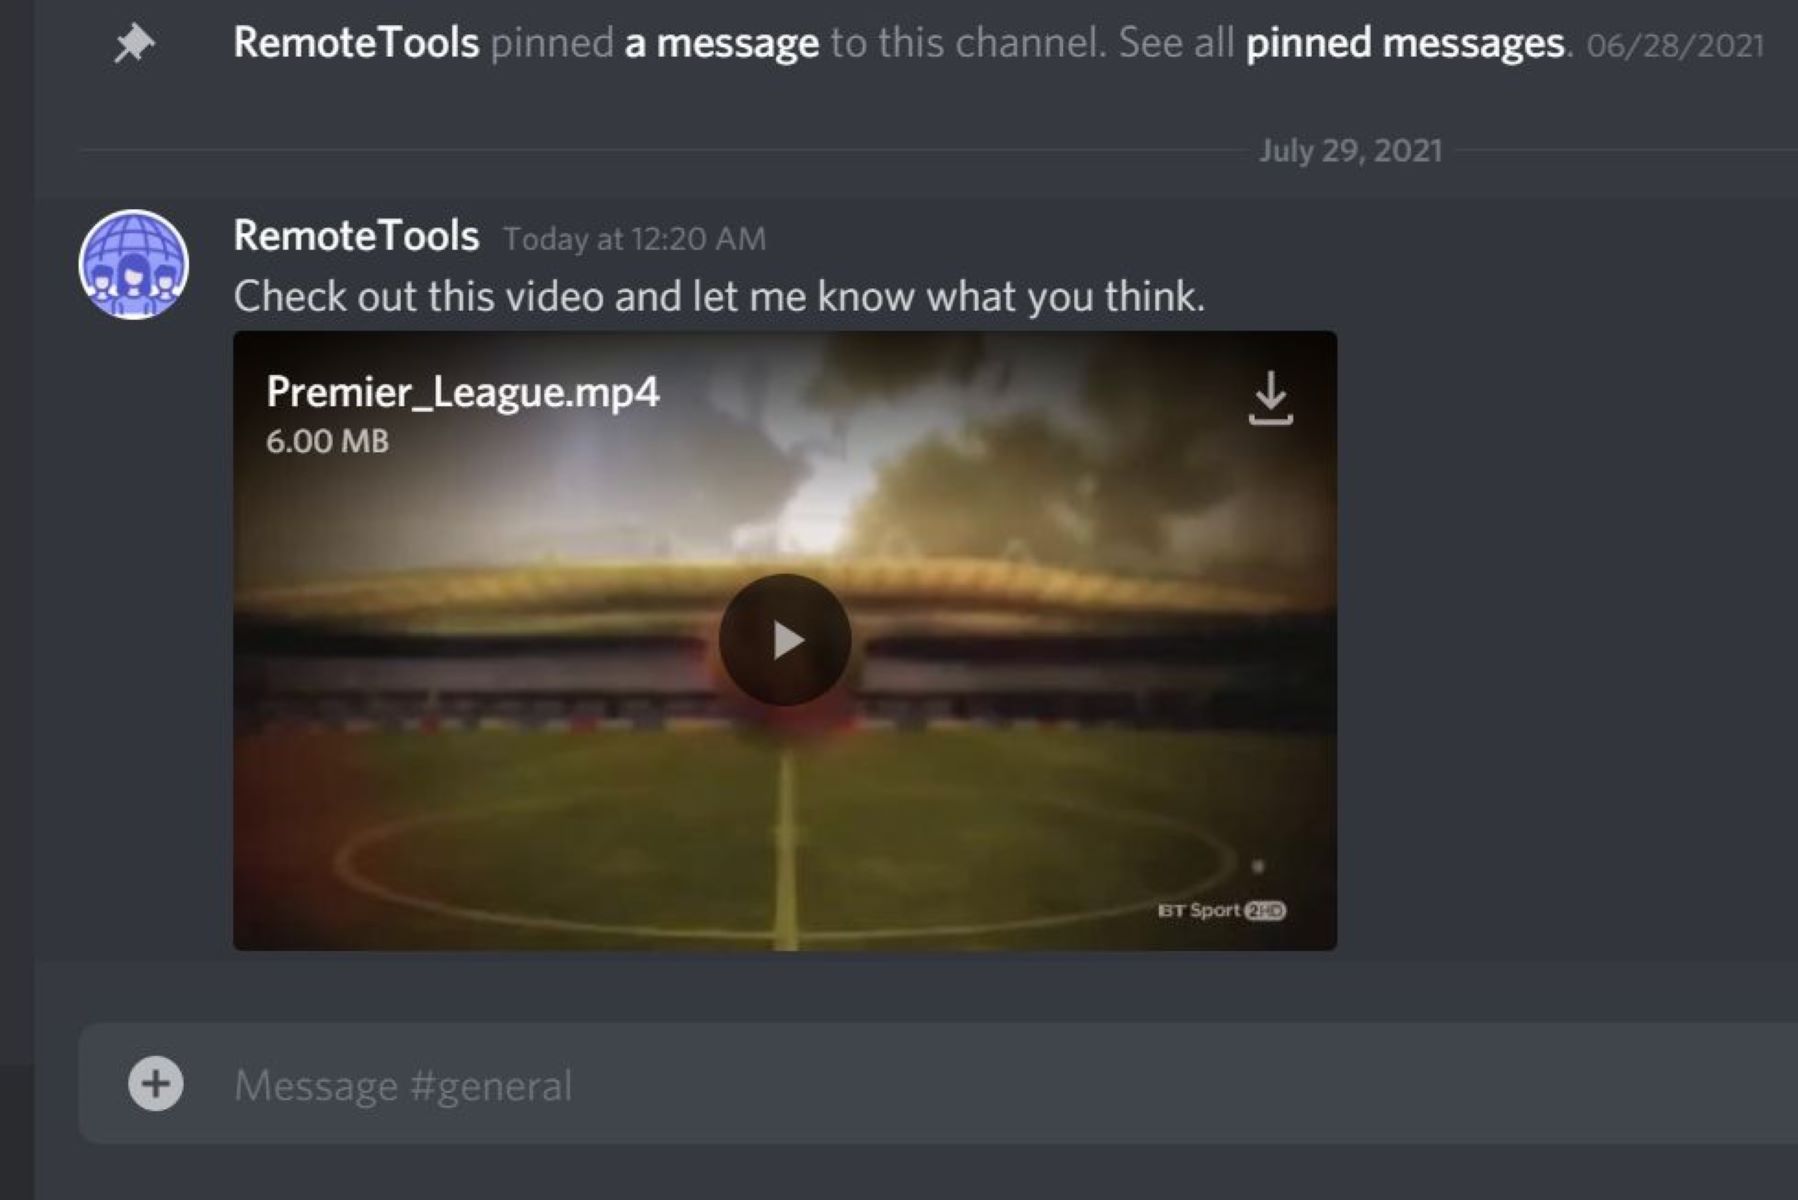
- Navigate to the channel within the desired server where you want to send the picture.
- Locate the uploaded picture within the chat history or by searching for it using the server’s search functionality.
- Click on the picture to select it.
- Once the picture is selected, you can add a comment or additional context if desired.
- Press the “Enter” key or click the “Send” button to send the picture to the server.
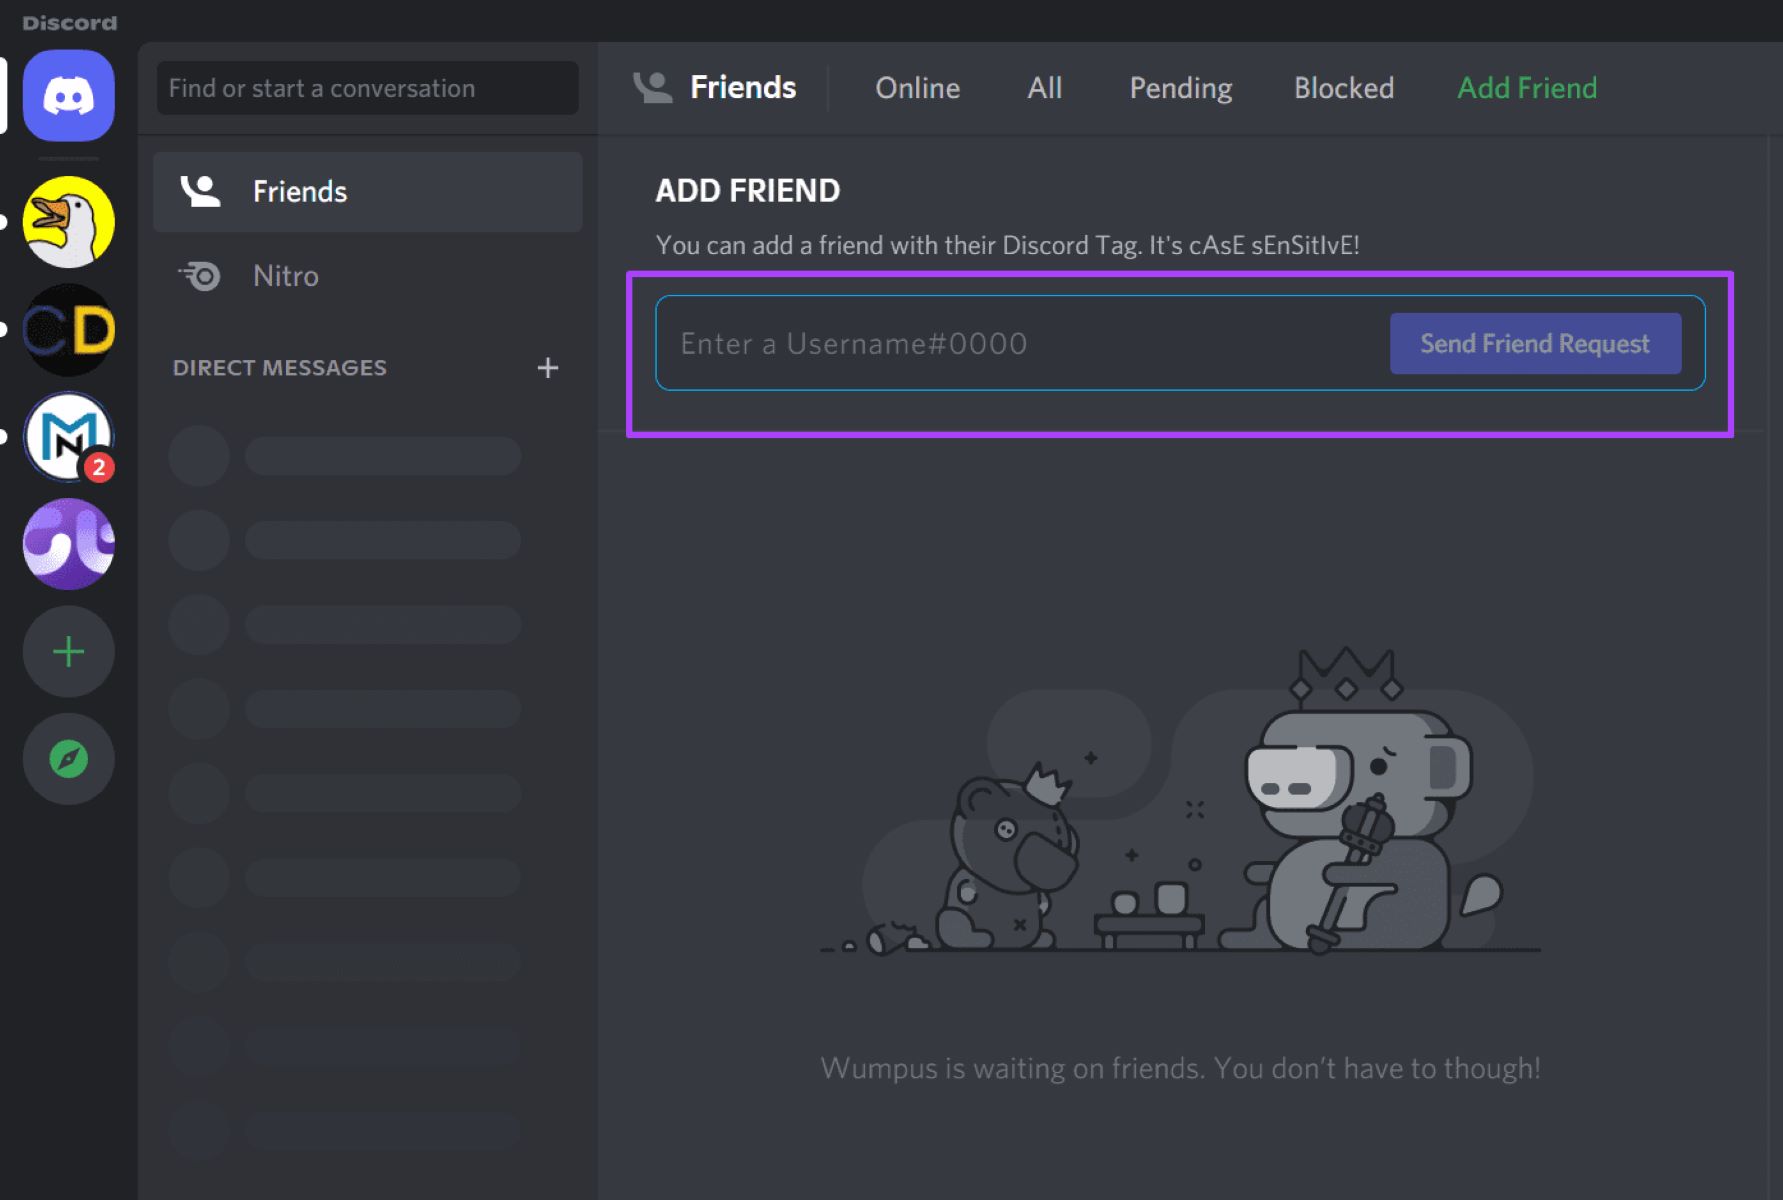
To send a picture through direct messages:
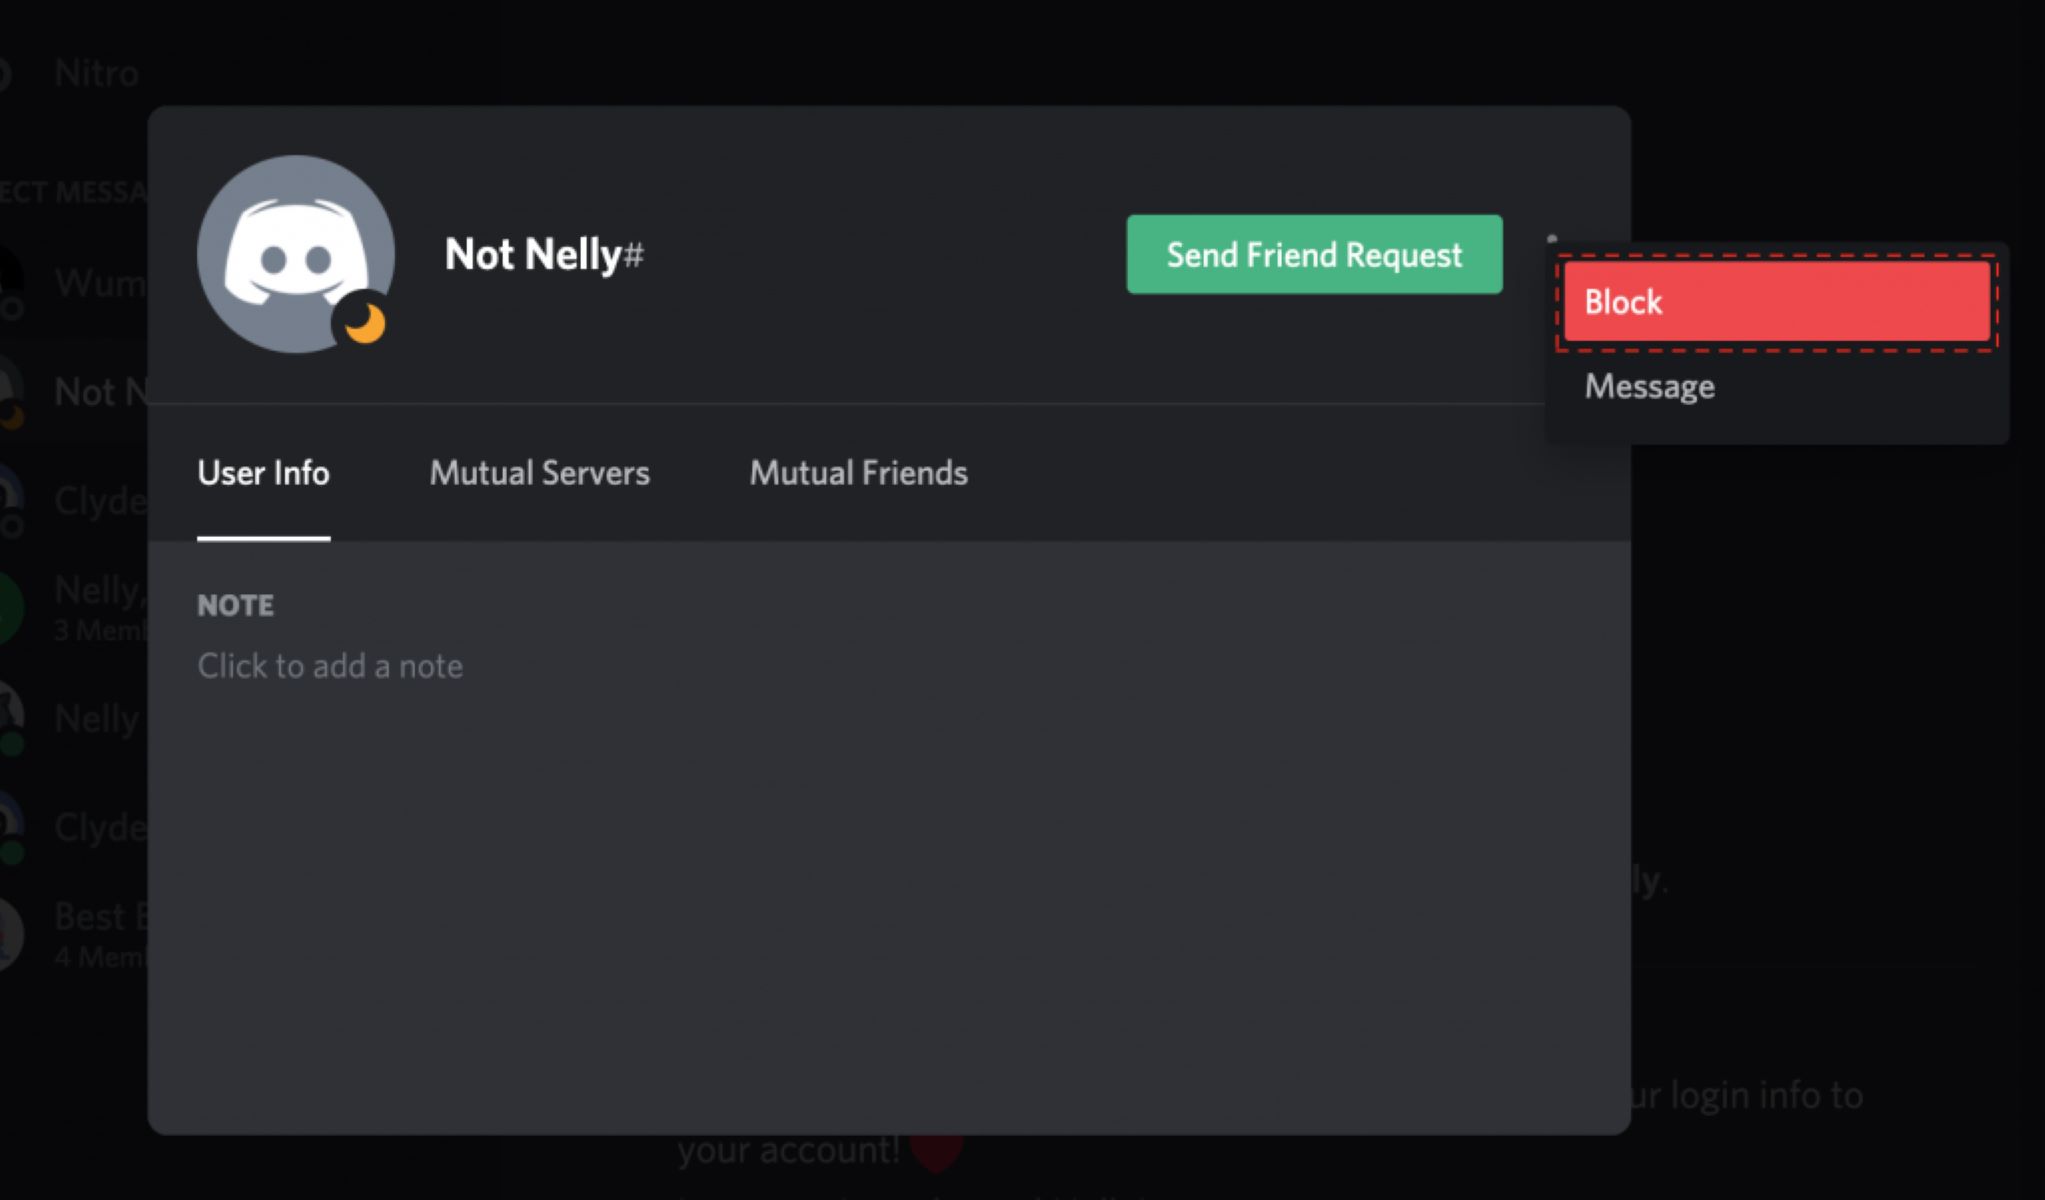
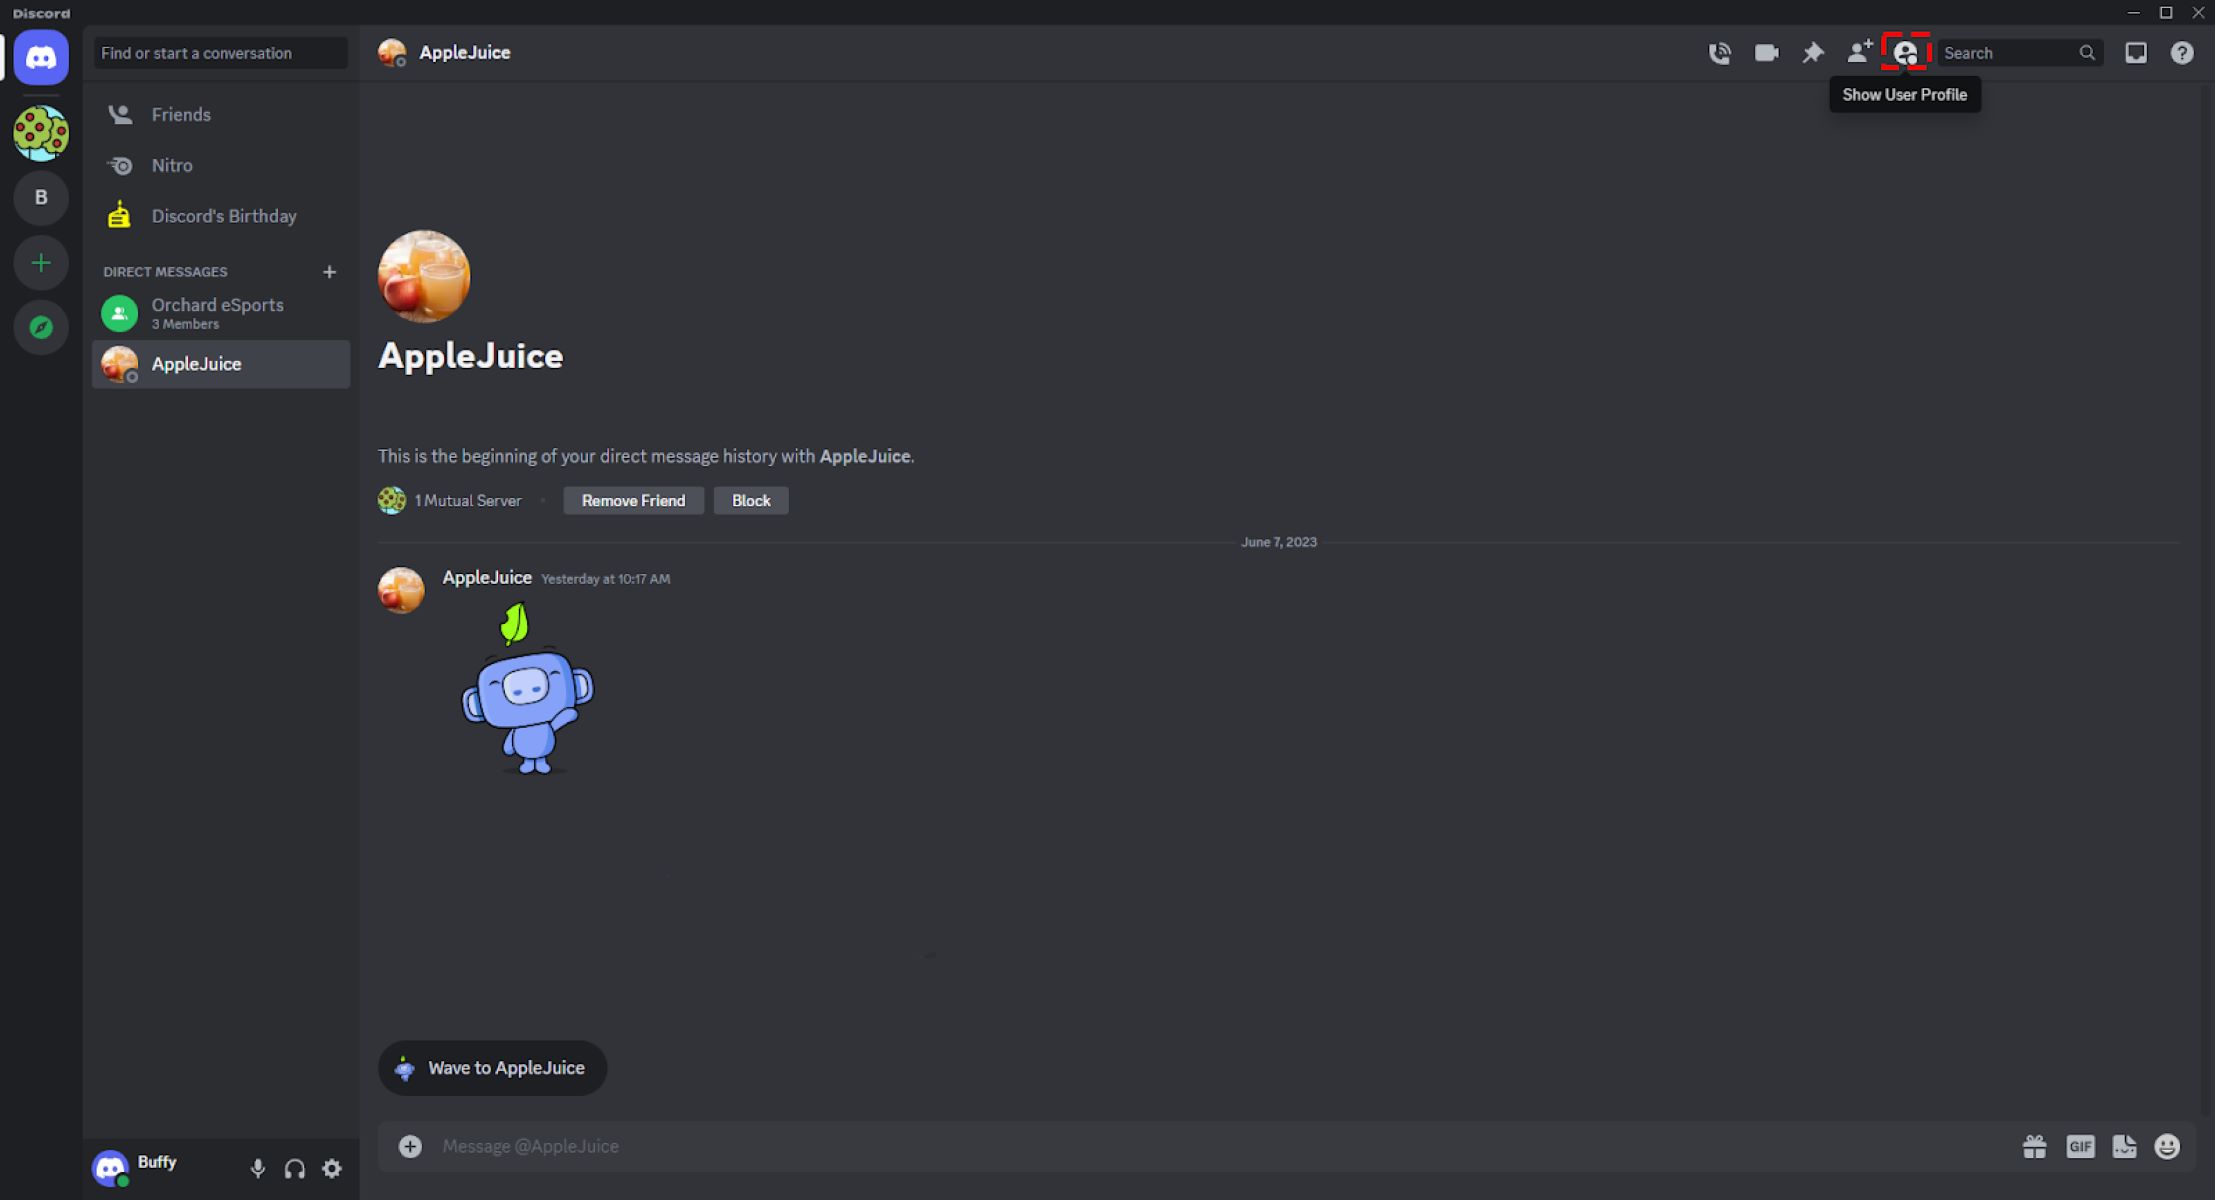
- Locate the user or recipient with whom you want to share the picture.
- Click on the user’s profile or start a new direct message conversation.
- Within the text input field, click the “Upload” button or drag and drop the picture file directly into the field.
- Add any necessary text or comments before sending the picture.
- Hit “Enter” or click the “Send” button to send the picture to the recipient.
By following these simple steps, you can easily send pictures to Discord servers or individuals through direct messages. This allows you to share memorable moments, collaborate on projects, or simply engage in visual conversations with your friends, teammates, or fellow community members.
Now that you know how to send pictures, let’s move on to the next step, where we will explore adjusting image settings on Discord.
Step 5: Adjusting Image Settings
Discord offers various settings and options to enhance your image-sharing experience. Here are some ways you can adjust image settings:
1. Image Quality: By default, Discord compresses images to reduce their file size and improve server performance. However, if you want to preserve the original quality of your images, you can adjust the image quality settings. Go to User Settings > Appearance > Advanced and toggle off the “Image Compression” option.
2. Embedded Thumbnails: Discord can automatically generate embedded thumbnails for large images to improve the overall user experience. You can choose to disable this feature if you prefer to see full-size images immediately. Go to User Settings > Text & Images > Automatically Convert Media to Links and toggle off the “Image Link Preview” option.
3. NSFW Image Warning: If you’re in a server that allows NSFW (Not Safe for Work) content, Discord can automatically warn you before displaying NSFW images. You can enable or disable this warning under User Settings > Text & Images > Safe Direct Messaging.
4. Image Spoilers: To prevent spoilers or hide sensitive content, you can use the image spoiler feature on Discord. When uploading an image, you can mark it as a spoiler, and it will be initially hidden until the recipient chooses to view it.
5. Accessibility Settings: Discord offers accessibility settings, such as colorblind mode, to improve the user experience for users with specific visual impairments. You can enable these settings by going to User Settings > Accessibility.
By adjusting these image settings according to your preferences, you can personalize your Discord experience and ensure that it aligns with your specific needs and preferences.
Congratulations! You have now learned how to adjust image settings on Discord, allowing you to customize and optimize your image-sharing experience. Now it’s time to put your knowledge into practice and start sharing pictures with your Discord community!
Conclusion
Congratulations on completing this guide on sending pictures on Discord! You have learned the essential steps to create a server, join existing servers, upload pictures, and send them to servers or through direct messages. With this newfound knowledge, you are now equipped to enhance your communication and engagement on Discord by sharing visually captivating content.
Discord provides a platform for building communities, connecting with friends, and expressing yourself through images. Whether you want to share gaming moments, memes, or creative artwork, Discord offers a seamless and user-friendly experience for sharing pictures.
Remember to respect the guidelines and policies of the servers you join and exercise good judgment when sharing pictures. Discord is a space for positive and constructive communication, so always be mindful of others and maintain a friendly and inclusive atmosphere.
Now that you have mastered the art of sending pictures, why not explore other features Discord has to offer? Discover voice chat, video chat, screen sharing, and more to further enhance your Discord experience.
So, go ahead and start sharing those amazing pictures on Discord. Engage with your friends, join communities, and make lasting memories with the power of visual communication. Have fun, be creative, and enjoy your Discord journey!