Introduction
Welcome to our guide on how to lock a role in Discord. Discord is a popular communication platform that allows users to create servers and interact with others in various ways. Within these servers, different roles can be assigned to users, granting them specific permissions and privileges.
Locking a role in Discord is a useful feature that allows server administrators to restrict certain actions or access for specific roles. This can be useful in maintaining server security, ensuring a smooth server experience, or creating exclusive areas for certain members.
In this guide, we will walk you through the step-by-step process of locking a role in Discord. We will cover how to add a role, customize its permissions, and finally lock it to restrict members with that role from performing certain actions. Whether you’re a server owner, an administrator, or simply an enthusiastic Discord user, this guide will provide you with the knowledge and tools to effectively lock roles in Discord.
Before we dive into the steps, it’s important to note that the ability to lock roles may require certain server permissions. Make sure you have the necessary administrative privileges or consult with the server owner before proceeding.
Now, let’s get started with adding a role in Discord.
Step 1: Adding a Role in Discord
The first step in locking a role in Discord is to add the role to your server. Roles in Discord are used to assign specific permissions and privileges to users within a server. To add a role, follow the steps below:
- Open Discord and navigate to the server where you want to add the role.
- Click on the server name at the top-left corner of the screen to open the server settings menu.
- Select “Server Settings” from the drop-down menu.
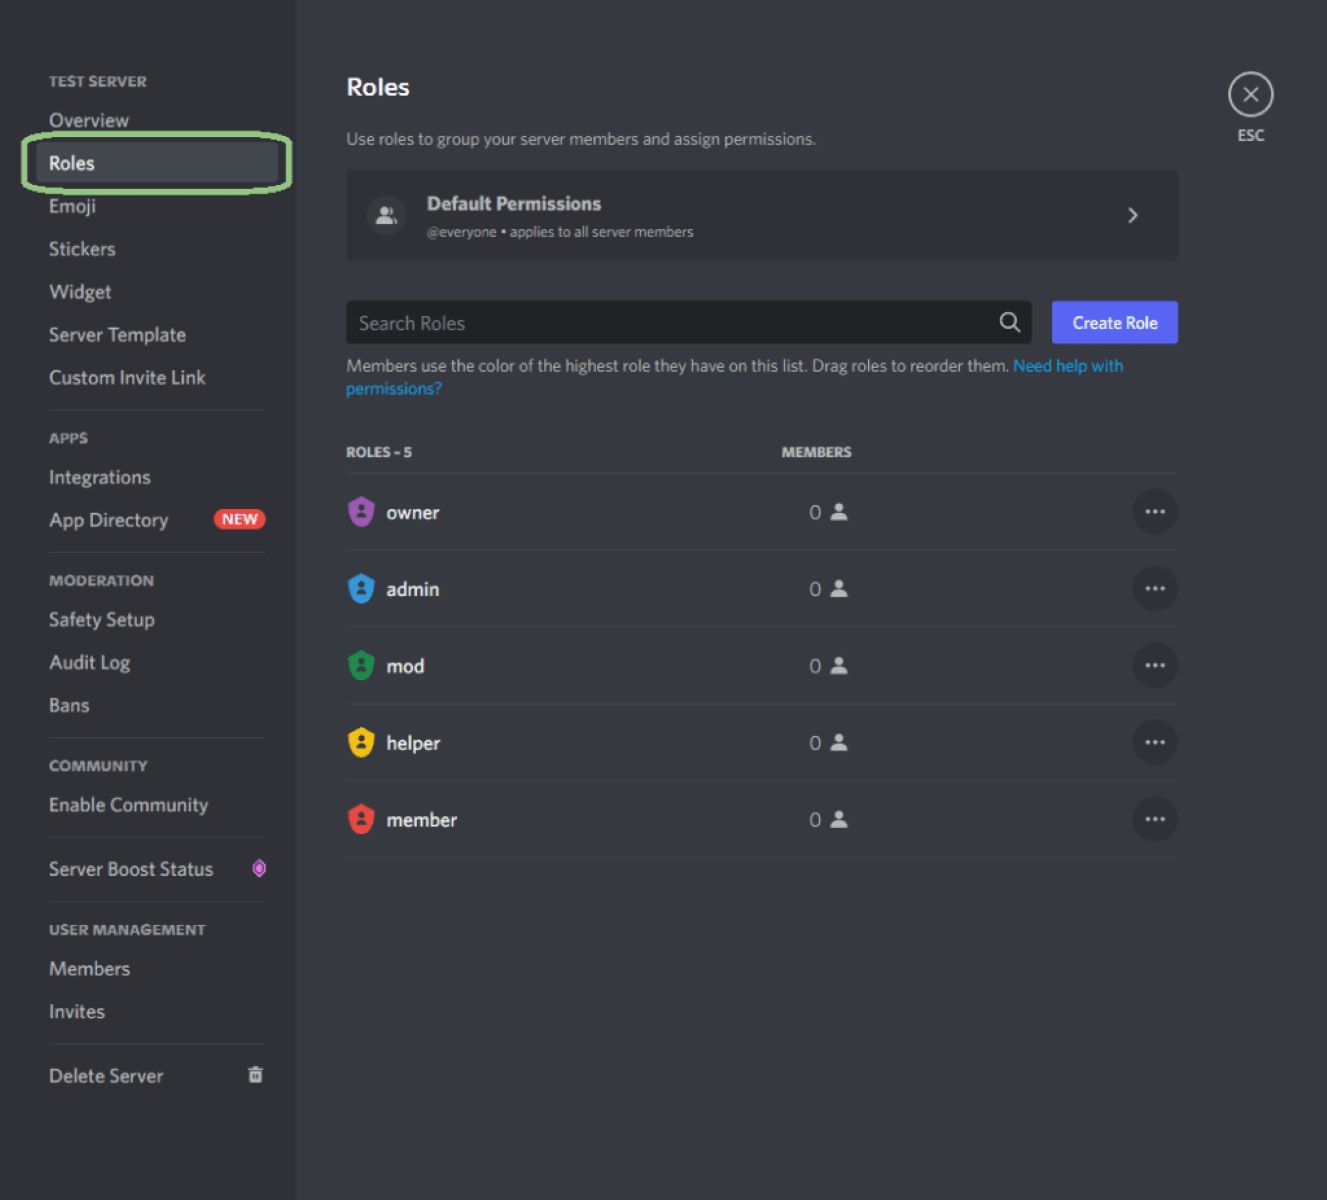
- In the server settings menu, click on the “Roles” tab.
- Click on the “+” button next to the “Roles” heading to create a new role.
- Enter a name for the role in the “Role Name” field. You can choose any name that best represents the purpose or function of the role.
- Customize the role further by adjusting its color, permissions, and other settings as desired.
- Click the “Save Changes” button to add the role to your server.
Congratulations! You have successfully added a new role to your Discord server. This role will now appear in the list of roles in your server settings.
Now that you have added the role, let’s move on to the next step – customizing its permissions.
Step 2: Customizing Role Permissions
Customizing role permissions is an essential step in locking a role in Discord. By adjusting the permissions of a role, you can define what actions and features members with that role can access within the server. Follow the steps below to customize role permissions:
- Open Discord and navigate to the server where you added the role.
- Click on the server name at the top-left corner of the screen to open the server settings menu.
- Select “Server Settings” from the drop-down menu.
- In the server settings menu, click on the “Roles” tab.
- Locate the role you want to customize and click on the three-dot icon next to it.
- Select “Edit Role” from the options that appear.
- In the role settings, you will see a list of permissions categories such as General Permissions, Text Permissions, and Voice Permissions.
- Toggle the switches next to each permission to enable or disable them for members with the role.
- Customize the permissions according to the specific actions or features you want to allow or restrict for members with this role.
- Click the “Save Changes” button to apply the customized permissions to the role.
By customizing role permissions, you have now set specific limitations and access rights for the role within your Discord server. This allows you to tailor the role’s behavior and control what actions its members can perform.
Now that you have customized the role permissions, let’s move on to the final step – locking the role in Discord.
Step 3: Locking the Role in Discord
Locking a role in Discord is the final step in the process of restricting certain actions or access for members with that role. By locking the role, you ensure that only authorized individuals can perform specific tasks or access certain parts of the server. Follow the steps below to lock a role in Discord:
- Open Discord and navigate to the server where you customized the role permissions.
- Click on the server name at the top-left corner of the screen to open the server settings menu.
- Select “Server Settings” from the drop-down menu.
- In the server settings menu, click on the “Roles” tab.
- Locate the role you want to lock and click on the three-dot icon next to it.
- Select “Edit Role” from the options that appear.
- Scroll down to the “Role Permissions” section.
- Disable any permissions that you want to restrict for members with this role. This can include actions such as sending messages, joining voice channels, or modifying server settings.
- Review the changes and ensure that the desired restrictions are in place.
- Click the “Save Changes” button to apply the locked role settings.
By following these steps, you have successfully locked the role in Discord. Members with this role will now have restricted access based on the customized permissions you have set. This helps ensure server security, maintain control over specific actions, and create exclusive areas within your Discord server.
It’s important to regularly review and update the permissions and restrictions for roles in your server to ensure they align with your server’s needs and goals.
With this final step complete, you have successfully locked a role in Discord. Enjoy the benefits of a secure and well-managed server!
Conclusion
Locking a role in Discord is a powerful tool that allows server administrators to restrict certain actions or access for specific roles. By following the steps outlined in this guide, you can effectively add a role, customize its permissions, and lock it to create a secure and controlled environment within your Discord server.
Adding a role in Discord is the first step towards locking it. By assigning a role, you can define the permissions and privileges that members with that role possess. Customizing role permissions is crucial in ensuring that the role has the desired level of access within the server.
Finally, locking the role in Discord solidifies the restrictions and limitations you have set for the role. This helps promote server security, maintain control over specific actions, and create exclusive areas for certain members.
Remember to regularly review and update the role permissions and restrictions to ensure they align with your server’s evolving needs and goals. Regularly monitoring and adjusting these settings will help keep your server safe, organized, and enjoyable for all members.
We hope that this guide has provided you with the necessary knowledge and tools to lock roles in Discord effectively. Whether you’re an experienced server administrator or a Discord enthusiast, implementing role locks can greatly enhance your server management capabilities.
Now that you have learned how to lock a role in Discord, go ahead and apply this knowledge to create a secure and controlled environment in your Discord server. Harness the power of roles to better manage your server and provide an exceptional experience for your community.