Introduction
Welcome to the world of instant messaging! If you’re wondering how to send flight information via iMessage, you’ve come to the right place. Whether you want to share your upcoming travel plans with a friend or keep your loved ones informed about your flight status, iMessage offers a convenient way to send flight details right from your iPhone or iPad. In this guide, we’ll take you through the step-by-step process of sending flight information via iMessage. So, let’s get started!
iMessage is Apple’s built-in messaging app that allows iOS and Mac users to send text messages, photos, videos, and more to other Apple device owners. One of the handy features of iMessage is the ability to share flight information seamlessly. Instead of fumbling with multiple apps or websites, you can simply enter the flight details directly in an iMessage and send it to the intended recipient.
Sharing flight information via iMessage comes with several benefits. Not only does it provide a quick and easy way to pass on the details, but it also allows the recipient to conveniently access the information right from their messaging app. Plus, with the ability to enable flight tracking, you can keep your friends and family updated on your flight’s progress without the need for additional notifications or apps.
In this guide, we’ll walk you through the step-by-step process of sending flight information via iMessage. Whether you’re using an iPhone or an iPad, the steps remain the same. So, let’s dive in and learn how to share your flight details effortlessly!
Step 1: Open the iMessage App
To begin sending flight information via iMessage, you need to open the iMessage app on your iPhone or iPad. The iMessage app is usually located on the home screen of your device and can be recognized by its iconic green speech bubble logo.
Simply tap on the iMessage app to launch it. If you have recently used iMessage, the app may open right away. Otherwise, you might need to enter your passcode or use Touch ID/Face ID to unlock your device before accessing the app.
Once you have successfully opened the iMessage app, you will be greeted with your conversation list. This list displays all your ongoing and past conversations. You can see your contacts’ names or phone numbers along with previews of your recent messages.
If you have an existing conversation with the recipient you want to send the flight information to, you can simply tap on the conversation to open it. Otherwise, you will need to start a new message. To do this, tap on the “Compose” button, usually located at the top right corner of the screen. It is represented by a pencil and paper icon.
By opening the iMessage app, you have taken the first step towards sharing your flight information effortlessly. Now, let’s move on to the next step to learn how to start a new message and proceed with sending the flight details.
Step 2: Start a New Message
Once you have opened the iMessage app on your iPhone or iPad, it’s time to start a new message to send your flight information. Starting a new message allows you to enter the recipient’s name or phone number, ensuring that your flight details are shared with the intended person.
To start a new message, look for the “Compose” button in the iMessage app. This button is usually represented by a pencil and paper icon and is located at the top right corner of the screen. Tap on the “Compose” button to proceed.
After tapping on the “Compose” button, a new message window will appear. Here, you will see a text input box at the bottom of the screen. This is where you can type your message, including the flight information you want to share.
Now, it’s time to add the recipient’s name or phone number. To do this, simply tap on the “To” field or the recipient’s name if it’s already displayed. This will open your contacts list, allowing you to search for the person you want to send the flight information to.
You have a couple of options for adding the recipient’s name or phone number:
- You can manually type the recipient’s name or phone number in the “To” field. As you start typing, the iMessage app will suggest contacts that match the entered characters. This can help you quickly find the right person.
- You can tap on the “+” icon located next to the “To” field. This will open your contacts list, where you can browse and select the recipient’s name or phone number.
Once you have entered the recipient’s name or phone number, you’re ready to move on to the next step: typing the flight information. Let’s now proceed to the next step and explore how to add the flight details to your iMessage.
Step 3: Add Recipient
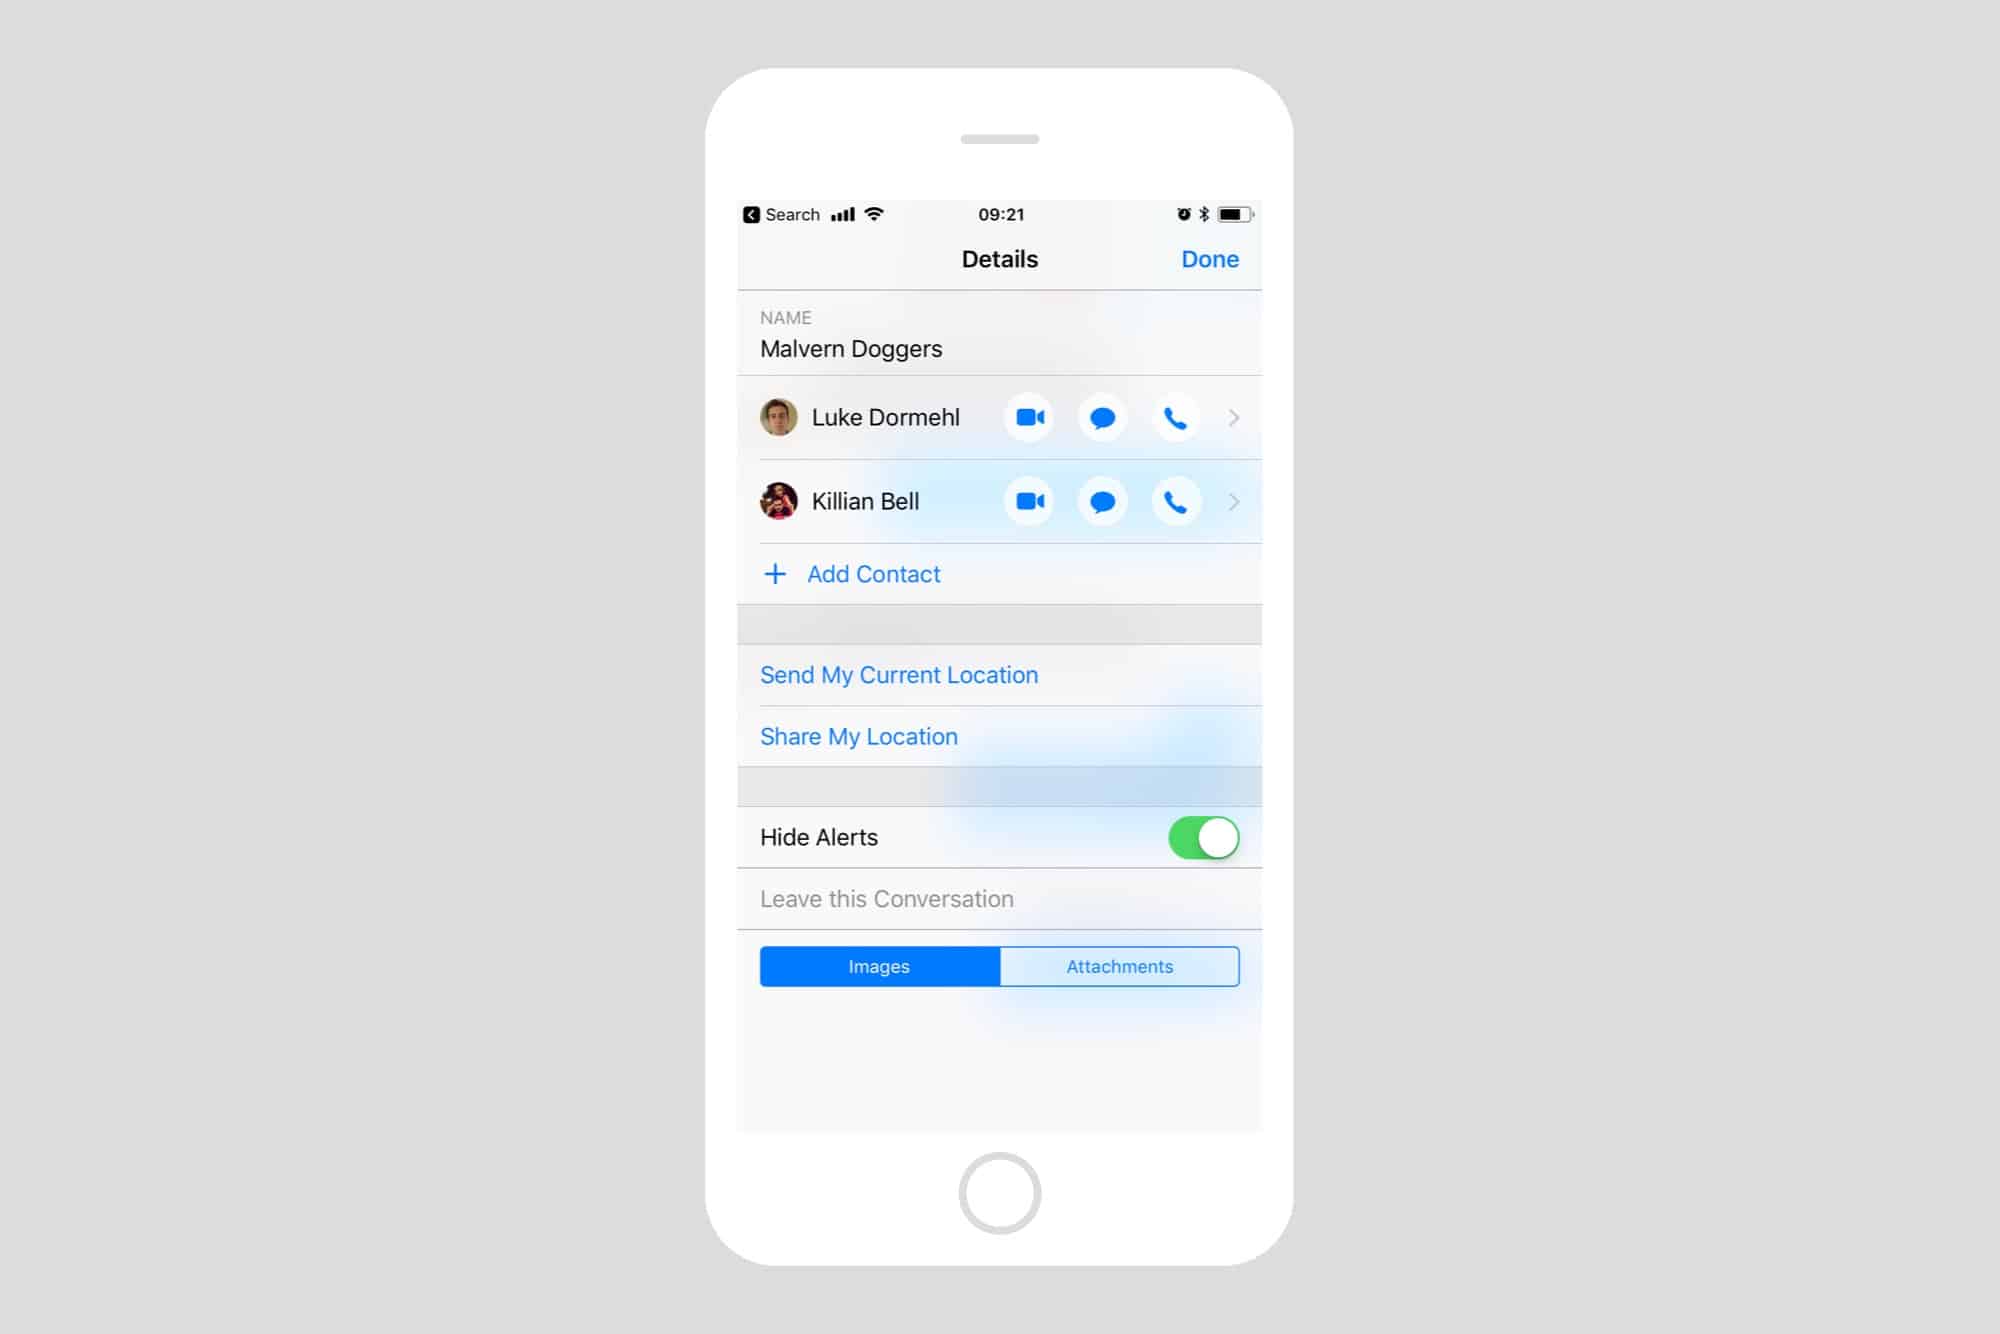
After starting a new message in the iMessage app, the next step is to add the recipient or recipients to whom you want to send the flight information. Adding the recipient ensures that your message is directed to the intended person or group.
To add a recipient, navigate to the “To” field or the recipient’s name at the top of the new message window. Here, you have the option to manually type the recipient’s name or phone number or choose from your contacts list.
If you want to manually type the recipient’s name or phone number, simply tap on the “To” field and start entering the information. As you type, the iMessage app will suggest contacts that match the entered characters, making it easier for you to select the correct recipient.
If you prefer to select the recipient from your contacts, tap on the “+” icon located next to the “To” field. This will open your contacts list, displaying all the individuals saved in your device’s address book. Scroll through the list or use the search bar at the top to find the recipient you want to add.
If you’re sending the flight information to multiple recipients, you can add multiple names or phone numbers to the “To” field. Simply separate each recipient’s information with a comma or semi-colon.
Once you have added the recipient or recipients, double-check that the names or phone numbers are correct. This will help ensure that your flight information is shared with the right individuals.
Adding the recipient is a crucial step in sending flight information via iMessage. It ensures that your message reaches the intended person or group seamlessly. Now that you have added the recipient, let’s move on to the next step: typing the flight information to be included in the iMessage.
Step 4: Type the Flight Information
Now that you have added the recipient or recipients to whom you want to send the flight information, it’s time to type the details of your flight into the iMessage. This step allows you to provide all the necessary information regarding your upcoming trip, including the flight number, departure and arrival times, and any other relevant details.
To type the flight information, simply tap inside the message input box located at the bottom of the new message window. This will bring up the keyboard on your device, enabling you to start typing your message.
Begin by providing the basic details of your flight, such as the airline name and flight number. This information is crucial for the recipient to identify and track the correct flight. For example, you can start with something like:
Hey John, I just wanted to share my flight details with you. I’ll be flying with XYZ Airlines on flight ABC123.
After mentioning the airline and flight number, proceed to include the departure and arrival airports, along with the respective dates and times. This will give the recipient a clear understanding of your travel itinerary. For instance:
I’ll be departing from City A Airport on January 1st at 10:00 AM (local time) and arriving at City B Airport at 2:00 PM (local time).
Additionally, you can mention any layovers, connecting flights, or specific terminals or gates that are relevant to your travel. This will provide the recipient with a more comprehensive understanding of your journey. Here’s an example:
There’s a layover at City C Airport for 2 hours before the connecting flight to City B. Please note that the departure gate for the connecting flight is Gate 20.
Feel free to include any other details that you think are important for the recipient to know, such as baggage restrictions or special instructions. This will help ensure a smooth and seamless travel experience.
Remember to proofread your message before sending it to check for any typos or missing information. Having accurate and complete flight details will aid the recipient in understanding your travel plans and staying updated on your journey.
Now that you have typed the flight information in the iMessage, it’s time to move on to the next step: including specific flight details. Let’s proceed to the next step and explore how to provide more detailed information about your flight.
Step 5: Include Flight Details
After typing the basic flight information in the iMessage, it’s time to include additional details that can provide more insight into your flight. These details can include important information such as the flight duration, cabin class, seat number, and any special services or accommodations you might have.
Adding specific flight details can help the recipient understand more about your travel experience and enable them to provide you with the assistance or support you may need. Here are some examples of the specific flight details you can include:
- Flight duration: Mention the estimated duration of your flight, particularly if it’s a long-haul journey. For instance, “The flight duration is approximately 8 hours.”
- Cabin class: Specify the cabin class you’ll be traveling in, such as economy, business, or first class. This can give the recipient an idea of your flight comfort and service level. For example, “I’ll be flying in the economy class.”
- Seat number: If you have a pre-assigned seat, share the seat number with the recipient so they know where to find you on the plane. You can say something like, “My seat number is 23A.”
- Special services: If you’ve requested any special services or accommodations, such as wheelchair assistance or dietary restrictions, it’s important to mention them. This ensures that the recipient is aware of your specific needs during the journey.
In addition to these specific flight details, you can also discuss any other aspects of your trip that you think are noteworthy or relevant. For instance, if you have any interesting layover plans or if there are specific travel requirements at your destination, feel free to include that information.
Providing detailed flight information and specific details gives the recipient a better understanding of your travel plans and allows them to offer support or take necessary actions if required. It also helps them stay updated on your journey and be prepared for any potential changes or surprises.
Now that you have included the specific flight details in the iMessage, it’s time to move on to the next step: sending the message itself. Let’s proceed to the next step and learn how to send the iMessage containing your flight information.
Step 6: Send the iMessage
After typing and including all the necessary flight information in the iMessage, it’s time to send the message to share your flight details with the recipient. Sending the iMessage is a simple process that allows you to swiftly communicate your travel plans and ensure that the recipient receives the information in a timely manner.
To send the iMessage, locate the send button within the message window. The send button is usually represented by an arrow or paper airplane icon, typically located on the right-hand side of the text input box.
Once you have ensured that your message is complete and accurate, tap on the send button. This will initiate the sending process, and the iMessage will be transferred from your device to the recipient’s device as long as they have an active internet connection.
As the iMessage is being sent, a delivery status indicator may appear, showing whether the message has been successfully delivered to the recipient’s device. This indicator can vary depending on the device and operating system of both the sender and recipient.
After the iMessage has been successfully sent, it will appear in both your conversation view and the recipient’s conversation view within the iMessage app. The recipient will be able to see and access the flight information you shared directly within their messaging app.
It’s important to note that the recipient must also have an iPhone or iPad with iMessage capabilities to receive the iMessage. If the recipient is using a device or messaging service that doesn’t support iMessage, the message may be sent as a regular SMS instead.
Now that you have successfully sent the iMessage containing your flight information, you can rest assured that the recipient has access to all the necessary details of your travel plans. Keep in mind that you can also continue the conversation within the iMessage thread if you need to provide further updates or clarification regarding your flights.
With the iMessage sent, you have completed the process of sharing your flight information. However, if you wish to enable flight tracking for the recipient or want to explore additional features, you can continue to the optional Step 7. Otherwise, you can conclude the process here.
Step 7: Enable Flight Tracking (Optional)
If you want to enhance the convenience and keep the recipient updated on your flight’s progress, you can enable flight tracking. This optional step allows the recipient to receive real-time updates on your flight status, including any delays, gate changes, or cancellations.
To enable flight tracking, you need to have the relevant flight tracking app installed on your device. There are several popular flight tracking apps available, such as FlightAware, FlightRadar24, and Flightradar+. Download and install the app of your choice from the App Store.
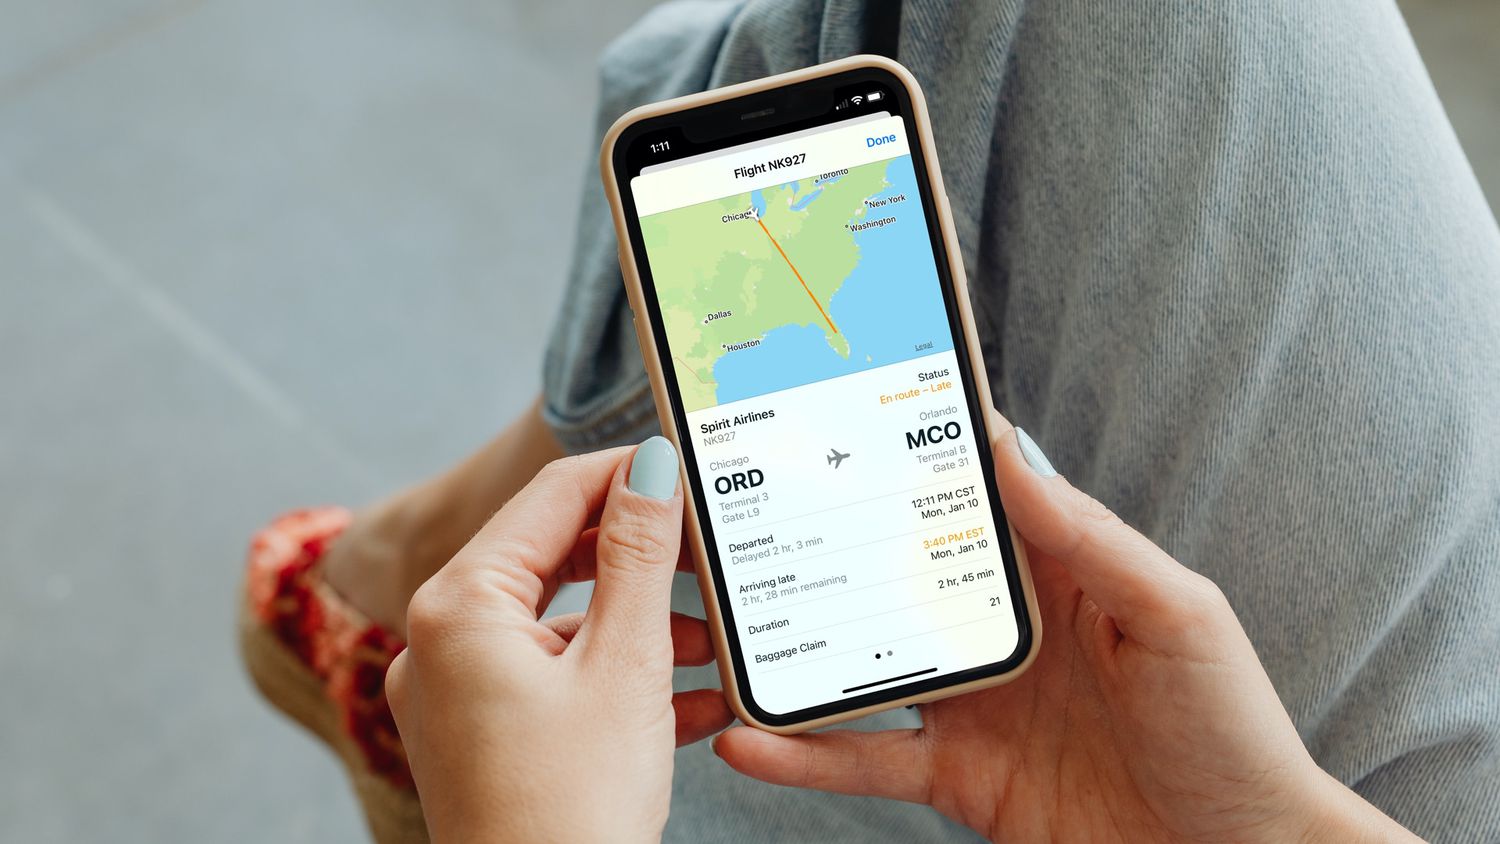
Once the flight tracking app is installed, open the app and search for your flight using the provided search bar. Enter your airline name and flight number, and the app will display the details of your flight, including the departure and arrival times, current location, and any updates or alerts.
Now, return to the iMessage conversation with the flight information and inform the recipient that you have enabled flight tracking. Encourage them to download and install the same flight tracking app. They can then search for your flight using the same airline name and flight number.
By enabling flight tracking, the recipient will receive real-time updates or push notifications on their device regarding your flight’s status. They can stay informed about any changes or updates without the need for constant manual checking or relying on other sources of information. This can provide peace of mind for both you and the recipient during your journey.
Keep in mind that enabling flight tracking is optional and depends on the preferences of both the sender and the recipient. If either party prefers not to use a flight tracking app, the communication via iMessage is still sufficient to share the flight information and stay connected throughout the journey.
With flight tracking enabled (if desired), you have successfully completed the steps to send flight information via iMessage. Your recipient is now equipped with the necessary details and potential updates about your flight.
Remember to enjoy your trip and have a safe and pleasant journey!
Conclusion
Congratulations! You have now learned how to send flight information via iMessage, making it easier than ever to share your travel plans with friends and loved ones. By following the simple steps outlined in this guide, you can communicate flight details, keep others informed about your journey, and even enable flight tracking for real-time updates.
iMessage provides a seamless and convenient way to share flight information directly from your iPhone or iPad. From opening the iMessage app to starting a new message, adding recipients, typing the flight details, including specific information, and finally sending the iMessage, the process is straightforward and user-friendly.
Remember, accuracy is key when typing the flight information. Double-checking the details to ensure the correct airline, flight number, departure and arrival airports, dates, and times are included will help the recipient stay well-informed about your journey.
If desired, you can also enable flight tracking by using a flight tracking app and sharing that information with the recipient. This allows them to receive real-time updates on your flight’s status, ensuring they are aware of any changes or delays that may occur.
Whether you’re traveling for work or pleasure, sharing your flight information via iMessage keeps your loved ones in the loop, providing reassurance and peace of mind. They can track your progress, be ready to pick you up when you arrive, or simply stay connected throughout your journey.
Now that you have mastered the art of sending flight information via iMessage, you can embark on your travels with confidence, knowing that you can effortlessly communicate your plans and keep others informed every step of the way. Bon voyage!