Introduction
Welcome to this guide on how to see RAM in Device Manager. When it comes to managing the performance and resources of your computer, understanding its memory capacity is crucial. Random Access Memory, or RAM, plays a vital role in determining your system’s speed and overall efficiency. By viewing the RAM information in Device Manager, you can gain valuable insights into your computer’s memory status and take appropriate steps to optimize its performance.
In this article, we will explain what RAM is and why it is important to view RAM details in Device Manager. We will also walk you through the steps to successfully view RAM in Device Manager. Additionally, we will discuss alternative ways to access RAM information on a Windows computer. So, whether you’re a tech-savvy enthusiast or a casual user, this guide will equip you with the knowledge you need to effectively manage your computer’s memory resources.
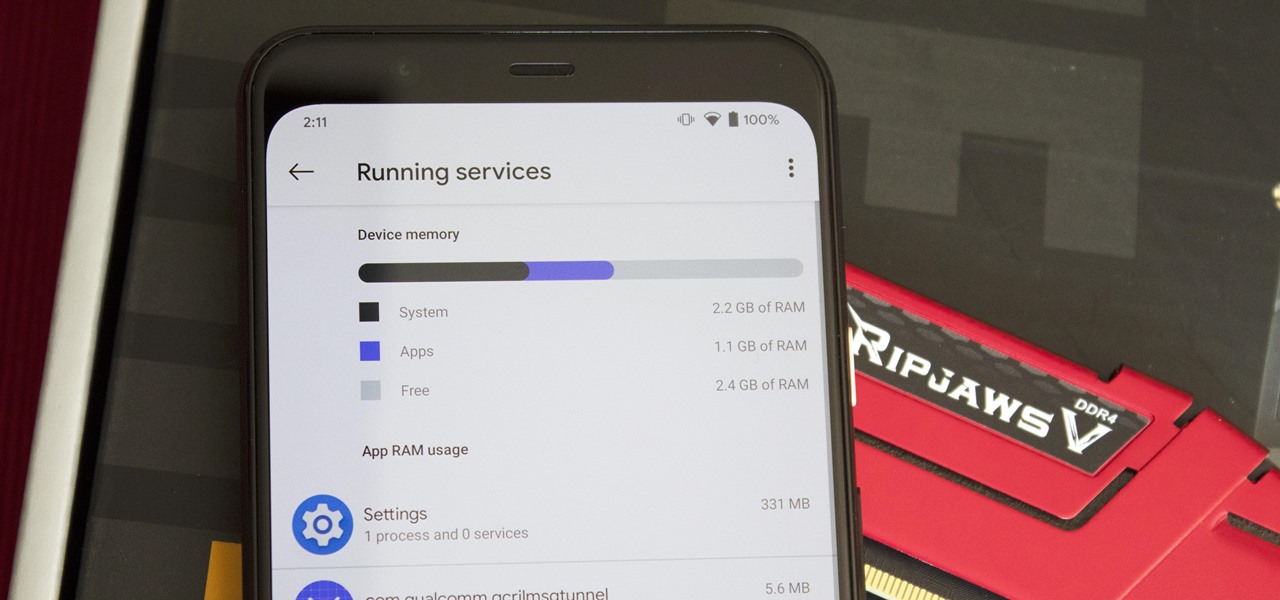
Understanding how much RAM your computer has is essential for several reasons. RAM serves as a temporary storage space where your computer stores data that it needs to access quickly. This includes running applications, web browsers, and background processes. The more RAM you have, the more data your computer can store and access quickly, resulting in improved multitasking capabilities and faster response times.
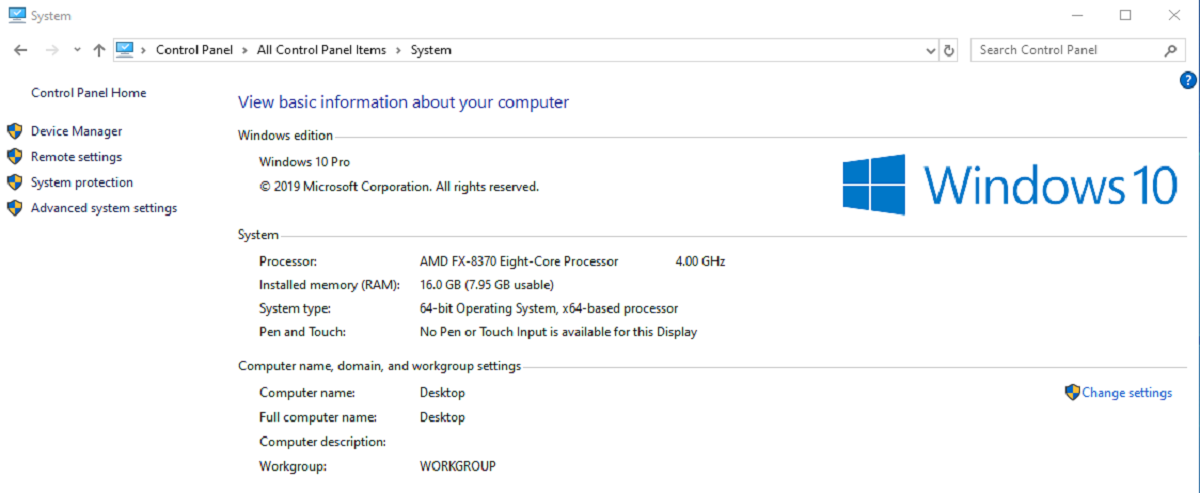
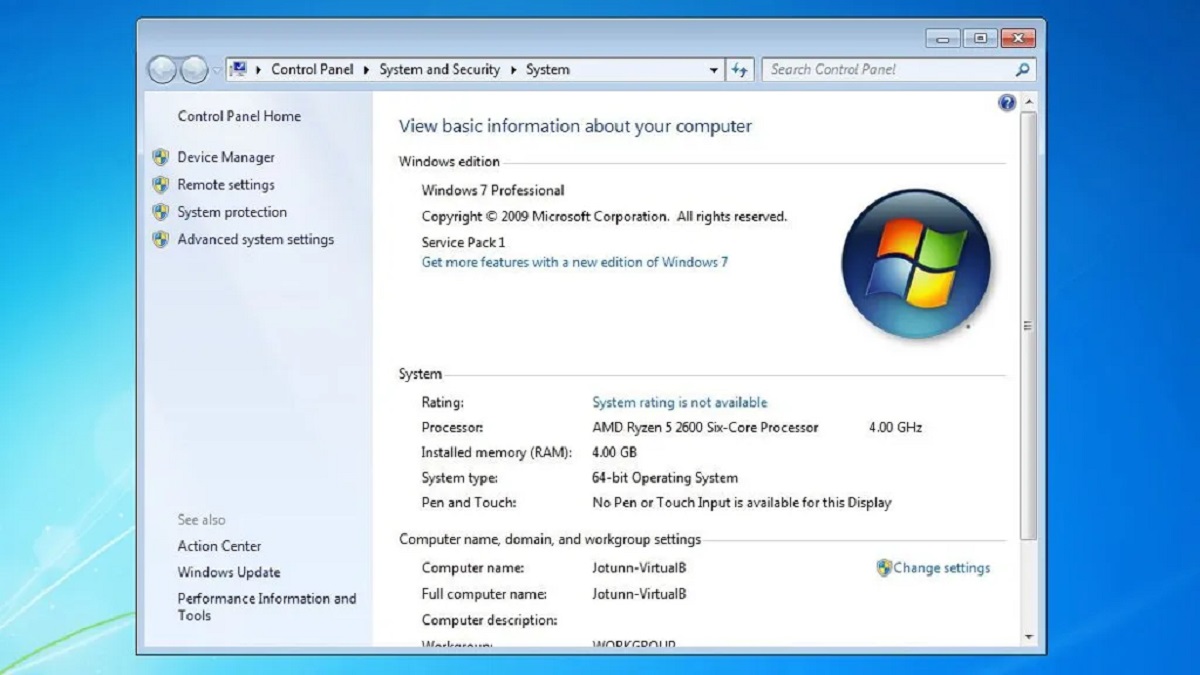
By viewing the RAM status in Device Manager, you can get an accurate understanding of the amount of memory installed in your system. This information is crucial, especially if you are experiencing slow performance or considering upgrading your RAM. Device Manager provides detailed hardware information, including the installed RAM, allowing you to diagnose potential issues or make informed decisions regarding memory upgrades.
Now that we understand the importance of viewing RAM in Device Manager, let’s dive into the step-by-step process of accessing this information. Whether you are using Windows 10, Windows 8, or an earlier version, the steps to view RAM are generally the same. However, we will also explore alternative methods you can use if you encounter any difficulties.
What is RAM?
RAM, short for Random Access Memory, is a fundamental component of a computer’s hardware architecture. It is a volatile form of memory that stores data and code that the computer’s processor needs to access quickly. Unlike the permanent storage provided by the hard drive or solid-state drive, RAM is temporary and is cleared every time the computer is restarted.
Think of RAM as your computer’s working memory. It acts as a bridge between the processor and the storage devices, enabling fast data transfer and retrieval. When you open an application or run a program, it is loaded into the RAM, allowing the processor to access and manipulate the necessary data without having to constantly read from the slower storage devices.
The primary purpose of RAM is to provide the processor with quick access to data, improving overall system performance. The more RAM you have, the more data can be stored and accessed at any given time. This means your computer can handle demanding tasks, such as running multiple applications simultaneously or handling large files, more efficiently.
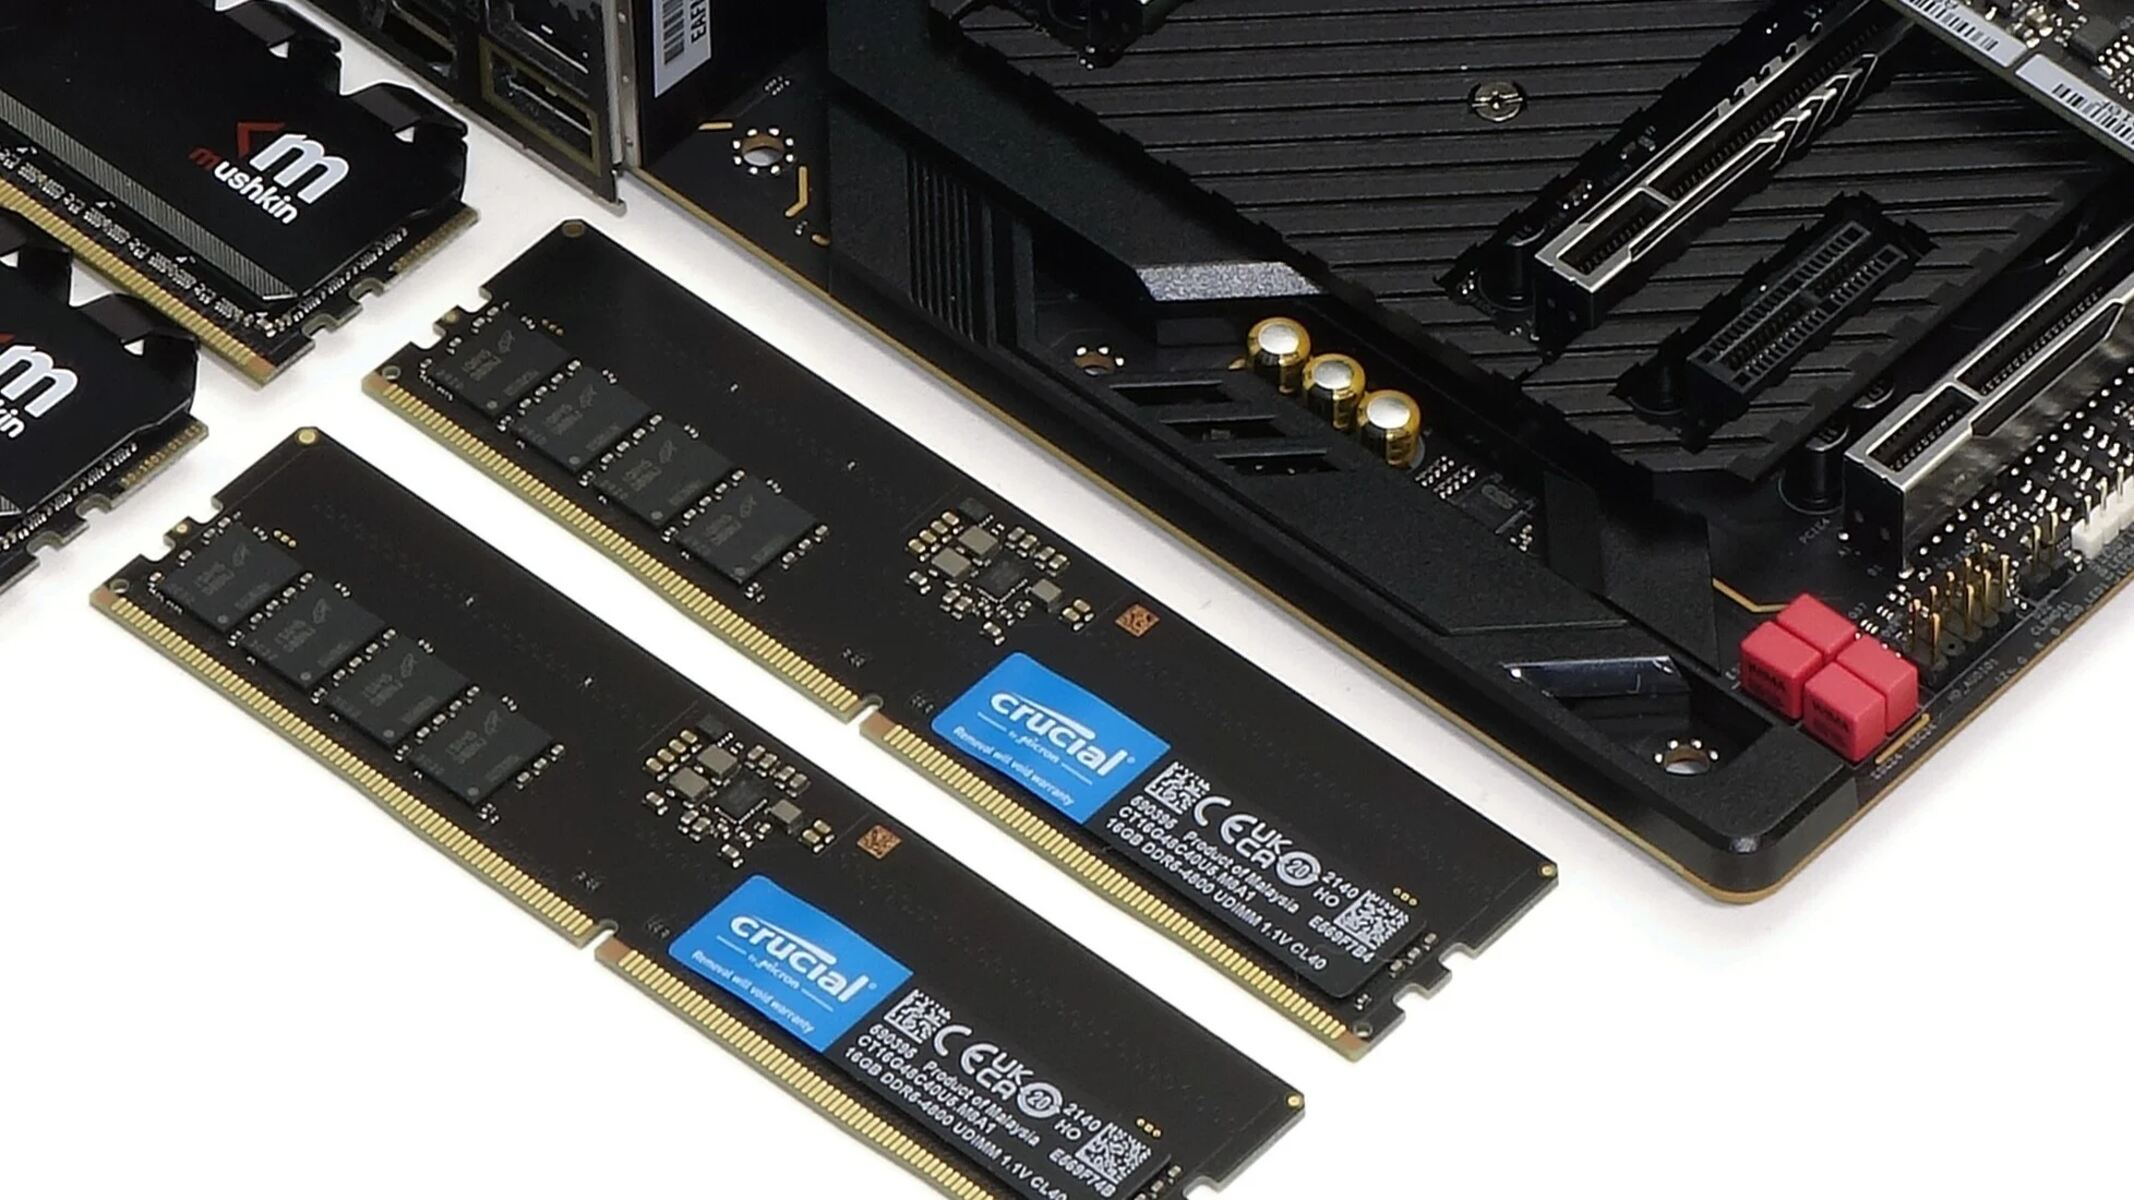
RAM is measured in gigabytes (GB) or megabytes (MB). Typically, modern computers come with at least 4GB of RAM, although higher-end systems may have 8GB, 16GB, or even 32GB or more. The amount of RAM you need depends on your computing needs. For casual web browsing and office tasks, 4GB to 8GB of RAM is generally sufficient. However, for gaming, video editing, or other resource-intensive activities, 16GB or more is recommended to ensure smooth performance.
It’s important to note that RAM is different from storage capacity. While storage devices provide long-term storage for files and applications, RAM is used for temporary storage during the computer’s active use. When you turn off your computer, any data stored in RAM is lost, which is why it’s essential to save your work before shutting down.
In summary, RAM is a critical component of a computer’s hardware infrastructure, serving as temporary storage for data and code that the processor needs to access quickly. It enables smooth multitasking, faster data retrieval, and improved overall performance. Understanding the role and importance of RAM will help you make informed decisions when it comes to managing your computer’s memory resources and optimizing its performance.
Why do you need to view RAM in Device Manager?
Viewing the RAM details in Device Manager is essential for several reasons. Whether you are troubleshooting performance issues, planning to upgrade your RAM, or simply curious about your computer’s memory capacity, accessing this information provides valuable insights into your system’s capabilities. Here are some reasons why you should view RAM in Device Manager:
- Understanding System Performance: By viewing the RAM details in Device Manager, you can gain a better understanding of your computer’s performance capabilities. This information allows you to assess whether your system meets the requirements of resource-intensive applications or games. If you notice that your computer is slowing down or experiencing lag, checking the RAM status can help identify if low memory is the cause.
- Troubleshooting Performance Issues: Slow performance or frequent crashes can be signs of insufficient RAM. By accessing the RAM details in Device Manager, you can determine how much memory is currently installed in your computer. If you find that your RAM usage is consistently high and close to its maximum capacity, it may be time to consider upgrading your RAM or closing unnecessary programs to improve performance.
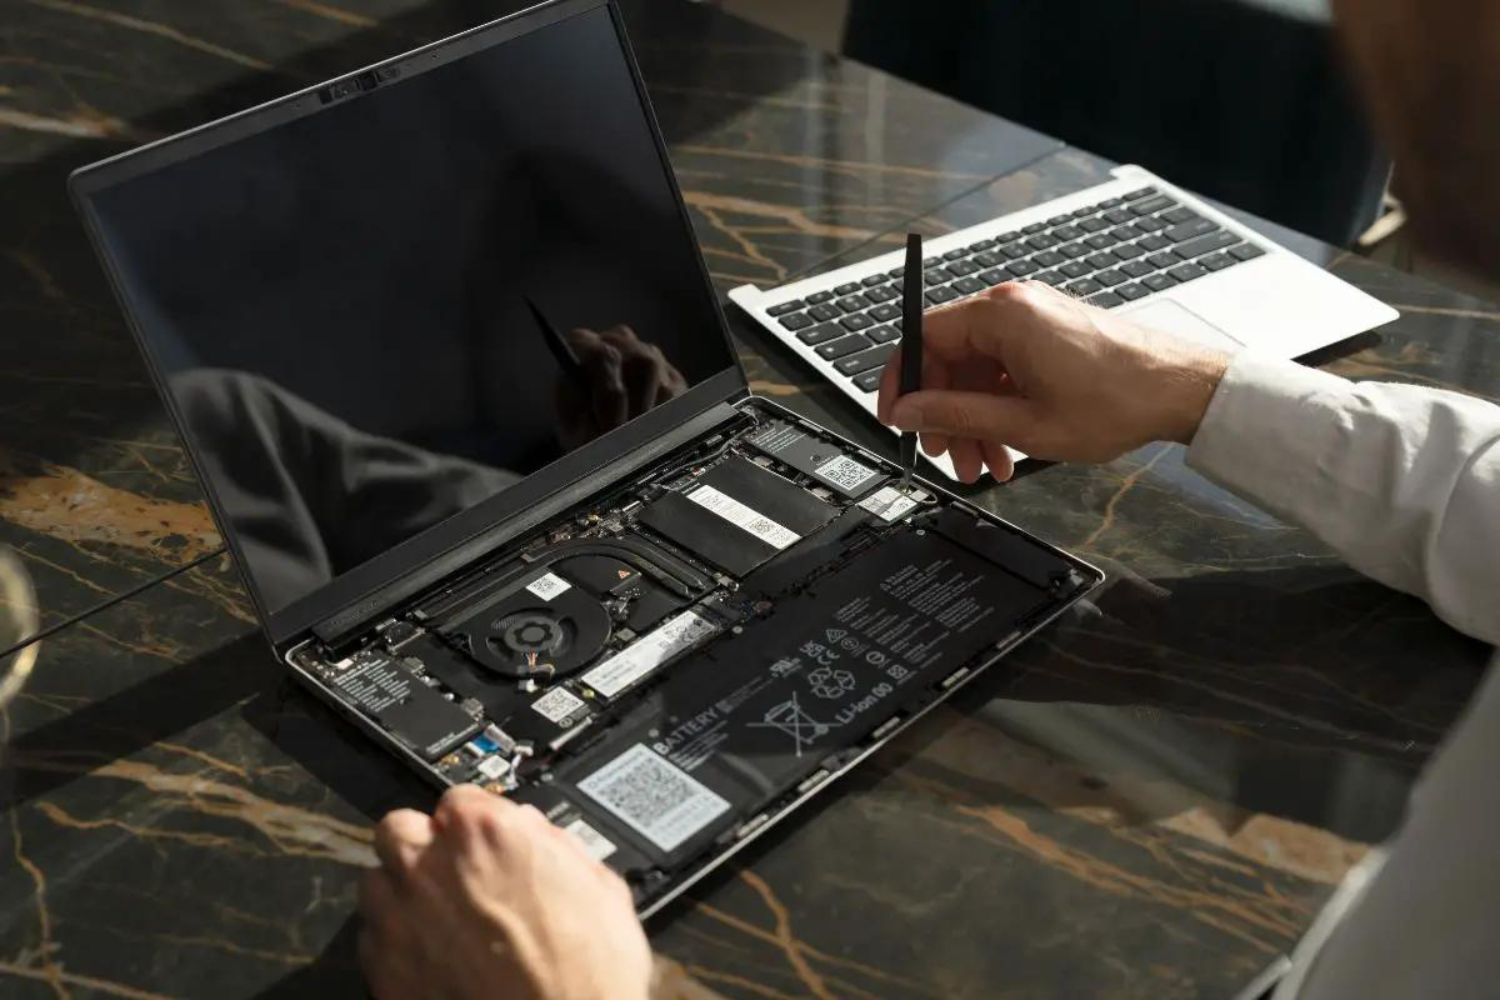
- Planning for RAM Upgrades: If you intend to upgrade your computer’s memory, you need to know the current RAM configuration. Viewing the RAM details in Device Manager allows you to identify the type of RAM installed, the maximum supported capacity, and the number of available slots for expansion. Armed with this information, you can make informed decisions about the type and amount of RAM you need to purchase for optimal performance.
- Verifying Hardware Specifications: Sometimes, it’s necessary to double-check the hardware specifications of your computer. Viewing the RAM details in Device Manager confirms the accurate configuration, ensuring that the computer matches the advertised specifications. This is particularly useful if you have recently purchased a new system or upgraded your RAM.
Accessing the RAM information in Device Manager is straightforward and provides valuable insights into your computer’s memory capabilities. Whether you are troubleshooting performance issues, planning for upgrades, or simply curious about your system’s specifications, checking the RAM details ensures that you have accurate information to make informed decisions.
Steps to see RAM in Device Manager
Accessing the RAM details in Device Manager is a straightforward process. Follow the step-by-step instructions below to view the RAM information on your Windows computer:
- Click on the “Start” button or press the Windows key on your keyboard to open the Start Menu.
- In the search bar, type “Device Manager” and select it from the search results. This opens the Device Manager window.
- In the Device Manager window, locate and click on the “System Devices” category to expand it.
- Scroll through the list of system devices and look for an entry labeled “Memory technology devices” or “RAM.” It may also be listed as “System BIOS” or “System Memory Controller.” Click on this entry to expand it.
- After expanding the “Memory technology devices” or similar entry, you should see the details of your RAM. This includes the manufacturer, model, capacity, and other information related to your computer’s memory.
- To get more detailed information about each RAM module, double-click on the individual devices listed under the memory technology category. This opens the properties window, where you can find additional details such as the physical location of the RAM slot, the memory type, and more.
That’s it! You have successfully accessed the RAM details in Device Manager. Take note of the information provided to understand your system’s memory configuration and capacity.
If you encounter any difficulties finding the RAM details in Device Manager, make sure your computer is running on the latest version of Windows. Additionally, double-check that all your hardware components, including the RAM modules, are properly installed and recognized by the system. In rare cases, the RAM information may not be listed in Device Manager due to compatibility issues or BIOS settings.
Remember that accessing the RAM details in Device Manager provides valuable information about your computer’s memory and helps you troubleshoot performance issues, plan for upgrades, and verify hardware specifications. It is a useful tool for managing your system’s memory resources effectively.
Alternative ways to view RAM in Windows
While accessing RAM details in Device Manager is the most common method, there are alternative ways to view the RAM information on your Windows computer. These methods can come in handy if you are unable to find the RAM details in Device Manager or prefer using different tools or utilities. Here are some alternative ways to view RAM in Windows:
- Task Manager: Task Manager is a built-in utility in Windows that provides real-time information about system performance. To access RAM details using Task Manager, simply right-click on the taskbar and select “Task Manager” from the context menu. In the Task Manager window, navigate to the “Performance” tab and click on “Memory” on the left side. Here, you can view the total amount of RAM, the amount in use, and other memory-related statistics.
- System Information: System Information, also known as msinfo32, is a system utility that provides detailed information about your computer’s hardware and software. To access System Information, press the Windows key + R to open the Run dialog box, type “msinfo32,” and click “OK.” In the System Information window, expand the “Hardware Resources” category, and click on “Memory” to view the RAM details.
- Third-Party System Monitoring Tools: There are several third-party system monitoring tools available that can provide comprehensive information about your computer’s performance, including RAM details. Tools such as CPU-Z, HWMonitor, and Speccy are popular choices. These tools offer a user-friendly interface and display detailed information about hardware components, including RAM configuration, speed, and timings.
- BIOS/UEFI: You can also view RAM information by accessing the BIOS or UEFI settings of your computer. Restart your computer and enter the BIOS or UEFI setup by pressing the appropriate key during the boot process (usually displayed on the startup screen). Once inside the BIOS/UEFI settings, navigate to the system information or memory configuration section to view details about your installed RAM.
These alternative methods provide additional options for accessing the RAM information on your Windows computer. Each method has its own advantages and may provide more detailed or real-time insights into your system’s memory status. Explore these options to find the method that suits your preferences and helps you effectively manage your computer’s memory resources.
Conclusion
Viewing the RAM details in Device Manager or using alternative methods provides valuable insights into your computer’s memory resources. Understanding your system’s RAM capacity and configuration is essential for optimizing performance, troubleshooting issues, and planning for upgrades. By accessing the RAM information, you can make informed decisions to ensure your computer meets the demands of modern applications and tasks.
RAM, or Random Access Memory, plays a vital role in the overall performance and speed of your computer. It acts as temporary storage for data and code that the processor needs to access quickly. The more RAM you have, the more efficiently your system can handle multiple tasks, applications, and processes.
Device Manager, a built-in Windows utility, allows you to easily view the RAM details. Simply follow the steps outlined in this guide to view your computer’s RAM information, including capacity, manufacturer, model, and more. This information can help you troubleshoot performance issues, plan for upgrades, and verify hardware specifications.
If you encounter any difficulties viewing the RAM details in Device Manager, there are alternative methods available. Tools like Task Manager, System Information, third-party system monitoring tools, and accessing the BIOS/UEFI settings can also provide RAM information and additional insights into your system’s memory status.
Whether you are a casual user or a tech enthusiast, understanding and managing your computer’s memory resources is essential for a smooth and efficient computing experience. By accessing the RAM details, you can optimize your system’s performance, identify any issues, and make informed decisions about upgrading or maintaining your computer’s memory capacity.
So, take the time to view the RAM details in Device Manager or explore alternative methods. By doing so, you’ll be equipped with the knowledge to effectively manage your computer’s memory resources and ensure optimal performance now and in the future.