Introduction
QR codes have become increasingly popular in recent years due to their ability to store a large amount of information in a small, square-shaped code. These codes can be found on various products, websites, and documents, and can be easily scanned using a mobile device. One popular app used to scan QR codes is Google Authenticator.
Google Authenticator is a free app developed by Google that provides an additional layer of security for your online accounts. It generates a unique, time-based code that you can use to verify your identity when logging into websites or accessing sensitive information. By using Google Authenticator, you can ensure that only you can access your accounts, even if someone else has your password.
One of the ways Google Authenticator generates codes is by scanning QR codes. QR codes can be used to set up Google Authenticator on a new device or to add a new account to an existing device. Scanning a QR code with Google Authenticator is a quick and convenient way to set up or add accounts to the app, without having to manually enter all the information.
In this guide, we will walk you through the steps to scan a QR code with Google Authenticator. Whether you’re setting up Google Authenticator for the first time or adding a new account, this process will help ensure the security of your online accounts and protect your sensitive information.
What is Google Authenticator?
Google Authenticator is a two-factor authentication app developed by Google. It adds an extra layer of security to your online accounts by requiring a unique, time-based code in addition to your regular login credentials. This helps protect your accounts from unauthorized access and safeguard your sensitive information.
Two-factor authentication, also known as 2FA or two-step verification, is a security measure that requires two forms of identification to access an account. In the case of Google Authenticator, the first form of identification is your regular username and password. The second form is a unique, time-based code that is generated by the app and changes every 30 seconds.
When you enable Google Authenticator for an account, whether it’s a social media platform, email service, or online banking, you will need to enter the generated code in addition to your password during the login process. This means that even if someone obtains your password, they won’t be able to access your account without the time-based code from the Google Authenticator app.
The codes generated by Google Authenticator are unique to each account and are based on a secret key that is stored on both your device and the server. This means that even if your device is lost or stolen, your accounts are still protected because the codes are not tied to the device itself.
Google Authenticator is available for both Android and iOS devices, making it accessible to a wide range of users. It is a highly recommended app for anyone looking to enhance the security of their online accounts and protect their personal information.
What is a QR Code?
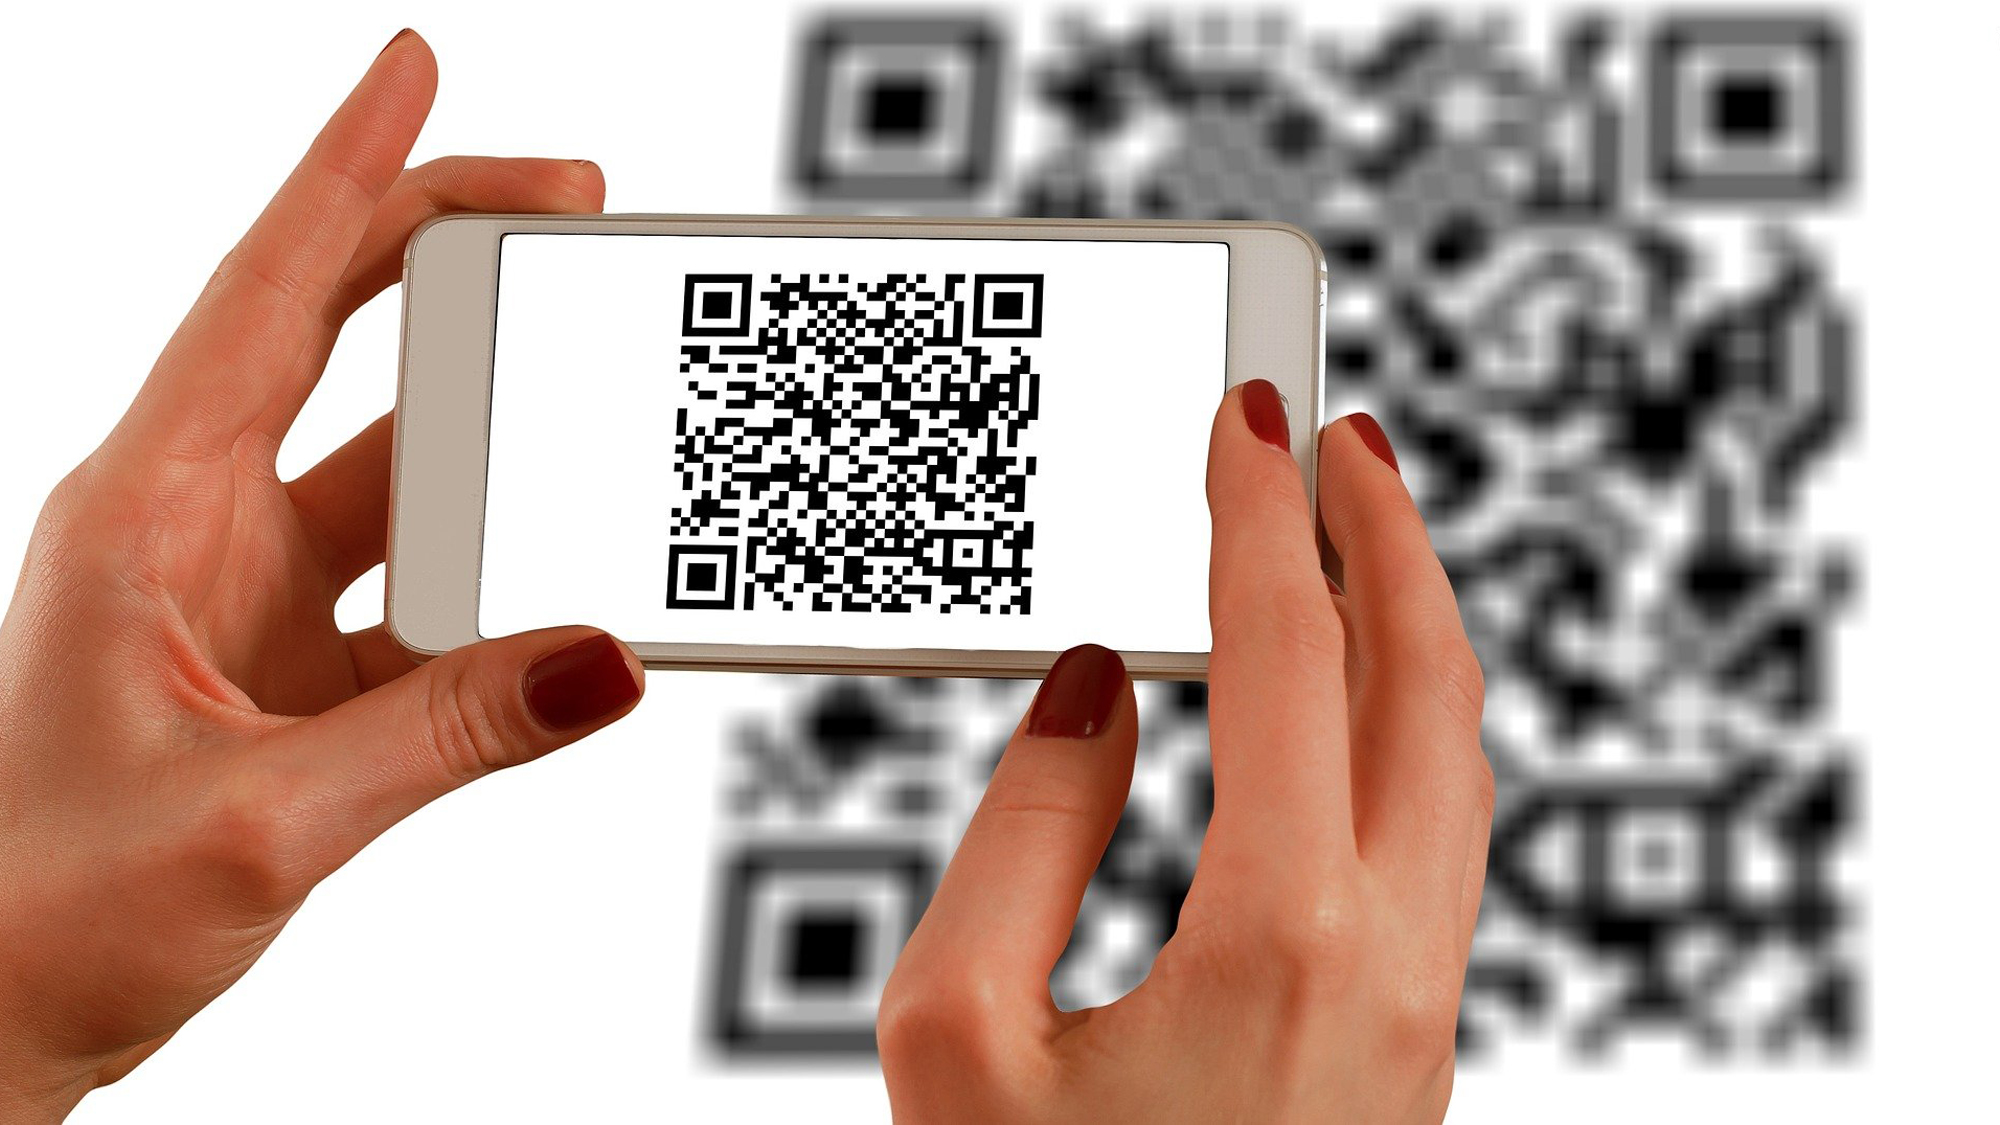
QR (Quick Response) code is a two-dimensional barcode that contains information in the form of black squares arranged on a white background. QR codes can store a variety of data, including text, URLs, contact information, and more. They have gained popularity due to their ability to store a large amount of information in a compact format and their ease of scanning using a mobile device.
QR codes were first invented in 1994 by a Japanese automotive company, Denso Wave. Originally used for tracking vehicles during the manufacturing process, QR codes quickly gained widespread use in other industries and applications. Today, QR codes can be found on various products, advertisements, business cards, event tickets, and even in digital formats on websites and mobile apps.
The structure of a QR code consists of multiple elements, including a finder pattern, timing pattern, alignment pattern, and data cells. The finder pattern consists of three squares strategically placed at the corners of the QR code, which helps scanners locate and detect the code. The timing pattern consists of alternating black and white modules and is used to ensure the correct orientation of the code.
QR codes can be scanned using a dedicated QR code scanner app or by using the built-in camera app on most smartphones. When the code is scanned, the mobile device processes the information encoded in the QR code and performs the appropriate action. For example, if the QR code contains a URL, scanning it will open the corresponding webpage in the browser. If the QR code contains contact information, it can be used to save the contact details directly to the phone’s address book.
QR codes are widely used for various purposes, including marketing campaigns, ticketing systems, product information, authentication, and more. They provide a convenient and efficient way to transfer data quickly and accurately, eliminating the need for manual data entry.
Step 1: Download and Install Google Authenticator
Before you can start scanning QR codes with Google Authenticator, you need to download and install the app on your mobile device. Google Authenticator is available for both Android and iOS devices and can be found in the respective app stores. Follow these steps to get started:
- Open the app store on your device.
- Search for “Google Authenticator” in the search bar.
- Select the app from the search results.
- Tap on the “Install” or “Get” button to download and install the app.
- Once the installation is complete, open the Google Authenticator app.
Note: Make sure to download the official Google Authenticator app developed by Google to ensure authenticity and security.
By following these simple steps, you will have successfully downloaded and installed Google Authenticator on your device. Now you’re ready to proceed to the next step and set up the app to start scanning QR codes.
Step 2: Open Google Authenticator
Now that you have successfully downloaded and installed Google Authenticator, it’s time to open the app and get ready to scan QR codes. Follow these quick steps to open Google Authenticator on your mobile device:
- Locate the Google Authenticator icon on your device’s home screen or app drawer.
- Tap on the icon to open the app.
- Once the app is open, you will see the main screen of Google Authenticator, which displays a list of your accounts (if you have already set up any).
If you are opening Google Authenticator for the first time, the app will be empty without any accounts added. Don’t worry, we will walk you through the process of setting up Google Authenticator and scanning QR codes in the next steps. For now, familiarize yourself with the app’s interface and get ready to add your first account.
Opening Google Authenticator is as simple as locating the app on your device and tapping on the icon. Once the app is open, you will be one step closer to the convenience and extra security provided by scanning QR codes with Google Authenticator.
Step 3: Set Up Google Authenticator
Once you have opened Google Authenticator on your mobile device, it’s time to set up the app. Setting up Google Authenticator involves linking it to your accounts by scanning QR codes. Follow these steps to set up Google Authenticator and prepare it for scanning QR codes:
- Click the “+” sign or “Add an Account” button in the app. This will initiate the process of adding a new account to Google Authenticator.
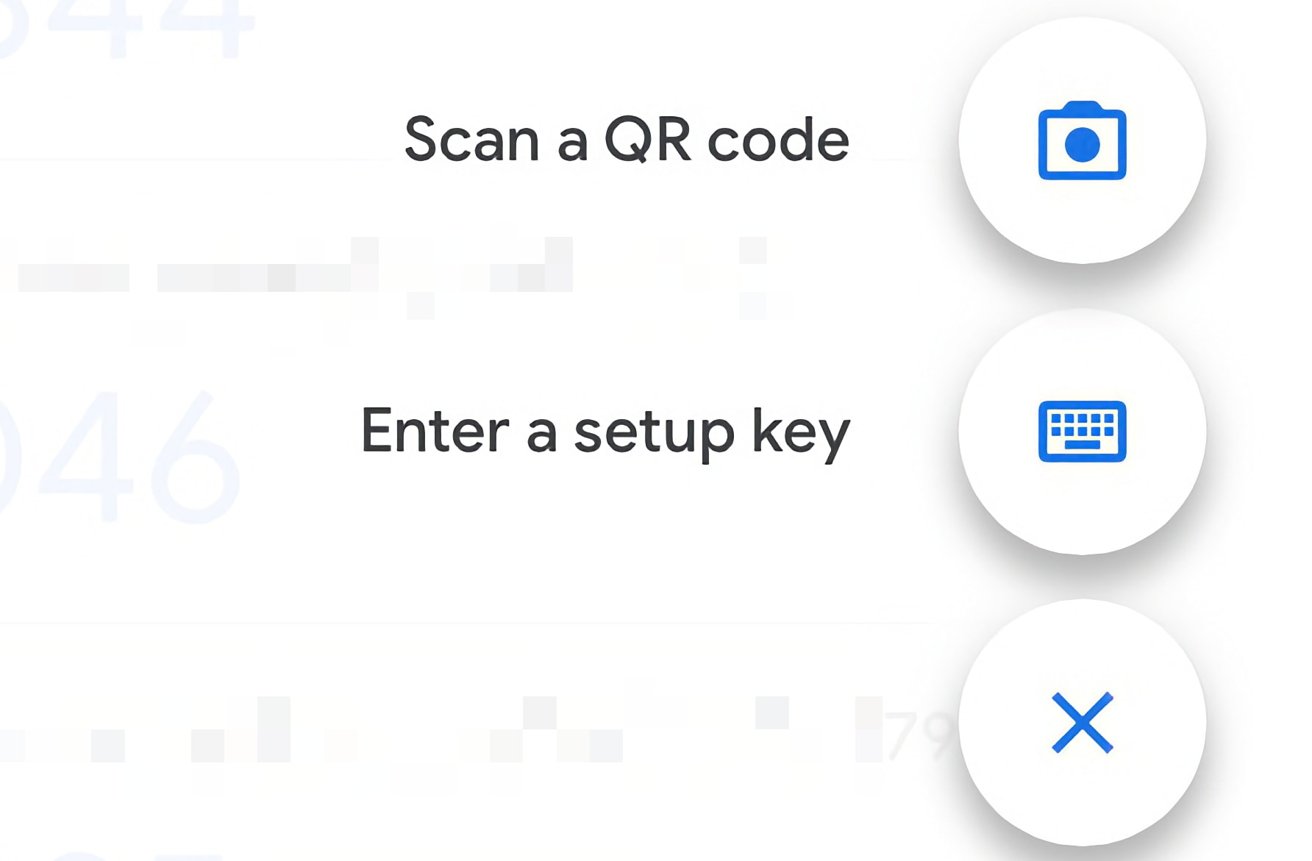
- You will be presented with two options: “Scan a barcode” or “Enter a provided key”. Choose the “Scan a barcode” option to scan the QR code using your device’s camera.
- Point your device’s camera at the QR code that you want to scan. Ensure that the QR code is within the boundaries of the camera viewfinder.
- Google Authenticator will automatically detect and scan the QR code. It will then generate a unique, time-based code specific to that account.
It’s important to note that the QR code contains the necessary information for the app to generate the code, including the account name and the secret key. Scanning the QR code eliminates the need to manually enter the information, making the setup process quick and convenient.
After successfully scanning the QR code, the account will be added to Google Authenticator. You will see the account name and the corresponding code on the main screen of the app. Repeat these steps for any additional accounts you want to add to Google Authenticator.
By setting up Google Authenticator and linking it to your accounts, you are now ready to scan QR codes and generate time-based codes for enhanced security and authentication.
Step 4: Scan QR Code with Google Authenticator
Now that you have successfully set up Google Authenticator, it’s time to start scanning QR codes to add accounts or devices to the app. Scanning QR codes with Google Authenticator is a simple and straightforward process that can be done in a few easy steps:
- Open the app on your mobile device by tapping on the Google Authenticator icon.
- On the main screen of the app, click the “+” sign or “Add an Account” button. This will initiate the process of adding a new account or device.
- Choose the “Scan a barcode” option. This will activate your device’s camera.
- Position your mobile device’s camera over the QR code that you want to scan. Ensure that the QR code is within the boundaries of the camera viewfinder.
- Google Authenticator will automatically detect and scan the QR code.
Scanning the QR code with Google Authenticator allows the app to retrieve the necessary information for generating the unique time-based codes. These codes provide an additional layer of security and are used to verify your identity when logging into accounts or accessing sensitive information.
It’s important to note that you can scan QR codes from various sources, such as websites, online services, or other devices. QR codes are commonly used during the setup process of new accounts or when adding existing accounts to a new device. Scanning the QR code eliminates the need to manually enter the account details, saving time and reducing the chance of errors.
Once the QR code is successfully scanned, the account or device will be added to Google Authenticator, and you will see the corresponding code and account name on the main screen of the app. Repeat these steps for any additional QR codes you want to scan and add to Google Authenticator.
By scanning QR codes with Google Authenticator, you can conveniently and securely add accounts and devices to the app, ensuring the protection of your online accounts and sensitive information.
Step 5: Verify the QR Code
After scanning a QR code with Google Authenticator and adding an account or device, it is important to verify that the QR code was scanned correctly and that the generated code is functioning as expected. This step ensures that you can successfully use Google Authenticator for authentication purposes. Follow these steps to verify the QR code:
- Locate the account or device name in the Google Authenticator app main screen after scanning the QR code.
- Observe the generated time-based code associated with the account or device.
- Access the corresponding service or platform associated with the QR code you scanned.
- During the login process, enter your username and password as usual.
- When prompted for the verification code, open Google Authenticator and locate the time-based code corresponding to the account or device you just added.
- Enter the current code from Google Authenticator into the verification field during the login process.
- If the code is accepted, your login will be successful, and you’ll have verified that the QR code was scanned correctly.
It is essential to verify the QR code to ensure that the generated codes can be used for authentication correctly. By double-checking the generated code during the login process, you can be confident in the accuracy of the scanned QR code and the functionality of Google Authenticator.
If the code does not work or is not accepted during the verification process, double-check that the QR code was scanned correctly. If you encounter any issues, it may be necessary to rescan the QR code or troubleshoot the setup process. Consult the specific service or platform’s documentation or support resources for assistance.
Verifying the QR code is an important final step in the process of scanning QR codes with Google Authenticator. By ensuring the accuracy and functionality of the code, you can confidently use Google Authenticator for added security and authentication for your online accounts and devices.
Conclusion
Scanning QR codes with Google Authenticator provides an extra layer of security and convenience for your online accounts and devices. By following the steps outlined in this guide, you can easily download and install Google Authenticator, open the app, set it up, and start scanning QR codes to add accounts or devices.
QR codes are a popular means of transferring information and can be found in various places, such as websites, products, and documents. With Google Authenticator, you can quickly and accurately scan these QR codes, eliminating the need for manual data entry and reducing the risk of errors.
Once the QR code is scanned, Google Authenticator generates a unique time-based code for each account or device. This code is used for authentication purposes, adding an additional layer of security to your login process. With Google Authenticator, even if someone has your password, they won’t be able to access your accounts without the generated code.
It is crucial to verify the QR code and generated codes after scanning to ensure their accuracy. By following the verification process outlined in this guide, you can confirm that the QR code was scanned correctly, and the generated codes are functioning as expected.
In conclusion, scanning QR codes with Google Authenticator is a simple yet powerful way to enhance the security of your online accounts and devices. By taking advantage of this technology, you can protect your sensitive information and have peace of mind knowing that only you can access your accounts. So, download Google Authenticator, scan those QR codes, and enjoy the added security and convenience it provides.