Introduction
When it comes to troubleshooting hardware issues on your Dell computer, running diagnostics can be an invaluable tool. Dell diagnostics is a built-in feature that helps identify and resolve problems with your system’s hardware components. Whether you’re experiencing performance issues, hardware failures, or other glitches, running Dell diagnostics can provide valuable insights into the root causes of the problems.
In this guide, we will walk you through the step-by-step process of running Dell diagnostics on your computer. You don’t need to be a techie to perform these tests; Dell diagnostics are designed to be user-friendly even for those with limited technical knowledge. By following this guide, you’ll be able to assess the health of your Dell computer’s hardware and identify any issues that may be affecting its performance.
By running Dell diagnostics, you can save time and money by pinpointing hardware-related problems without the need for professional assistance. Additionally, the information provided by the diagnostics can help you make better decisions about upgrading components, under warranty repairs, or seeking technical support from Dell’s customer service team.
Before we dive into the steps for running Dell diagnostics, it’s important to note that this guide applies to most Dell computers running Windows operating systems. However, the specific steps or options may vary slightly depending on the model and version of Dell diagnostics installed on your computer. With that said, let’s get started with the first step: accessing Dell diagnostics.
Step 1: Accessing Dell Diagnostics
Accessing Dell Diagnostics is the first step in diagnosing and troubleshooting any hardware issues on your Dell computer. To access the diagnostics, follow these steps:
- Power off your computer: Make sure your computer is turned off completely before proceeding with the next steps. This is to ensure that the diagnostics can run accurately without any interference from running processes.
- Power on your computer: Press the power button to turn on your Dell computer.
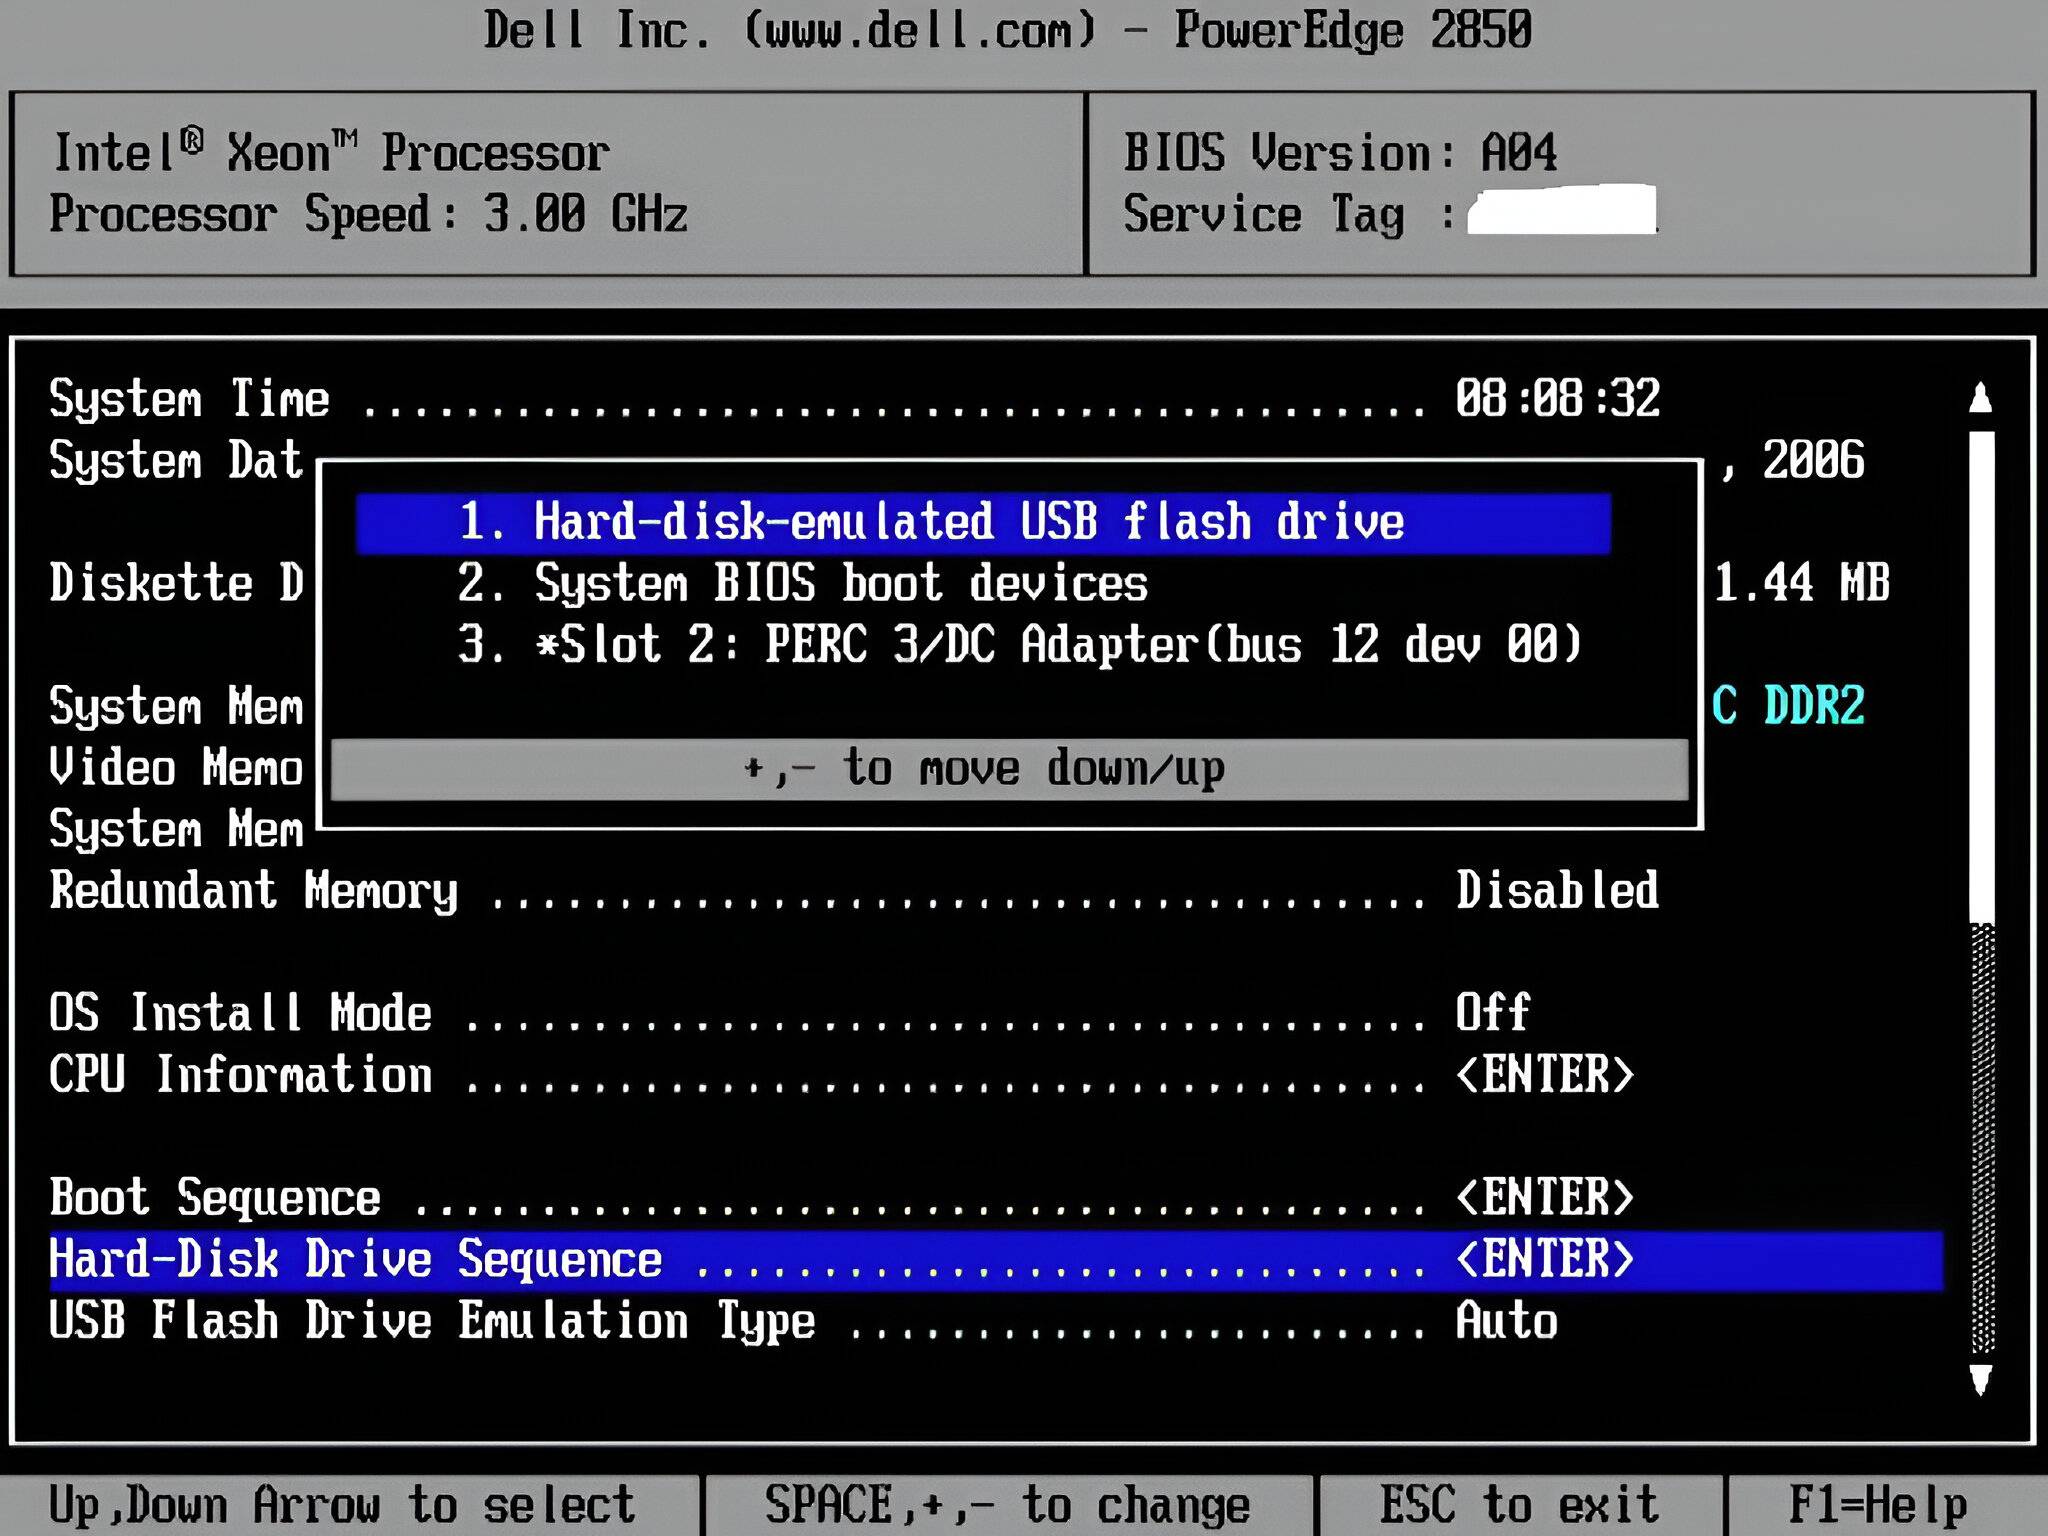
- Start pressing the specified key: As soon as the Dell logo appears on the screen, start pressing the specified key to access the boot menu or BIOS settings. The specific key may vary depending on your Dell computer’s model and configuration. Common keys include F2, F12, or the Delete key.
- Navigate to the diagnostics option: Once you’re in the boot menu or BIOS settings, navigate to the “Diagnostics” or “Diagnostic Tools” option using the arrow keys on your keyboard. Press Enter to select it.
- Choose the diagnostic method: Depending on your Dell computer’s model, you may have the option to choose between “Quick Test” or “Full Test” diagnostics. The Quick Test runs a shorter set of tests, while the Full Test performs a more thorough analysis of your computer’s hardware components. Select the diagnostic method that suits your requirements.
- Start the diagnostics: After selecting the diagnostic method, press Enter to start the diagnostics. The tests will now begin to run, evaluating the different hardware components of your Dell computer.
It’s important to note that during the diagnostic process, your computer may restart several times or display messages indicating the progress of the tests. This is normal, so don’t be alarmed if you see your computer restarting or displaying different screens during the diagnostics.
Once the diagnostics are complete, your computer will display the results of the tests performed. In the next section, we will explore the different diagnostic tests you can run using Dell diagnostics and how to interpret their results.
Step 2: Choosing the Diagnostic Tests to Run
When running Dell diagnostics, you have the option to choose which tests to run based on your specific needs. By selecting the appropriate diagnostic tests, you can focus on specific hardware components or perform a comprehensive analysis to identify any underlying issues.
To choose the diagnostic tests to run, follow these steps:
- Once you’ve accessed Dell diagnostics: Follow the steps in the previous section to access the Dell diagnostics on your computer.
- Review the available tests: When the diagnostics menu appears, you’ll see a list of available tests. These tests may vary depending on your Dell computer’s model and the version of Dell diagnostics installed. Common tests include CPU test, memory test, hard drive test, motherboard test, and more.
- Select the tests you want to run: Use the arrow keys on your keyboard to navigate through the list of available tests. Press spacebar or the corresponding key to select or deselect a test. You can choose to run all available tests for a comprehensive analysis or select specific tests based on the suspected hardware component issues.
- Modify test options (if applicable): Some tests may have additional options that you can modify. For example, you might be able to specify the depth of the hard drive test or customize the testing interval for the memory test. Review the available options and make any necessary modifications.
- Proceed to run the selected tests: Once you’ve made your selections and modifications, press Enter to start running the chosen tests. The diagnostics will now begin analyzing the selected hardware components.
By customizing the diagnostic tests, you can efficiently diagnose specific hardware issues or perform an overall health check on your Dell computer. The tests will provide valuable insights into the functioning of the different hardware components, helping you identify any problems that may impact your computer’s performance.
In the next section, we will discuss the process of running Dell diagnostics and the steps involved in interpreting the test results. These results will give you a better understanding of the health of your computer’s hardware and enable you to take appropriate actions to resolve any issues that are identified.
Step 3: Running Dell Diagnostics
Once you have chosen the diagnostic tests you want to run, it’s time to proceed with running Dell diagnostics to assess the health of your computer’s hardware. Follow these steps:
- Ensure you have selected the desired tests: Refer to the previous section to make sure you have selected the diagnostic tests you want to run and made any necessary modifications to the test options.
- Begin the diagnostic process: Once you are ready, press Enter to start running the selected tests. The diagnostics tool will now initiate the analysis of your computer’s hardware components. This process may take some time, depending on the number and complexity of the chosen tests.
- Observe the progress: While the diagnostics are running, your computer may display progress indicators, such as a status bar or percentage completion, to keep you informed about the ongoing tests. It’s important to be patient and not interrupt the diagnostic process.
- Monitor any error messages or warnings: During the diagnostic tests, your computer may display messages indicating hardware failures, errors, or warnings. Take note of any specific error codes or messages for reference during the troubleshooting process.
- Let the diagnostics complete: Allow the diagnostics to complete all the chosen tests. Your computer may restart multiple times or display different screens as it progresses through the diagnostic process. This is normal, and you should not interfere or power off your computer until the diagnostics are finished.
- Record the test results: Once the diagnostics are complete, your computer will display the results of the tests performed. Pay close attention to any errors or warnings that are reported, as they can help identify the specific hardware components that need further attention.
Running Dell diagnostics provides a comprehensive analysis of your Dell computer’s hardware, helping you identify any potential issues or failures that may be affecting its performance. The test results will help you make informed decisions about resolving the identified problems, whether through hardware repairs, component replacements, or seeking professional technical support.
In the next section, we will discuss how to understand and interpret the test results generated by Dell diagnostics. This will enable you to effectively troubleshoot and address any hardware-related issues that are identified during the diagnostic process.
Step 4: Understanding the Test Results
After running Dell diagnostics, it’s essential to understand and interpret the test results to identify any hardware issues and determine the necessary actions to resolve them. Here’s how to make sense of the test results:
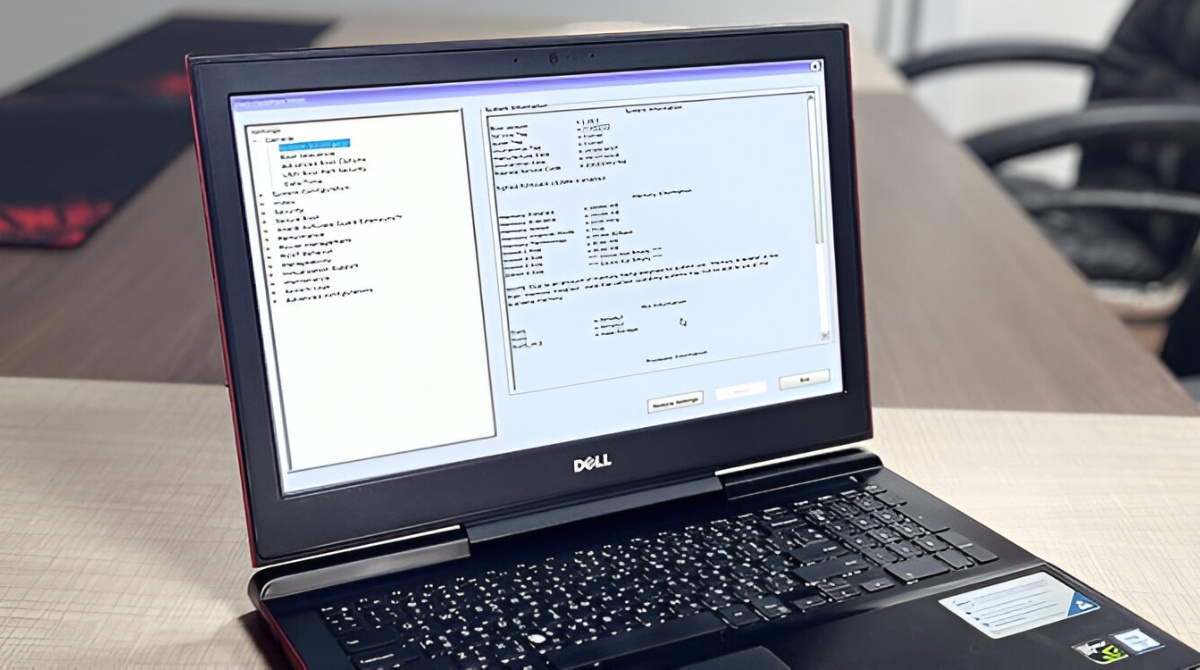
- Review the summary: The summary section will provide an overview of the diagnostic tests performed and the overall status of your computer’s hardware components. Pay attention to any errors, warnings, or failures that are highlighted in this summary.
- Check individual test results: Navigate through the test results section to view the detailed outcomes of each test that was run. Look for any specific error codes, failure messages, or warnings associated with the hardware components.
- Research and troubleshoot: If you encounter any error codes or failure messages, it’s crucial to research them to understand the specific issues and possible solutions. Dell’s support website, community forums, and technical documentation can be valuable resources for troubleshooting guidance.
- Take note of identified hardware issues: Make a record of any hardware components that are flagged as having issues or failures. This will help you prioritize and address these components during the troubleshooting and repair process.
- Consider warranty coverage: If your Dell computer is still under warranty, check if any of the identified hardware issues are covered. Dell’s warranty typically includes repairs or replacements for components that fail within the warranty period.
- Seek professional assistance if needed: If you are unsure about how to address the identified hardware issues or if you are uncomfortable performing repairs yourself, consider reaching out to Dell’s customer support or a professional technician for further assistance.
Understanding the test results obtained from Dell diagnostics is crucial in determining the necessary steps to resolve the hardware issues affecting your computer. By addressing these issues promptly and correctly, you can improve the performance and reliability of your Dell computer.
In the final section, we will discuss common issues that can be resolved using Dell diagnostics and provide some troubleshooting tips to help you resolve them efficiently.
Step 5: Resolving Common Issues with Dell Diagnostics
Running Dell diagnostics can often help pinpoint common hardware issues that you can resolve on your own. Here are some common issues and troubleshooting tips to help you address them:
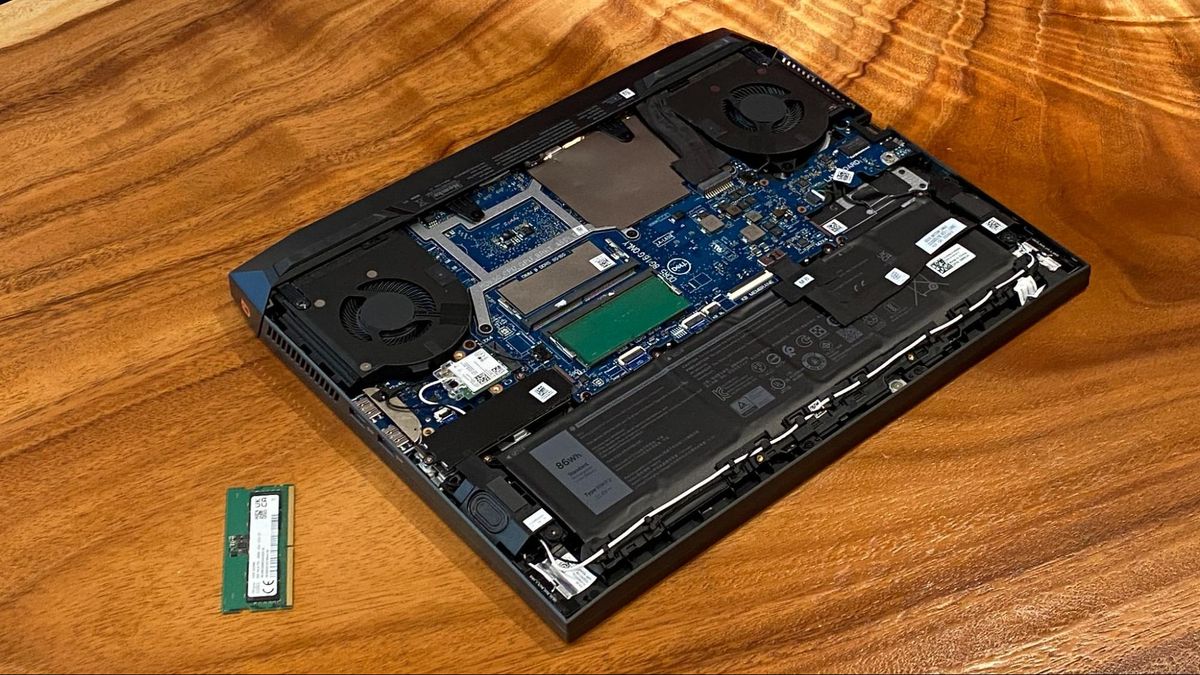
- Memory Issues: If the diagnostics indicate a problem with the memory (RAM) modules, try reseating them by removing and reinstalling them firmly in their slots. If the issue persists, you may need to replace the faulty memory module(s).
- Hard Drive Problems: If the diagnostics detect issues with the hard drive, it is recommended to back up your important data immediately. You can try running disk check and repair utilities, such as chkdsk or fsck, to fix any file system errors. However, if the hard drive is physically damaged, you may need to replace it.
- Overheating: Excessive heat can cause performance issues and system instability. Ensure that the fans are spinning properly and free from dust accumulation. Cleaning the cooling vents and using a laptop cooling pad can help improve airflow and keep the temperature within acceptable limits.
- Graphics Card Troubles: If the diagnostics indicate issues with the graphics card, try updating the graphics driver to the latest version from Dell’s website or the manufacturer’s website. If the problem persists, you may need to replace the graphics card.
- Power Supply Problems: If the diagnostics suggest a faulty power supply, check the power cables and connections to ensure they are secure. If the power supply unit is defective, it needs to be replaced with a compatible one.
- Peripheral Malfunctions: If you are experiencing issues with external devices such as printers, scanners, or USB devices, try updating their drivers or connecting them to a different USB port. If the problem persists, the devices themselves may need troubleshooting or replacing.
It’s important to note that these are just some common issues and troubleshooting tips. Depending on the specific hardware problem identified by the diagnostics, you may require further assistance or specialized solutions. Be sure to consult Dell’s support resources or contact their customer service for guidance.
By using Dell diagnostics and following these troubleshooting tips, you can often resolve many common hardware issues on your Dell computer. However, if you encounter more complex or severe problems, it’s recommended to seek professional help to ensure proper repair and maintenance.
With this guide, you now have the knowledge and steps to effectively run Dell diagnostics, understand the test results, and address common hardware issues. By utilizing these tools and resources, you can keep your Dell computer in optimal working condition and enjoy a reliable computing experience.
Conclusion
Running Dell diagnostics is a valuable tool for troubleshooting and resolving hardware issues on your Dell computer. By following the step-by-step process outlined in this guide, you can easily access the diagnostics, choose the appropriate tests to run, and interpret the test results.
Dell diagnostics provide valuable insights into the health of your computer’s hardware components, allowing you to identify any potential issues that may be impacting performance. Understanding the test results empowers you to take the necessary actions to resolve these issues, whether through hardware repairs, component replacements, or seeking professional assistance.
By addressing common issues detected by Dell diagnostics, such as memory problems, hard drive failures, overheating, graphics card troubles, power supply issues, or peripheral malfunctions, you can significantly improve the performance and reliability of your Dell computer.
Remember, while Dell diagnostics and the troubleshooting tips provided in this guide can help you resolve many common hardware issues, some problems may require professional assistance or specialized solutions. If you encounter complex or severe issues, it’s always recommended to consult Dell’s support resources or contact their customer service for further guidance.
By utilizing Dell diagnostics as a powerful tool in your troubleshooting arsenal, you can keep your Dell computer running smoothly and efficiently for years to come. Regularly running diagnostics and addressing hardware issues promptly will help prolong the lifespan of your Dell computer and ensure a seamless computing experience.
We hope this guide has been helpful in understanding how to run Dell diagnostics and resolve common hardware issues. With the knowledge and steps provided, you have the tools to maintain the optimal performance of your Dell computer and enjoy a hassle-free computing experience.