Introduction
Welcome to the guide on how to disable the touchpad on your Dell laptop. If you often find yourself inadvertently moving the cursor while typing or simply prefer to use an external mouse, disabling the touchpad can be a convenient solution. While some Dell laptops have dedicated touchpad on/off buttons or switches, others require additional steps to disable this input device.
In this article, we’ll explore various methods you can use to disable the touchpad on your Dell laptop. We’ll cover everything from keyboard shortcuts to accessing Windows settings, using the Device Manager, installing touchpad software, and even exploring third-party software solutions. By following these steps, you can regain control and improve your overall user experience.
Please note that the availability of certain methods may vary depending on your Dell laptop model and the operating system you are using. We’ll dive into the most commonly used methods, but if your specific model requires a different approach, it’s always best to consult the official Dell support documentation or reach out to their customer support for guidance.
Now, let’s explore the different methods you can employ to disable the touchpad on your Dell laptop and find the one that works best for you.
Method 1: Using Keyboard Shortcuts
Dell laptops often come equipped with keyboard shortcuts that allow you to quickly enable or disable the touchpad. These shortcuts provide a simple and convenient way to toggle the touchpad on or off without having to navigate through any menus or settings. Here’s how you can utilize this method:
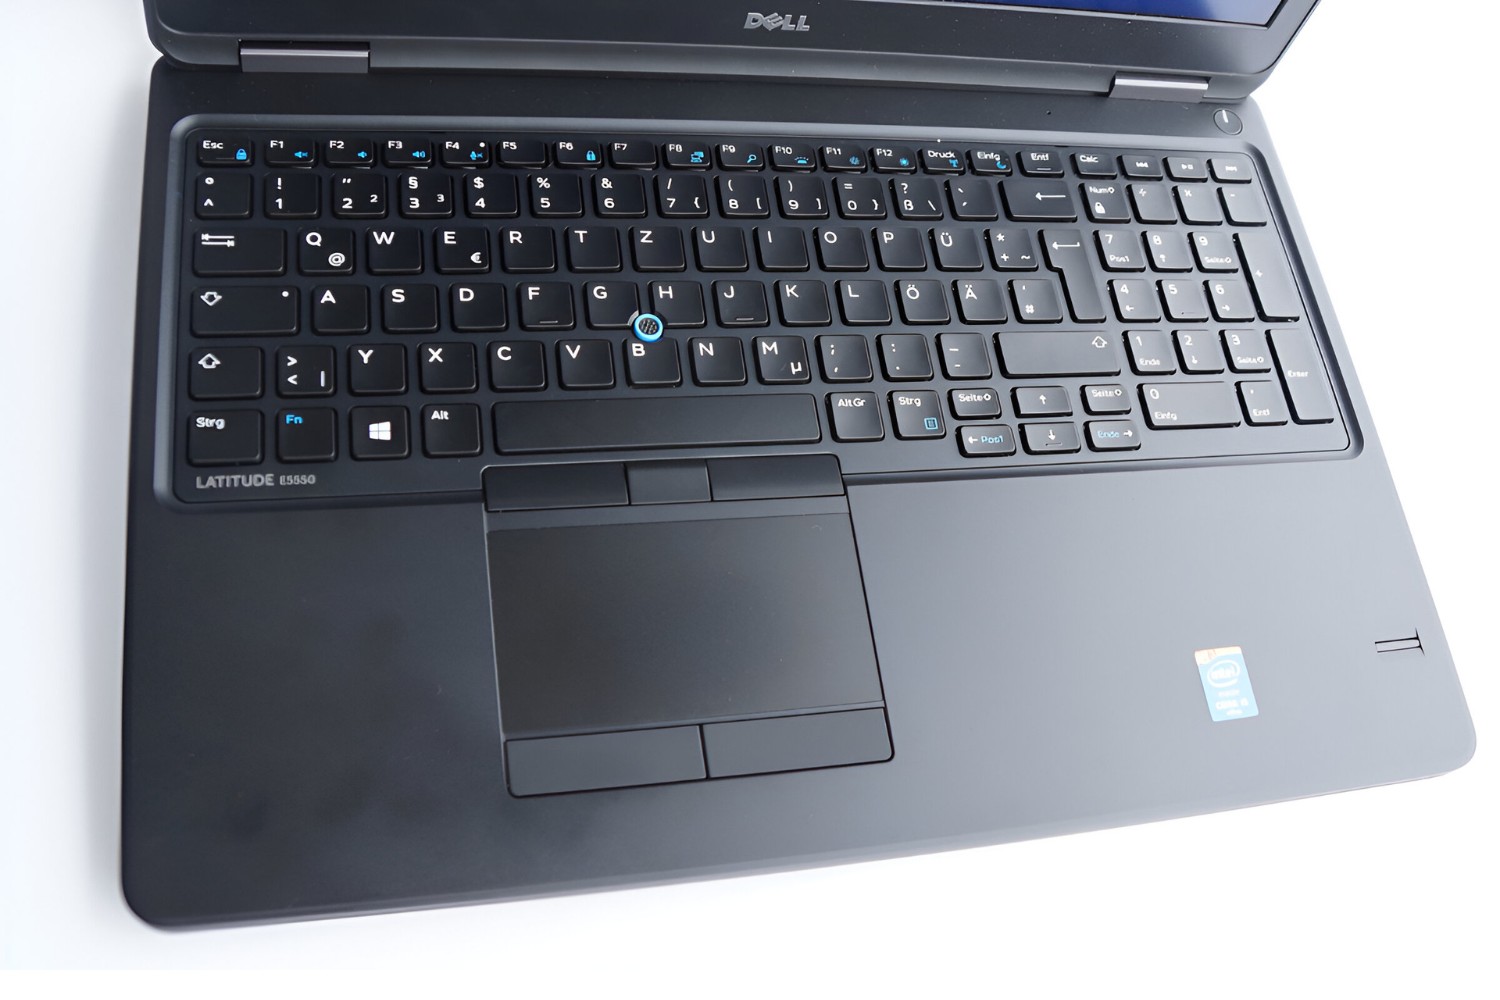
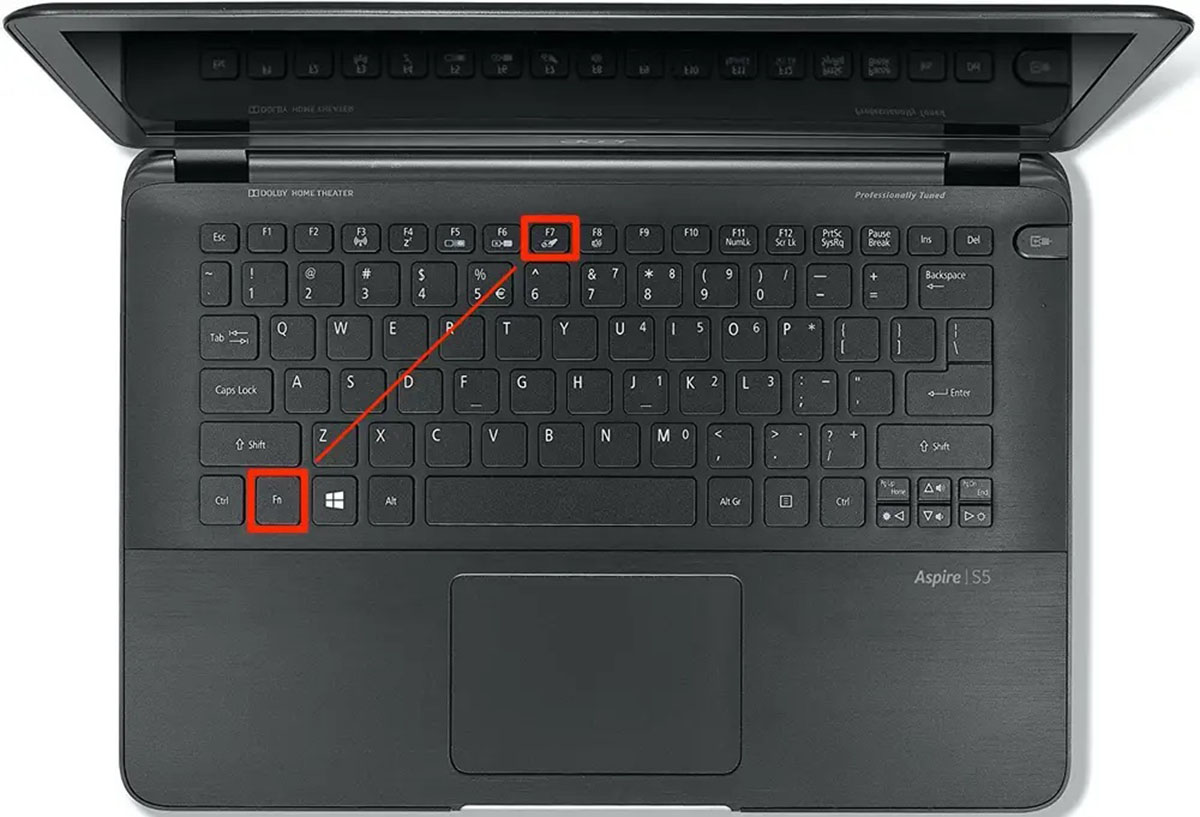
- Locate the Function (Fn) key on your Dell laptop’s keyboard. It is typically located in the bottom-left corner.
- Look for the touchpad icon on one of the Function (Fn) keys. The icon usually resembles a touchpad or a finger touching a pad. It may vary depending on your laptop model.
- Press the Function (Fn) key and the corresponding key with the touchpad icon simultaneously to disable or enable the touchpad.
- If successful, you will see an on-screen notification confirming the status change of the touchpad.
It’s important to note that the specific key combination to disable or enable the touchpad may vary depending on your Dell laptop model. Refer to your laptop’s documentation or the Dell support website for the correct key combination.
This method is convenient and quick, allowing you to toggle the touchpad on or off with a simple keystroke. However, keep in mind that this keyboard shortcut is specific to Dell laptops and may not work on other brands.
Now that you know how to disable the touchpad using keyboard shortcuts, let’s dive into the next method, which involves adjusting the settings in the Windows operating system.
Method 2: Through Windows Settings
If the keyboard shortcut method doesn’t work for your Dell laptop or if you prefer a more permanent solution, you can disable the touchpad through the Windows Settings. Here’s how:
- Click on the Start menu icon in the taskbar and select “Settings” (the gear icon) to open the Windows Settings.
- In the Settings window, click on “Devices.”
- From the left-hand menu, select “Touchpad.”
- In the Touchpad settings, you will find a toggle switch labeled “Touchpad.” Simply switch it to the “Off” position to disable the touchpad. You may need to click on “Additional settings” or “Advanced settings” to access this toggle switch.
- Once disabled, you can close the Settings window, and the touchpad will remain disabled until you manually re-enable it.
By using the Windows Settings, you have more control over the touchpad functionality. This method allows you to easily toggle the touchpad on or off whenever needed, making it a flexible option.
Note that the options and layout in the Windows Settings may vary slightly depending on the version of Windows you are using. If you encounter any difficulties finding the touchpad settings, refer to the Windows support documentation for specific instructions.
Now that you’ve learned how to disable the touchpad using the Windows Settings, let’s move on to the next method, which involves accessing the Device Manager.
Method 3: Using Device Manager
If you prefer a more technical approach, you can disable the touchpad through the Device Manager in Windows. The Device Manager allows you to manage and control hardware devices connected to your computer. Here’s how you can use this method:
- Right-click on the Start menu icon in the taskbar and select “Device Manager” from the context menu.
- In the Device Manager window, expand the category labeled “Mice and other pointing devices” or “Human Interface Devices” by clicking on the arrow next to it.
- Locate your touchpad device listed under the expanded category. It’s usually named “Dell Touchpad,” “Synaptics Touchpad,” or similar.
- Right-click on the touchpad device and select “Disable device” from the context menu.
- A warning prompt may appear to confirm the action. Click “Yes” to disable the touchpad.
By disabling the touchpad through the Device Manager, you effectively deactivate the touchpad’s functionality at a deeper level. This method ensures the touchpad remains disabled even after restarting your laptop.
If you ever decide to re-enable the touchpad, simply follow the same steps and select “Enable device” for the touchpad device in the Device Manager.
It’s important to note that using the Device Manager gives you more control over specific hardware devices on your laptop. However, be cautious when making changes in the Device Manager, as disabling the wrong device can cause functionality issues. Always double-check the device name before proceeding.
Now that you know how to disable the touchpad using the Device Manager, let’s move on to the next method, which involves installing touchpad software.
Method 4: Installing Touchpad Software
In some cases, installing touchpad software provided by the manufacturer can give you more control over the touchpad settings, including the ability to disable it. Follow these steps to disable the touchpad by installing touchpad software:
- Visit the official Dell website or the website of your laptop’s manufacturer.
- Navigate to the “Support” or “Drivers” section of the website.
- Enter your laptop model or use the provided search options to find the driver/software for your touchpad.
- Download and install the touchpad software specific to your laptop model.
- After installation, locate the touchpad software in the system tray or the Start menu.
- Open the touchpad software and look for the option to disable or enable the touchpad.
- Select the disable option to effectively disable the touchpad.
By installing touchpad software, you gain access to more advanced settings and customization options for your touchpad. This can provide you with a more tailored and intuitive experience when using your laptop.
While the steps provided are specific to Dell laptops, the general process remains the same for other laptop brands. Refer to your manufacturer’s documentation or support website for detailed instructions on downloading and installing touchpad software.
Now that you know how to disable the touchpad by installing touchpad software, let’s move on to the final method, which involves utilizing third-party software solutions.
Method 5: Utilizing Third-Party Software Solution
If you’re looking for even more flexibility and customization options, you can consider utilizing third-party software solutions to disable your touchpad. These software applications often offer advanced features and settings beyond what’s available through the built-in options. Follow these steps to disable the touchpad using a third-party software solution:
- Search for reputable third-party touchpad management software online. There are numerous options available, such as Touchpad Blocker, TouchFreeze, or Touchpad Pal.
- Download and install the software of your choice from a trusted source.
- Launch the software after installation and familiarize yourself with its interface.
- Locate the option to disable the touchpad and enable it.
- Adjust any desired settings or preferences to suit your needs.
Using third-party software solutions can provide you with additional control over your touchpad, such as the ability to set custom gestures, define sensitivity levels, and create application-specific profiles. These software solutions are especially useful if you need more granular control over your touchpad’s behavior.
Remember to download third-party software only from reputable sources to ensure the safety and reliability of the software. Additionally, be aware that some third-party software may have a limited trial period or require a purchase for full functionality.
Now that you’re familiar with utilizing third-party software to disable the touchpad, let’s wrap up this guide.
Conclusion
Disabling the touchpad on your Dell laptop can greatly enhance your user experience, especially if you prefer using an external mouse or want to avoid accidental cursor movement while typing. Throughout this guide, we explored various methods to disable the touchpad using keyboard shortcuts, Windows settings, Device Manager, touchpad software, and third-party solutions.
The keyboard shortcut method offers a quick way to toggle the touchpad on or off, while the Windows Settings provide a convenient way to disable it through the operating system’s interface. For more technical users, the Device Manager allows for a deeper level of control over the touchpad. Installing touchpad software gives you access to advanced settings and customization options, and utilizing third-party software solutions can provide even more flexibility and features.
Remember to consult the specific instructions for your Dell laptop model and operating system version, as the steps and options may vary. If you encounter any difficulties or want further guidance, don’t hesitate to consult the official Dell documentation or seek support from their customer service.
By following the methods outlined in this guide, you can easily disable the touchpad on your Dell laptop and personalize your computing experience to suit your preferences. Whether you opt for keyboard shortcuts, Windows settings, Device Manager, touchpad software, or third-party solutions, finding the method that works best for you will help you regain control over your touchpad and enhance your overall productivity.
Now, it’s time to put these methods into action and enjoy your Dell laptop without the hassle of an active touchpad.