Introduction
Introduction
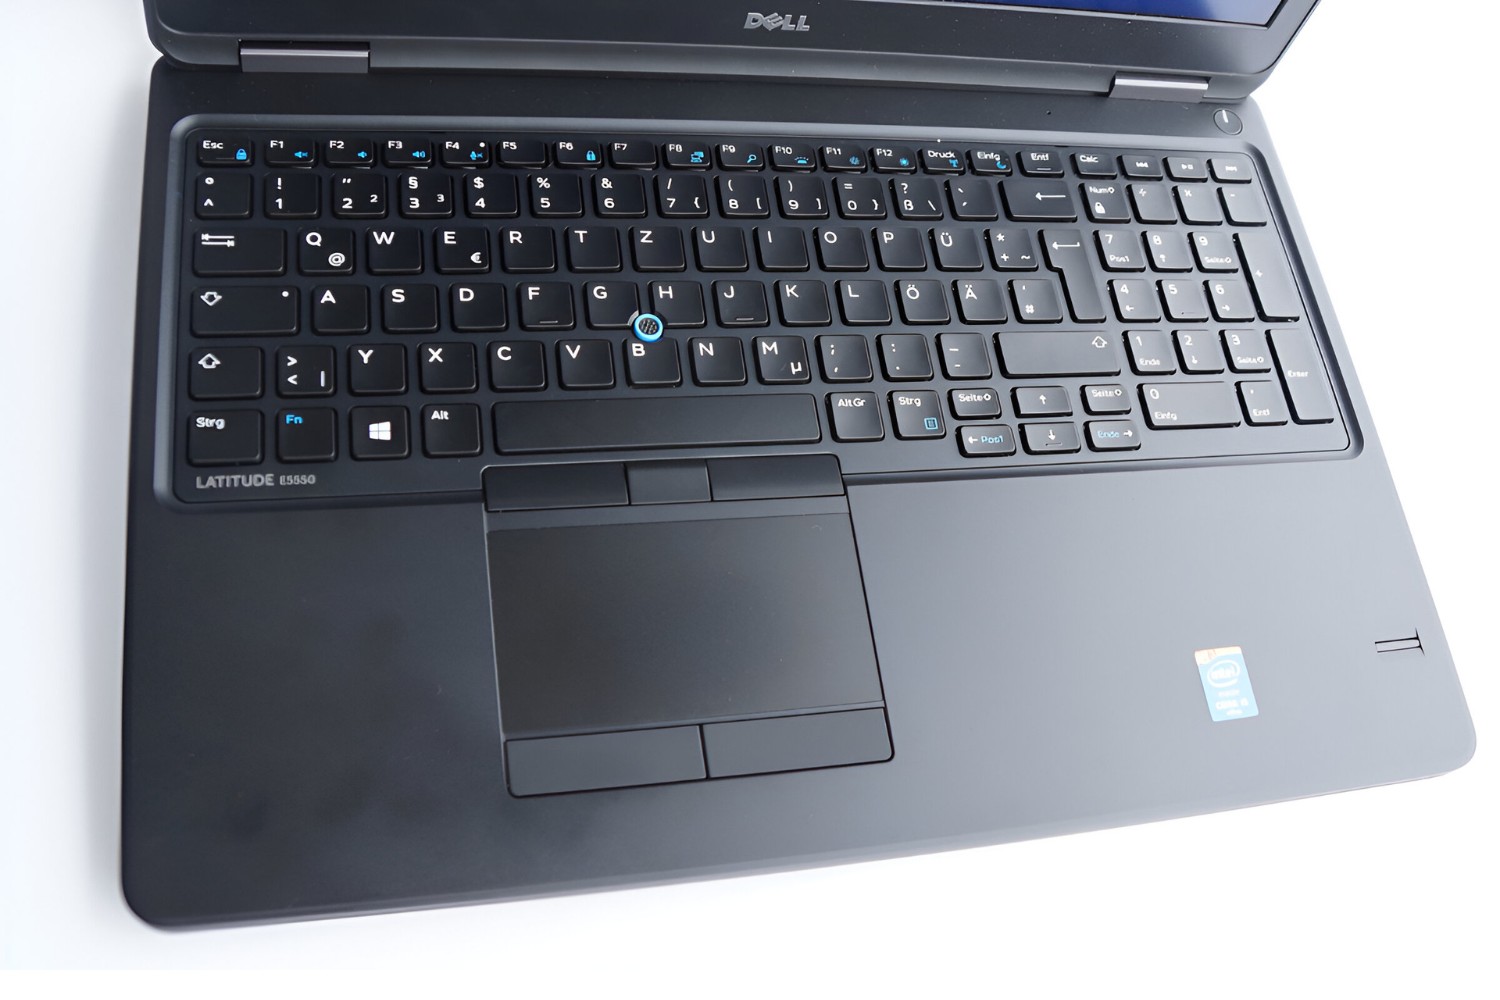
The mouse pad, also known as a touchpad, is a common feature on laptops and some desktop computers. While this input device is convenient for many users, there are situations where you may want to disable it temporarily or permanently. Perhaps you prefer using an external mouse, or maybe you're experiencing issues with accidental touches interfering with your workflow. Whatever the reason, knowing how to shut off the mouse pad can be a valuable skill for any computer user.
In this guide, we will explore three methods for disabling the mouse pad. The first method involves using a keyboard shortcut, which is a quick and convenient way to toggle the touchpad on and off. The second method delves into the process of disabling the touchpad through the Device Manager in Windows, providing a more permanent solution. Lastly, we will discuss the option of using third-party software to manage and disable the touchpad, offering additional flexibility and customization.
Whether you're a seasoned computer user or just getting started, having the ability to control your touchpad settings can enhance your overall computing experience. By understanding these methods, you can tailor your device to suit your specific preferences and needs. Let's dive into the details of each method and empower you to take control of your touchpad functionality.
Method 1: Using Keyboard Shortcut
Method 1: Using Keyboard Shortcut
One of the quickest and most convenient ways to disable the mouse pad on many laptops is by using a keyboard shortcut. This method allows you to toggle the touchpad on and off with just a few keystrokes, providing instant control over its functionality.
On most Windows-based laptops, the keyboard shortcut involves pressing a combination of keys. Commonly, this involves pressing the Function (Fn) key along with a specific function key that is designated for controlling the touchpad. The specific function key varies depending on the laptop manufacturer, but it is often labeled with an icon that resembles a touchpad.
For example, on many Dell laptops, pressing the Fn key along with the F3 key simultaneously toggles the touchpad on and off. Similarly, on HP laptops, the combination of Fn and the F5 key may serve the same function. It’s important to consult your laptop’s user manual or the manufacturer’s support documentation to identify the correct keyboard shortcut for your specific model.
Once you’ve identified the appropriate key combination, using the keyboard shortcut to disable the touchpad becomes a seamless process. This method is especially useful when you need to quickly switch to an external mouse or temporarily disable the touchpad to prevent accidental input while typing or gaming.
It’s worth noting that some laptops may not support this keyboard shortcut method, or the functionality may vary based on the laptop’s make and model. In such cases, exploring alternative methods, such as those discussed in the following sections, can provide alternative solutions for managing the touchpad.
Method 2: Disabling in Device Manager
Method 2: Disabling in Device Manager
Another method for shutting off the mouse pad involves accessing the Device Manager in the Windows operating system. This method provides a more permanent solution for disabling the touchpad, as it directly affects the device’s driver and configuration settings.
To begin, you can access the Device Manager by right-clicking on the Windows Start button and selecting “Device Manager” from the menu. Alternatively, you can use the search function in Windows to locate and open the Device Manager directly.
Once in the Device Manager, you’ll need to locate the category that corresponds to the touchpad or pointing device. This category may be labeled differently depending on the manufacturer, but it commonly includes terms such as “Mice and other pointing devices” or the specific brand name of the touchpad.
After identifying the touchpad category, you can right-click on the device and select “Disable device” from the context menu. This action effectively turns off the touchpad and prevents it from functioning until it is re-enabled. It’s important to note that this method may require administrative privileges on the computer, so you may need to provide the necessary credentials to make changes in the Device Manager.
Disabling the touchpad in the Device Manager offers a more permanent solution compared to using keyboard shortcuts, as the device remains deactivated even after restarting the computer. This method is particularly useful for individuals who prefer to rely solely on an external mouse or those who encounter persistent issues with the touchpad interfering with their workflow.
If needed, the touchpad can be re-enabled using the same process in the Device Manager. Simply locate the touchpad device, right-click, and select “Enable device” from the context menu to restore its functionality. This level of control allows users to manage the touchpad according to their specific preferences and requirements.
Method 3: Using Third-Party Software
Method 3: Using Third-Party Software
For users seeking additional flexibility and customization options for managing the touchpad, utilizing third-party software can offer a diverse range of features and controls. Various software applications are designed specifically to provide advanced touchpad management, including the ability to disable the touchpad with enhanced precision and additional settings.
One popular category of third-party software for touchpad management is utility programs developed by laptop manufacturers. These programs often include comprehensive touchpad controls, allowing users to customize gestures, sensitivity, and other touchpad-related settings. In many cases, these utilities also provide the option to disable the touchpad entirely, offering a user-friendly interface for managing touchpad functionality.
In addition to manufacturer-specific software, there are third-party applications available from independent developers that cater to touchpad management. These applications may offer unique features such as customizable keyboard shortcuts for toggling the touchpad, advanced gesture controls, and the ability to create profiles for different touchpad settings.
When exploring third-party software options, it’s essential to consider factors such as compatibility with your specific laptop model, user reviews, and the reputation of the software developer. Additionally, ensuring that the software is obtained from reputable sources, such as official manufacturer websites or trusted software repositories, can help mitigate potential security risks associated with downloading and installing third-party applications.
By leveraging third-party software, users can gain granular control over their touchpad settings and seamlessly disable the touchpad when needed. This approach is particularly beneficial for individuals who prioritize customization and desire a more comprehensive set of tools for managing their touchpad’s behavior.
It’s important to note that while third-party software can enhance touchpad management, users should exercise caution and perform due diligence when selecting and installing such applications to ensure a positive and secure computing experience.
Conclusion
Conclusion
Disabling the touchpad on a laptop or desktop computer can significantly enhance the user experience for individuals who prefer alternative input methods or encounter issues with accidental touchpad interactions. By familiarizing yourself with the various methods for shutting off the touchpad, you can effectively tailor your computing environment to suit your specific needs and preferences.
The keyboard shortcut method offers a quick and convenient way to toggle the touchpad on and off, providing immediate control over its functionality. This approach is ideal for situations where you need to swiftly switch to an external mouse or temporarily disable the touchpad to prevent interference while typing or performing other tasks.
For those seeking a more permanent solution, the Device Manager method provides the ability to disable the touchpad at the driver level, ensuring that the device remains deactivated even after restarting the computer. This method is well-suited for users who prefer to rely solely on an external mouse or encounter persistent issues with the touchpad.
Furthermore, the utilization of third-party software introduces a wealth of customization options and advanced touchpad management features, offering granular control over touchpad settings and the ability to disable the touchpad with enhanced precision. This approach is particularly beneficial for individuals who prioritize customization and desire a comprehensive set of tools for managing their touchpad’s behavior.
By understanding and implementing these methods, you can effectively manage and control your touchpad, ultimately optimizing your computing experience to align with your unique preferences and workflow. Whether you’re a seasoned computer user or new to touchpad management, having the knowledge and tools to disable the touchpad empowers you to take control of your device and enhance your overall productivity and comfort.
With the ability to disable the touchpad at your fingertips, you can navigate your computing tasks with greater ease and efficiency, ensuring that your device caters to your individual input preferences and computing style.