Introduction
Understanding the Importance of a Clean Laptop Mouse Pad
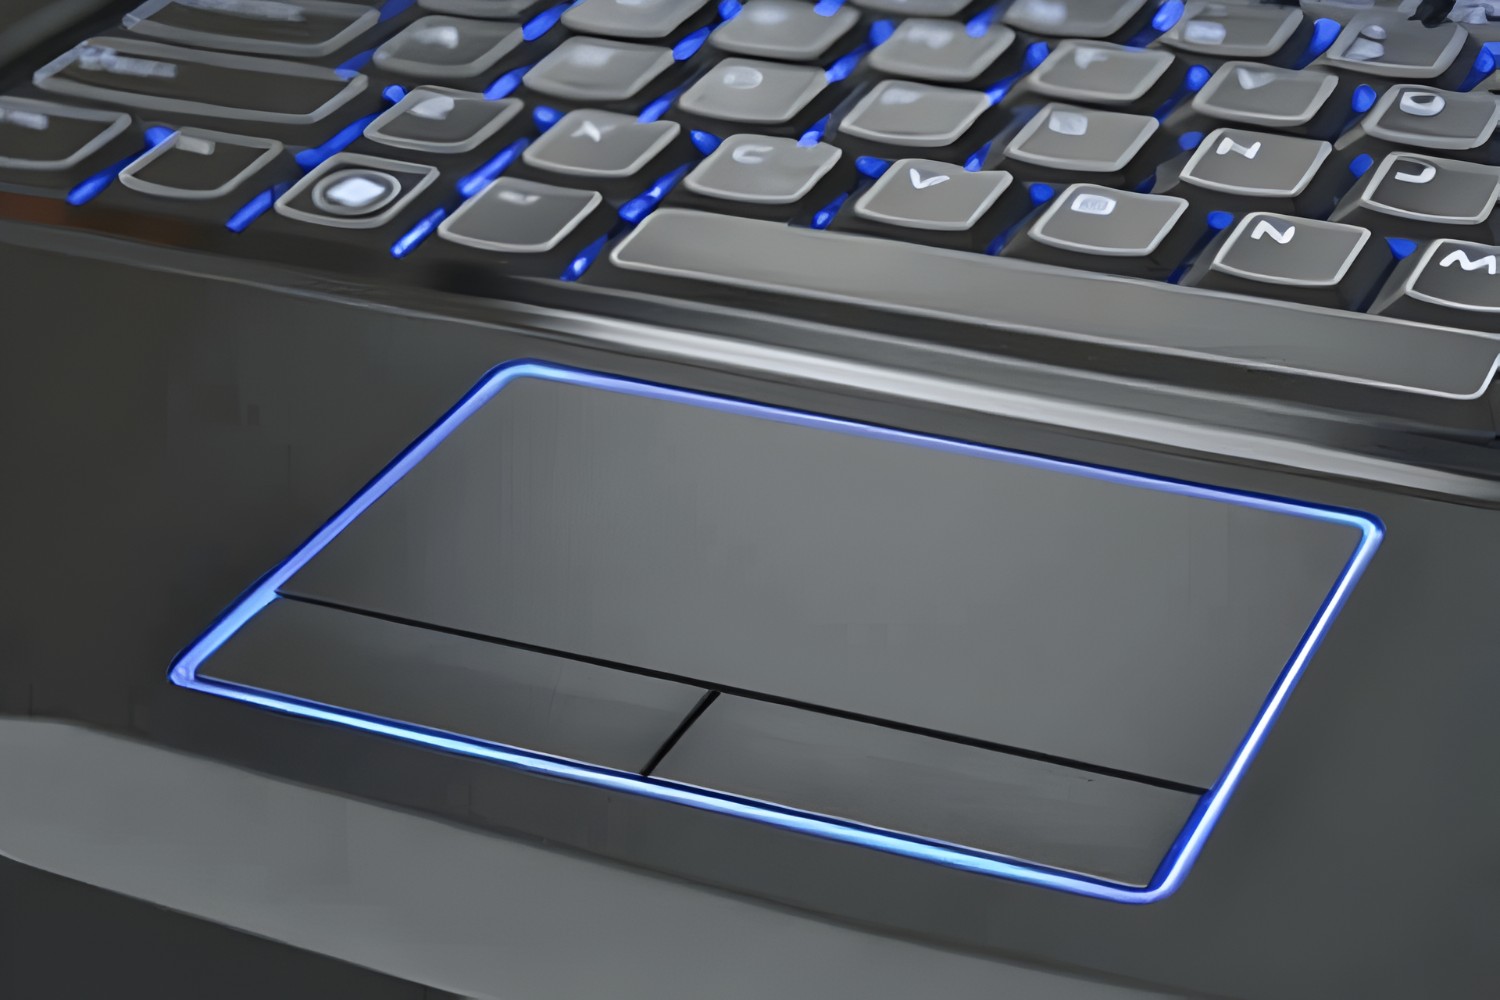
As we rely on our laptops for work, entertainment, and communication, the mouse pad becomes an essential component that directly impacts our user experience. Over time, the mouse pad can accumulate dust, dirt, and grime, leading to decreased sensitivity and responsiveness. This buildup not only affects the functionality of the mouse pad but also detracts from the overall aesthetics of the laptop.
By regularly cleaning your laptop’s mouse pad, you can maintain its smooth surface, ensure precise cursor movements, and prolong the lifespan of this critical input device. Additionally, a clean mouse pad contributes to a hygienic workspace, reducing the risk of transferring bacteria and germs from the pad to your hands. With a few simple steps, you can restore the functionality and appearance of your laptop’s mouse pad, enhancing your computing experience and promoting a clean and organized work environment.
In this comprehensive guide, we will walk you through the step-by-step process of effectively cleaning your laptop’s mouse pad. By following these instructions, you can keep your device in optimal condition and enjoy seamless navigation and control. Let’s dive into the necessary materials and the precise techniques required to rejuvenate your laptop’s mouse pad.
Step 1: Gather the Necessary Materials
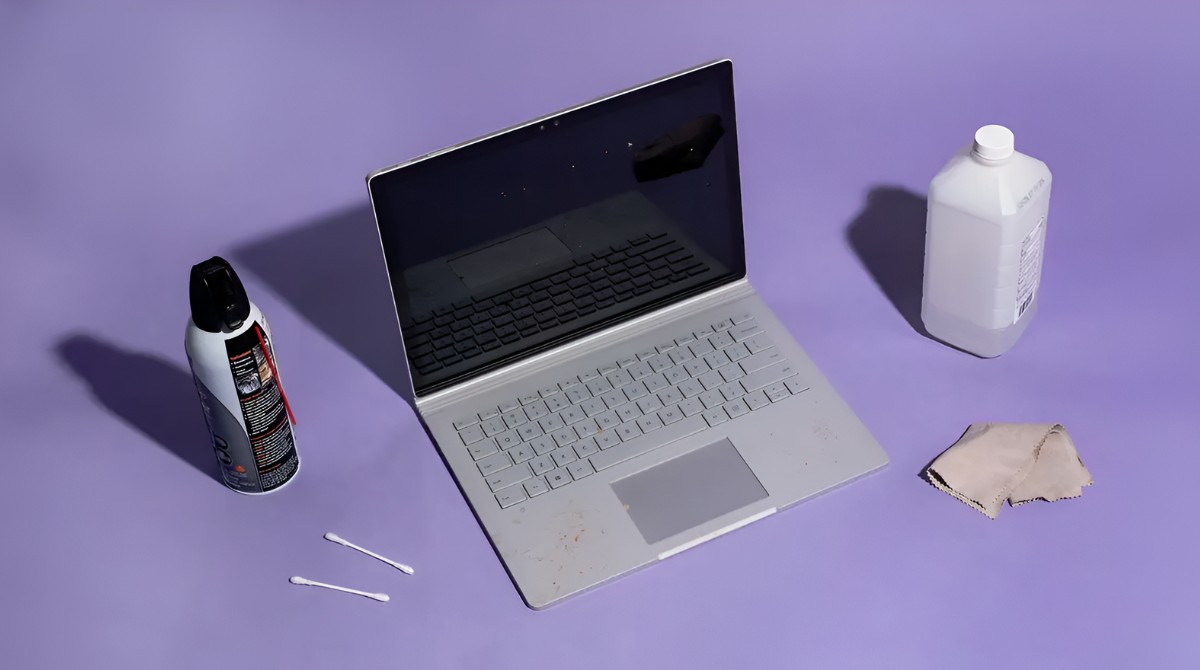
Before embarking on the cleaning process, it is essential to assemble the appropriate materials to ensure a thorough and effective outcome. Gathering the necessary supplies beforehand will streamline the cleaning procedure and help you achieve optimal results. Here’s what you’ll need:
- Mild Cleaning Solution: Prepare a gentle cleaning solution by mixing a small amount of mild liquid soap or dish detergent with warm water. Avoid using harsh chemicals or abrasive cleaners, as they can damage the surface of the mouse pad.
- Soft Cloth or Microfiber Towel: Select a soft, lint-free cloth or a microfiber towel to apply the cleaning solution and gently wipe the surface of the mouse pad. These materials are ideal for lifting dirt and grime without scratching or damaging the pad.
- Cotton Swabs: Utilize cotton swabs to access hard-to-reach areas around the edges of the mouse pad and between the buttons, ensuring a thorough cleaning process.
- Rubbing Alcohol (Optional): If the mouse pad exhibits stubborn stains or grease buildup, consider using rubbing alcohol as an effective spot treatment. However, exercise caution and perform a patch test on a small, inconspicuous area to avoid potential damage.
- Drying Cloth: Prepare a clean, dry cloth to gently pat the mouse pad after cleaning, facilitating the drying process and preventing moisture retention.
By gathering these materials, you will be well-equipped to tackle the cleaning process with precision and care. With the right tools at your disposal, you can effectively restore your laptop’s mouse pad to its optimal condition, ensuring smooth navigation and a pristine appearance.
Step 2: Power off Your Laptop
Prior to initiating the cleaning process, it is crucial to power off your laptop to prevent any potential damage and ensure your safety throughout the procedure. By following these steps, you can safely shut down your device and prepare it for the cleaning process:
- Save and Close All Applications: Before powering off your laptop, save any unsaved work and close all open applications. This will prevent data loss and ensure that your system is ready for shutdown.
- Disconnect External Devices: If your laptop is connected to any external devices such as a mouse, keyboard, or additional monitors, disconnect them to facilitate easy access to the mouse pad and prevent interference during the cleaning process.
- Shut Down the Operating System: Navigate to the “Shut Down” option in your operating system’s menu and initiate the shutdown process. Allow your laptop to power down completely before proceeding to the next step.
- Unplug the Power Cord: Once your laptop has powered off, unplug the power cord and remove the battery if it is accessible. This extra precaution ensures that no electrical current is running through the device during the cleaning process, minimizing the risk of damage.
By diligently following these steps, you can safely power off your laptop and prepare it for the subsequent cleaning steps. Ensuring that the device is completely powered down and disconnected from any power source is essential to protect both the laptop and yourself from potential hazards while cleaning the mouse pad.
Step 3: Remove Any Debris
Before delving into the cleaning process, it’s important to thoroughly remove any visible debris or loose particles from the surface of the laptop’s mouse pad. This initial step sets the foundation for a more effective and comprehensive cleaning procedure. Here’s how to effectively clear the mouse pad of debris:
- Inspect the Mouse Pad: Carefully examine the surface of the mouse pad to identify any accumulated debris, such as crumbs, dust, or hair. Take note of any areas that require focused attention during the cleaning process.
- Use Compressed Air: If the debris is primarily composed of loose particles, utilize a can of compressed air to gently blow away the dust and debris from the surface of the mouse pad. Maintain a safe distance to avoid causing damage to the pad or dispersing the debris further into the laptop.
- Employ a Soft Brush: For more stubborn debris or particles embedded in the mouse pad’s texture, lightly brush the surface with a soft-bristled brush or a clean, dry toothbrush. Gently sweep the brush across the pad to dislodge any remaining debris.
- Utilize Adhesive Tape: In cases where fine particles or hair are challenging to remove, press a piece of adhesive tape against the affected areas and lift it off to capture the debris. Repeat this process until the surface is free of any residual particles.
By diligently removing any debris from the mouse pad, you can ensure that the subsequent cleaning steps are more effective and yield superior results. This preparatory measure sets the stage for a thorough and meticulous cleaning process, ultimately enhancing the functionality and appearance of your laptop’s mouse pad.
Step 4: Clean the Surface of the Mouse Pad
Once you have removed any visible debris from the mouse pad, it’s time to proceed with the actual cleaning process to restore the surface to its pristine condition. Follow these steps to effectively clean the mouse pad:
- Prepare the Cleaning Solution: Mix a small amount of mild liquid soap or dish detergent with warm water to create a gentle cleaning solution. Ensure that the soap is well-dissolved in the water before proceeding.
- Dampen the Cloth: Dip a soft cloth or microfiber towel into the prepared cleaning solution, ensuring that it is damp but not dripping wet. Wring out any excess liquid to prevent oversaturation of the mouse pad.
- Gently Wipe the Surface: With the damp cloth, gently wipe the entire surface of the mouse pad in smooth, even motions. Pay close attention to any areas with visible stains or discoloration, applying slightly more pressure if necessary to lift stubborn grime.
- Spot Treatment with Rubbing Alcohol: If the mouse pad exhibits persistent stains or grease buildup, dampen a cotton swab with rubbing alcohol and carefully dab the affected areas. Exercise caution and perform a patch test on a small, inconspicuous area to ensure compatibility with the mouse pad’s material.
- Thoroughly Dry the Mouse Pad: After cleaning, use a dry cloth to gently pat the entire surface of the mouse pad, removing any excess moisture. Allow the mouse pad to air dry completely before reassembling and using your laptop.
By meticulously following these steps, you can effectively clean the surface of the mouse pad, eliminating dirt, stains, and grime to restore its smooth texture and pristine appearance. This process not only enhances the functionality of the mouse pad but also contributes to a hygienic and visually appealing laptop setup.
Step 5: Let the Mouse Pad Dry
After cleaning the surface of the mouse pad, it is crucial to allow sufficient time for the pad to dry completely before using your laptop. Proper drying ensures that the mouse pad retains its optimal functionality and prevents moisture-related issues. Follow these essential steps to facilitate the drying process:
- Air Drying: Place the laptop in a well-ventilated area, allowing the mouse pad to air dry naturally. Avoid using a hairdryer or other heat sources, as excessive heat can damage the pad’s surface or cause warping.
- Patience is Key: Exercise patience and allow an ample amount of time for the mouse pad to dry thoroughly. The drying duration may vary depending on factors such as humidity levels and air circulation, so it’s important to refrain from reusing the laptop until the pad is completely dry.
- Verify Dryness: Before reassembling and powering on your laptop, verify that the mouse pad is entirely dry to the touch. Ensure that no residual moisture remains on the surface, as using the laptop prematurely can compromise the effectiveness of the cleaning process.
By allowing the mouse pad to dry properly, you can safeguard its integrity and functionality, ensuring that it continues to provide smooth and responsive navigation. This critical step contributes to the overall success of the cleaning process and helps maintain the optimal condition of your laptop’s essential input device.
Conclusion
By following the comprehensive steps outlined in this guide, you have successfully learned how to effectively clean your laptop’s mouse pad, restoring its functionality and enhancing the overall user experience. Regular maintenance and cleaning of the mouse pad are essential for maintaining smooth navigation, preserving the device’s aesthetics, and promoting a hygienic work environment.
Remember, a clean mouse pad not only contributes to improved functionality but also minimizes the risk of transferring bacteria and germs to your hands during laptop use. By incorporating these cleaning practices into your regular maintenance routine, you can prolong the lifespan of your laptop’s mouse pad and ensure consistent performance over time.
Additionally, the careful selection of mild cleaning solutions and soft materials, along with the proper drying process, is crucial for preserving the integrity of the mouse pad’s surface and preventing damage. By exercising diligence and care during the cleaning process, you can maintain the pristine condition of your laptop’s essential input device.
Embracing these cleaning techniques empowers you to take proactive measures in preserving the functionality and appearance of your laptop’s mouse pad, ultimately contributing to a more enjoyable and efficient computing experience. By prioritizing regular maintenance and cleaning, you can optimize the performance and longevity of your laptop’s critical components, ensuring a seamless and reliable user interface.