Introduction
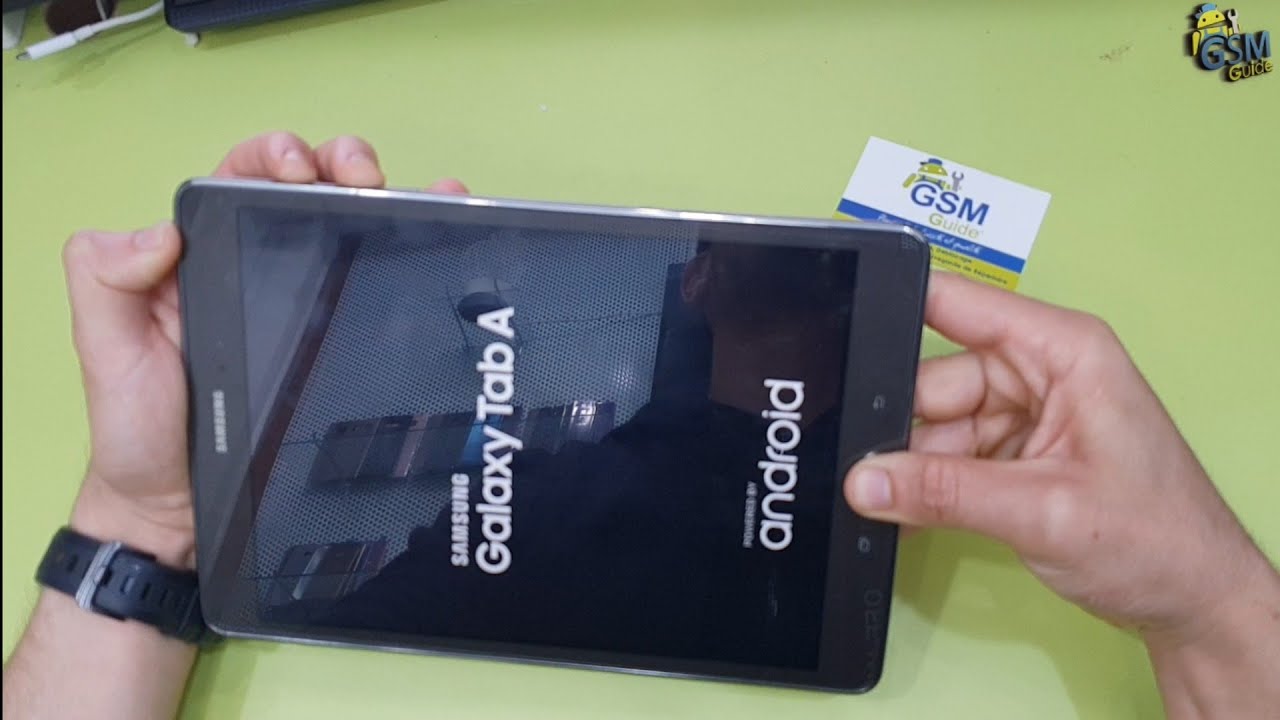
Welcome to our guide on how to reset your Samsung Galaxy Tab 3. Resetting your device can be a useful troubleshooting step if you’re experiencing performance issues, software glitches, or if you simply want to start fresh with a clean slate. In this article, we will cover two methods for resetting your Galaxy Tab 3: a soft reset and a hard reset.
A soft reset is a quick and easy way to refresh your device without deleting any of your personal data. It’s similar to restarting your computer. On the other hand, a hard reset, also known as a factory reset, will erase all of your data and restore your device to its original settings. This can be useful if you’re planning to sell your device or if you’re experiencing persistent issues that require a more drastic solution.
Before we proceed, it’s important to note that performing a hard reset will delete all of your data, so it’s essential to back up any important files, photos, or videos beforehand. Additionally, make sure your device is fully charged or plugged into a power source to prevent any issues during the reset process.
Now that we’ve covered the basics, let’s dive into the step-by-step instructions for each reset method, starting with the soft reset.
Option 1: Soft Reset
The soft reset option allows you to refresh your Samsung Galaxy Tab 3 without deleting any of your personal data. It’s a useful troubleshooting step if you’re experiencing minor issues or if you simply want to give your device a quick reboot.
To perform a soft reset on your Galaxy Tab 3, follow these steps:
- Press and hold the power button on your device.
- In the menu that appears, tap on the “Power Off” option.
- Wait for a few seconds until your device completely shuts down.
- Once your device is powered off, press and hold the power button again until you see the Samsung logo.
- Release the power button and let your device boot up. It may take a few seconds for the home screen to appear.
That’s it! Your Galaxy Tab 3 has now undergone a soft reset, and any temporary software glitches or performance issues should be resolved. This method doesn’t delete any of your personal data, so you can continue using your device as usual.
If you’re still experiencing issues or if you want to perform a more thorough reset, you can proceed to the next option: the hard reset.
Option 2: Hard Reset
If you’re experiencing persistent issues with your Samsung Galaxy Tab 3 or if you’re planning to sell your device, a hard reset is the most comprehensive reset option available. It will erase all of your data and restore your device to its original factory settings. Before proceeding with a hard reset, make sure you have backed up all your important files and data.
To perform a hard reset on your Galaxy Tab 3, follow these steps:
- Turn off your device by pressing and holding the power button.
- Once your device is powered off, press and hold the volume up button and the power button simultaneously. Keep holding both buttons until the Samsung logo appears on your screen.
- Release the power button, but continue holding the volume up button until you see the Android recovery menu.
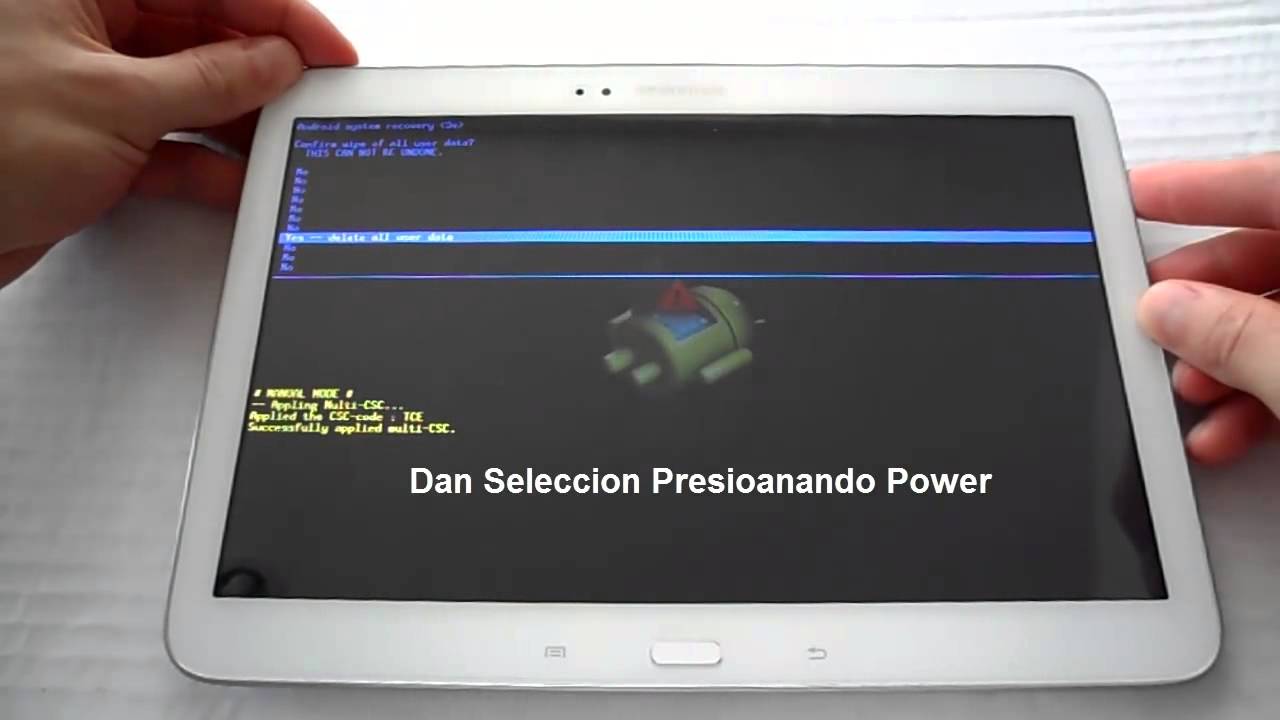
- Using the volume down button, navigate to the “Wipe data/factory reset” option.
- Once the option is highlighted, press the power button to confirm your selection.
- On the next screen, navigate to the “Yes” option using the volume down button and press the power button to confirm.
- Wait for the reset process to complete. This may take a few minutes.
- Once the reset is finished, the “Reboot system now” option will be highlighted. Press the power button to restart your device.
After the device reboots, you will need to go through the initial setup process, just like when you first bought your Galaxy Tab 3. You can now restore your data from the backup you created or start fresh with a clean slate.
Remember, a hard reset will delete all of your data, so it’s crucial to back up any important files before proceeding.
Congratulations! You have successfully performed a hard reset on your Samsung Galaxy Tab 3. This should resolve any persistent issues and bring your device back to its default settings.
Step 1: Turn Off the Device
Before you can begin the reset process on your Samsung Galaxy Tab 3, you’ll need to turn off the device. This step ensures that the reset is performed correctly and without any interruptions.
To turn off your Galaxy Tab 3, follow these steps:
- Press and hold the power button located on the side or top edge of your device.
- A menu will appear on the screen with various options.
- Select the “Power Off” option by tapping on it.
- Wait for a few seconds until your device completely shuts down.
You have now successfully turned off your Samsung Galaxy Tab 3, and you’re ready to proceed to the next step of the reset process.
By turning off your device, you ensure that the reset process starts from a clean state, allowing for a more efficient and effective reset.
Now that your Galaxy Tab 3 is powered off, let’s move on to the next step of the reset process: booting into recovery mode.
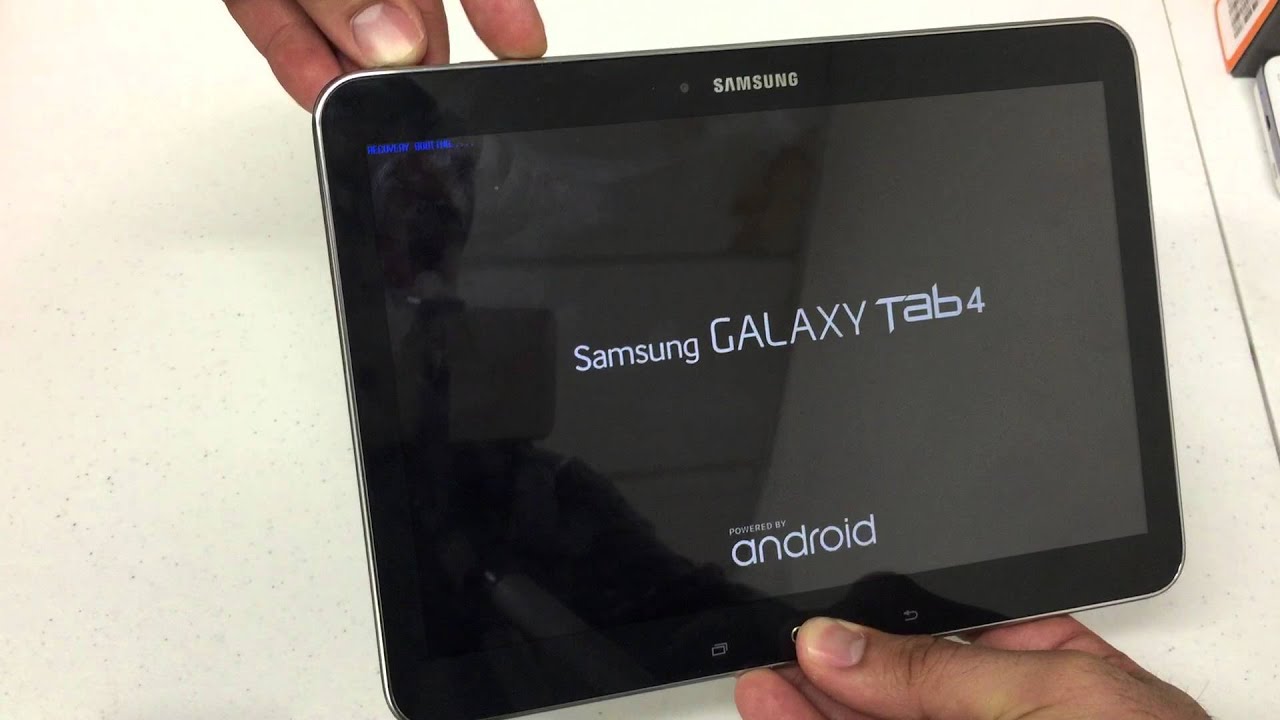
Step 2: Boot into Recovery Mode
Booting into recovery mode is an essential step in performing a reset on your Samsung Galaxy Tab 3. It allows you to access a special menu that provides advanced options for troubleshooting and resetting your device.
To boot your Galaxy Tab 3 into recovery mode, follow these steps:
- Press and hold the volume up button and the power button simultaneously.
- Continue holding both buttons until you see the Samsung logo appear on the screen.
- Once the Samsung logo appears, release the power button, but keep holding the volume up button.
- After a few seconds, you will see the Android recovery menu on the screen.
It’s important to note that accessing recovery mode may vary slightly depending on your device model. If the above steps don’t work, you can try alternative combinations, such as holding the volume down button instead of the volume up button.
By successfully booting into recovery mode, you have gained access to the advanced options necessary to perform a reset on your Galaxy Tab 3.
Now that you’re in recovery mode, let’s move on to the next step: resetting your device.
Step 3: Reset the Device
Now that you have booted your Samsung Galaxy Tab 3 into recovery mode, it’s time to reset the device. This step will erase all of your data and restore your device to its original factory settings.
To reset your Galaxy Tab 3, follow these steps:
- Using the volume down button, navigate to the “Wipe data/factory reset” option in the recovery menu.
- Once the option is highlighted, press the power button to confirm your selection.
- A confirmation screen will appear. Navigate to the “Yes” option using the volume down button and press the power button to initiate the reset process.
- Wait for the reset process to complete. This may take a few minutes.
During the reset process, your Galaxy Tab 3 will delete all of your data, including apps, settings, and personal files. This action cannot be undone, so it’s crucial to ensure that you have backed up any important data before proceeding.
Resetting your device is an effective solution for resolving persistent issues or preparing your device for sale. It allows you to start fresh with a clean slate, just like when you first received your Galaxy Tab 3.
Congratulations! You have now successfully reset your Samsung Galaxy Tab 3. The device will return to its original factory settings, and any software glitches or performance issues should be resolved.
Now that the reset is complete, let’s move on to the final step: rebooting your device.
Step 4: Reboot the Device
After performing a reset on your Samsung Galaxy Tab 3, it’s important to reboot the device to complete the process. Rebooting will ensure that any changes made during the reset are applied and that your device starts up in its newly restored state.
To reboot your Galaxy Tab 3, follow these steps:
- In the Android recovery menu, navigate to the “Reboot system now” option using the volume down button.
- Once the option is highlighted, press the power button to confirm your selection.
Your Galaxy Tab 3 will now begin the reboot process. It may take a few seconds for the device to fully boot up and display the home screen.
Once your device has rebooted, you will be presented with the initial setup screen, similar to when you first purchased the Galaxy Tab 3. You can now proceed to set up your device according to your preferences, such as configuring Wi-Fi, signing in to your Google account, and installing apps.
It’s important to note that after the reset and reboot process, your Galaxy Tab 3 will be restored to its default factory settings. This means that all personal data, apps, and settings have been removed. If you have previously backed up your data, you can now restore it to your device.
Congratulations! You have successfully completed the reset and reboot process on your Samsung Galaxy Tab 3. Your device is now ready to be used with its fresh start.
Should you encounter any further issues or require additional assistance, don’t hesitate to consult the official Samsung support resources or seek help from a qualified technician.
Conclusion
Resetting your Samsung Galaxy Tab 3 can be an effective solution for resolving software glitches, performance issues, or preparing your device for sale. The two reset options, soft reset and hard reset, provide different levels of reset, allowing you to choose the most suitable method based on your specific needs.
A soft reset is a quick and simple way to refresh your device without deleting any personal data. It is useful for troubleshooting minor issues and giving your device a quick reboot.
On the other hand, a hard reset, also known as a factory reset, is a more comprehensive reset that erases all data and returns your device to its original factory settings. This option is recommended if you’re experiencing persistent issues or if you want to start fresh with a clean slate.
When performing a hard reset, it’s crucial to back up any important files and data before proceeding. This ensures that you can restore your data after the reset is complete.
By following the step-by-step instructions in this guide, you now have the knowledge to successfully reset your Samsung Galaxy Tab 3. Remember to carefully follow each step and make necessary backups to avoid losing any important data.
If you continue to experience issues with your device or need further assistance, it is advisable to seek help from the official Samsung support resources or consult a qualified technician.
Thank you for using our guide, and we hope that resetting your Galaxy Tab 3 has resolved any issues and provided you with a smooth and enjoyable user experience.