Introduction
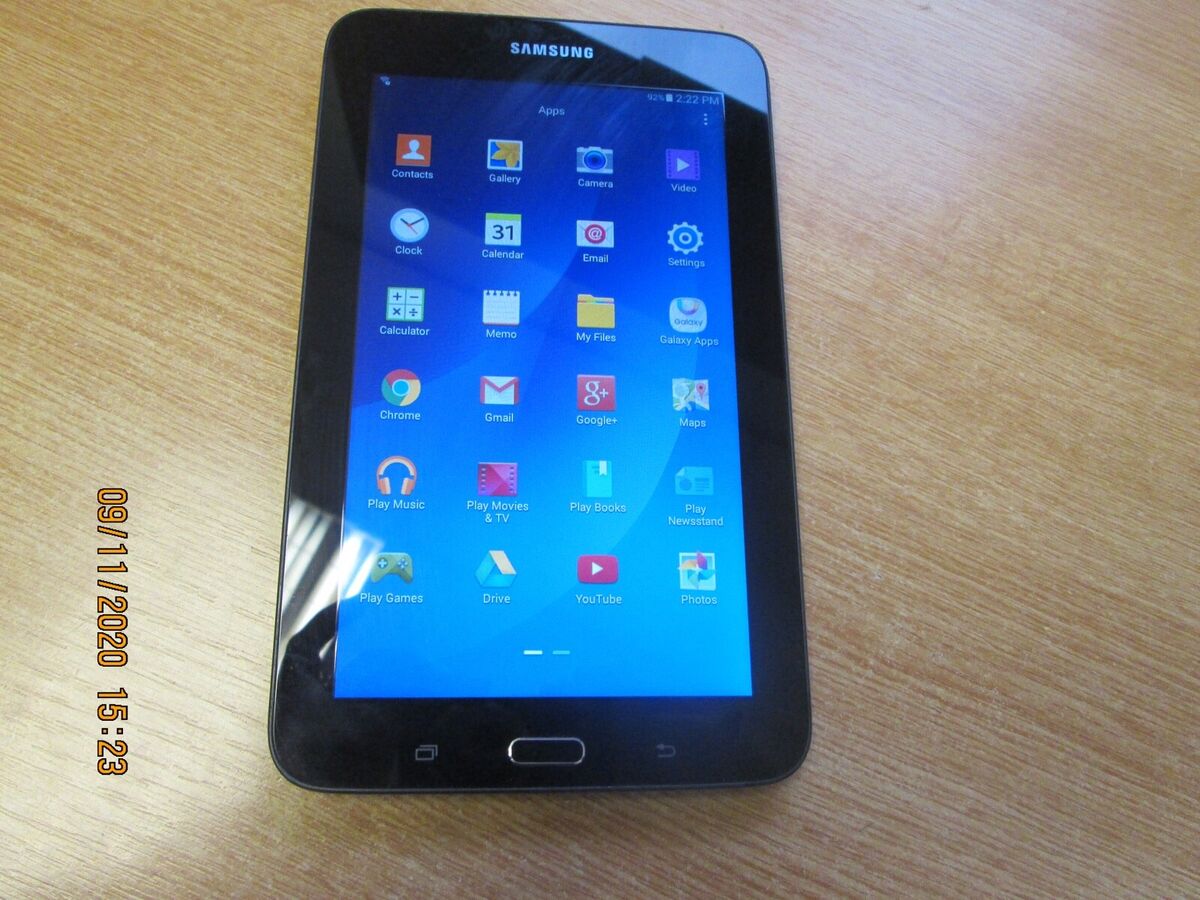
Are you a proud owner of a Samsung Galaxy Tab 3 Lite and interested in exploring its full potential? Rooting your device can unlock a world of possibilities, allowing you to customize your tablet, install apps not available in the official store, and even boost its performance.
Rooting a device refers to the process of gaining privileged control over the Android operating system. By doing so, you can access system files and settings that are otherwise restricted. This gives you the freedom to make deep customizations to your device and install third-party apps that require root access.
However, it is important to note that rooting your Samsung Galaxy Tab 3 Lite will void your warranty and can potentially lead to software instability or even bricking your device if not done correctly. Proceed at your own risk and make sure to follow the instructions carefully.
In this guide, we will walk you through the step-by-step process of rooting your Samsung Galaxy Tab 3 Lite. Before we begin, please take a moment to back up all your important data as the rooting process may erase everything on your tablet.
Ready to unlock the full potential of your Samsung Galaxy Tab 3 Lite? Let’s dive into the steps to root your device!
Step 1: Enable USB Debugging
Before we can begin rooting your Samsung Galaxy Tab 3 Lite, we need to enable USB debugging on the device. USB debugging allows your tablet to communicate with your computer via a USB connection, which is essential for the rooting process.
Here’s how you can enable USB debugging:
- Go to the Settings menu on your Samsung Galaxy Tab 3 Lite.
- Scroll down and tap on “About tablet.”
- Find the “Build number” and tap on it 7 times. This will enable the Developer options on your device.
- Go back to the main Settings menu and you will now see a new option called “Developer options.”
- Tap on “Developer options” and scroll down to find “USB debugging.”
- Toggle the switch next to “USB debugging” to enable it.
- You will see a pop-up warning message. Tap on “OK” to confirm.
Congratulations! You have successfully enabled USB debugging on your Samsung Galaxy Tab 3 Lite. You are now ready to proceed to the next step of the rooting process.
Step 2: Download and Install the Required Software
Now that USB debugging is enabled on your Samsung Galaxy Tab 3 Lite, the next step is to download and install the necessary software on your computer. These tools will enable you to root your device successfully.
Follow the steps below to get the required software:
- Download the Samsung USB drivers for your computer. You can find the official Samsung USB driver on their website or search for a reliable source online.
- Once you have downloaded the USB drivers, install them on your computer by running the installation file and following the on-screen instructions.
- Next, download the Odin tool, which is used for flashing firmware and rooting Samsung devices. Again, you can find the Odin tool from a reputable source online.
- Extract the downloaded Odin tool to a folder on your computer.
- Lastly, download the appropriate root package for your Samsung Galaxy Tab 3 Lite. Make sure you choose the correct package that matches your device model and Android version.
Once you have downloaded and installed the necessary software on your computer, you are now one step closer to rooting your Samsung Galaxy Tab 3 Lite. In the next step, we will guide you on how to connect your device to your computer in preparation for the rooting process.
Step 3: Connect Samsung Galaxy Tab 3 Lite to your Computer
Now that you have downloaded and installed the necessary software, it’s time to connect your Samsung Galaxy Tab 3 Lite to your computer using a USB cable. This connection is vital for transferring files and commands between your device and the computer during the rooting process.
Follow these steps to establish a successful connection:
- Locate the USB cable that came with your Samsung Galaxy Tab 3 Lite.
- Connect one end of the USB cable to your tablet’s USB port.
- Connect the other end of the USB cable to an available USB port on your computer.
- Your computer should detect the connected device and install the necessary drivers if you have installed them correctly.
- On your Samsung Galaxy Tab 3 Lite, you may see a prompt asking for your permission to allow USB debugging. Tap “OK” to grant permission.
Once the connection is established and your device is recognized by your computer, you are ready to move on to the next step in the rooting process. Make sure your tablet remains connected throughout the process for a smooth and successful root.
Step 4: Run Odin and Prepare for Rooting
With your Samsung Galaxy Tab 3 Lite connected to your computer, it’s time to run the Odin tool and prepare for the rooting process. Odin is a powerful tool that allows you to flash firmware, install custom ROMs, and root Samsung devices.
Follow these steps to run Odin and get ready for rooting:
- Locate the Odin executable file that you extracted in the previous step.
- Double-click on the Odin executable file to launch the program.
- You should see the Odin interface with various options and buttons.
- Make sure that the “Auto Reboot” and “F. Reset Time” options are checked in the Odin interface. These options are essential for the successful rooting process.
- Click on the “AP” button in Odin and browse to the location where you saved the root package file for your Samsung Galaxy Tab 3 Lite.
- Select the root package file and click “Open” to load it into Odin.
- On your tablet, turn it off completely.
- Boot your device into Download Mode by pressing and holding the Volume Down + Home + Power buttons simultaneously. Release the buttons when you see a warning message on the screen.
- Press the Volume Up button to enter Download Mode.
- While in Download Mode, connect your Samsung Galaxy Tab 3 Lite to the computer using the USB cable.
- Odin should recognize your device and display a blue “Added!” message in the log box. This indicates that your device is successfully connected and ready for the rooting process.
With Odin running and your Samsung Galaxy Tab 3 Lite prepared, you are now set to proceed with the actual rooting process. In the next step, we will guide you through the process of rooting your device.
Step 5: Root Samsung Galaxy Tab 3 Lite
Now that you have set up Odin and prepared your Samsung Galaxy Tab 3 Lite, it’s time to proceed with the actual rooting process. In this step, we will guide you through the necessary actions to root your device successfully.
Follow these steps to root your Samsung Galaxy Tab 3 Lite:
- In Odin, click on the “Start” button to initiate the rooting process.
- Odin will now begin flashing the root package onto your device. This process may take a few minutes, and your tablet may reboot multiple times.
- Once the rooting process is complete, you will see a green “Pass!” message in Odin, indicating that the root has been successfully installed on your Samsung Galaxy Tab 3 Lite.
- You can now disconnect your device from the computer.
- On your tablet, you may notice the SuperSU app, which is the application that manages root access on your device.
- Congratulations! Your Samsung Galaxy Tab 3 Lite is now rooted, giving you full control and access to customize your device as you please.
Keep in mind that rooting your device comes with certain risks, including voiding your warranty and potential stability issues. However, if done correctly, rooting can significantly enhance your tablet’s capabilities and user experience.
Now that your Samsung Galaxy Tab 3 Lite is rooted, you can explore various customization options, install custom ROMs, and enjoy apps that require root access.
Before you conclude the rooting process, it’s important to verify whether your device has successfully obtained root access. In the next step, we will guide you on how to check for root access on your Samsung Galaxy Tab 3 Lite.
Step 6: Verify Root Access
After successfully rooting your Samsung Galaxy Tab 3 Lite, it’s important to verify whether your device has indeed gained root access. Verifying root access ensures that all the steps in the rooting process were completed successfully and that you can now enjoy the privileges and benefits of a rooted device.
Follow these steps to verify root access on your Samsung Galaxy Tab 3 Lite:
- Open the Google Play Store on your tablet.
- Search for the app “Root Checker” and install it on your device.
- Once the app is installed, open it from your app drawer.
- Tap on the “Verify Root” option within the Root Checker app.
- The app will check if your device has root access and display the results.
- If the app shows a success message stating that your device has root access, congratulations! You have successfully rooted your Samsung Galaxy Tab 3 Lite.
- If the app shows a failure message indicating that your device does not have root access, double-check the rooting process and make sure you followed all the steps correctly.
Verifying root access ensures that you have complete control over your device and can now make use of root-only apps and customize your tablet to suit your preferences.
It’s essential to remember that having root access comes with certain responsibilities. Be cautious when making changes to system files and settings, as incorrect modifications can lead to instability or even damage to your device.
Now that you have verified root access on your Samsung Galaxy Tab 3 Lite, you are ready to explore the endless possibilities that root access brings to your device.
Conclusion
Congratulations on successfully rooting your Samsung Galaxy Tab 3 Lite! By following the step-by-step guide outlined in this article, you have unlocked the full potential of your device and gained extensive control over its features and functionalities.
Rooting your device allows you to customize your tablet, install apps not available in the official store, and even improve its performance. However, it’s important to remember that rooting your device comes with certain risks, such as voiding the warranty and potential software instability. Proceed with caution and make sure to follow the instructions carefully.
Throughout this guide, we covered six essential steps to root your Samsung Galaxy Tab 3 Lite. We enabled USB debugging, downloaded and installed the necessary software, connected the device to the computer, ran Odin and prepared for rooting, rooted the tablet, and verified root access using the Root Checker app.
Now that your device is rooted, the possibilities are endless. You can explore custom ROMs, tweak system settings, and unlock the true potential of Android. However, be mindful of any changes you make and backup important data regularly to safeguard against any potential issues that may arise.
We hope this guide has been helpful in assisting you with rooting your Samsung Galaxy Tab 3 Lite. Enjoy the newfound freedom and take your device customization to the next level!