Introduction
Resetting your Samsung A8 tablet can be a useful solution in various situations. Whether you’re experiencing software glitches, slow performance, or simply want to start fresh, a factory reset can help resolve these issues. However, it’s important to note that performing a factory reset will erase all data and settings on your tablet, so it’s vital to back up your important files beforehand.
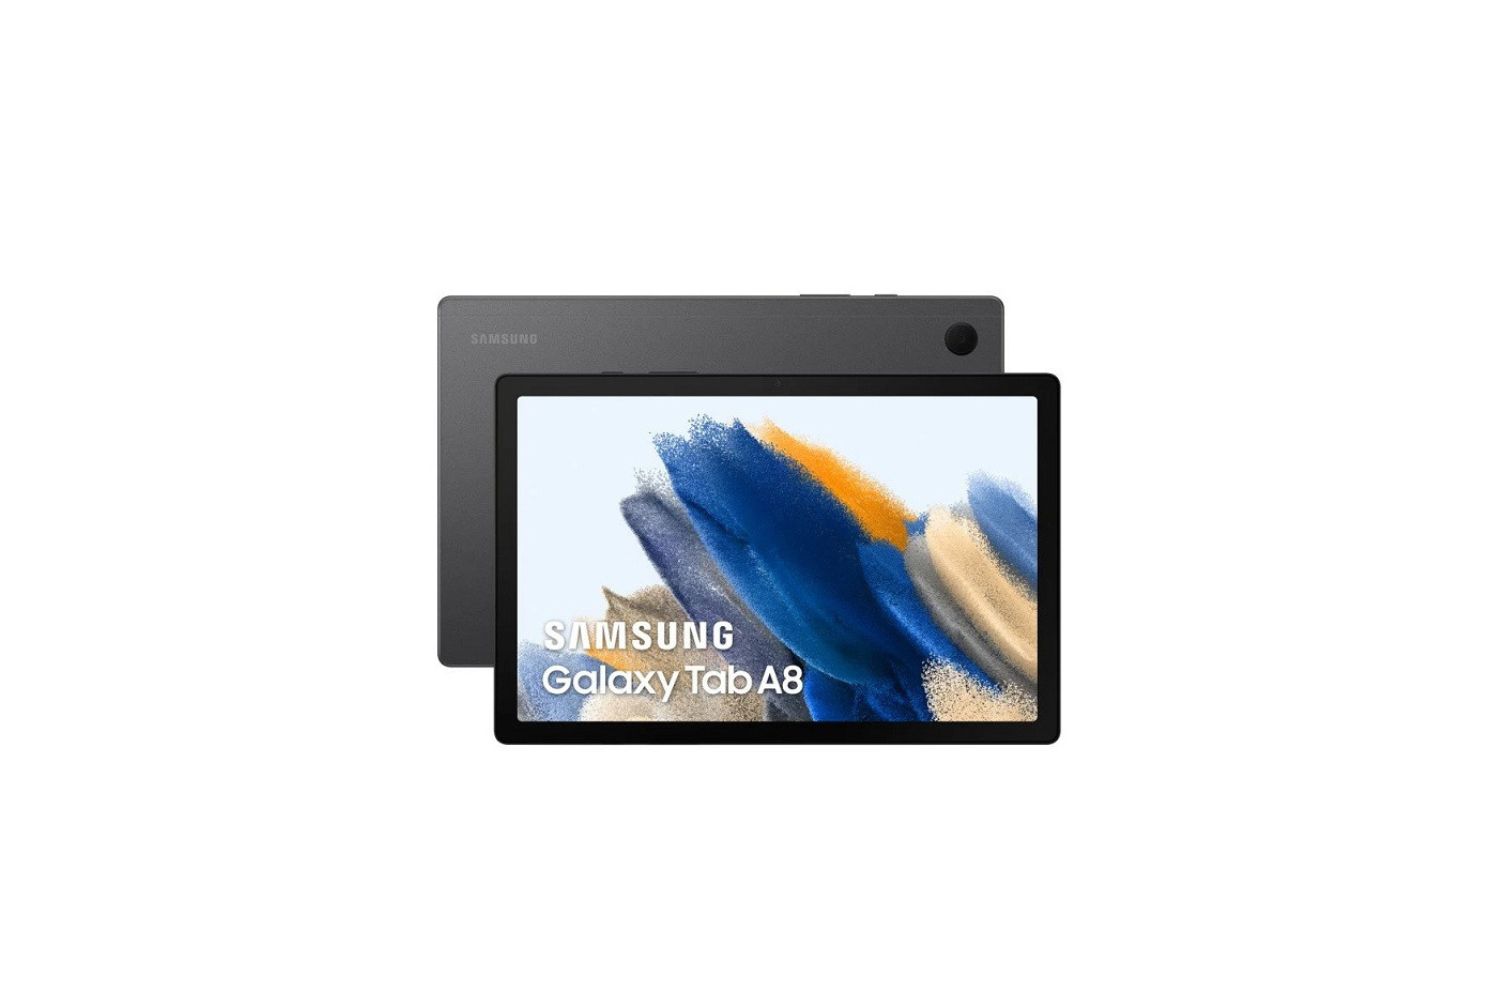
In this article, we will guide you through the process of resetting your Samsung A8 tablet. We will cover two methods: resetting through the settings menu and resetting using the recovery mode. Additionally, we will provide troubleshooting tips for common issues that may arise during the reset process.
Before proceeding with any of the reset methods, it is essential to ensure that your tablet is fully charged or connected to a power source to avoid any interruption during the reset process. Once you’ve taken the necessary precautions, let’s dive into the step-by-step instructions for resetting your Samsung A8 tablet.
Section 1: Back up your data
Before initiating the reset process on your Samsung A8 tablet, it’s crucial to back up your important data to prevent any permanent loss. By creating a backup, you can restore your files and settings once the reset is complete. Here’s how you can back up your data:
- 1. Use the Samsung Cloud: Samsung provides a built-in cloud storage service that allows you to back up and sync your data effortlessly. To back up your tablet using Samsung Cloud, go to Settings > Accounts and Backup > Samsung Cloud. From there, you can select the types of data you want to back up, such as contacts, messages, photos, and more.
- 2. Google Account Sync: Another convenient method is to sync your data with your Google account. Ensure that your Google account is properly signed in on your tablet. Go to Settings > Accounts and Backup > Accounts and select your Google account. From the account options, enable the sync for various data categories such as contacts, calendar, and app data.
- 3. External Storage: If you prefer to have a physical backup of your data, you can connect your tablet to a computer and manually transfer your files to an external storage device, such as a USB flash drive or an external hard drive. Simply connect the tablet to the computer using a USB cable and copy the desired files to the external storage.
It’s important to double-check your backup to ensure all necessary files are saved. Once you’ve successfully backed up your data, you can proceed to the next sections to reset your Samsung A8 tablet.
Section 2: Factory reset through the settings
Performing a factory reset through the settings menu is a straightforward method to reset your Samsung A8 tablet. This method is suitable when your tablet is functioning properly and you are able to access the settings. Follow these steps to perform a factory reset:
- Step 1: Begin by accessing the “Settings” app on your Samsung A8 tablet. You can find the app icon in your app drawer or by swiping down from the top of the screen and selecting the gear-shaped settings icon.
- Step 2: In the settings menu, scroll down and tap on the “General management” option.
- Step 3: Look for and select the “Reset” option. The exact placement of this option may vary depending on your tablet’s version of Android.
- Step 4: In the reset menu, tap on “Factory data reset” or a similar option. You may be prompted to enter your device PIN or pattern to proceed.
- Step 5: Carefully review the information shown on the screen. Be aware that all data on your tablet, including downloaded apps, settings, and personal files, will be erased as a result of the factory reset.
- Step 6: Once you are ready to proceed, tap on the “Reset” or “Reset tablet” button. Confirm your selection when prompted.
- Step 7: The reset process will now begin. Your tablet will reboot and restore the original factory settings. This may take a few minutes.
- Step 8: Once the reset is complete, your tablet will start up as if it were brand new. You will need to go through the initial setup process, including connecting to a Wi-Fi network and signing in with your Google account.
By following these steps, you can perform a factory reset through the settings menu on your Samsung A8 tablet. If, however, you encounter any issues accessing the settings menu or your tablet is unresponsive, continue reading the next section to learn how to perform a factory reset using the recovery mode.
Section 3: Factory reset through recovery mode
If you are unable to access the settings menu on your Samsung A8 tablet or if it is unresponsive, performing a factory reset through the recovery mode can help resolve the issue. Here’s how you can do it:
- Step 1: Make sure your tablet is turned off. If it is not responding, press and hold the power button until it powers off completely.
- Step 2: Press and hold the volume up button and the power button simultaneously. Keep holding them until the Samsung logo appears on the screen.
- Step 3: Once the Samsung logo appears, release both buttons and wait for the “Recovery booting” message to appear at the top left corner of the screen.
- Step 4: In recovery mode, navigate using the volume up and volume down buttons to highlight the “Wipe data/factory reset” option. Use the power button to select it.
- Step 5: On the next screen, confirm the factory reset by selecting the “Yes” option. This will initiate the reset process.
- Step 6: Wait for the reset process to complete. You will see a progress bar indicating the status of the reset.
- Step 7: Once the reset is finished, you will be taken back to the recovery mode menu. Use the volume buttons to navigate to the “Reboot system now” option and press the power button to select it.
- Step 8: Your Samsung A8 tablet will now reboot and start up with the factory settings restored.
Performing a factory reset through the recovery mode can help fix software-related issues and bring your tablet back to its original state. However, it’s important to note that this method will erase all data on your tablet, including files and apps. Ensure you have backed up your important data before proceeding with this reset method.
If you are still experiencing issues with your tablet or have encountered any problems during the factory reset process, refer to the next section for troubleshooting tips.
Section 4: Troubleshooting common issues
While performing a factory reset on your Samsung A8 tablet is generally a straightforward process, it’s possible to encounter certain issues. Here are some common problems that users might face during the reset process and their possible solutions:
- No power or unresponsive tablet: If your tablet is not turning on or is unresponsive, ensure that it is charged or connected to a power source. If the issue persists, try performing a reset using the recovery mode as mentioned in Section 3.
- Stuck in a boot loop: In rare cases, your tablet might get stuck in a boot loop after a factory reset. To resolve this, try wiping the cache partition in recovery mode. This option can be found in the recovery mode menu and can help clear temporary system files.
- Google account verification lock: If your tablet is asking for a previously associated Google account after the reset, it means that the device protection feature is enabled. To proceed, enter the Google account credentials that were previously used on the device.
- Wi-Fi connectivity issues: After a factory reset, you might experience difficulties connecting to Wi-Fi networks. Ensure that you are entering the correct password and that your router is functioning properly. If necessary, restart your router or contact your internet service provider for assistance.
- App crashes or errors: Post-reset, some apps may encounter issues or crash. Try updating the problematic apps from the Google Play Store or contact the app developers for further support.
If you are still facing difficulties or encounter any other problems not mentioned here, it is recommended to reach out to Samsung support or visit an authorized service center for professional assistance.
By following the steps outlined in this article and troubleshooting common issues, you should be able to successfully reset your Samsung A8 tablet and resolve any related problems you may encounter along the way.
Conclusion
Resetting your Samsung A8 tablet can be a helpful solution for resolving various software-related issues and improving overall performance. Whether you choose to reset through the settings menu or the recovery mode, it’s crucial to back up your data before initiating the process to avoid permanent loss.
In this article, we provided step-by-step instructions for performing a factory reset through both the settings menu and the recovery mode. We also addressed common issues that users may encounter during the reset process and provided troubleshooting tips to help overcome these challenges.
Remember to be cautious during the reset process and follow the instructions carefully. It’s important to understand that a factory reset will erase all data and settings on your tablet, so it’s crucial to have a backup in place.
If you continue to experience difficulties or encounter unique issues during the reset process, it may be beneficial to seek professional assistance from Samsung support or an authorized service center. These experts can provide tailored solutions and guidance based on your specific situation.
By following the guidance provided in this article and taking necessary precautions, you can successfully reset your Samsung A8 tablet and optimize its performance, ensuring a smooth and hassle-free user experience.


