Introduction
Welcome to our guide on how to reset your Rently smart lock. If you’re experiencing issues with your smart lock or simply need to start fresh, resetting it can often resolve the problem. The reset process is fairly simple and can be done without much hassle. In this article, we will provide you with step-by-step instructions on how to reset your Rently smart lock.
Rently smart locks are designed to provide convenient access control to your property. Whether you’re a property owner, manager, or tenant, being able to reset the smart lock can be invaluable in certain situations. By following the steps outlined in this guide, you’ll be able to reset your smart lock in no time.
Before we dive into the reset process, it’s important to note that resetting your smart lock will remove all existing settings and configurations. This means that any user codes or access permissions will be cleared, and you will need to reprogram the lock with the desired settings. Keep this in mind before proceeding with the reset.
Now that we’ve covered the basics, let’s move on to the step-by-step instructions on how to reset your Rently smart lock. Make sure to gather the necessary tools and materials beforehand to ensure a smooth reset process.
Step 1: Gather the necessary tools and materials
Before you begin the reset process, it’s important to gather the necessary tools and materials. Having everything ready will save you time and ensure a smooth reset. Here are the tools and materials you will need:
- A small screwdriver or paperclip
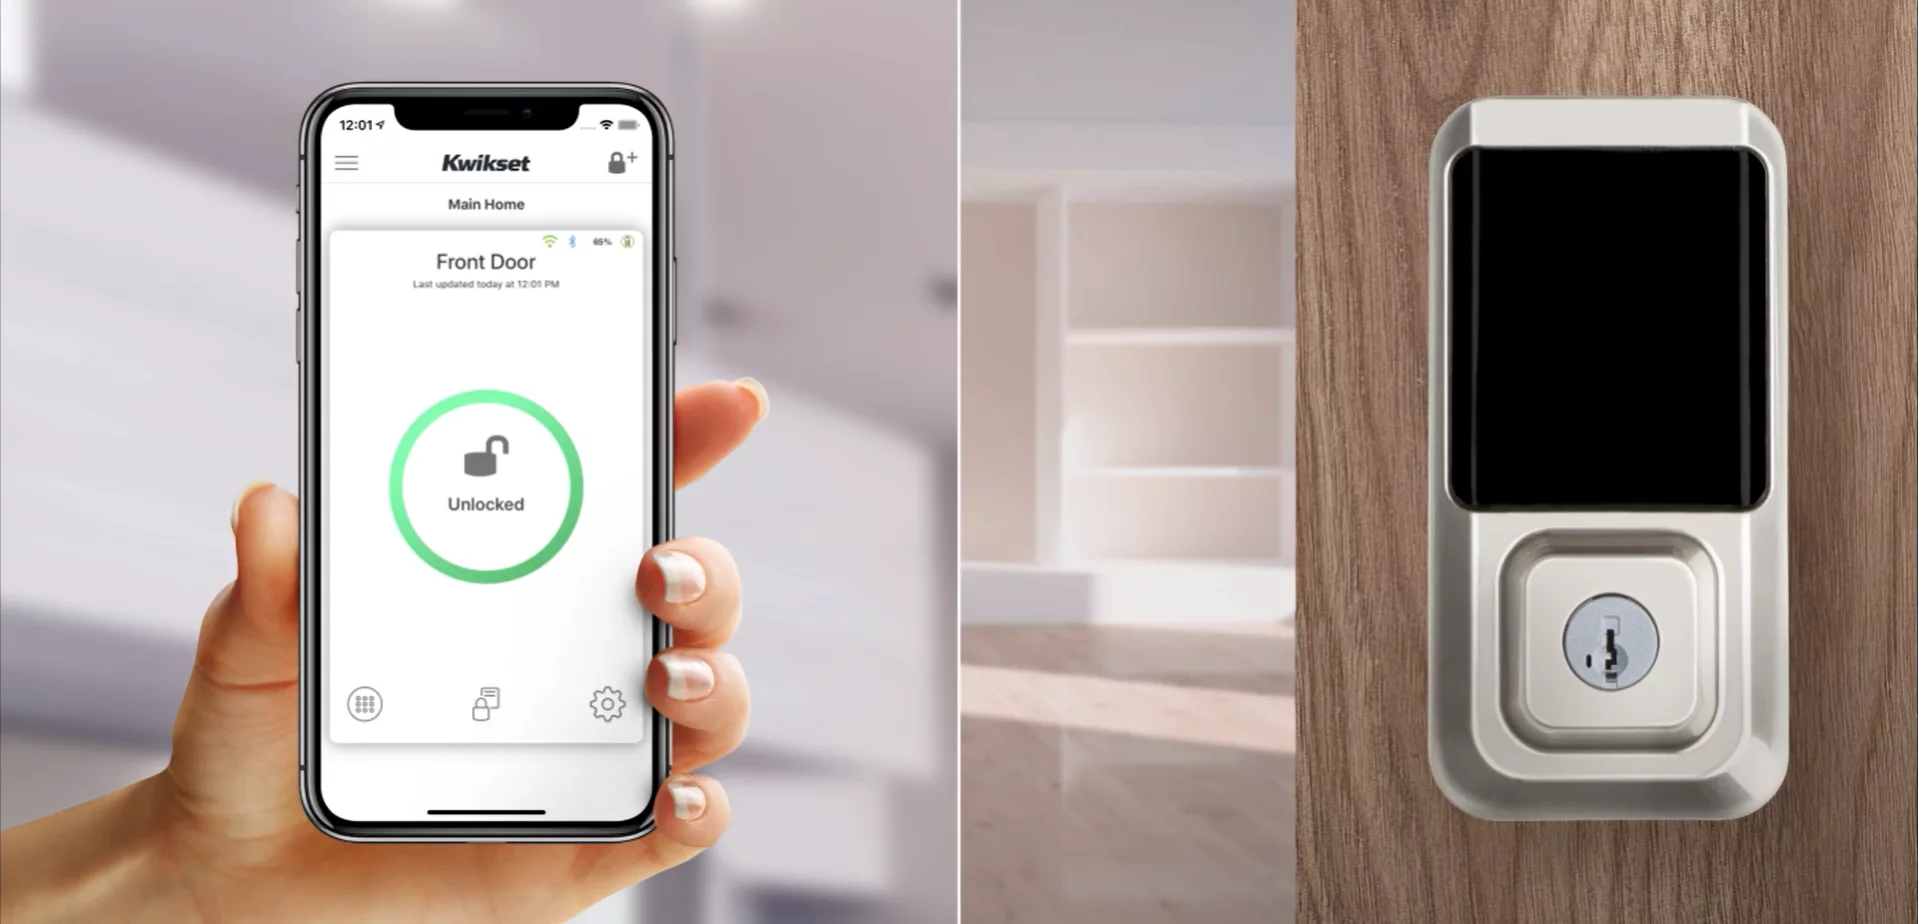
- A smartphone, tablet, or computer with internet access
- The Rently smart lock user manual or online documentation (if available)
- A stable internet connection
- Paper and pen (optional – for note-taking)
The small screwdriver or paperclip will be used to access the reset button on the smart lock. Make sure you have a screwdriver that fits the lock or a paperclip that can be straightened out for easy insertion.
Having a device with internet access is crucial, as you may need to refer to the user manual or online documentation for specific instructions related to your Rently smart lock model. It’s important to have a stable internet connection so that you can access any online resources if needed.
Lastly, consider having a pen and paper on hand for note-taking. You may come across important information during the reset process, such as new access codes or troubleshooting steps. Having a designated space to jot down these details can be helpful.
Once you have gathered all the necessary tools and materials, you are ready to proceed to the next step: locating the reset button on your Rently smart lock.
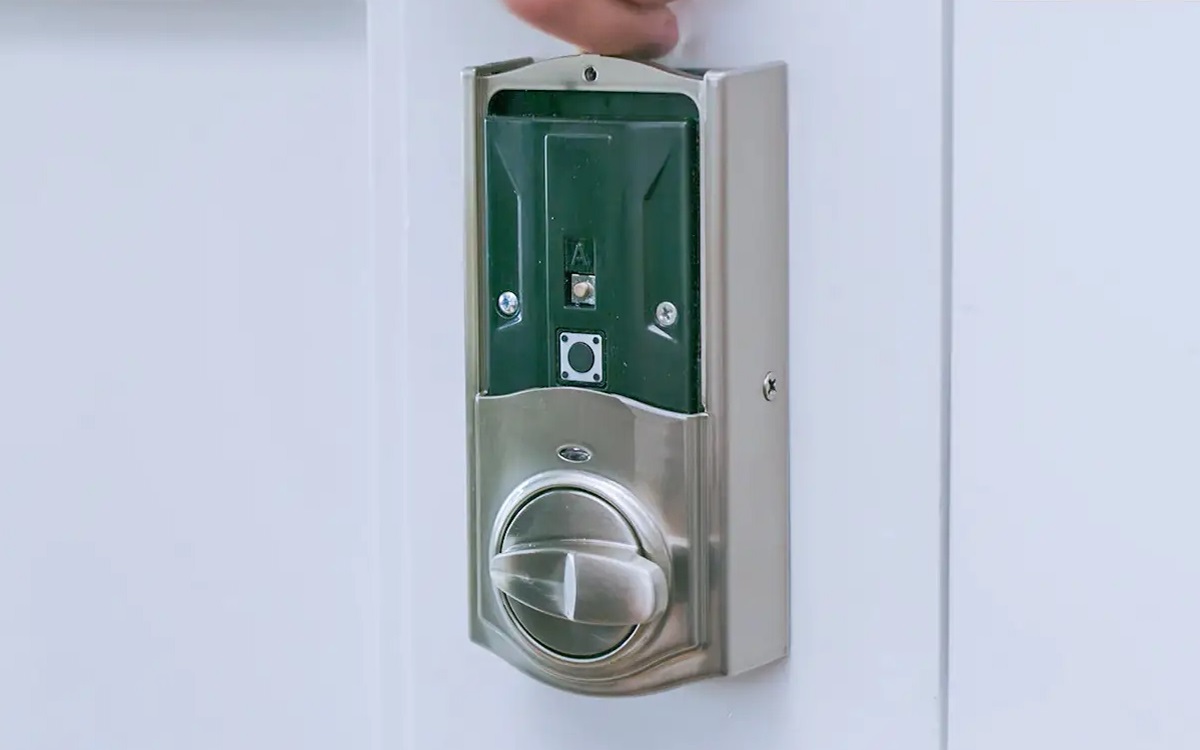
Step 2: Locate the reset button on your Rently smart lock
In order to reset your Rently smart lock, you will need to locate the reset button on the device. The location of the reset button may vary depending on the model of your smart lock. Here’s how you can find it:
- Refer to the user manual: If you have the user manual or any accompanying documentation for your Rently smart lock, it’s best to consult it first. The manual will typically have a specific section that highlights the location of the reset button.
- Search online resources: If you don’t have access to the user manual or if it doesn’t provide clear instructions on finding the reset button, you can search for your specific Rently smart lock model online. The manufacturer’s website or reputable smart lock forums can be helpful sources of information. Look for guides or diagrams that indicate the position of the reset button.
- Inspect the smart lock: If all else fails, visually inspect the smart lock for any visible markings or buttons that might be the reset button. Manufacturers often label the button with a symbol or indication to make it easily identifiable.
Once you have located the reset button on your Rently smart lock, you are ready to move on to the next step and prepare the lock for reset. Make sure to take note of the button’s location for easy access during the reset process.
Step 3: Prepare the lock for reset
Before initiating the reset process on your Rently smart lock, you need to make sure that the lock is prepared for reset. This step involves a few important considerations:
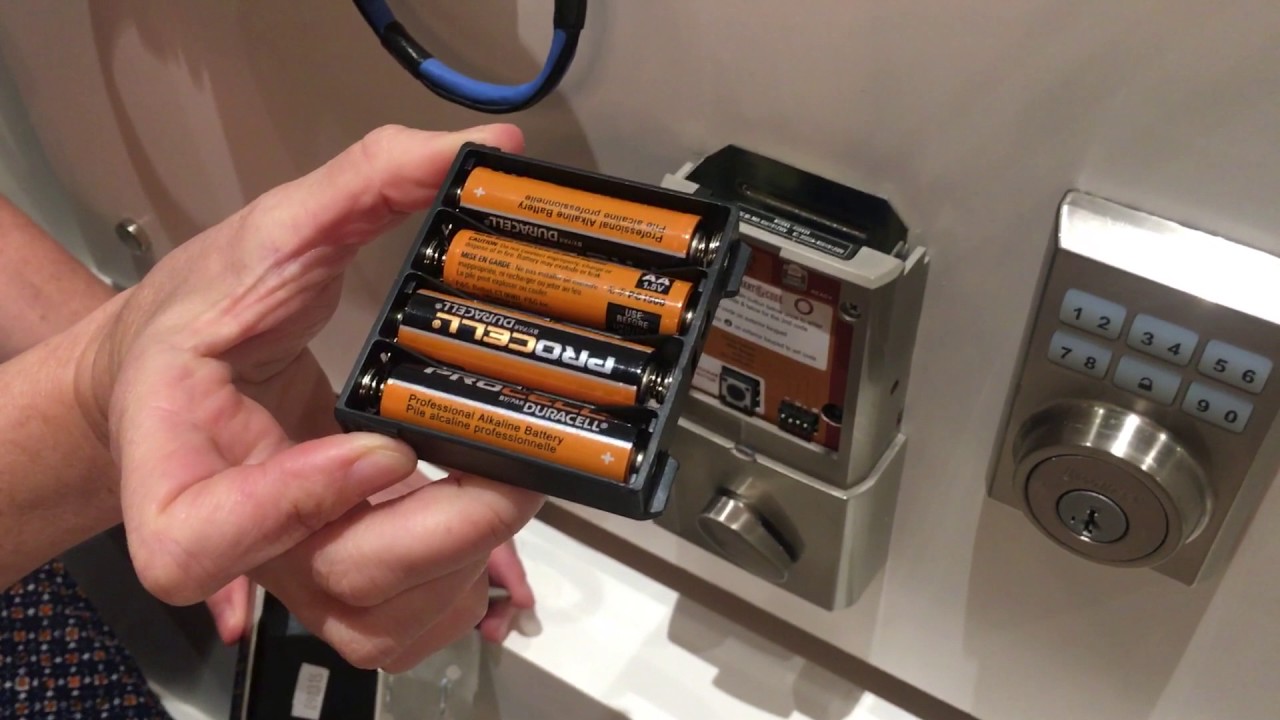
- Remove any power source: To ensure a complete reset, it’s essential to disconnect the power source from your smart lock. This may involve removing any batteries or disconnecting the lock from a power outlet, depending on the model. Refer to the user manual or online documentation for instructions on how to safely remove the power source.
- Ensure a stable internet connection: For certain models of Rently smart locks, a stable internet connection may be required during the reset process. Make sure your device is connected to a reliable Wi-Fi or Ethernet network to avoid any interruption during the reset.
- Take note of existing settings: If there are specific settings, configurations, or access codes that you want to retain after the reset, make sure to take note of them beforehand. This will help you reprogram the lock later with the desired settings.
By removing the power source and ensuring a stable internet connection, you can create an optimal environment for resetting your Rently smart lock. Additionally, taking notes of existing settings can save you time and effort in reconfiguring the lock later on.
Once you have completed these preparations, you are ready to move on to the next step and reset your Rently smart lock.
Step 4: Reset the Rently smart lock
Now that you have prepared your Rently smart lock for a reset, it’s time to actually perform the reset process. Follow these steps to reset your smart lock:
- Locate the reset button: Using the information gathered in Step 2, find the reset button on your Rently smart lock.
- Press and hold the reset button: Insert the small screwdriver or paperclip into the reset button and press and hold it for about 10-15 seconds. This duration may vary depending on the model, so refer to the user manual or online documentation for precise instructions.
- Release the reset button: After holding the reset button for the designated time, release it. This action will initiate the reset process on your Rently smart lock.
During the reset process, you may observe certain indications from the lock, such as flashing lights or audible feedback. These indications may vary depending on the model, so consult the user manual or online documentation for any specific details to look out for.
After completing these steps, your Rently smart lock should be successfully reset to its factory default settings. This means that all previously stored access codes and configurations will be cleared from the lock’s memory.
Remember, it’s important to exercise caution while resetting the smart lock, and make sure to follow the manufacturer’s instructions to avoid any damage or improper functioning of the device.
Now that you have reset your Rently smart lock, it’s time to move to the next step and test the reset to ensure everything is functioning correctly.
Step 5: Test the reset
After resetting your Rently smart lock, it’s crucial to test the reset to ensure that the lock is functioning properly. Follow these steps to test the reset:
- Reconnect the power source: If you had disconnected the power source during the reset preparation in Step 3, reconnect it now. This may involve inserting fresh batteries or plugging the lock back into a power outlet.
- Power on the smart lock: Turn on the smart lock to initiate its startup sequence. Pay attention to any LED lights, display messages, or sounds that might indicate the lock is powering up.
- Attempt to reprogram the lock: Follow the manufacturer’s instructions or user manual to reprogram the lock with new access codes or desired settings. This process may vary depending on the model, so refer to the specific instructions for your Rently smart lock.
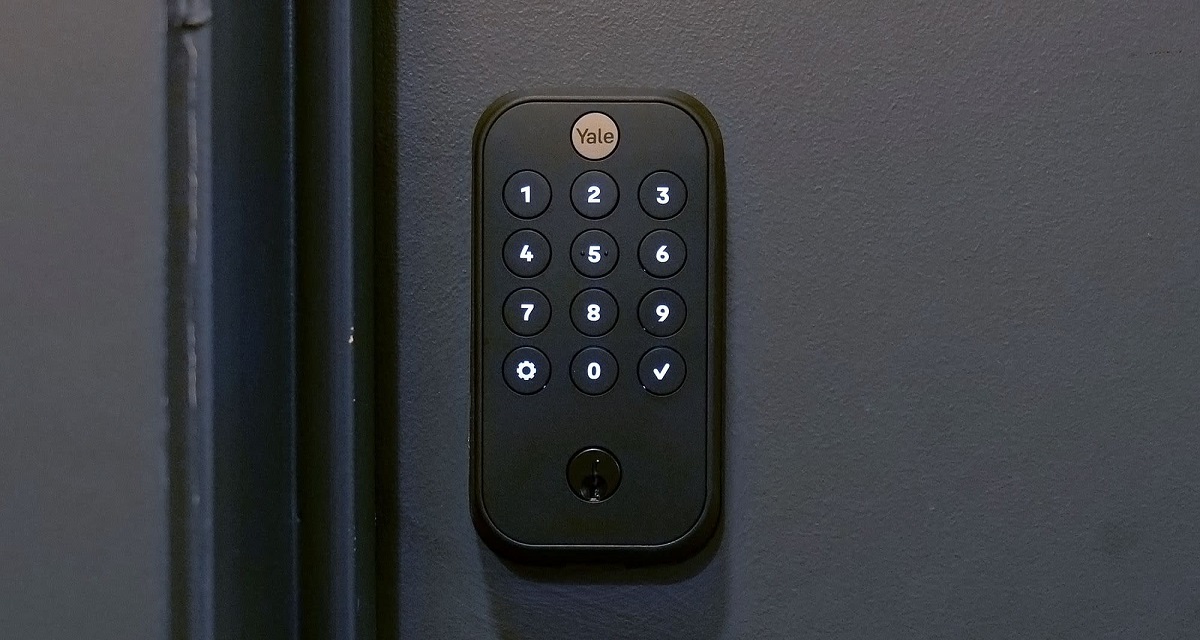
- Test the access codes: Enter the newly programmed access codes into the smart lock to ensure they are accepted and provide access. Test multiple codes if necessary, considering different levels of user permissions, such as master codes or temporary codes.
- Ensure smooth locking and unlocking: Test the lock’s functionality by locking and unlocking it using the newly programmed codes. Pay attention to any anomalies or difficulties in the locking and unlocking process.
By following these steps, you can verify that the reset was successful and that your Rently smart lock is back in proper working order.
If you encounter any issues during the testing phase, consult the user manual or online documentation for troubleshooting steps. Manufacturers often provide a troubleshooting guide that can help you address common problems or errors.
Once you are satisfied with the reset and the functionality of the lock, you can proceed to reconfiguring any additional settings or granting access permissions as needed.
Congratulations! You have successfully reset and tested your Rently smart lock. It is now ready to provide secure access control to your property. Remember to keep the user manual and any important documentation for future reference.
Conclusion
Resetting a Rently smart lock can be a useful solution for resolving issues or starting fresh with new configurations. Throughout this guide, we have provided you with a step-by-step process to reset your Rently smart lock. By following these instructions, you can reset your smart lock and ensure that it is functioning properly.
We began by gathering the necessary tools and materials, such as a small screwdriver or paperclip and a device with internet access. Then, we learned how to locate the reset button on the smart lock and prepare it for the reset process.
In the subsequent steps, we performed the actual reset by pressing and holding the reset button, and then testing the reset by reconnecting the power source and reprogramming the lock with new access codes. Finally, we verified the smooth locking and unlocking functionality of the lock to confirm the success of the reset process.
Remember, before resetting your Rently smart lock, it’s important to understand that the process will remove all existing settings and configurations, requiring you to reprogram the lock with your desired settings. Additionally, refer to the user manual or online documentation specific to your lock model for accurate instructions.
By following the instructions outlined in this guide, you can ensure the proper resetting and testing of your Rently smart lock, ultimately providing you with a secure access control solution for your property.
Thank you for reading our guide, and we hope it has been helpful in assisting you with resetting your Rently smart lock. If you have any further questions or require additional support, don’t hesitate to reach out to the Rently customer support team.