Introduction
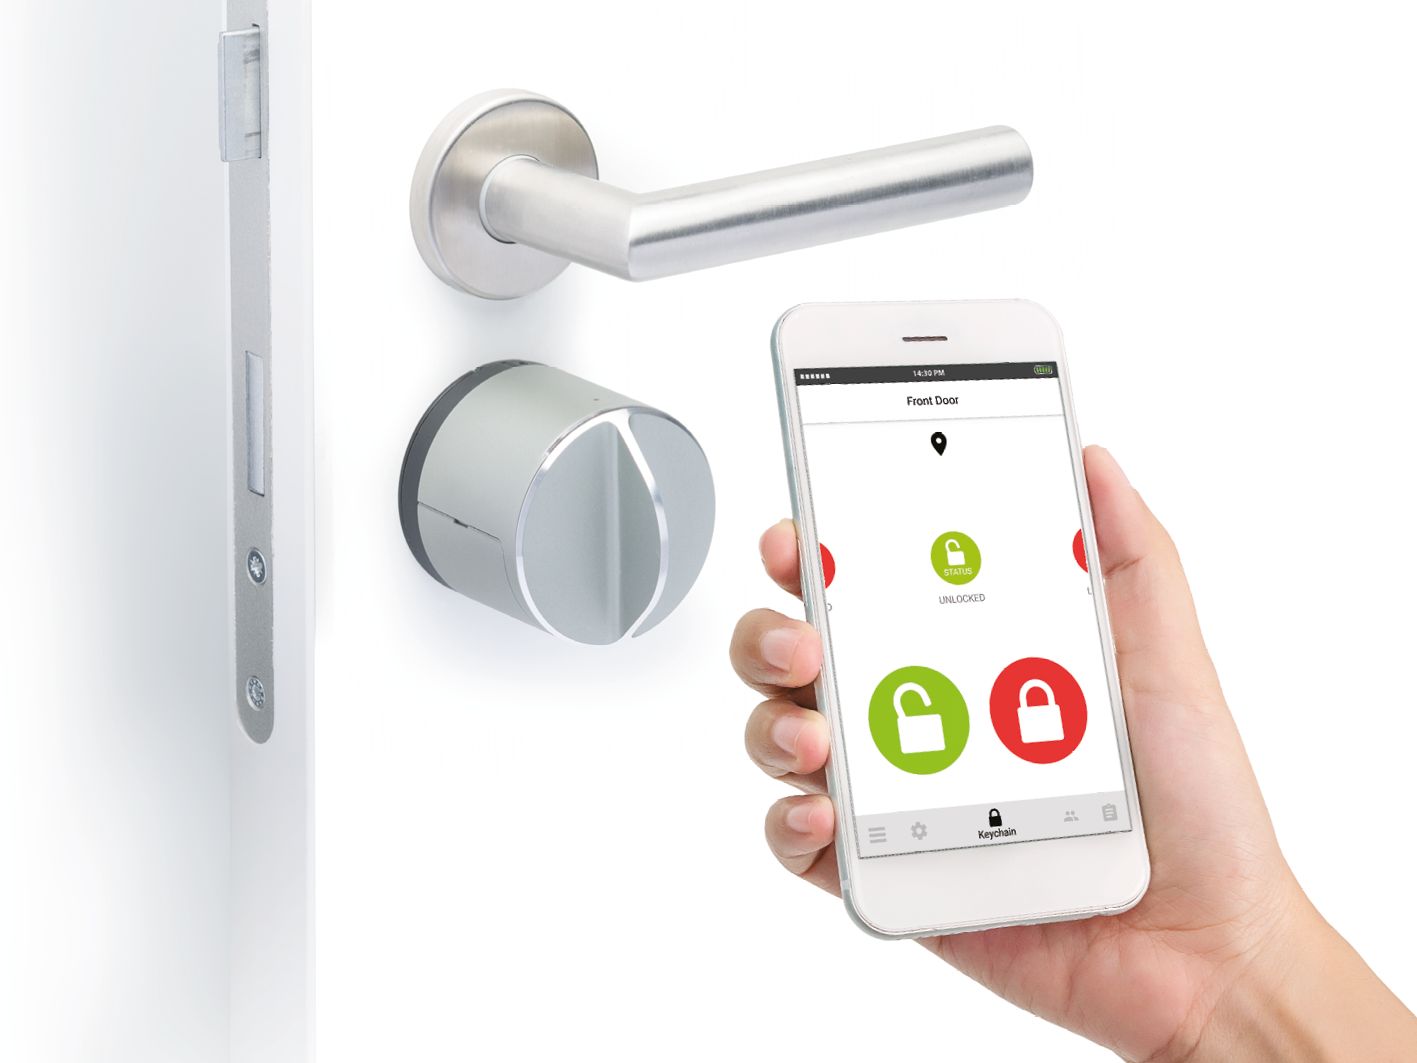
Welcome to the world of smart home technology, where convenience, security, and control are at your fingertips. One of the key features of a smart home is a smart door lock, which allows you to remotely manage and monitor access to your home. However, what happens when you sell your home and need to transfer the smart door lock to the new homeowner?
In this article, we will guide you through the process of transferring a smart door lock to a new homeowner. Whether you have a Wi-Fi-enabled lock, a Bluetooth lock, or a lock that uses a smart home system, the steps provided here will help you ensure a smooth transition of ownership.
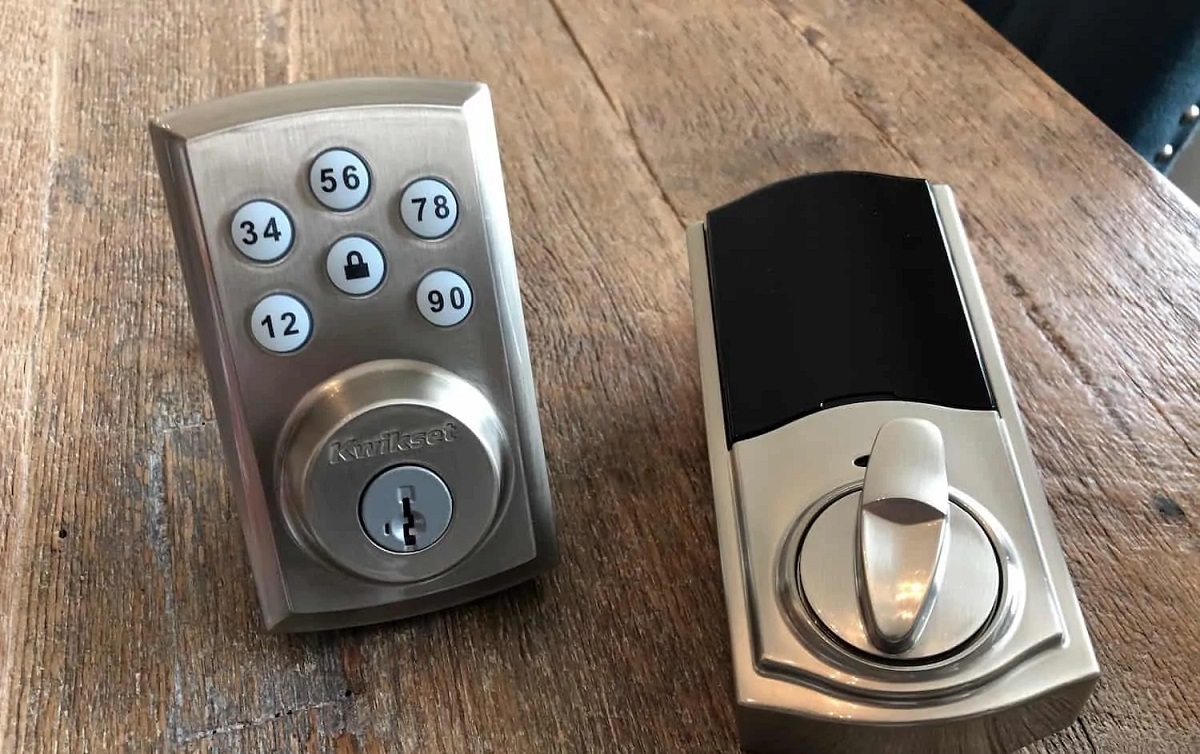
Before we dive into the details, it’s important to note that the exact steps may vary depending on the brand and model of your smart door lock. Therefore, it’s crucial to consult the manufacturer’s instructions and guidelines specific to your lock.
Transferring a smart door lock involves disconnecting the lock from the current homeowner’s account, resetting it to factory settings, configuring it for the new homeowner, and providing them with the necessary instructions and access codes. By following these steps, you can guarantee that the new homeowner can fully enjoy the benefits of a smart door lock, without any inconvenience or security concerns.
Step 1: Gather necessary information
Before you begin the process of transferring the smart door lock to the new homeowner, it’s important to gather all the necessary information and documentation related to the lock. This will ensure a smooth transition and help the new homeowner effectively manage the device. Here are a few key pieces of information you should gather:
- User manuals and documentation: Locate the user manuals and any other documentation that came with the smart door lock. This will provide important information on how to operate and configure the lock.
- Manufacturer’s contact information: Keep the contact details of the smart lock manufacturer handy. This will be useful in case you encounter any difficulties during the transfer process or if the new homeowner needs technical support.
- Smart lock account details: If the smart door lock is connected to a mobile app or a smart home system, make sure you have the login credentials associated with the current homeowner’s account. This will allow you to disconnect the lock from the account and facilitate its setup for the new homeowner.
- Lock model and serial number: Note down the lock’s model and serial number. This information can typically be found on the lock itself or in the user manuals. It may be required during the transfer process or if the new homeowner needs to contact the manufacturer for any reason.
- Access codes and key fobs: If the lock uses access codes or key fobs for entry, make sure you have a list of the current codes and any accompanying key fobs. This will allow you to update or provide the new homeowner with the necessary access credentials.
Gathering all this information beforehand will save you time and effort during the transfer process. It will also ensure that the new homeowner has all the necessary details to effectively use and manage the smart door lock in their new home. Once you have gathered these details, you are ready to proceed to the next step: disconnecting the smart lock from the current homeowner’s account.
Step 2: Disconnect the smart lock from the current homeowner’s account
Once you have gathered all the necessary information, the next step is to disconnect the smart lock from the current homeowner’s account. This is an important step to ensure that the new homeowner has full control and ownership of the lock. The process may vary slightly depending on the brand and type of smart lock you have, but here are some general steps to follow:
- Open the smart lock app or access the control panel: If your smart lock is connected to a mobile app or a smart home system, open the app or access the control panel to manage the lock’s settings.
- Navigate to the account settings: Look for the account settings or device management section within the app or control panel. This is where you can disconnect or remove the lock from the current homeowner’s account.
- Select the smart lock: If you have multiple devices connected to the app, select the specific smart lock you want to disconnect.
- Choose the option to remove or unlink: Look for an option that allows you to remove or unlink the smart lock from the current account. This may be labeled as “Remove Device,” “Unlink,” or something similar.
- Follow the on-screen instructions: The app or control panel will guide you through the process of disconnecting the smart lock. This may involve confirming your action or entering a verification code.
- Verify the successful disconnection: Once you have followed the instructions, verify that the smart lock has been successfully disconnected from the current homeowner’s account. This may be indicated by a confirmation message or a change in the lock’s status within the app or control panel.
By disconnecting the smart lock from the current homeowner’s account, you are now ready to reset the lock to its factory settings. This will ensure that any previous configurations and access credentials are removed, allowing the new homeowner to start fresh with their own settings and access codes.
Step 3: Reset the smart lock to factory settings
Once the smart lock has been disconnected from the current homeowner’s account, the next step is to reset it to its factory settings. This will remove any existing configurations, access codes, and user data, ensuring a clean slate for the new homeowner. Here’s how you can reset the smart lock:
- Refer to the user manual: Consult the user manual or manufacturer’s guidelines specific to your smart lock model. Look for instructions on how to perform a factory reset.
- Identify the reset method: Typically, there are two common methods to perform a factory reset on a smart lock. The first method involves using a physical reset button or a combination of buttons on the lock itself. The second method involves using the lock’s mobile app or control panel to initiate the reset remotely.
- Follow the reset instructions: Once you have identified the reset method, follow the instructions provided in the user manual or manufacturer’s guidelines. This may involve pressing and holding a specific button or navigating through the app to access the reset option.
- Confirm the factory reset: After initiating the reset, you may need to confirm your action either through the lock’s physical interface or within the mobile app. This step ensures that the reset is intentional.
- Wait for the reset process to complete: Allow the smart lock to complete the reset process. This may take a few seconds or a couple of minutes, depending on the lock’s specifications. Make sure not to interrupt the process.
- Verify the successful reset: Once the factory reset is complete, the smart lock should return to its default settings. It should no longer be associated with any previous configurations or access credentials.
Resetting the smart lock to factory settings prepares it for configuration and setup with the new homeowner’s information. In the next step, we will guide you through the process of reconfiguring the smart lock for the new homeowner.
Step 4: Reconfigure the smart lock for the new homeowner
After resetting the smart lock to its factory settings, it’s time to reconfigure it for the new homeowner. This process involves setting up the lock with the new owner’s preferences, access codes, and any other desired configurations. Here are the steps to follow:
- Refer to the user manual: Once again, consult the user manual or manufacturer’s guidelines specific to your smart lock model. Look for instructions on how to set up the lock for a new user.
- Choose the setup method: Depending on the smart lock model, there may be different methods available for initial setup. This can include using a mobile app, a web portal, or the lock’s physical interface.
- Follow the setup instructions: Follow the step-by-step instructions provided in the user manual or manufacturer’s guidelines. This may involve creating a new account for the new homeowner, connecting the lock to a Wi-Fi network, and customizing settings according to their preferences.
- Create new access codes: Set up new access codes that will be used by the new homeowner. These can be unique numeric codes, alphanumeric codes, or even biometric credentials, depending on the capabilities of the smart lock.
- Configure additional features: Depending on the smart lock model, there may be additional features that can be customized, such as auto-lock settings, temporary access permissions, or integration with other smart home devices.
- Test the lock’s functionality: Once the lock is reconfigured, it’s important to test its functionality. Try opening and locking the door using the newly created access codes or other authentication methods to ensure everything is working as expected.
Reconfiguring the smart lock for the new homeowner ensures that they have complete control and ownership of the device, with personalized settings and access codes. By following these steps, you can successfully set up the smart lock for the new homeowner and move forward to the final steps of the transfer process.
Step 5: Test the smart lock’s functionality
After reconfiguring the smart lock for the new homeowner, it’s essential to thoroughly test its functionality to ensure that everything is working smoothly. By conducting a comprehensive test, you can identify any potential issues or malfunctions and address them promptly. Here’s what you should do to test the smart lock:
- Confirm successful setup: Verify that the smart lock has been fully set up for the new homeowner and that all the desired settings and configurations are in place.
- Test locking and unlocking: Use the newly created access codes, key fobs, or other authentication methods to lock and unlock the door. Ensure that the lock responds promptly and accurately to your commands.
- Verify auto-lock feature: If the smart lock has an auto-lock feature, activate it and verify that the door automatically locks after a specified period of time.
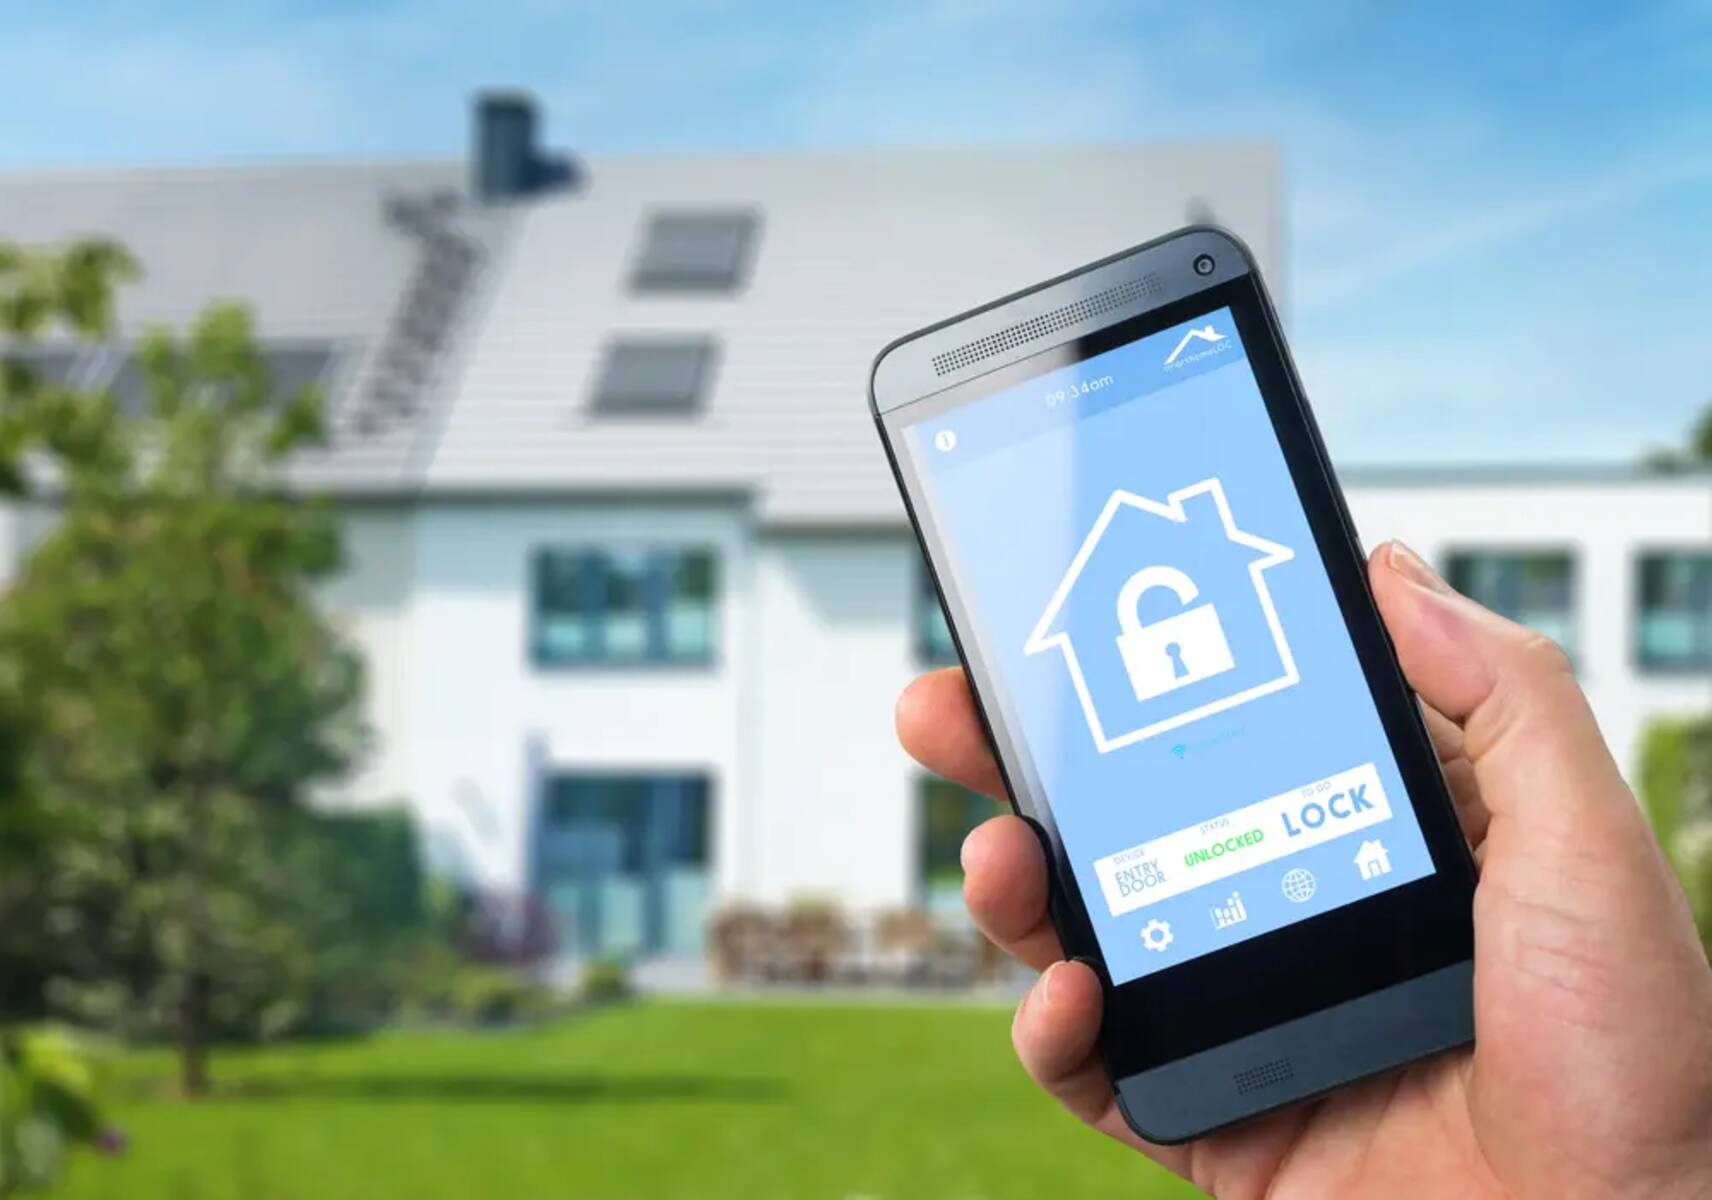
- Test remote access: If the smart lock is connected to a mobile app or a smart home system, test the ability to control the lock remotely. Try locking and unlocking the door using the app from a different location.
- Experiment with additional features: If your smart lock has any advanced features, such as guest access or integration with other smart devices, test those features to ensure they work as intended.
- Check battery life and indicator: If your smart lock is battery-powered, ensure that the batteries are adequately charged. Check the battery life indicator, if available, to monitor the battery level.
By thoroughly testing the smart lock’s functionality, you can provide reassurance to the new homeowner that the device is working correctly and can be relied upon for convenient and secure access to their new home. Once you have confirmed that the smart lock is functioning properly, you can proceed to the final step: providing the new homeowner with instructions and access codes.
Step 6: Provide the new homeowner with instructions and access codes
Now that the smart lock has been successfully tested and is fully functional, the final step in transferring the lock to the new homeowner is to provide them with clear instructions and access codes. This will ensure that they can confidently and securely use the smart lock to enter their new home. Here’s what you should do:
- Document and organize information: Gather all the necessary information and documentation related to the smart lock, including the lock model, serial number, user manuals, and any warranty or support details. Organize the information in a clear and easily accessible format.
- Create a user guide: Prepare a user-friendly guide that includes step-by-step instructions on how to operate the smart lock. Include details on how to lock and unlock the door using access codes, key fobs, or other authentication methods, as well as troubleshooting tips for common issues.
- Provide access codes: Share the access codes that have been set up for the new homeowner. This can be done in a secure manner, such as through a secure messaging platform or in person. Emphasize the importance of keeping the access codes confidential to maintain the security of their home.
- Explain maintenance and battery replacement: Provide guidelines on how to maintain the smart lock and replace batteries if necessary. Explain the expected battery life and how to access the battery compartment, ensuring they are well-informed about the lock’s maintenance requirements.
- Offer manufacturer support information: Provide the contact information for the smart lock manufacturer’s customer support or technical assistance. This will allow the new homeowner to reach out for any additional guidance or help they may need in the future.
- Answer any questions: Take the time to answer any questions the new homeowner may have regarding the smart lock’s operation, features, or any other related queries. Offer your assistance in getting them acquainted with their new smart lock.
By providing the new homeowner with comprehensive instructions and access codes, you ensure that they have all the necessary information to confidently and securely use the smart lock to access their new home. This marks the completion of the transfer process, and the new homeowner can now fully enjoy the benefits and convenience of their smart door lock.
Conclusion
Transferring a smart door lock to a new homeowner may seem like a daunting task, but by following the steps outlined in this guide, you can ensure a smooth and successful transition. From gathering necessary information to disconnecting the lock from the current homeowner’s account, resetting it to factory settings, reconfiguring it for the new homeowner, testing its functionality, and providing instructions and access codes, each step is crucial in ensuring a seamless transfer process.
Remember that the specific steps may vary depending on the brand and model of your smart lock, so it’s important to consult the manufacturer’s instructions and guidelines. By doing so, you can ensure that you are following the correct procedures to transfer ownership of the smart lock.
Transferring a smart door lock not only provides convenience and security to the new homeowner but also adds value to the home itself. Smart home technology is becoming increasingly popular, and having a smart door lock installed can be a selling point for potential buyers.
By following this guide and taking the necessary steps to transfer the smart door lock, you are not only helping the new homeowner seamlessly integrate the lock into their daily lives but also contributing to the overall success of the home sale and making a positive impact in the transition process.
Embrace the power of smart home technology and ensure a seamless transfer of ownership for the smart door lock to bring convenience, security, and peace of mind to the new homeowner.