What is a motherboard?
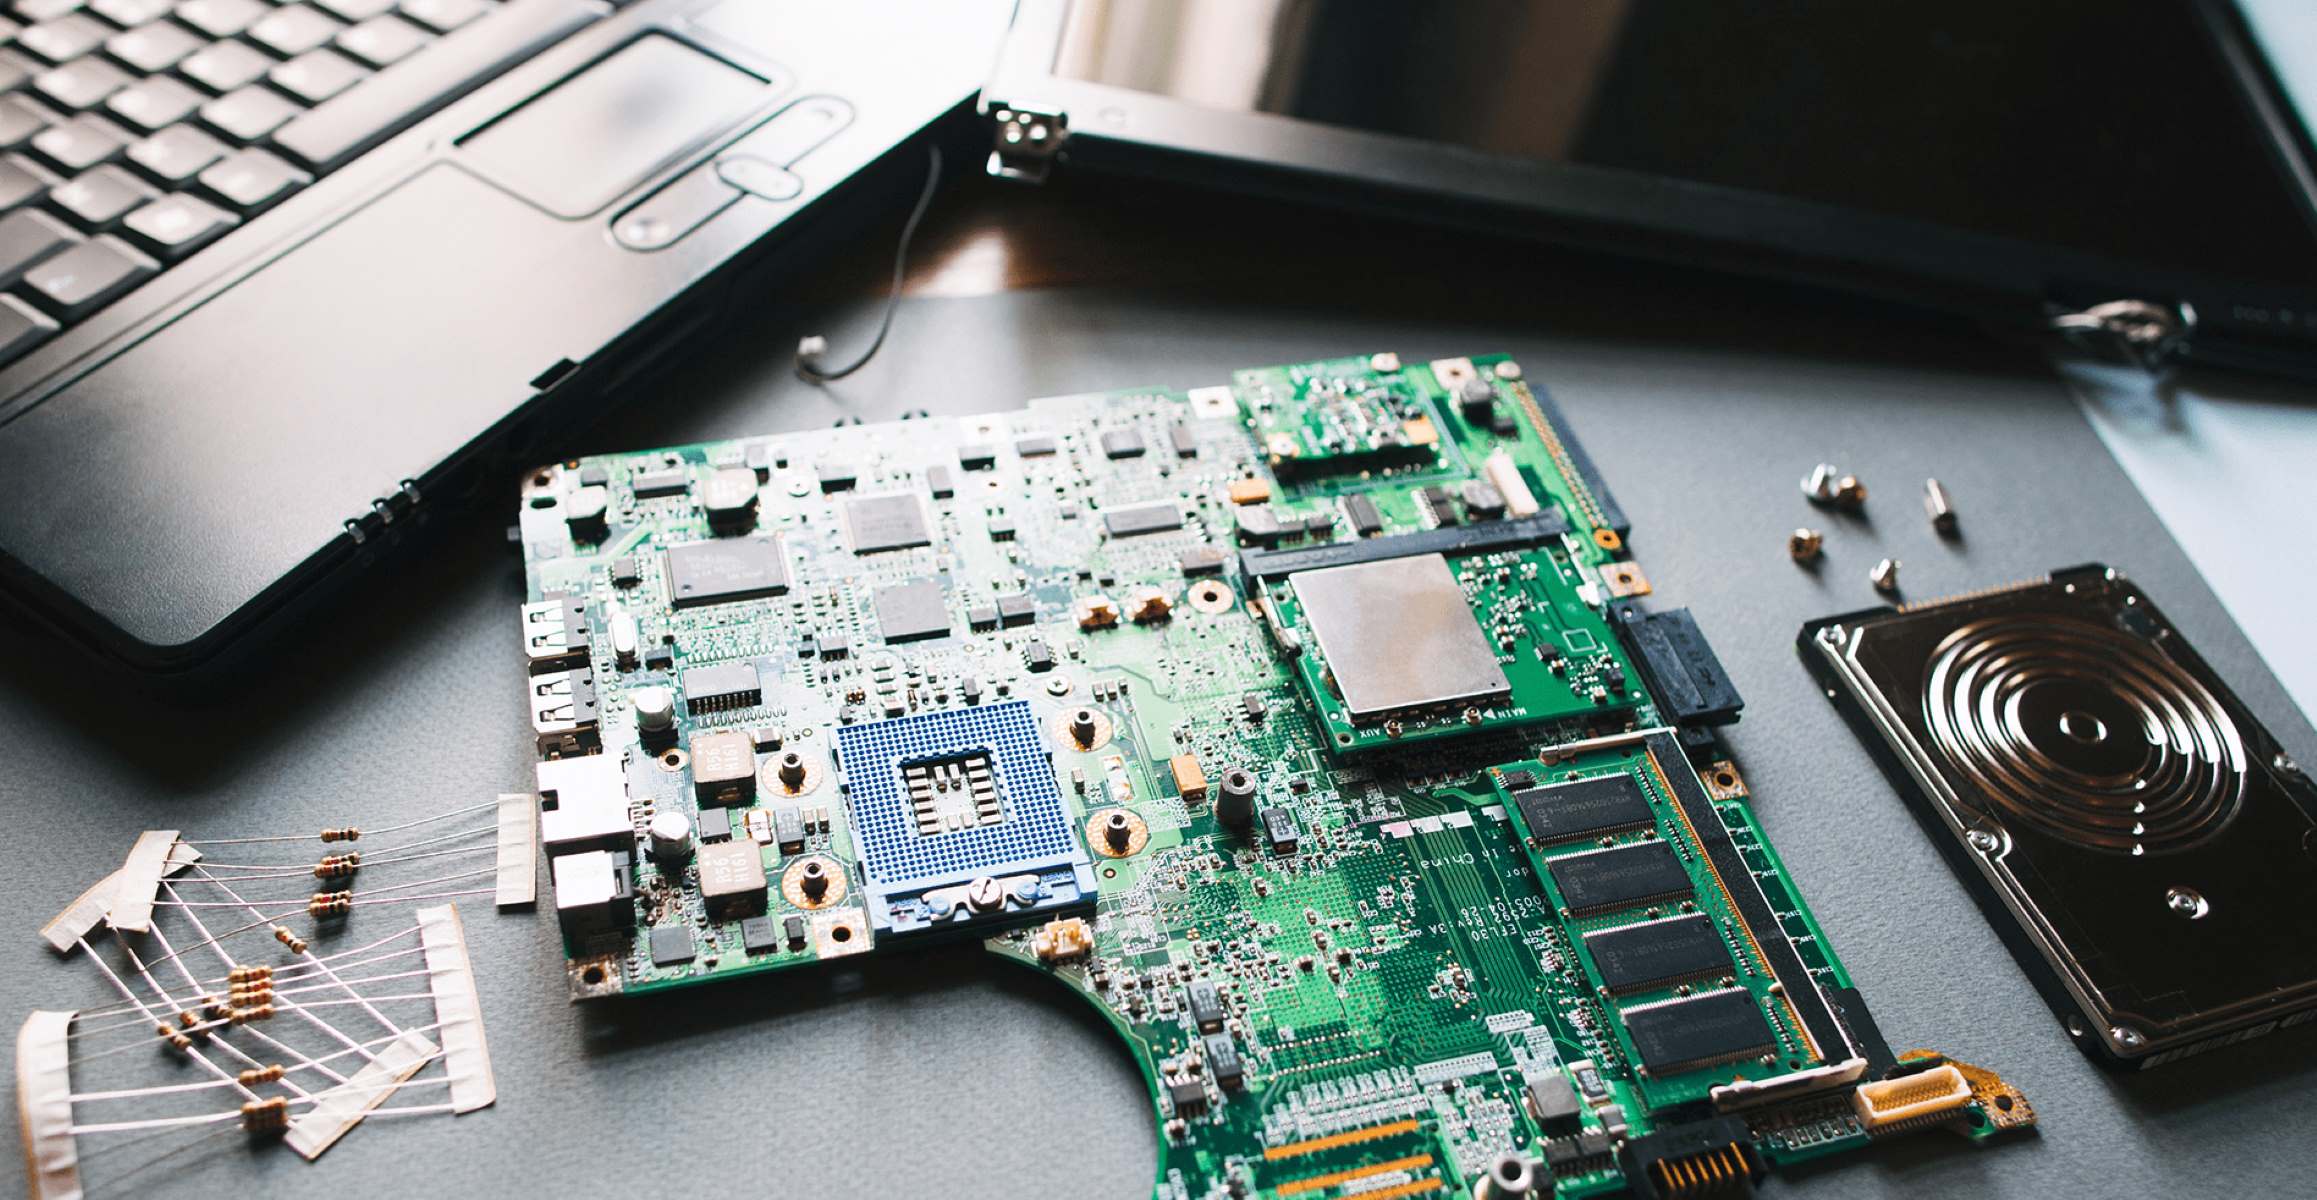
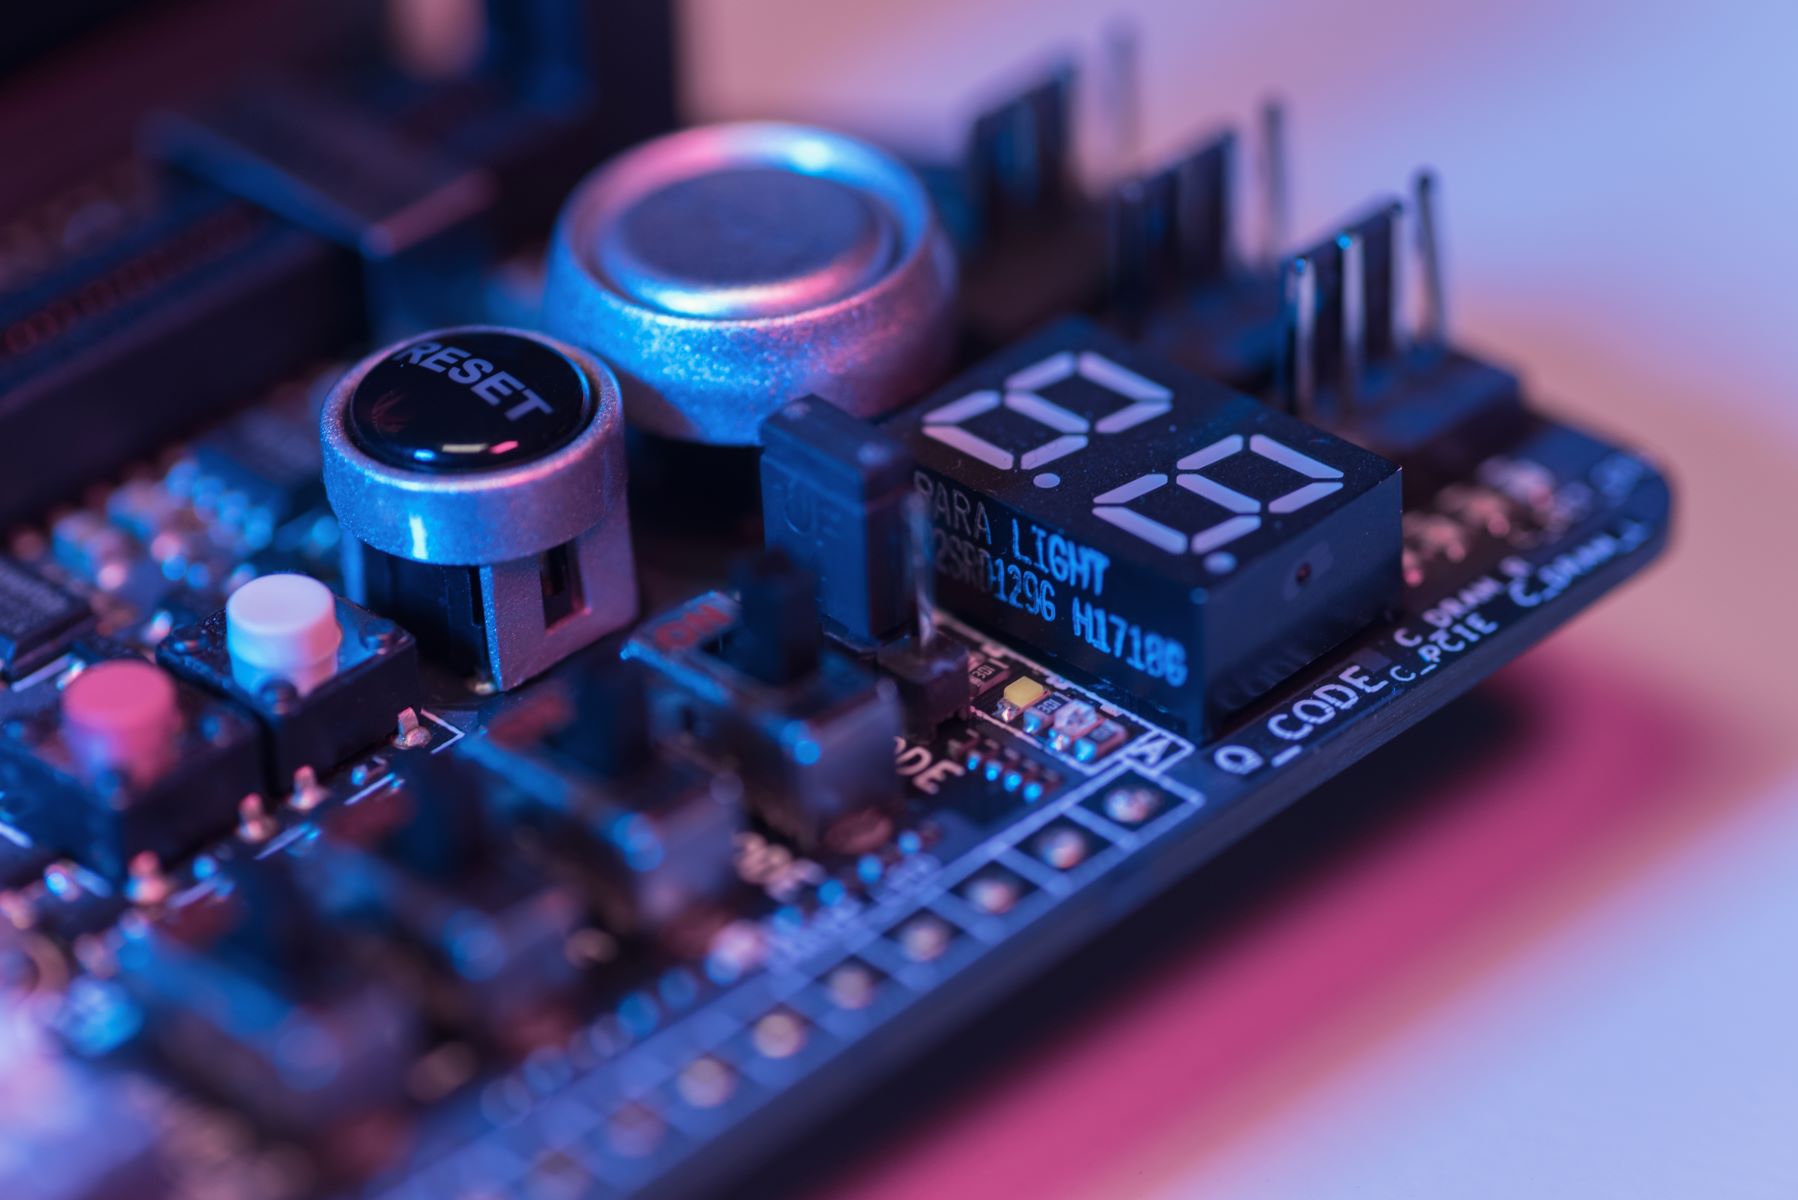
A motherboard, sometimes referred to as the mainboard or system board, is a crucial component in any computer system. It is a complex circuit board that serves as the central hub, connecting all the various components of a computer together.
The motherboard plays a vital role in the functioning of a computer. It houses the processor (CPU), memory (RAM), storage drives, expansion slots, and other essential components. It acts as a communication bridge, allowing these components to interact and work together to carry out tasks efficiently.
Essentially, the motherboard acts as the nervous system of the computer, facilitating the transfer of data and power between different parts of the system. It provides power to the various components, manages their communication, and enables them to function harmoniously.
Modern motherboards are designed to be compatible with specific CPU and memory types, offering different features and capabilities. They come in different form factors, such as ATX, MicroATX, and Mini-ITX, which determine their physical size and compatibility with computer cases.
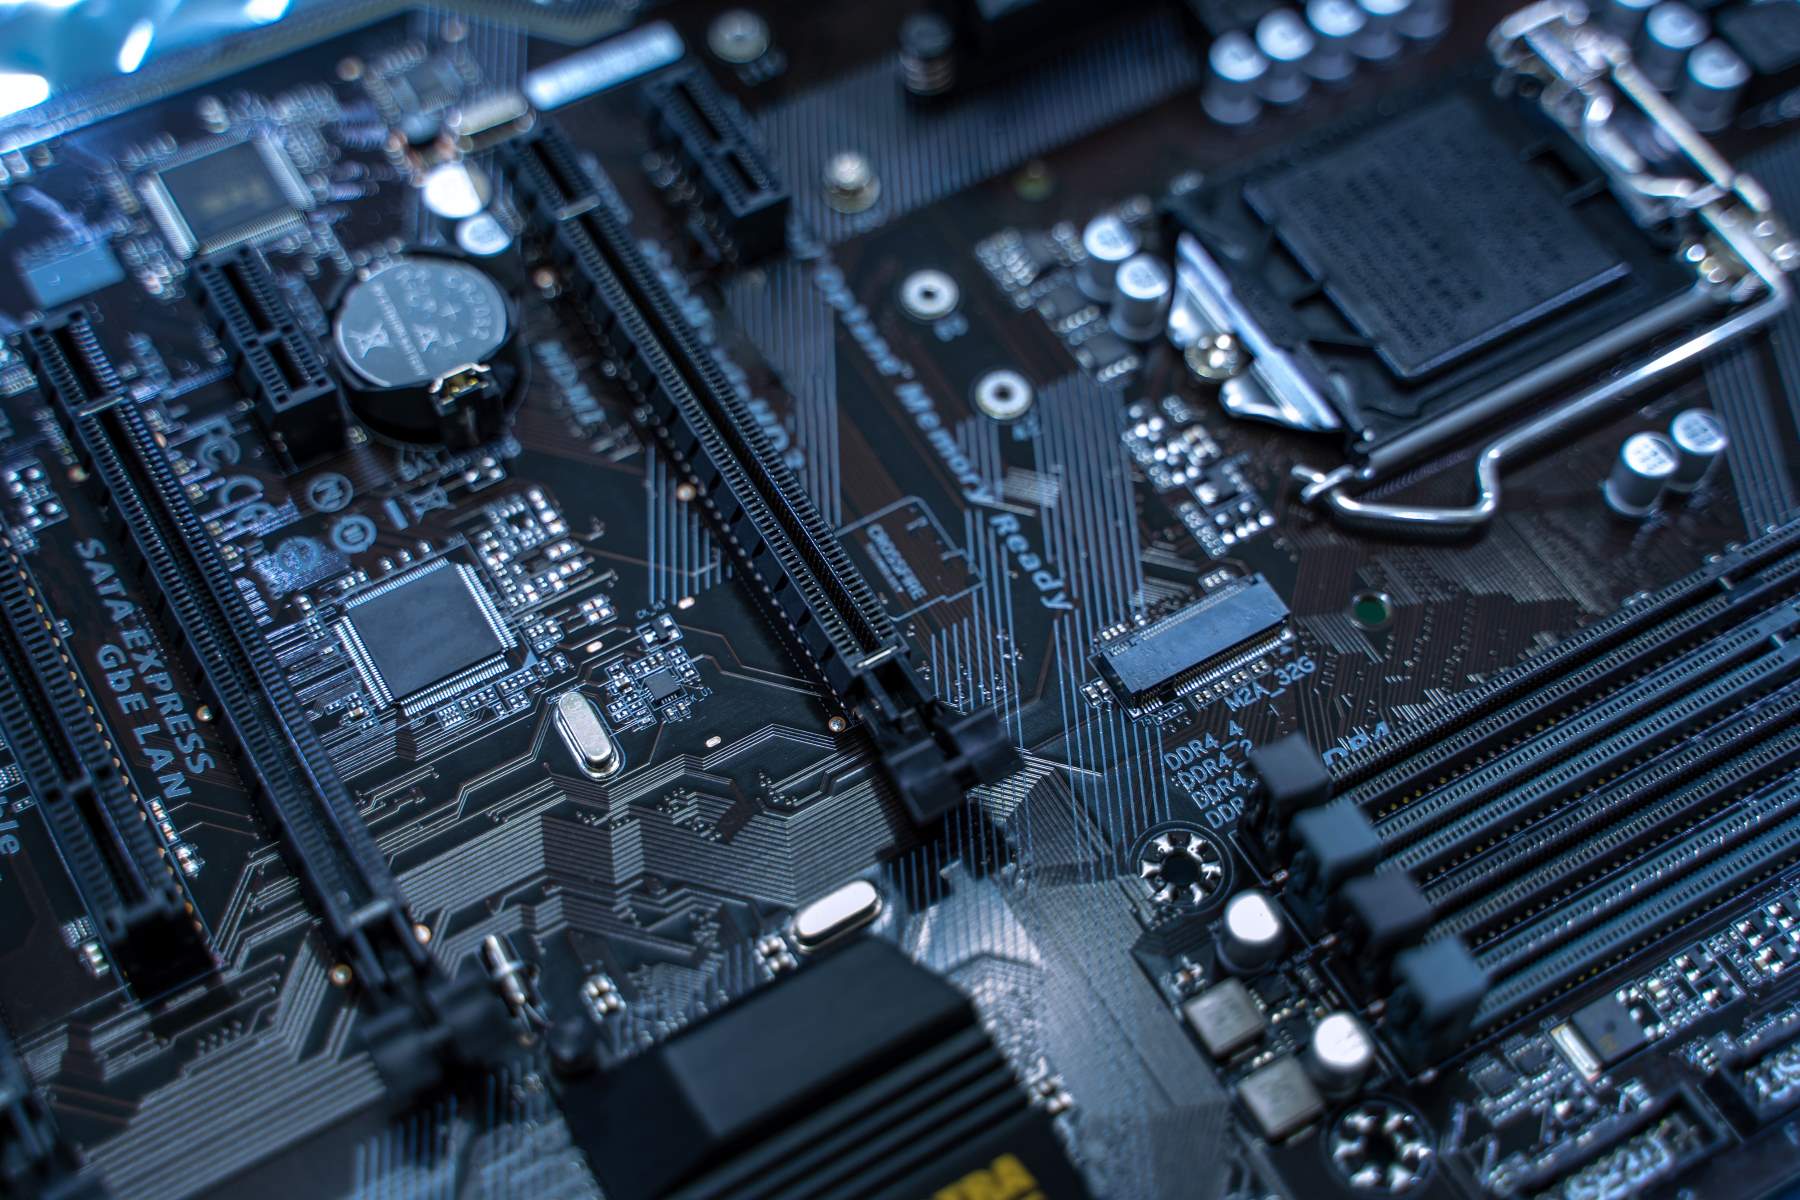
With advancements in technology, motherboards have evolved to offer a wide range of features, including multiple USB ports, audio and video outputs, Ethernet connectivity, and support for high-speed data transfer protocols like SATA and PCIe.
In summary, the motherboard is the central component that ties all the other parts of a computer system together. It provides the foundation for the system’s functionality and determines its compatibility with different hardware components.
Why would you need to reset your motherboard?
There are several reasons why you might need to reset your motherboard. It is a troubleshooting step that can help resolve various issues related to hardware or software conflicts, unstable system performance, or BIOS (Basic Input/Output System) settings that have been misconfigured. Here are a few common scenarios where resetting the motherboard can be beneficial:
- Fixing hardware conflicts: Sometimes, conflicts can arise between different hardware components on the motherboard. This can lead to unstable or unpredictable behavior, such as freezes, crashes, or devices not working properly. Resetting the motherboard can help resolve these conflicts by resetting the communication between the components.
- Resolving BIOS-related issues: The BIOS, which is firmware responsible for controlling hardware initialization and booting up the system, can sometimes become corrupted or misconfigured. This can lead to errors or issues during startup or while accessing certain features. Resetting the motherboard can reset the BIOS settings to their default values, potentially resolving these problems.
- Clearing CMOS memory: The CMOS (Complementary Metal-Oxide-Semiconductor) memory on the motherboard stores various settings related to the system configuration. If incorrect or incompatible settings are applied, it can cause issues with hardware detection, performance, or compatibility. Resetting the motherboard clears the CMOS memory, allowing it to be reconfigured properly.
- Overclocking issues: Overclocking is the process of increasing the clock speed of components to achieve higher performance. However, poorly optimized or unstable overclocking settings can lead to system crashes, blue screens, or other instabilities. Resetting the motherboard can revert the overclocking settings to default, providing a stable baseline for troubleshooting.
Resetting the motherboard is a powerful tool for troubleshooting, but it should be approached with caution, as it can result in the loss of customized BIOS settings or stored data. It is recommended to backup any important data and document any custom settings before proceeding with a reset.
Precautions before resetting your motherboard
Resetting your motherboard can be an effective troubleshooting step, but it is important to take certain precautions to ensure a smooth and safe process. Here are some essential precautions to consider before resetting your motherboard:
- Backup important data: Before resetting your motherboard, it is crucial to back up any important data or files that are stored on your computer. Resetting the motherboard may result in the loss of customized BIOS settings or stored data, so it is always wise to create a backup to avoid any potential data loss.
- Document customized BIOS settings: If you have made any modifications or customized settings in your BIOS, it is essential to document them. Take note of any overclocking settings, boot order configurations, or other changes you have made. This will make it easier to restore your settings after the reset.
- Disconnect power supply: Before performing any hardware-related tasks, it is crucial to disconnect the power supply from your computer. This will help prevent any accidental electrical discharge or damage to the components during the resetting process.
- Remove all external devices: Before resetting your motherboard, it is recommended to remove all external devices connected to your computer, such as USB drives, external hard drives, printers, or any other peripherals. This will minimize the chance of any interference or conflicts during the reset process.
- Refer to the motherboard manual: Every motherboard model may have specific instructions or requirements for resetting. It is always a good idea to refer to the motherboard manual or manufacturer’s website for detailed instructions on how to reset your particular motherboard model.
- Take note of jumper positions and battery removal: Depending on your motherboard model, there are different methods to reset the motherboard. Some motherboards have a jumper that needs to be moved temporarily, while others require removing the CMOS battery. Take note of the jumper positions or battery location before proceeding with the reset.
- Follow proper grounding procedures: To prevent any damage from static electricity, ensure that you are properly grounded before touching any internal components of your computer. Use an anti-static wrist strap or regularly touch a grounded metal surface to discharge any static electricity buildup.
By taking these precautions, you can minimize the risk of damage and ensure a smooth and successful reset of your motherboard. Remember to follow the instructions provided by your motherboard manufacturer for the specific steps to reset your motherboard model.
How to reset your motherboard
Resetting your motherboard can help resolve various hardware or software issues and restore its default settings. Here are several common methods to reset your motherboard:
- Using the motherboard jumper: Many motherboards have a jumper that can be used to reset the CMOS (Complementary Metal-Oxide-Semiconductor). Follow these steps:
- Refer to your motherboard manual to locate the CMOS jumper pins.
- Power off your computer and disconnect the power supply.
- Move the jumper from the default position (usually labeled “Normal” or “Default”) to the “Reset” or “Clear CMOS” position.
- Keep the jumper in the reset position for a few seconds.
- Put the jumper back to the default position.
- Reconnect the power supply and turn on your computer.
- Removing the CMOS battery: If your motherboard doesn’t have a jumper, you can also reset the CMOS by removing the CMOS battery:
- Power off your computer and disconnect the power supply.
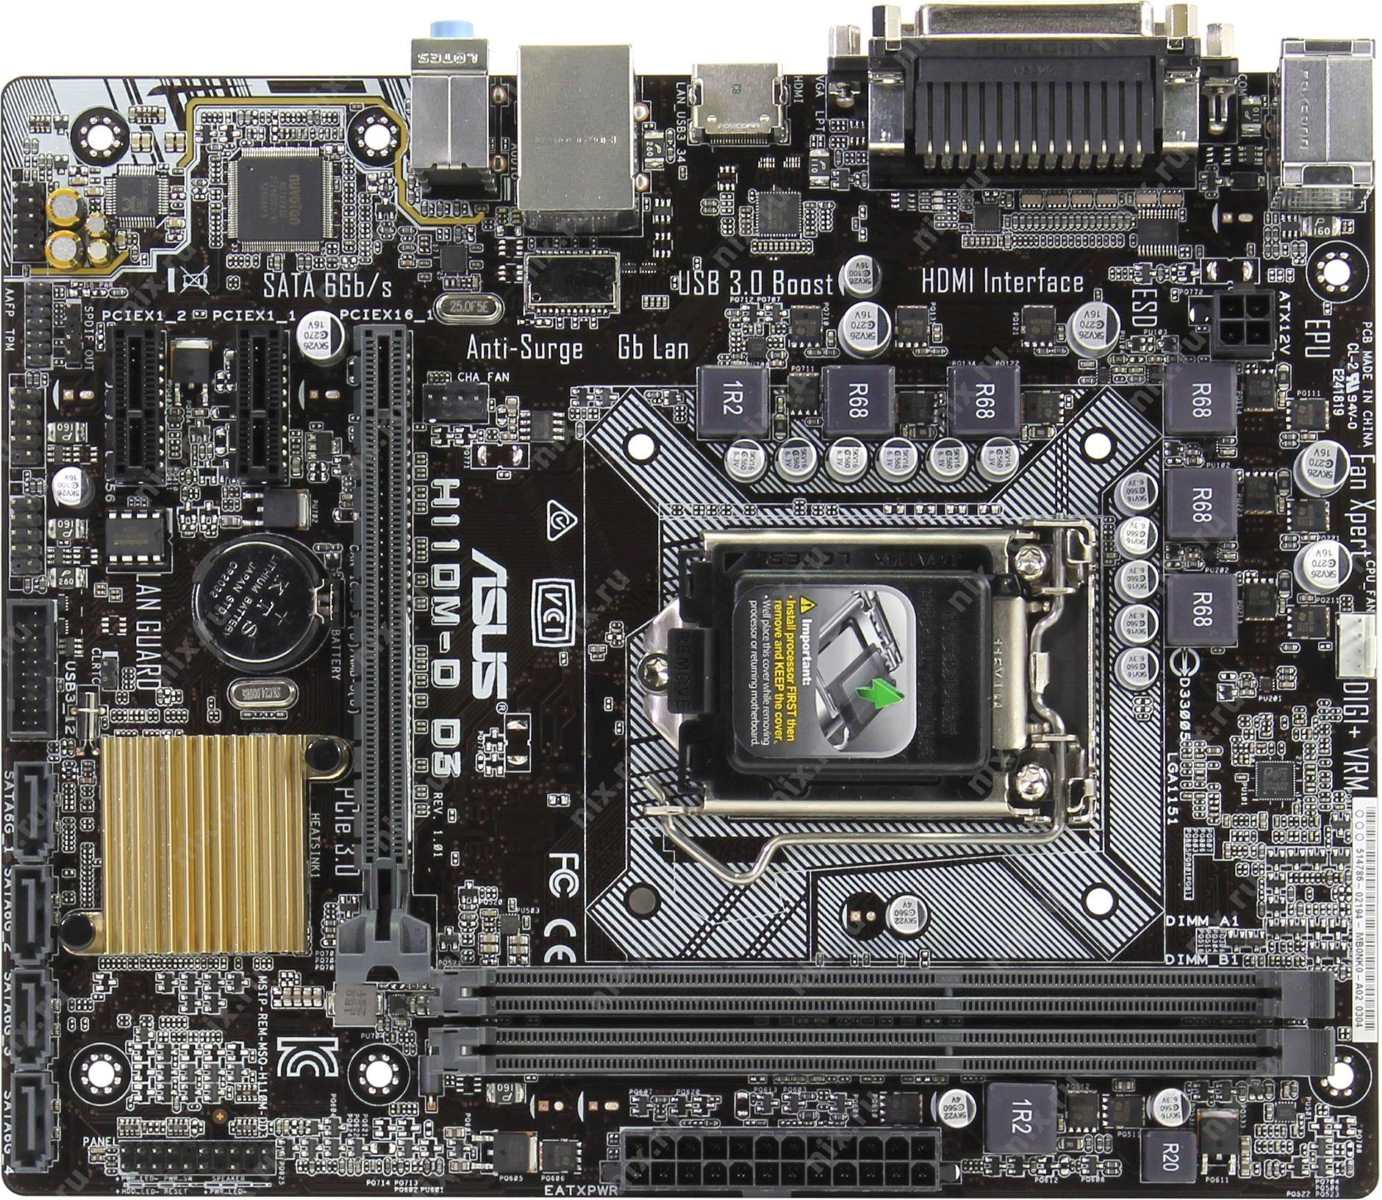
- Locate the CMOS battery on your motherboard. It is typically a small, round battery.
- Carefully remove the CMOS battery from its socket. Use your fingers or a non-metallic tool.
- Wait for approximately 5 minutes to ensure that the CMOS is completely reset.
- Insert the CMOS battery back into its socket.
- Reconnect the power supply and turn on your computer.
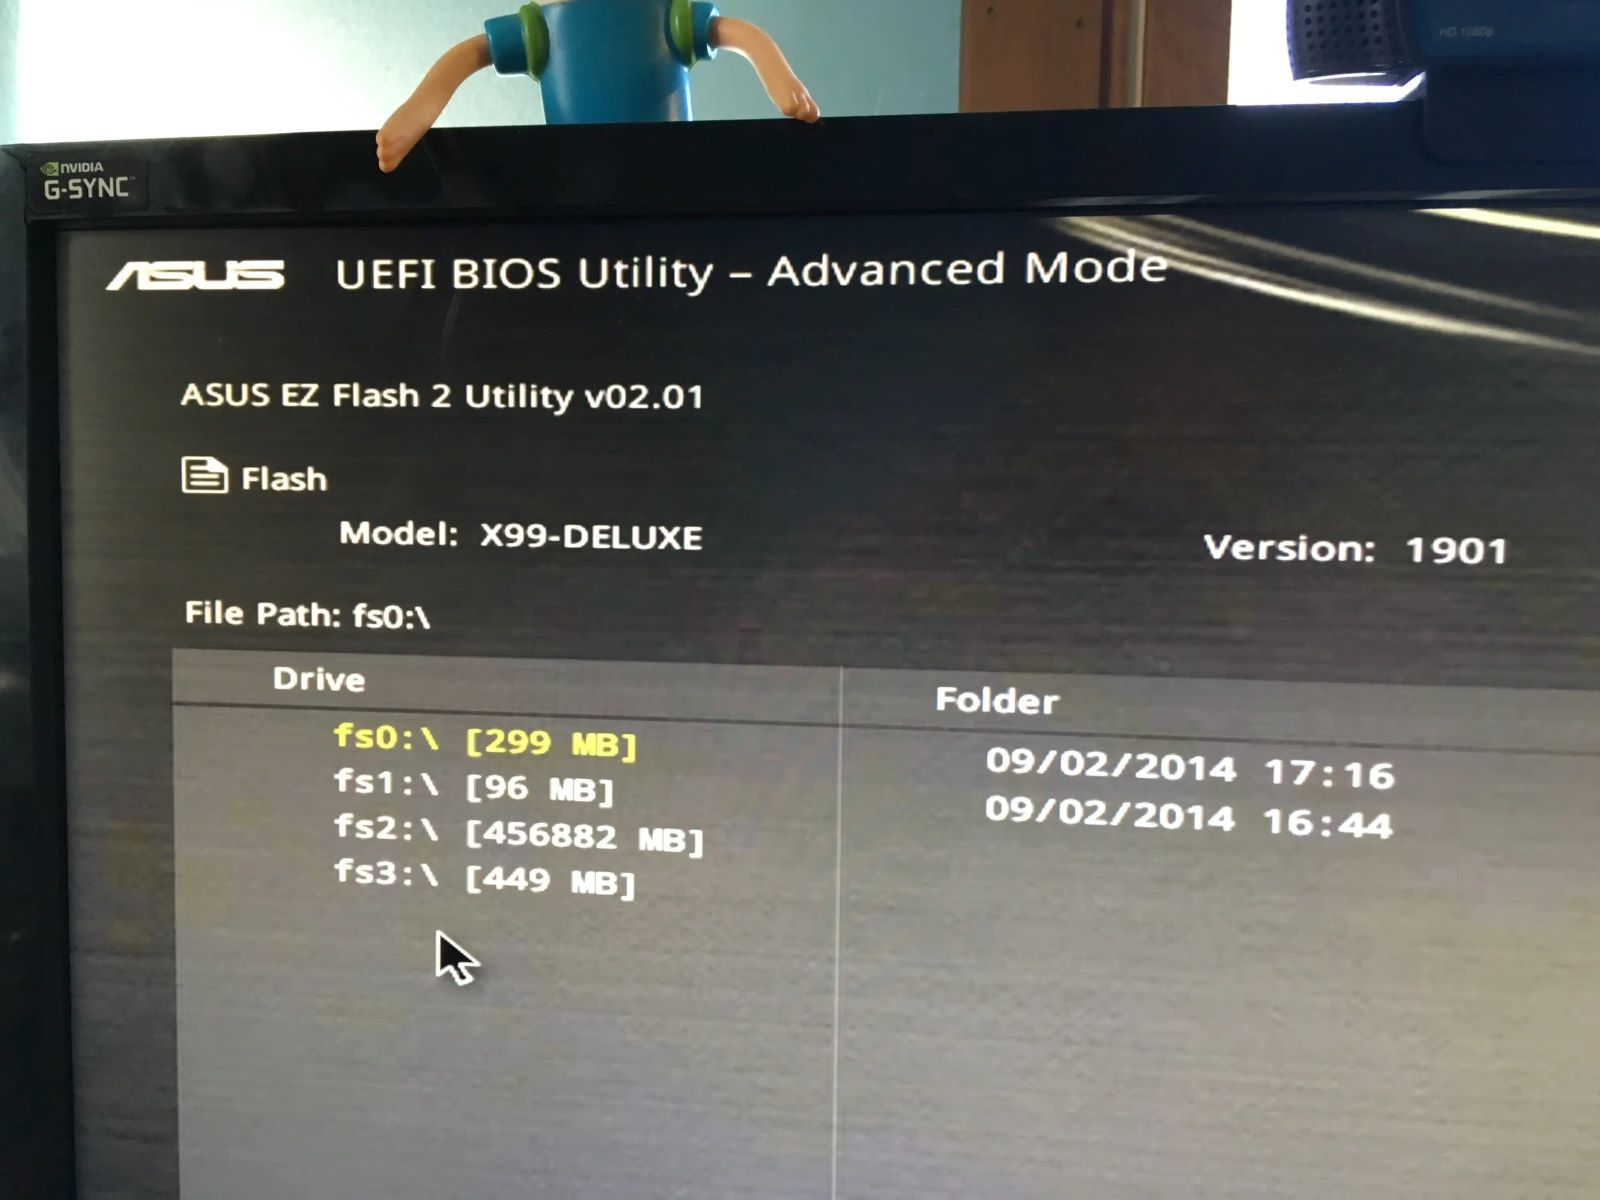
- Resetting BIOS settings to default: If you only want to reset the BIOS settings to their default values, you can do so by accessing the BIOS setup utility of your computer. Here’s how:
- Power on your computer and quickly press the key to enter the BIOS setup (usually Del, F2, or F10).
- Once in the BIOS setup, locate the option to restore or reset BIOS settings to default. It may be labeled as “Load Optimized Defaults” or “Reset to Default Settings.”
- Select the option and confirm the reset when prompted.
- Save the changes and exit the BIOS setup.
Remember to consult your motherboard manual or manufacturer’s website for specific instructions related to your motherboard model. Keep in mind that resetting your motherboard will revert settings to their default values, so you may need to reconfigure certain settings and preferences after the reset.
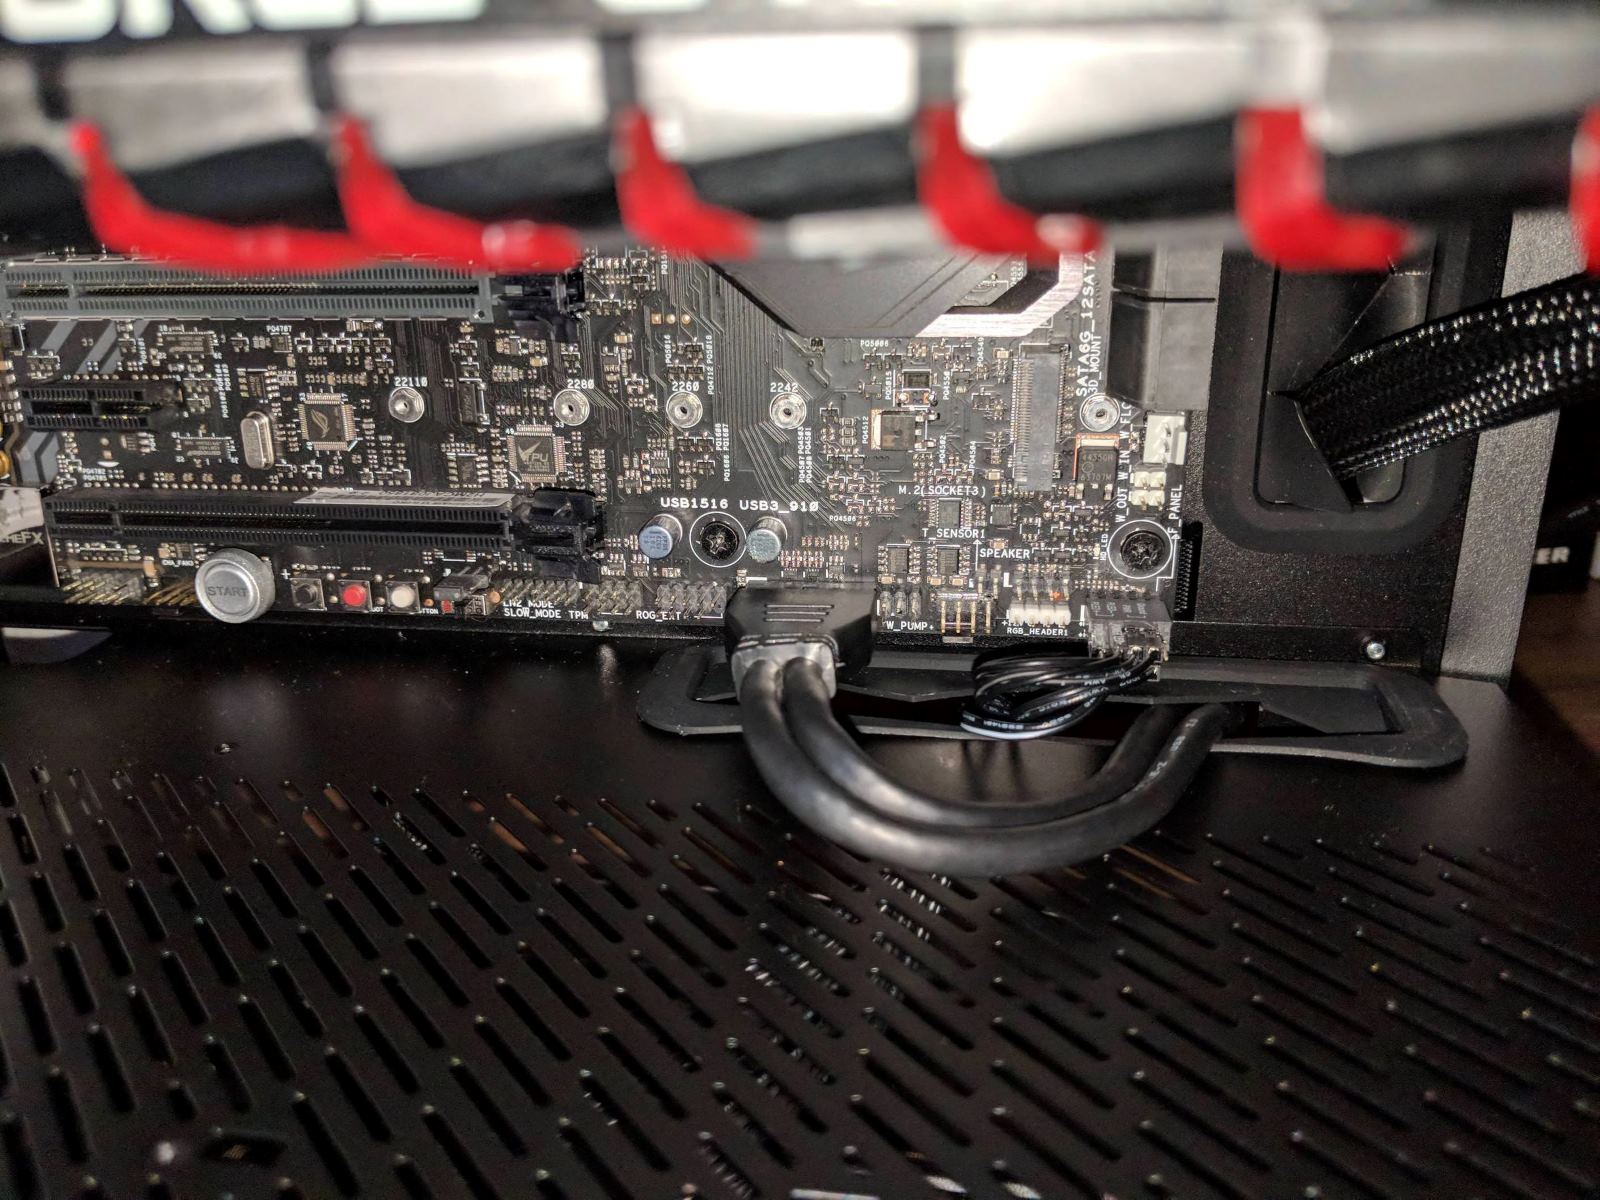
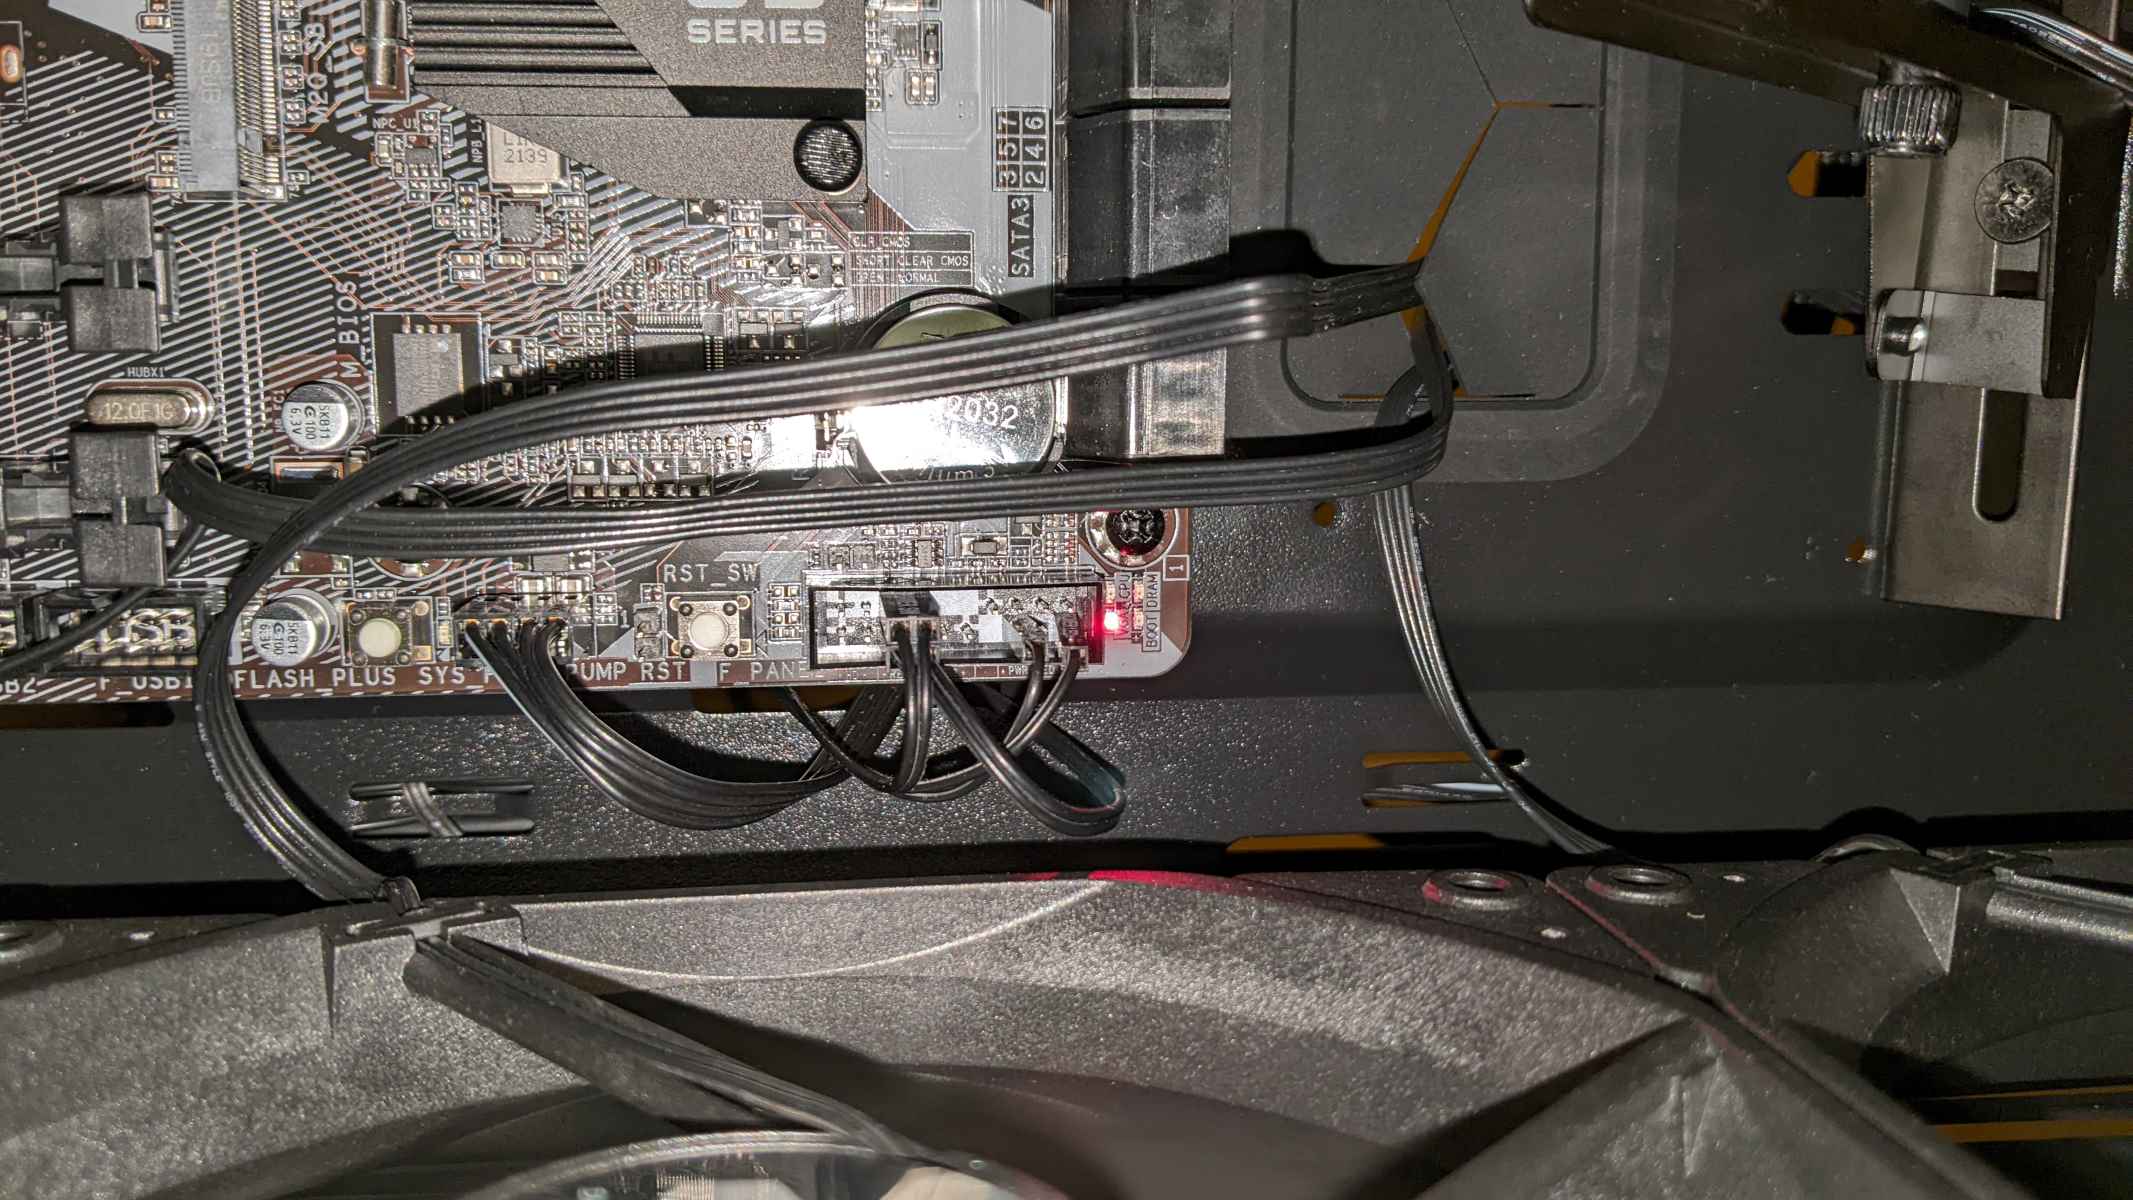
Steps to clear the CMOS using the motherboard jumper
Clearing the CMOS (Complementary Metal-Oxide-Semiconductor) using the motherboard jumper is a commonly used method to reset the BIOS settings. Follow these steps to clear the CMOS using the motherboard jumper:
- Refer to your motherboard manual to locate the CMOS jumper pins. They are usually labeled as “CLR_CMOS,” “CLR_CMOS1,” or similar.
- Power off your computer and disconnect the power supply to ensure safety.
- Locate the CMOS jumper on the motherboard. It consists of three pins, with a plastic jumper connector covering two of the pins.
- Take note of the current position of the CMOS jumper. It is typically set in the “Normal” or “Default” position.
- Remove the plastic jumper connector from its current position and place it over the other available pin as per the “Clear CMOS” label or instructions in the motherboard manual. You may need to use tweezers or a small tool to remove and place the jumper.
- Keep the CMOS jumper in the “Clear CMOS” position for a few seconds, ensuring a complete reset of the CMOS memory.
- After the desired time has passed, move the CMOS jumper back to the original position (the “Normal” or “Default” position).
- Reconnect the power supply and turn on your computer.
Following these steps will allow you to clear the CMOS and reset the BIOS settings on your motherboard. It is important to consult your motherboard manual or manufacturer’s website for specific instructions or variations related to your motherboard model.
Remember that clearing the CMOS will reset the BIOS settings to their default values. After clearing the CMOS, you may need to reconfigure certain settings and preferences in the BIOS setup utility, such as boot order, time and date, and hardware settings.
Steps to clear the CMOS by removing the battery
Clearing the CMOS (Complementary Metal-Oxide-Semiconductor) by removing the battery is another method you can use to reset the BIOS settings on your motherboard. Follow these steps to clear the CMOS using this method:
- Power off your computer and disconnect the power supply to ensure safety.
- Locate the CMOS battery on your motherboard. It is a small, round battery usually situated near the CPU socket or the expansion card slots.
- Carefully remove the CMOS battery from its socket. You can use your fingers or a non-metallic tool, such as a small plastic card, to gently pop it out.
- Wait for approximately 5 minutes to allow any residual electrical charge to dissipate, ensuring that the CMOS memory is completely cleared.
- After the waiting period, reinsert the CMOS battery back into its socket, ensuring it is properly aligned and firmly seated.
- Reconnect the power supply and turn on your computer.
By following these steps, you can effectively clear the CMOS by removing the battery on your motherboard. It is important to note that this method may differ slightly for different motherboard models.
Keep in mind that removing the CMOS battery will reset the BIOS settings to their default values. After clearing the CMOS, you may need to reconfigure various settings and preferences in the BIOS setup utility, such as boot order, time and date, and hardware settings, to match your requirements.
Refer to your motherboard manual or the manufacturer’s website for specific instructions and details on clearing the CMOS using this method for your particular motherboard model.
Steps to reset your BIOS settings to default
If you want to reset your BIOS settings to their default values without clearing the CMOS, you can do so within the BIOS setup utility. Follow these steps to reset your BIOS settings to default:
- Power on your computer and quickly press the key to enter the BIOS setup. The key to access the BIOS setup varies depending on the motherboard manufacturer but is usually Del, F2, or F10.
- Once in the BIOS setup, navigate through the menus using the arrow keys on your keyboard.
- Look for an option such as “Load Optimized Defaults,” “Reset to Default Settings,” or something similar. The wording may vary depending on your motherboard’s BIOS version.
- Select the option to load or reset the BIOS settings to default.
- Confirm the reset when prompted. This step is usually performed by pressing the Enter key, F9, or selecting “Yes” on a confirmation screen.
- Save the changes and exit the BIOS setup. This is typically done by selecting the “Save and Exit” or similar option.
- Your computer will reboot with the BIOS settings restored to their default values.
It’s important to note that resetting the BIOS settings to default may affect various configurations, such as boot order, peripheral settings, and CPU/DRAM frequencies. You may need to reconfigure these settings after the reset to match your requirements.
If you encounter any issues or are unsure about which settings to modify, refer to your motherboard manual or the manufacturer’s website for specific instructions and guidance on resetting the BIOS settings to default on your particular motherboard model.
Remember to proceed with caution when changing BIOS settings, as incorrect modifications can negatively impact the stability and performance of your computer.
Troubleshooting common issues after resetting the motherboard
After resetting your motherboard, you may encounter some common issues. Here are a few troubleshooting steps to help resolve these issues:
- Boot failure: If your computer fails to boot or shows a “No Boot Device” error message, check the boot order in the BIOS setup. Ensure that the correct boot device is selected as the primary boot option.
- Incorrect date and time: If the date and time in your operating system are incorrect after resetting the motherboard, access the BIOS setup and manually set the correct date and time. Save the changes and restart your computer.
- Hardware detection issues: If certain hardware components, such as USB devices or audio devices, are not being detected, check the BIOS settings to ensure that the appropriate ports are enabled. Update the drivers for the devices if necessary.
- Stability problems: If your computer experiences instability, such as frequent crashes or freezes, check the BIOS settings for any overclocking configurations. Reset them to the default values if necessary, or fine-tune the settings for more stable operation.
- Password or security issues: If you encounter password or security-related issues after resetting the motherboard, such as a forgotten BIOS password, refer to the motherboard manual for instructions on clearing or resetting the BIOS password.
- Compatibility issues: In some cases, resetting the motherboard may cause compatibility issues with certain hardware components or software applications. Check for BIOS updates from the motherboard manufacturer’s website and install them if available. Also, ensure that your hardware and software are compatible with each other and meet the system requirements.
If you continue to experience issues after trying these troubleshooting steps, it is recommended to seek further assistance from technical support or consult online forums for specific troubleshooting advice related to your motherboard model.
Remember to be patient and methodical when troubleshooting issues after resetting the motherboard. Take notes of any changes you make and document any error messages encountered to help narrow down the problem.
Conclusion
Resetting your motherboard can be an effective way to troubleshoot various issues and restore the default settings. Whether you need to resolve hardware conflicts, fix BIOS-related issues, or clear the CMOS memory, following the proper steps is essential for a successful reset.
By understanding the purpose of a motherboard and why you might need to reset it, you can make informed decisions and take precautions to protect your data and hardware. Backing up important data, documenting customized settings, and following safety measures are crucial steps before performing a reset.
Depending on your motherboard model, you can choose from different methods to reset the motherboard, such as using the motherboard jumper or removing the CMOS battery. Each method requires careful execution and following the manufacturer’s instructions to avoid any damage or loss of data.
After resetting the motherboard, you may need to reconfigure certain settings in the BIOS setup, such as boot order, date and time, and hardware configurations. It’s important to consult your motherboard manual for specific details and to seek assistance from the manufacturer’s support or online forums if you encounter any issues.
Overall, resetting your motherboard allows you to troubleshoot and resolve various issues related to hardware, software, and BIOS settings. With the right knowledge and precautions, you can successfully reset your motherboard and restore your computer’s functionality.
Remember to always approach motherboard resetting with caution and follow proper guidelines to minimize risks and achieve the best results.