Introduction
Welcome to our guide on how to reset a projector. Projectors are versatile devices used in various settings, such as classrooms, conference rooms, and home theaters. Over time, you may encounter situations where a projector is not functioning as expected. In such cases, performing a reset can often resolve the issue and restore the projector to its default settings.
A reset typically clears any customized settings and brings the projector back to its original state. This can be helpful if you are experiencing display issues, connectivity problems, or if you simply want to start fresh with your projector. Resetting a projector is a relatively straightforward process, and this guide will walk you through the step-by-step instructions.
Before we get started, it’s essential to note that different projector models may have slightly different menus and settings. While the overall process of resetting a projector remains similar in most cases, it’s always a good idea to consult your projector’s user manual for specific instructions for your particular model if you have it available.
In this guide, we will cover the necessary steps to perform a reset on a standard projector. We will also provide tips and troubleshooting suggestions to help you address any common issues that may arise during the reset process. So, without further ado, let’s get started with the first step of checking the connections.
Checking the Connections
Before attempting a reset, it’s crucial to ensure that all the necessary connections are secure. A loose or faulty connection can often be the cause of projector issues and may not require a reset. Follow these steps to check the connections:
- Power connection: Verify that the power cord is securely plugged into both the projector and a functional power outlet. If the projector has a separate power adapter, ensure it is connected properly.
- Video source: Check the cables connecting the video source (such as a laptop, Blu-ray player, or gaming console) to the projector. Make sure they are firmly plugged into the correct ports on both the projector and the video source device. Consider trying a different cable or input source to rule out any potential cable or device issues.
- Audio connection: If you are using external speakers or an audio system, confirm that the audio cables are securely connected to both the projector and the audio device. Adjust the audio settings on your projector to ensure the correct audio source is selected.
- Network connection: If your projector offers network connectivity, check the Ethernet cable or Wi-Fi connection. Make sure the cable is securely connected or that the Wi-Fi settings are properly configured and connected to the correct network.
- External devices: If you have any external devices connected to the projector, such as a DVD player or USB drive, double-check their connections and make sure they are functioning correctly. Test the devices separately to confirm that they are not causing any issues.
By carefully inspecting and ensuring that all the connections are secure, you may find that your projector issue is resolved without needing to perform a reset. However, if the problem persists or you have gone through the above steps and want to proceed with the reset, continue to the next section on powering on the projector.
Powering on the Projector
Once you have checked the connections and confirmed that everything is properly connected, it’s time to power on the projector. Follow these steps to ensure a successful power-on process:
- Locate the power button: Depending on the model, you may find the power button on the top, front, or side of the projector. Look for a button labeled “Power” or with a power symbol.
- Connect the power cord: If the projector is not already connected to a power source, plug in the power cord into a functional power outlet and then connect it to the projector.
- Press the power button: Press and hold the power button until you see the projector’s power indicator light turn on. This may take a few seconds, so be patient.
- Wait for the projector to initialize: Once the power indicator light is on, the projector will go through an initialization process. You may hear the fan running or see lights flashing as the projector prepares to display images.
- Check for the projected image: After the startup sequence, the projector should display an image on the screen or wall. If you don’t see anything, make sure the input source is properly selected on the projector or try changing the input source to see if that resolves the issue.
If the projector doesn’t power on or you encounter any error messages or unusual behavior during the power-on process, refer to your projector’s user manual for troubleshooting tips. It’s also a good idea to ensure that the power source is working correctly and that the projector’s power cord is not damaged or faulty.
Powering on the projector is an essential step in the reset process, as it allows you to access the menu settings and perform the necessary reset procedure. Once the projector is successfully powered on, we can move on to the next section on accessing the menu settings.
Accessing the Menu Settings
After powering on the projector, the next step is to access the menu settings. The menu settings allow you to navigate through various options and make changes to the projector’s configuration. Follow these steps to access the menu settings:
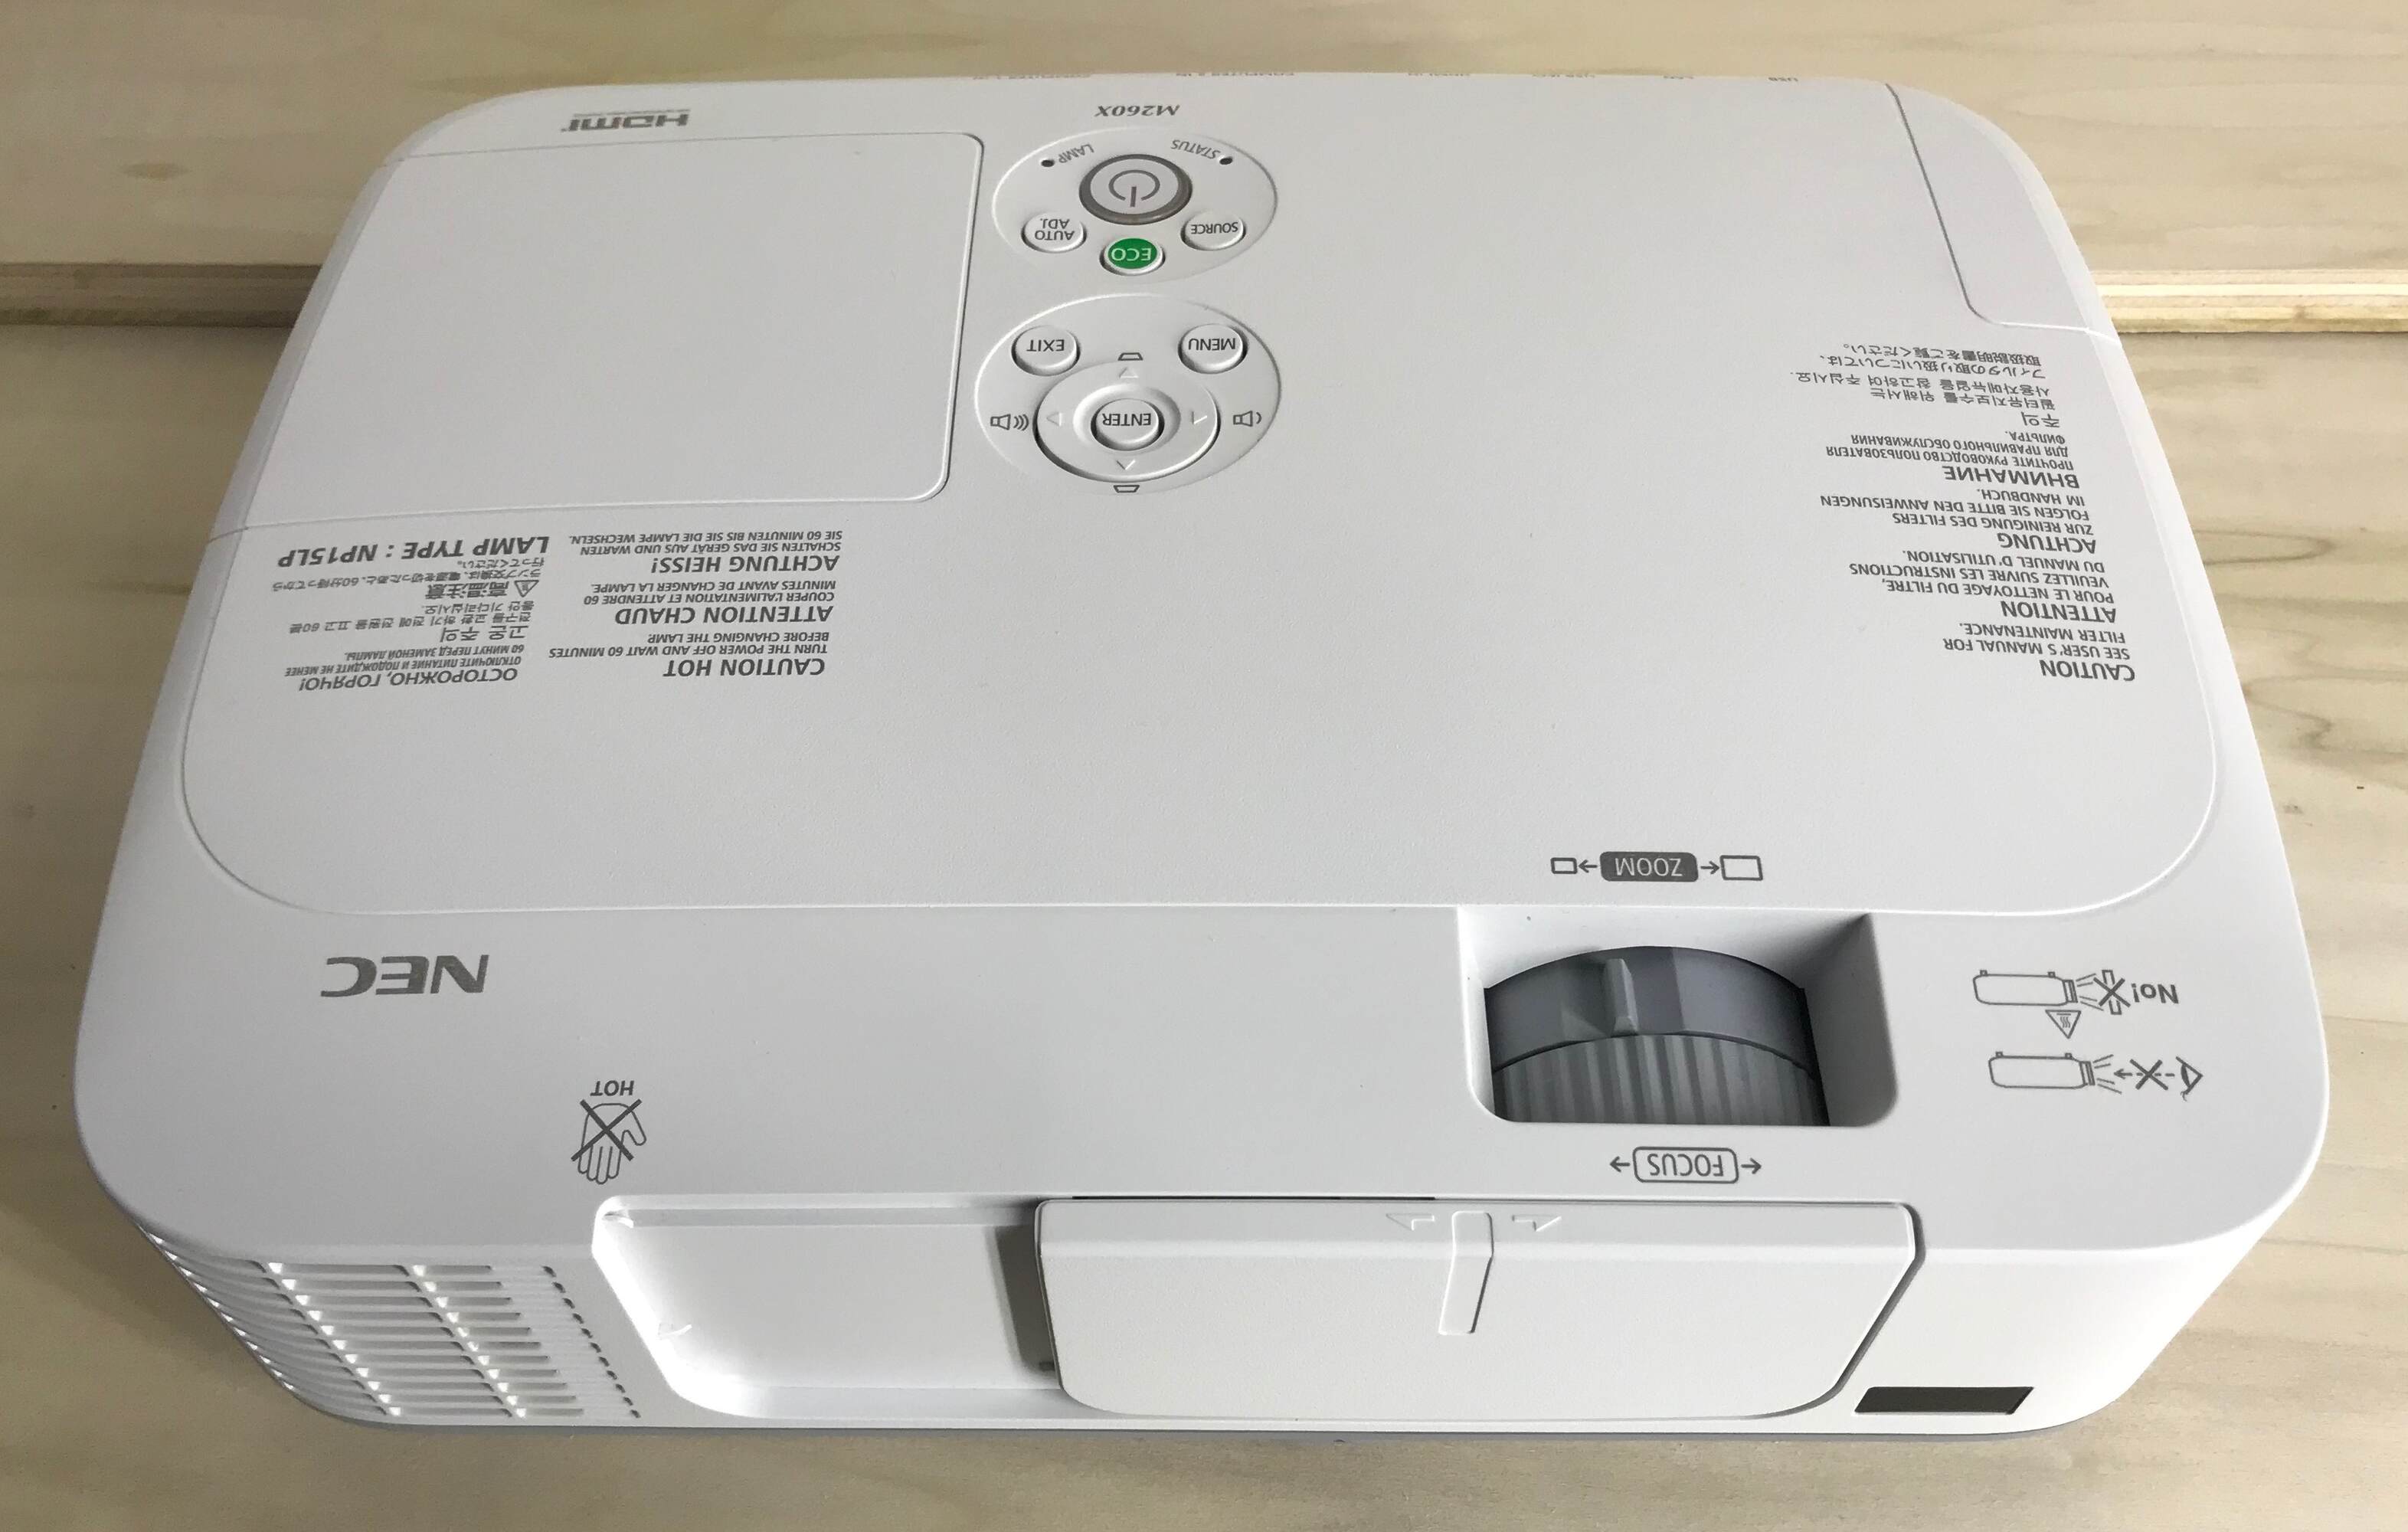
- Locate the menu button: Look for a button on the projector or the remote control labeled “Menu” or with a menu icon. Press this button to open the menu settings.
- Use the navigation buttons: Once the menu settings are open, you will typically see a list of options or categories. Use the navigation buttons on the projector or the remote control, such as arrow keys or a joystick, to move up, down, left, or right within the menu.
- Select the desired category: Navigate to the category that includes the reset or factory settings option. This category may be labeled as “Settings,” “Configuration,” or something similar. The exact location and name of the reset option may vary depending on the projector model.
- Enter the sub-menu: Once you have selected the appropriate category, press the “Enter” or “OK” button on the projector or the remote control to enter the sub-menu.
At this point, you should have accessed the menu settings and entered the sub-menu that includes the reset or factory settings option. The next section will cover how to navigate through the menu options and perform a factory reset. This process may slightly differ depending on the projector model, so consult your projector’s user manual if you encounter any difficulties or cannot locate the reset option.
Navigating through the Menu
Once you have accessed the menu settings and entered the sub-menu that includes the reset or factory settings option, you will need to navigate through the menu to locate the specific reset option. The steps for navigating through the menu may vary depending on your projector model, but here are some general guidelines to help you:
- Use the navigation buttons: Use the arrow keys or a joystick on the projector or the remote control to move up, down, left, or right within the menu. The navigation buttons allow you to highlight different menu options.
- Read the menu options: Take your time to read the available menu options on each screen. Look for options related to settings, configuration, or system setup in order to locate the reset or factory settings.
- Enter sub-menus: Some menu options may have sub-menus with additional settings. If you encounter a sub-menu, enter it by pressing the “Enter” or “OK” button on the projector or the remote control.
- Navigate through sub-menus: Similar to the main menu, use the navigation buttons to move through the sub-menu options and locate the reset option.
- Confirm the reset option: Once you have located the reset or factory settings option, select it and confirm your choice. This may involve pressing a button like “OK,” “Enter,” or “Reset” on the projector or the remote control.
Keep in mind that the exact navigation process may vary depending on your projector model. If you have trouble locating the reset option or experience any difficulties while navigating through the menu settings, consult your projector’s user manual for specific instructions.
In the next section, we will cover the steps to perform a factory reset once you have successfully located the reset option in the menu settings.
Performing a Factory Reset
Once you have located the reset or factory settings option in the menu settings, you are ready to perform a factory reset. The factory reset will restore your projector to its original default settings. Follow these steps to perform a factory reset:
- Select the reset option: In the menu settings, highlight the reset or factory settings option. Use the navigation buttons to navigate to it and press the “Enter” or “OK” button to select it.
- Confirm the reset: After selecting the reset option, a confirmation prompt may appear asking you to confirm the reset. Read the prompt carefully to ensure you understand that performing the reset will erase any customized settings and restore the projector to its factory defaults. If you are confident in your decision, select “Yes” or a similar option to proceed with the reset.
- Wait for the reset: Once you have confirmed the reset, the projector will begin the reset process. This may take a few moments as the projector clears the settings and reverts to the default configuration.
- Power cycle the projector: After the reset is complete, it’s recommended to power off the projector and wait for a few seconds before turning it back on. This helps ensure that the reset takes effect and the projector starts up in the default settings.
It’s important to note that performing a factory reset erases any customized settings and returns the projector to its original state. This includes settings like image adjustments, aspect ratio, network configuration, and input sources. Therefore, it’s crucial to take note of any custom settings you would like to reapply after the reset.
If you encounter any issues during the factory reset process or if the projector does not respond as expected after the reset, consult your projector’s user manual or contact the manufacturer’s support for further assistance.
In the next section, we will explore adjusting the display settings to optimize your projector’s image quality.
Adjusting the Display Settings
After performing a factory reset or if you simply want to fine-tune your projector’s image quality, adjusting the display settings can greatly enhance your viewing experience. Here are some key settings to consider:
- Brightness and contrast: These settings control the overall luminance and differentiation between light and dark areas. Adjust them based on your viewing environment and personal preference, ensuring the image is clear and balanced.
- Color temperature: This setting determines the warmth or coolness of the image’s color tones. Choose a color temperature that suits your content and provides a natural and pleasing viewing experience.
- Aspect ratio: Adjust the aspect ratio to match the native resolution of your content. The standard aspect ratios are 4:3 for older content and 16:9 for widescreen content. Select the appropriate aspect ratio to avoid distortion or cropping of the image.
- Image sharpness: Fine-tune the image sharpness to enhance the level of detail in the projected image. Avoid setting it too high, as it can result in over-sharpened or unnatural-looking visuals.
- Keystone correction: If your projector is not placed perfectly perpendicular to the projection surface, keystone correction allows you to adjust the image geometry and minimize distortion. Use vertical and horizontal keystone settings to align the image and maintain its proper proportions.
Each projector model may have a slightly different menu structure for adjusting these display settings. Refer to your projector’s user manual for specific instructions on accessing and modifying these settings. Additionally, you may also explore advanced image adjustment options, such as color saturation, gamma correction, and noise reduction, to further enhance the projected image.
Remember to make gradual adjustments and observe the changes in real-time to find the optimal settings for your specific viewing environment and personal preference. Take the time to calibrate your projector’s display settings to achieve vibrant colors, accurate tones, and a crisp image quality.
In the next section, we will delve into the process of calibrating your projector for the best possible performance.
Calibrating the Projector
Calibrating your projector is a crucial step to ensure accurate and optimal image quality. By calibrating the projector, you can achieve more accurate colors, better contrast, and an overall improved viewing experience. Here are some steps to help you calibrate your projector:
- Use a calibration disc: A calibration disc provides test patterns and instructions to help you adjust various settings on your projector. It can help you fine-tune parameters like brightness, contrast, color accuracy, and sharpness. Follow the instructions provided with the calibration disc to make adjustments accordingly.
- Adjust color settings: Use the color settings in your projector’s menu to refine the color accuracy. Aim for natural-looking skin tones and vibrant but not oversaturated colors. Use the color temperature setting to achieve a desired warmth or coolness in the image.
- Utilize test patterns: Many calibration discs have test patterns that can help you adjust sharpness, aspect ratio, and keystone correction. Use these patterns to fine-tune the image until it appears sharp, properly proportioned, and distortion-free.
- Consider ambient lighting: The lighting conditions in your viewing environment can have a significant impact on the perceived image quality. Adjust the projector’s brightness and contrast settings according to the ambient lighting to ensure optimal visibility and image clarity.
- Take advantage of advanced settings: Some projectors offer advanced settings for advanced calibration, such as color management systems (CMS), gamma correction, and noise reduction. Familiarize yourself with these settings and experiment with them to achieve the desired image quality.
It’s important to note that calibration may require some patience and trial-and-error. Take the time to make small adjustments and observe the changes in the displayed image. Consider using visual reference materials, such as photographs or movies with known color accuracy, to help guide your calibration process.
If you are unsure about calibrating the projector yourself, there are professionals and calibration services available that can assist you in achieving the best results. Professional calibration can provide accurate color reproduction and advanced adjustments for your specific projector model.
By calibrating your projector, you can ensure that it delivers the best possible image quality, bringing your viewing experience to a whole new level.
In the next section, we will discuss common reset issues and troubleshoot potential problems you may encounter along the way.
Troubleshooting Common Reset Issues
While resetting a projector can often resolve various issues, there can be instances where you may encounter certain problems. Here are some common reset issues and troubleshooting suggestions:
- Projector not powering on: If the projector doesn’t power on after the reset, ensure that the power source is functional and the power cord is securely connected. A faulty power outlet or a damaged power cord can prevent the projector from powering on. Try connecting the projector to a different outlet or using a different power cord if available.
- No image or projected image issues: If you don’t see any image or experience issues with the projected image after the reset, ensure that the correct input source is selected. Double-check the video and audio connections to ensure they are properly secured and undamaged. Try using a different video source or cable to rule out any potential issues with the devices or cables.
- Menu settings not accessible: If you have trouble accessing the menu settings to perform a reset, confirm that you are using the correct button or method to access the menu. Consult your projector’s user manual for specific instructions on how to access the menu settings. Additionally, powering off the projector, disconnecting the power source for a few minutes, and then reconnecting it may help reset the menu settings and allow access.
- Reset not resolving the issue: If the reset does not resolve the problem you’re facing with your projector, there may be an underlying hardware or software issue. In such cases, it’s recommended to consult the manufacturer’s support or seek professional assistance for further troubleshooting and repairs.
It’s important to note that specific troubleshooting steps may vary based on your projector model. Consulting your projector’s user manual or contacting the manufacturer’s support can provide you with more specific guidance tailored to your projector’s features and functionalities.
Remember to always exercise caution and follow safety guidelines when troubleshooting or attempting any repairs. Adhere to the recommended procedures provided by the manufacturer to avoid causing further damage to your projector or personal injury.
In the next section, we will conclude our guide on how to reset a projector and summarize the key points discussed throughout the article.
Conclusion
Resetting a projector can be a useful troubleshooting step to resolve various issues and restore the default settings. In this guide, we have covered the essential steps to reset a projector, starting from checking the connections to navigating through the menu settings and performing a factory reset. We have also discussed the importance of adjusting the display settings and calibrating the projector for optimal image quality.
Throughout the process, it’s important to consult your projector’s user manual for specific instructions and to take note of any customized settings before performing a reset. Additionally, troubleshooting common reset issues and seeking professional assistance, if needed, can help resolve any challenges that may arise during the reset process.
Remember to exercise caution when working with your projector and always follow safety guidelines to prevent damage to the projector or personal injury. By following the steps outlined in this guide and utilizing the tips provided, you can effectively reset your projector and enjoy a seamless and enhanced viewing experience.
We hope that this guide has been helpful in guiding you through the process of resetting a projector. Whether you are a classroom presenter, business professional, or home theater enthusiast, knowing how to perform a reset can save you time and frustration when dealing with projector issues. Now go ahead and successfully reset your projector, and enjoy a crisp and vibrant display once again!


