Introduction
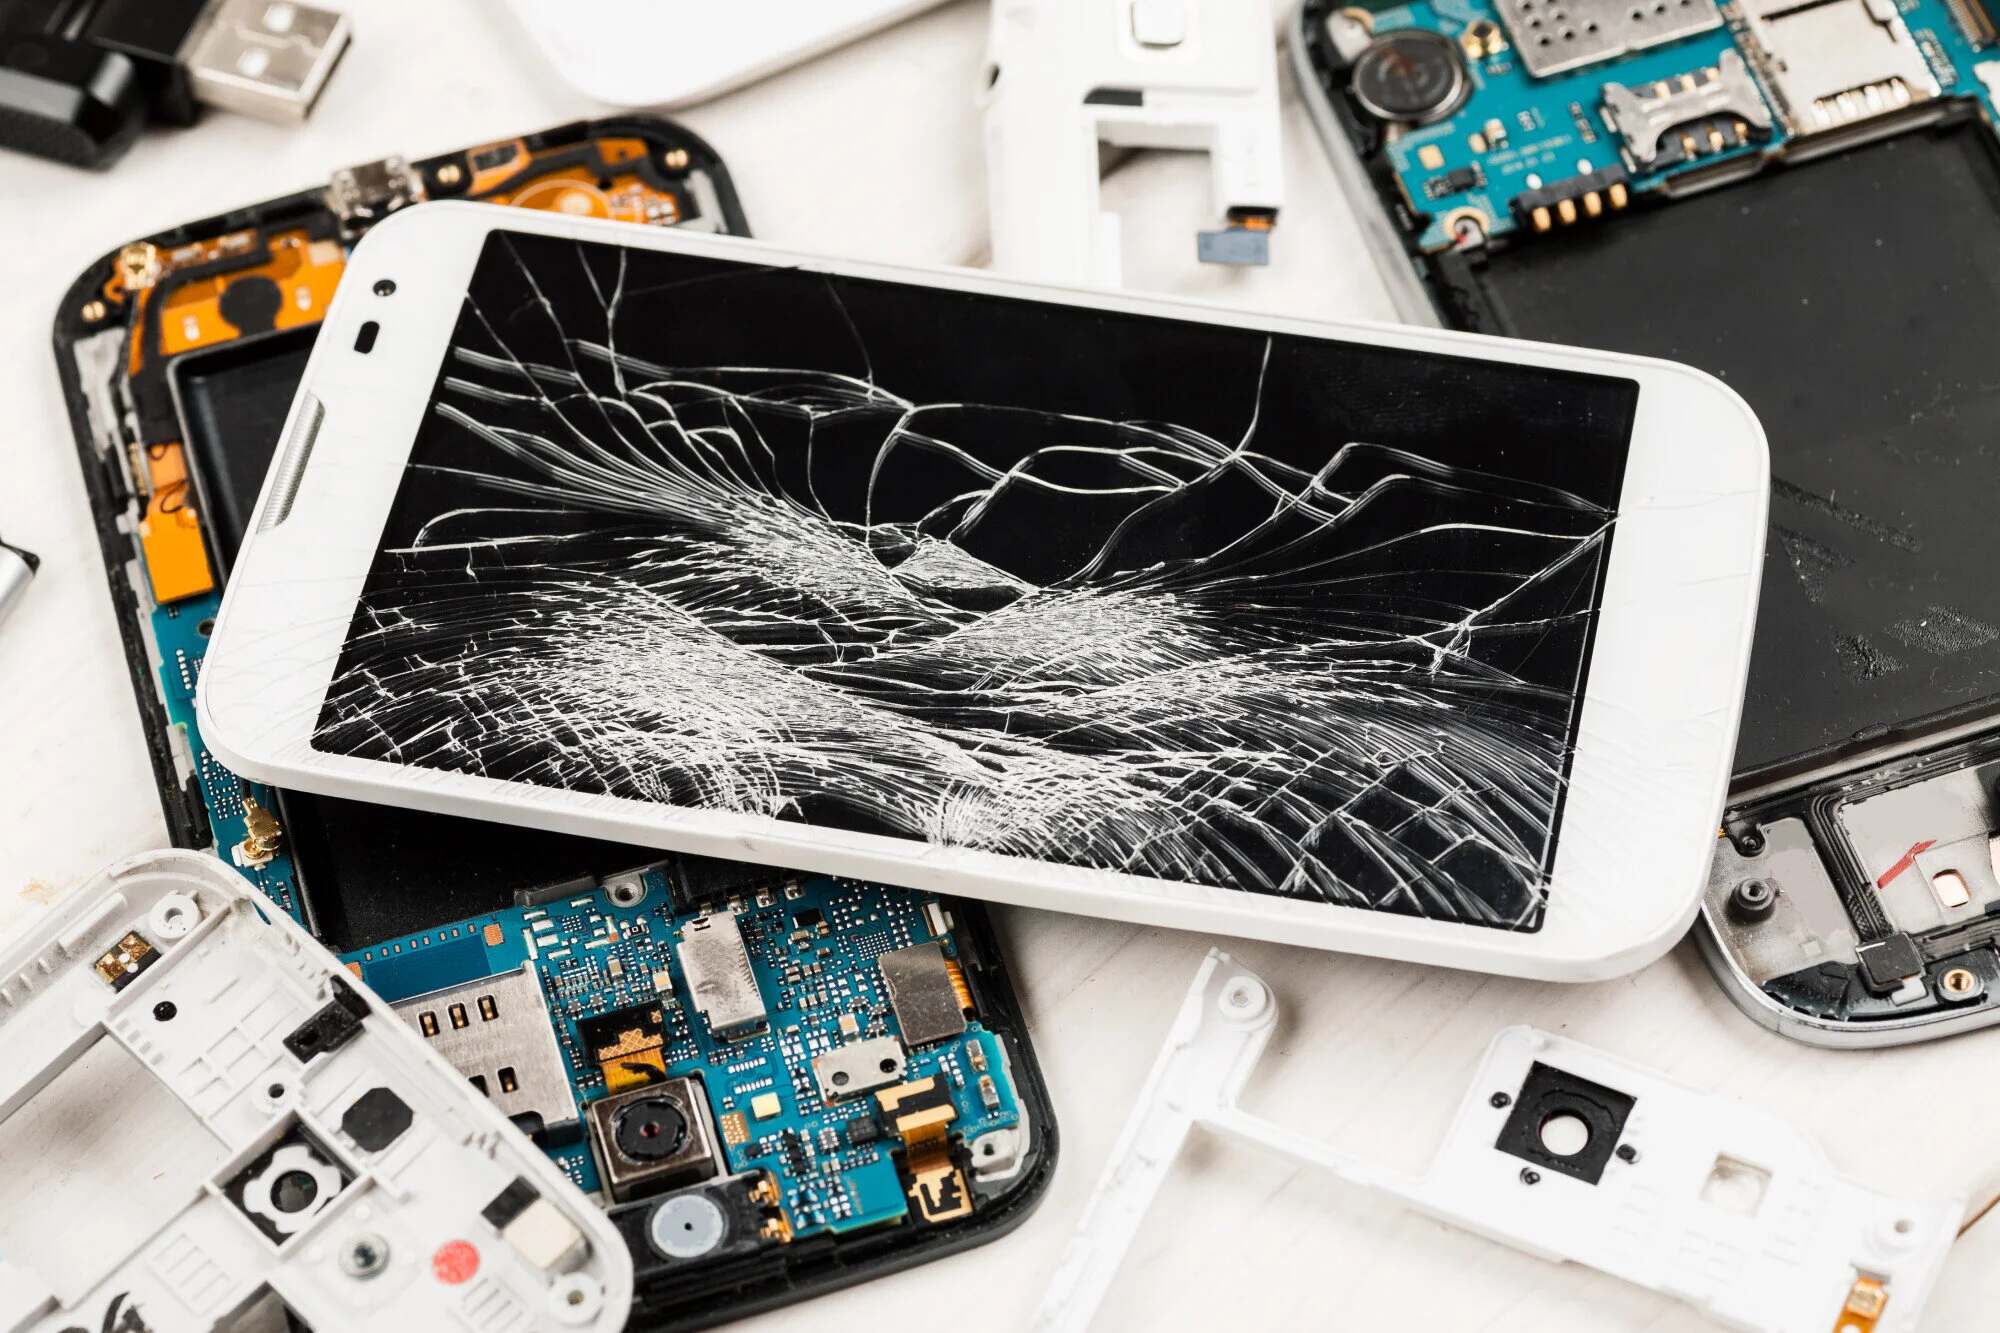
Welcome to our guide on how to replace a smartphone screen! Accidents happen, and when your smartphone’s screen gets cracked or damaged, it can be frustrating and costly to have it repaired professionally. However, with a little bit of patience and the right tools, you can save money by replacing the screen yourself.
Before we dive into the step-by-step process, it’s important to note that screen replacement can vary depending on the smartphone model you own. Therefore, it’s crucial to consult your device’s user manual or search for specific instructions online that are tailored to your smartphone’s make and model. This guide serves as a general overview of the screen replacement process.
Replacing a smartphone screen requires precision and attention to detail. It’s essential to work in a clean and well-lit environment to avoid any further damage. Additionally, it’s a good idea to gather all the necessary tools and replacement parts before getting started.
Throughout this guide, we’ll walk you through the steps to replace your smartphone screen, from preparing the device to reassembling it. Remember, if you ever feel overwhelmed or unsure during the process, consult professional assistance to prevent any potential mishaps.
Now that we’ve covered the preliminary details, let’s move on to the first step: gathering the necessary tools.
Step 1: Gather the necessary tools
Before proceeding with the smartphone screen replacement, it’s important to ensure you have all the required tools at hand. Here’s a list of the essential tools you’ll need:
- Replacement screen: Make sure you have a compatible replacement screen for your specific smartphone model. You can find these online or at electronic repair stores.
- Small screwdriver set: A set of small screwdrivers with precision tips is necessary for removing the screws that hold the smartphone’s casing and screen in place.
- Plastic opening tools: These non-conductive tools are essential for prying open the smartphone’s casing without causing damage. They come in different shapes and sizes, suitable for different parts of the device.
- Tweezers: A pair of tweezers with fine tips will help handle small screws and connectors during the screen replacement process.
- Adhesive strips or adhesive glue: Depending on the smartphone model, you may need adhesive strips or adhesive glue to secure the new screen in place. Check the replacement screen’s instructions for guidance.
- Cleaning cloth: It’s important to keep the display and internal components clean and free of dust. Use a lint-free and static-free cleaning cloth to wipe the screen and other parts during the process.
- Antistatic mat or wrist strap: To prevent electrostatic discharge that could damage sensitive components, consider using an antistatic mat or wrist strap during the screen replacement.
These are the basic tools you’ll need for the screen replacement process. Depending on your smartphone model, there may be additional tools or components required. It’s always a good idea to research and double-check the specific tools needed for your device.
Once you have gathered all the necessary tools, you’re ready to move on to the next step: powering off and preparing the phone for screen replacement.
Step 2: Power off and prepare the phone
Before you begin the screen replacement process, it’s crucial to power off your smartphone and take necessary precautions to ensure a safe and successful repair. Here are the steps to follow:
- Power off your phone: Press and hold the power button until the shutdown options appear on your device’s screen. Select the power off option and wait for the phone to completely power down.
- Remove the SIM card and memory card (if applicable): Locate the SIM card and memory card slots on your smartphone, typically located on the side or top. Use a SIM card ejection tool or a small paperclip to gently push and release the SIM card tray. Remove both cards and keep them in a safe place.
- Prepare your workspace: Find a clean, well-lit, and spacious area to work on your phone. It’s recommended to cover the surface with a soft cloth or an antistatic mat to prevent any accidental scratches or damage.
- Put on antistatic gloves (optional): While not mandatory, wearing antistatic gloves can further minimize the risk of static electricity that could harm your phone’s internal components.
- Place your tools and replacement screen within reach: Arrange your tools and the replacement screen in an organized manner, ensuring easy access during the repair process.
- Review the smartphone’s user manual or search online: Take a moment to read your smartphone’s user manual or search online for specific instructions related to your device model. Familiarize yourself with the layout and internal components of your phone to proceed with confidence.
By following these steps, you’ll be well-prepared to proceed with the screen replacement process. Taking the time to properly power off your phone and prepare your workspace sets the foundation for a smooth repair experience. With your phone ready, it’s time to move on to the next step: removing the old screen.
Step 3: Remove the old screen
Removing the old screen is a delicate process that requires patience and precision. Follow these steps carefully:
- Start by removing the phone’s back cover: Use a plastic opening tool or your fingernail to gently pry open the back cover of the phone. Be cautious and work your way around the edges to avoid damaging any clips or fragile components.
- Locate and remove the screws: Once the back cover is off, locate any screws securing the rear housing or battery. Use the appropriate screwdriver from your set to carefully remove these screws and keep them in a safe place.
- Disconnect the battery (if possible): Some smartphone models allow for the disconnection of the battery to prevent any accidental short circuits during the repair. If your phone has a removable battery, gently detach the battery connector.
- Identify and detach the screen connectors: The screen connectors are usually ribbon cables attached to the motherboard. Carefully disconnect these connectors using tweezers or a plastic opening tool. Be gentle but firm, ensuring not to pull or bend the cables excessively.
- Remove any adhesive securing the screen: Depending on the phone model, you may find adhesive strips or glue securing the screen to the frame. Carefully loosen and remove any adhesive using a plastic opening tool, taking your time to avoid damaging the screen or other components.
- Gently lift and remove the old screen: With the screws, connectors, and adhesive removed, you can now lift the old screen from the phone’s frame. Use your fingers or a plastic tool to gently lift the screen from the bottom edge, applying evenly distributed pressure. Be cautious not to flex or bend the screen excessively.
Always handle the old screen with care, as it may have sharp or broken glass that could cause injury. Once the screen is removed, set it aside in a safe place or dispose of it properly according to local regulations.
With the old screen successfully removed, you’re ready to move on to the next step: installing the new screen.
Step 4: Install the new screen
Installing the new screen is a critical part of the smartphone screen replacement process. Follow these steps carefully to ensure a successful installation:
- Check the new screen for any protective film or covers: Most replacement screens come with protective film or covers that need to be removed before installation. Carefully peel off any protective layers from the new screen, ensuring not to touch the exposed surface.
- Position the new screen in place: Align the new screen with the phone’s frame, ensuring that the connectors on the screen match the corresponding ports on the motherboard. Gently lower the screen down, making sure it sits flush and evenly with the frame.
- Secure the new screen with adhesive: If your replacement screen requires adhesive strips or glue, follow the manufacturer’s instructions to apply them to the frame or back of the new screen. Be mindful of the correct positioning and alignment to ensure a proper and secure fit.
- Reconnect the screen connectors: Carefully attach the screen connectors back to their respective ports on the motherboard. Ensure they are properly aligned and insert them firmly. Take your time to avoid any accidental damage.
- Reattach the battery (if disconnected): If you had disconnected the battery earlier, now is the time to reattach it to its connector on the motherboard. Handle the battery with care and ensure it is properly aligned before gently pushing it into place.
- Reinstall the screws: Retrieve the screws you had set aside earlier and use the appropriate screwdriver to secure the new screen in place. Start with the corners and work your way around, tightening the screws firmly but not excessively.
It’s important to note that some smartphones may have additional steps or components involved in the screen installation process. Consult your device’s user manual or search for specific instructions online to ensure a seamless installation.
Once you have completed the installation of the new screen, double-check all the connections and make sure everything is securely in place. Congratulate yourself on making it this far! Now it’s time to move on to the next step: testing the replacement screen.
Step 5: Test the replacement screen
After installing the new screen, it’s crucial to test its functionality before proceeding with reassembling the phone. Follow these steps to ensure the replacement screen is working correctly:
- Double-check all connections: Before powering on the phone, carefully inspect all the screen connectors and ensure they are securely attached. Check for any loose connections or misaligned cables.
- Power on the phone: Press and hold the power button to turn on the phone. If everything is connected properly, the device should start up, and you should hear the familiar startup sound.
- Check for display functionality: Look for any signs of life on the screen. It should illuminate and display the device’s boot-up logo or home screen. Pay close attention to any abnormalities such as flickering, discoloration, or unresponsive touch.
- Test the touch response: Use your fingers to interact with the screen and test its touch sensitivity. Swipe across the screen, open apps, and type to ensure the touch function is working correctly across all areas of the screen.
- Test other screen features: If your device has additional screen features such as fingerprint sensors or buttons, test their functionality to ensure they are working properly.
- Inspect for any issues: Carefully examine the screen for any dead pixels, uneven backlighting, or other issues that may affect the display quality. If you notice any problems, consult the warranty or contact the place of purchase for assistance.
If the replacement screen passes all the tests and functions properly, you can proceed with confidence to the final step: reassembling the phone. However, if you encounter any issues or abnormalities during the testing phase, it may indicate an improper installation or a faulty replacement screen. In such cases, it’s best to seek professional help or contact the manufacturer for further assistance.
Once you are satisfied with the functionality of the replacement screen, it’s time to move on to the last step: reassembling the phone and putting everything back together.
Step 6: Reassemble the phone
Now that you have successfully tested the replacement screen and confirmed its functionality, it’s time to reassemble the phone. Follow these steps to put everything back together:
- Reattach any additional components: If you had removed any other components during the screen replacement process, such as the SIM card or memory card, carefully insert them back into their respective slots.
- Secure the back cover: Line up the back cover with the phone’s frame and gently press it into place. Ensure that all the clips are properly aligned and snap shut. Be cautious not to apply too much pressure to avoid damaging any internal components.
- Insert and tighten the screws: Retrieve the screws you had set aside earlier and use the appropriate screwdriver to reinstall them. Start with the ones that secure the back cover and then move on to any additional screws that hold the smartphone’s casing together.
- Power on the phone: Press and hold the power button to turn on the phone. If the screen lights up and displays the device’s home screen, it indicates that the reassembly was successful.
- Perform a final test: Take a moment to ensure that all the phone’s functions are working correctly. Test the camera, speakers, microphone, and any other features to ensure they are functioning as expected.
- Clean the phone: Use a lint-free cloth or screen cleaning wipe to remove any fingerprints or smudges from the screen and back cover. This will help keep your newly replaced screen in pristine condition.
With these steps completed, you have successfully reassembled your smartphone after replacing the screen. Give yourself a pat on the back for a job well done! Your phone should now be fully functional with a brand new screen.
Remember, if you encounter any issues or difficulties during the reassembly process, don’t hesitate to seek professional assistance to ensure a proper and safe final result.
Now that you’ve learned how to replace a smartphone screen, you can save money and tackle this repair on your own. Just remember to stay patient, follow the instructions specific to your device, and take necessary safety precautions. Good luck!
Conclusion
Congratulations on successfully replacing your smartphone screen! By following the step-by-step guide provided, you were able to save money and restore your device to its full functionality. It’s important to remember that replacing a smartphone screen requires attention to detail, patience, and the right tools.
Throughout the process, you learned how to gather the necessary tools and prepare your workspace for the repair. You also discovered how to remove the old screen, install the new one, and test its functionality. Finally, you reassembled the phone, ensuring all components were securely in place.
Remember, each smartphone model may have unique specifications and steps for screen replacement. It’s crucial to consult your device’s user manual or search for specific instructions tailored to your smartphone model. Pay attention to warnings, precautions, and any additional tools or components that may be required.
If at any point during the screen replacement process you felt overwhelmed or unsure, it’s always advisable to seek professional assistance. Improper installation or mishandling of components can lead to further damage to your device.
With a newly replaced screen, make sure to take care of your smartphone. Use a protective case and screen protector to minimize the risk of future damage. Regularly cleaning the screen with a lint-free cloth can help maintain its clarity and usability.
We hope this guide has been helpful in empowering you to replace your smartphone screen. By taking the DIY approach, you not only saved money but also gained valuable knowledge about the inner workings of your device. Now you can move forward with confidence and continue to enjoy your smartphone’s features and functionality!