Introduction
The trackpad on your device is an essential tool that allows you to navigate and interact with your computer or laptop. It serves as a replacement for the traditional mouse and provides a convenient, touch-based interface. While the default name assigned to the trackpad may be generic and functional, you have the option to personalize it and give it a name that suits your style and preferences.
Renaming your trackpad can bring a sense of ownership and uniqueness to your device. It allows you to add a personal touch to your user experience and makes the trackpad feel more like an extension of your personality. Whether you’re a creative professional, a tech enthusiast, or simply someone who wants to inject a little bit of fun into their computing routine, renaming your trackpad is a simple yet effective way to customize your device.
In this article, we will guide you through the process of renaming your trackpad. We’ll provide step-by-step instructions on how to access the trackpad settings, locate the trackpad name, rename it, and test the new name. Whether you’re using a Mac, a Windows laptop, or any other device with a trackpad, the process is generally similar, and we’ll highlight any specific differences along the way.
So, if you’re ready to personalize your trackpad and make it truly yours, let’s dive into the process of renaming your trackpad and make your computing experience even more enjoyable.
Why Rename Your Trackpad?
You might be wondering, why should you bother renaming your trackpad? After all, it’s just a small component of your device that you use for navigation, right? Well, there are several reasons why renaming your trackpad can be beneficial:
- Personalization: Renaming your trackpad allows you to add a personal touch to your device. It enables you to give it a name that reflects your personality, style, or even your sense of humor. It’s a small detail, but it can make your device feel more like your own.
- Enhanced Productivity: Having a customized trackpad name can help differentiate your device from others, especially in shared workspaces or meetings. It makes it easier to identify your device and prevents confusion when multiple trackpads are in use.
- Creativity: Renaming your trackpad provides an opportunity for creative expression. You can come up with unique and imaginative names that make you smile every time you use your device. It’s a fun way to infuse a little creativity into your daily computing routine.
- Easy Identification: If you have multiple devices or use different operating systems, renaming your trackpad can help you easily identify which device you’re using at a glance. It saves time and eliminates any confusion that may arise from using similar or identical devices.
Overall, renaming your trackpad offers a simple yet effective way to personalize your device and make it more enjoyable to use. It’s a small customization that can have a significant impact on your user experience, productivity, and overall satisfaction with your device. So, why settle for a generic trackpad name when you can have one that reflects your individuality and makes you smile every time you use it?
Step 1: Access Trackpad Settings
The first step in renaming your trackpad is to access the trackpad settings on your device. The process may vary slightly depending on the operating system you’re using, but the general steps are as follows:
- Windows: On a Windows laptop or computer, you can access the trackpad settings by right-clicking on the Start button or pressing the Windows key + X. From the menu that appears, select “Settings” or “Control Panel.” Look for the “Mouse” or “Trackpad” option and click on it to open the settings.
- Mac: If you’re using a Mac, click on the Apple menu in the top-left corner of the screen and select “System Preferences.” In the System Preferences window, find and click on the “Trackpad” icon. This will open the trackpad settings.
- Other Devices: For devices running different operating systems, such as Linux or Chrome OS, the process may vary. In most cases, you can access the trackpad settings by going to the system settings or preferences and looking for a section related to input devices or trackpad settings.
Once you’ve accessed the trackpad settings, you’re ready to move on to the next step, which involves locating the trackpad name.
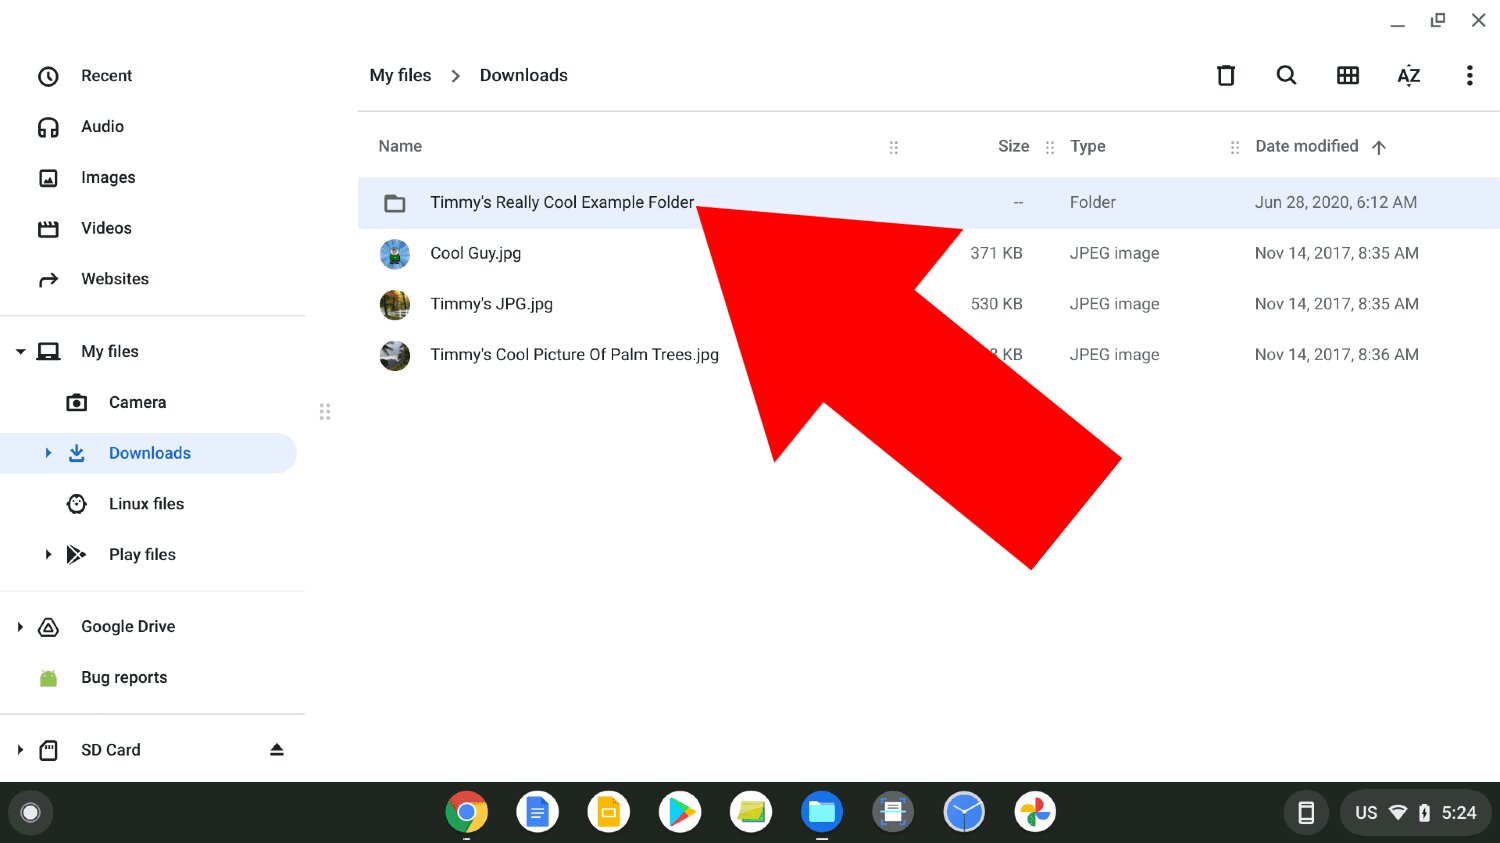
Step 2: Locate the Trackpad Name
After accessing the trackpad settings, the next step is to locate the current name of your trackpad. Follow these instructions to find the trackpad name:
- Windows: In the trackpad settings window on a Windows device, navigate to the “Device Settings” or “Hardware” tab. Look for the section that displays information about the trackpad, which may include its name or model. The trackpad name could be listed as a label or under a specific identifier such as “Device Name” or “Touchpad Name.”
- Mac: On a Mac, in the trackpad settings window, you will find the trackpad name displayed at the top of the settings. It is usually listed as the model name or a customized name if you have already renamed it before.
- Other Devices: The location of the trackpad name on other devices may vary. Look for a similar section in the trackpad settings that displays information about the trackpad. It could be under the “Device Info,” “About,” or a similar category.
Take note of the current trackpad name or write it down as you will need it in the next step. Once you have located the trackpad name, you’re ready to move on to the exciting part – renaming your trackpad!
Step 3: Rename Your Trackpad
Now that you’ve located the current name of your trackpad, it’s time to give it a fresh new name! Follow these steps to rename your trackpad:
- Windows: In the trackpad settings window on a Windows device, locate the text box or field where the trackpad name is displayed. Click on the field and delete the current name. Type in your desired name for the trackpad and press Enter or click on the “Save” button to apply the changes.
- Mac: On a Mac, in the trackpad settings window, you will find the trackpad name displayed at the top. Simply click on the name to select it and delete it. Type in your preferred name for the trackpad and press Enter to save the changes.
- Other Devices: The process for renaming the trackpad on other devices may vary. Look for an editable field or option to change the name. Click on or select the current name, delete it, and enter your desired name. Save or apply the changes according to the device’s instructions.
Be creative with your trackpad name! Choose a name that reflects your personality, interests, or simply something that brings a smile to your face when you see it. Remember, this is your chance to personalize your device and make it unique.
Once you have entered and saved the new trackpad name, you’re ready to move on to the final step – testing the new trackpad name.
Step 4: Test the New Trackpad Name
After renaming your trackpad, it’s important to test the new name to ensure it was applied successfully. Follow these steps to test the new trackpad name:
- Usage: Start using your trackpad as you normally would. Navigate through your device, click, scroll, and perform various trackpad actions to verify that everything is functioning as expected.
- Display: Pay attention to any places where the trackpad name is displayed on your device. This could include system menus, notifications, or third-party applications. Ensure that the new name is reflected in these areas.
- Connectivity: If your device supports Bluetooth or other wireless connectivity options, check if the new trackpad name is visible when connecting to other devices. This will help you recognize and pair your trackpad easily.
Make sure to thoroughly test the trackpad name in different scenarios to ensure that it appears correctly and doesn’t create any conflicts or issues.
If the new trackpad name is working as expected and you’re satisfied with the change, congratulations! You have successfully renamed your trackpad. Enjoy using your personalized device and revel in the small but meaningful customization you’ve made.
In the rare event that the new trackpad name didn’t apply or if you encounter any problems, revisit the trackpad settings and ensure that you followed the renaming steps correctly. If the issue persists, check for software updates or consult the device’s support documentation for further assistance.
Conclusion
Renaming your trackpad can bring a sense of personalization and uniqueness to your device. By following the simple steps outlined in this article, you can easily rename your trackpad and make it truly yours.
From accessing the trackpad settings to locating the trackpad name, and finally renaming it, this process allows you to add a personal touch to your device and make it more enjoyable to use. Whether you’re a creative professional, a tech enthusiast, or simply someone who wants to inject a bit of fun into their computing routine, renaming your trackpad is a great way to customize your device.
Remember, the benefits of renaming your trackpad include enhanced personalization, increased productivity, and easy identification. It allows you to express your creativity and make your device stand out from the crowd. Plus, it’s an easy and reversible customization that can have a significant impact on your overall satisfaction with your device.
So, why settle for a generic trackpad name when you can give it a name that truly reflects your personality and style? Start the process of renaming your trackpad today and enjoy a personalized computing experience like never before.