Introduction
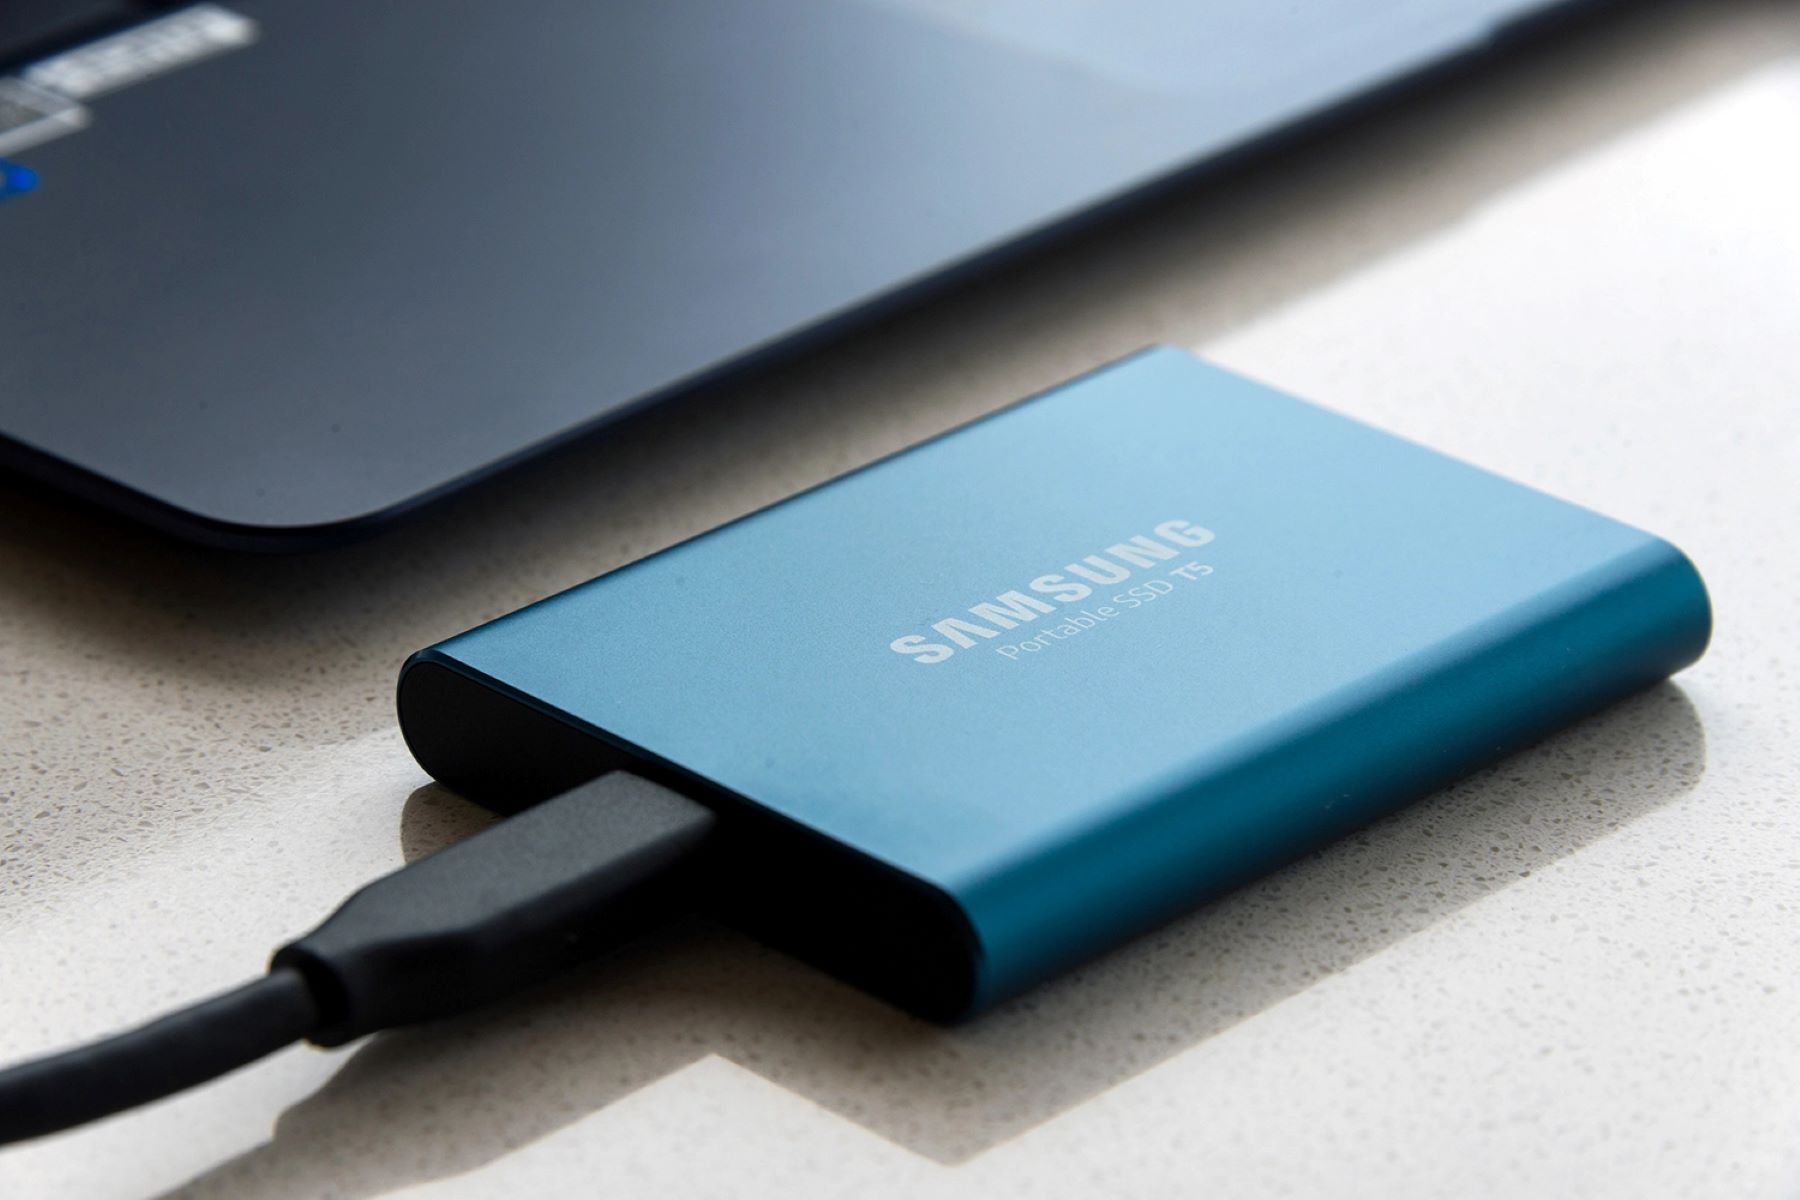
Welcome to the world of technology, where portable SSDs have become an essential tool for data storage and transfer. However, encountering write protection on your Samsung portable SSD can be frustrating and prevent you from making any changes to your files. In this guide, we will explore different methods to remove write protection from your Samsung portable SSD, allowing you to freely manage and modify your data.
Write protection is a security feature that prevents unauthorized modification or deletion of files on a storage device. It can be enabled on a hardware level, where a physical switch or button on the SSD locks the device, or it can be password-based, requiring a password to access or modify files. Understanding the type of write protection affecting your Samsung portable SSD is crucial for finding the appropriate solution.
Before we dive into the various methods of disabling write protection, it is essential to check if there are any physical hindrances causing the issue. Physical write protection can be triggered by a small switch or button located on the SSD itself, preventing any changes to be made. However, if there is no physical switch or button, the write protection is most likely software-based, either through the operating system or a password.
In the upcoming sections, we will guide you through checking for physical write protection, disabling write protection on Windows, Mac, and Linux, as well as removing password-based write protection. We will also address and troubleshoot common issues that may arise during this process. By the end of this guide, you’ll have the knowledge and tools to remove write protection from your Samsung portable SSD and regain control over your data.
Understanding Write Protection
Write protection is a security feature that restricts the ability to modify or delete files on a storage device, such as a Samsung portable SSD. It is designed to prevent accidental or unauthorized changes to important data. Before attempting to remove write protection, it is crucial to understand the different types and causes of write protection.
There are two main types of write protection: physical and software-based. Physical write protection is implemented through a hardware switch or button on the SSD itself. This switch or button locks the device, preventing any modifications to be made. If your Samsung portable SSD has a physical write protection switch, ensure that it is in the “off” position to disable write protection.
Software-based write protection, on the other hand, is implemented through the operating system or specific software settings. This type of write protection can be password-based or configured through system settings. Password-based write protection requires a password to access or modify the files on the SSD. It is a useful security measure to protect sensitive data from unauthorized access.
It’s important to note that write protection can sometimes be mistakenly enabled due to various reasons. For instance, if your Samsung portable SSD was previously connected to a system with write protection enabled, it may carry over to other devices. In some cases, write protection might also be triggered by a malfunctioning USB port or cable.
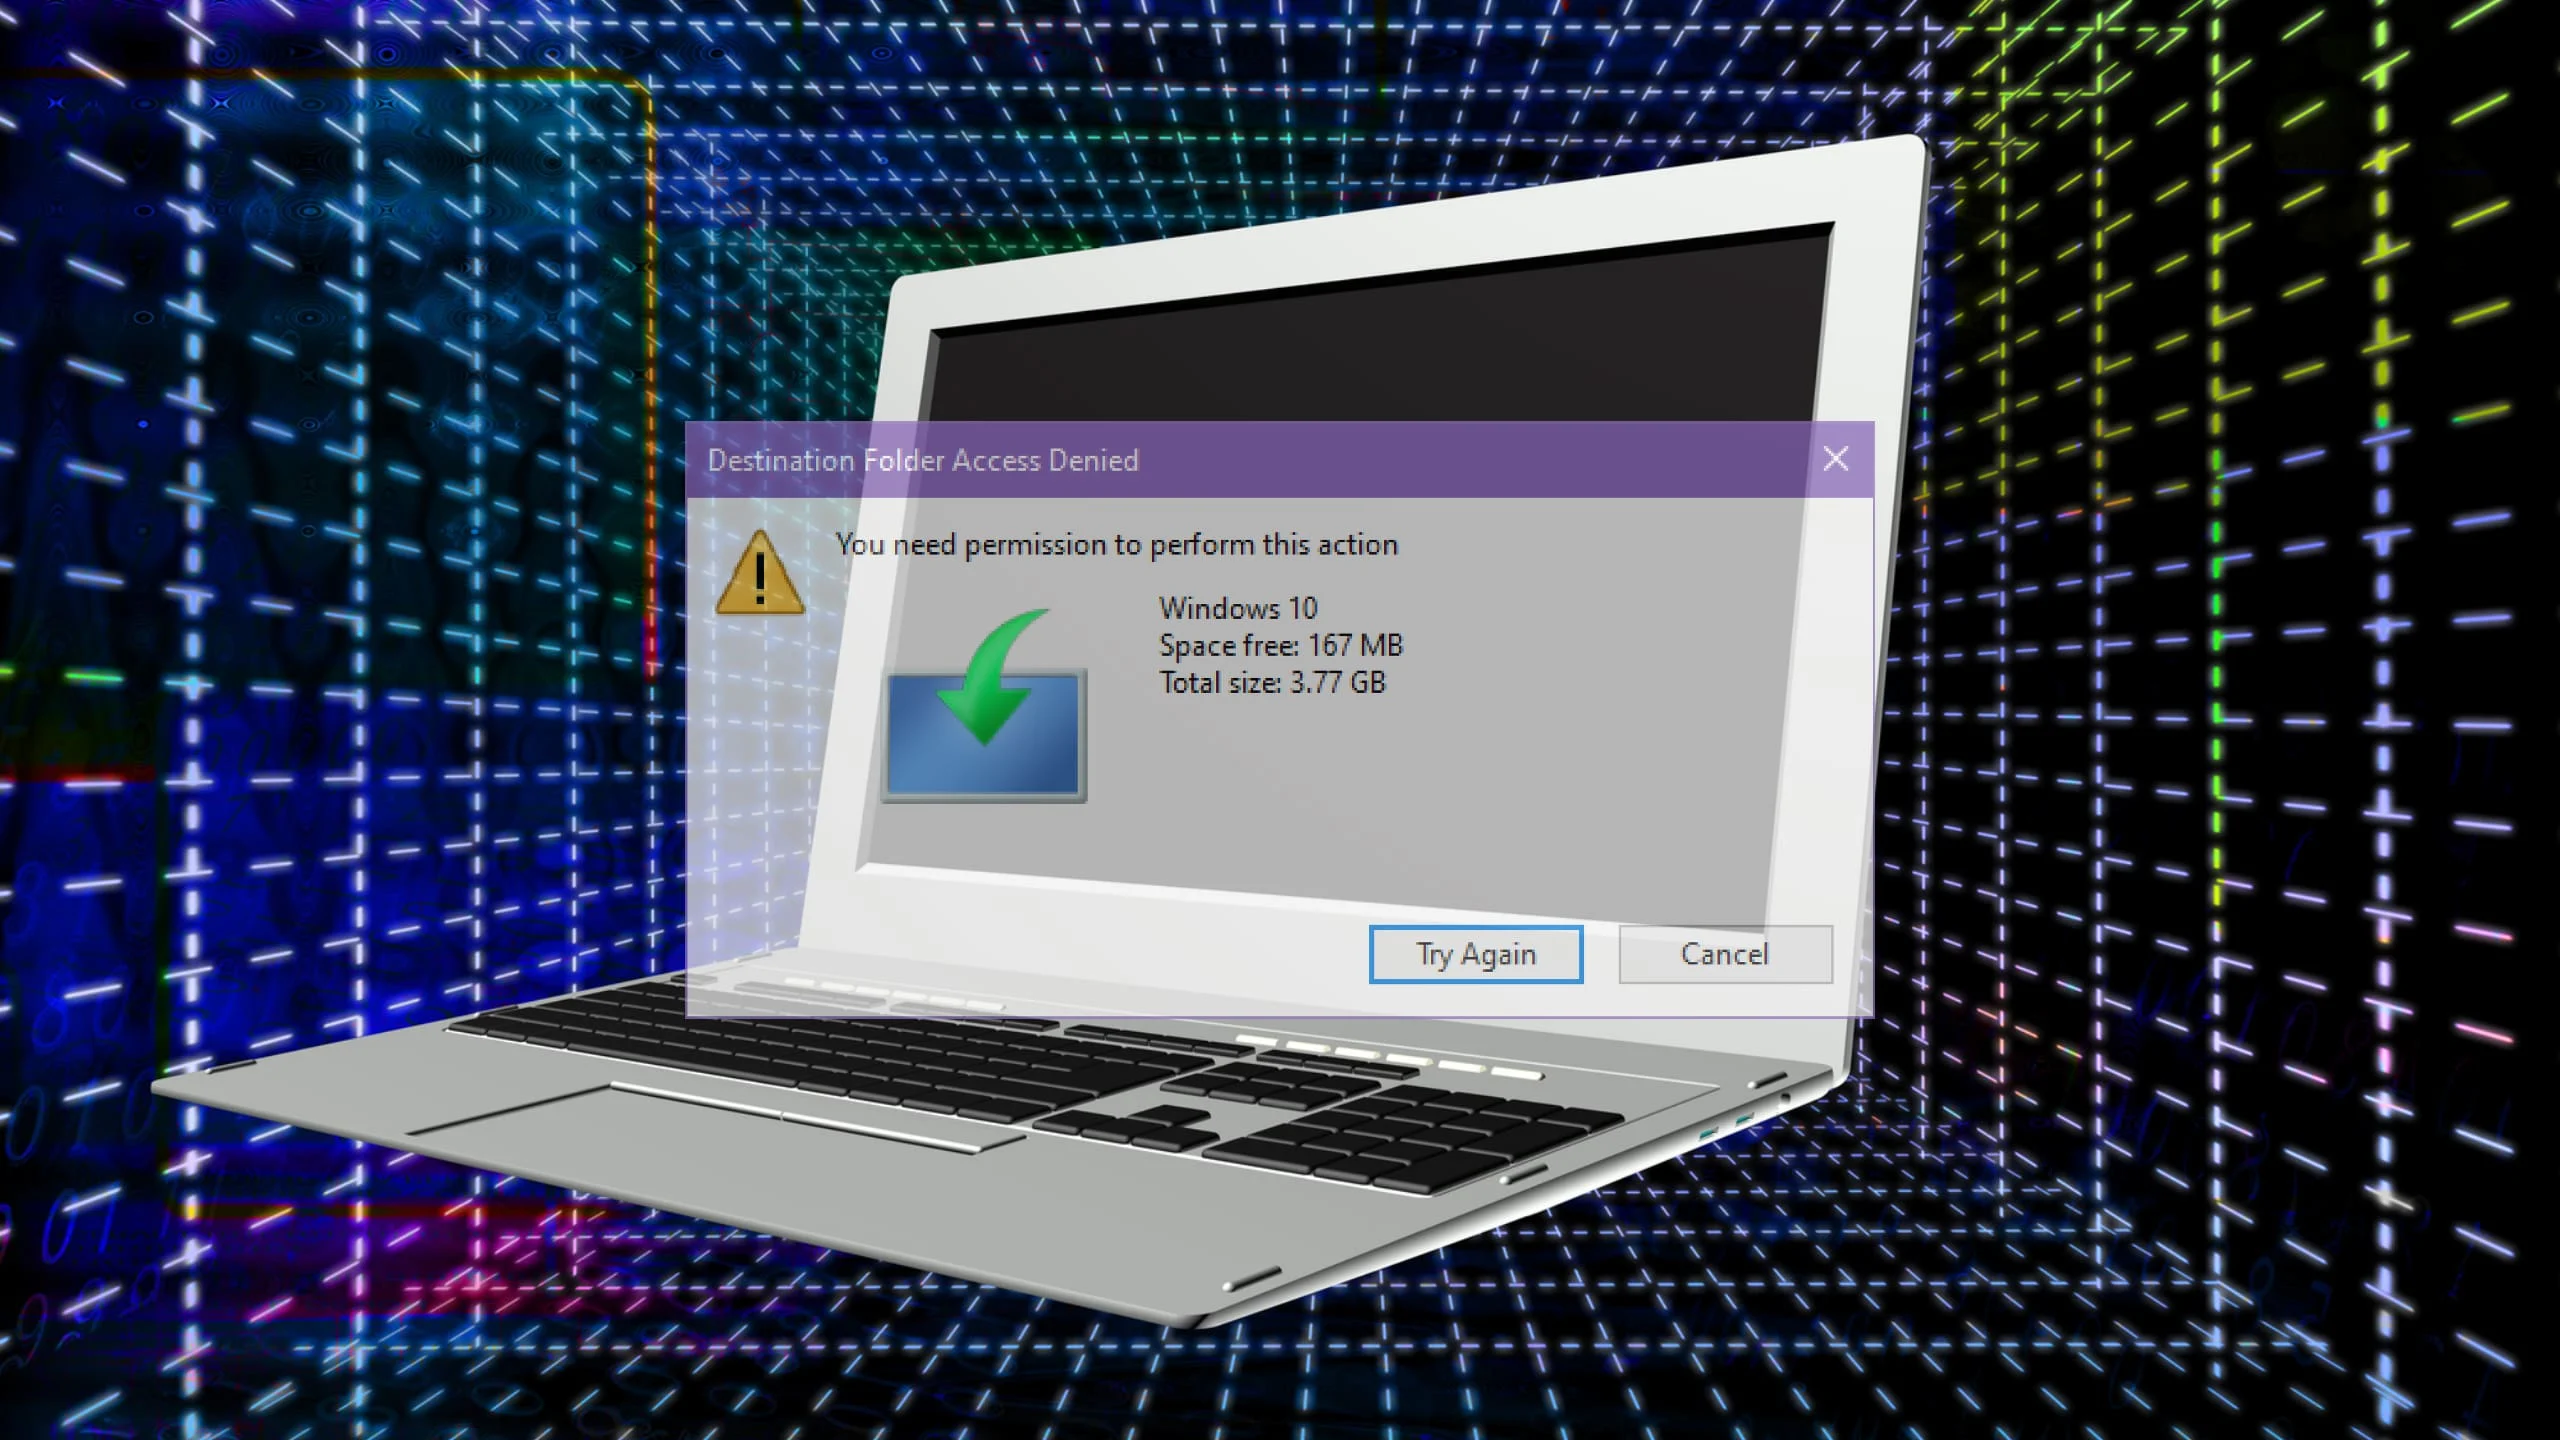
The presence of write protection can manifest in different ways, such as being unable to delete, rename, or modify files on the Samsung portable SSD. You may also encounter error messages indicating that the device is write-protected. These symptoms necessitate the removal of write protection in order to regain full control and access to your data.
In the next sections, we will explore different methods to remove write protection from your Samsung portable SSD, catering to both physical and software-based write protection scenarios. Whether you’re dealing with a physical switch, password-based protection, or system settings, we’ve got you covered.
Checking for Physical Write Protection
Before diving into software-based solutions, it is important to check for physical write protection on your Samsung portable SSD. Physical write protection can be enabled through a switch or button on the device itself, preventing any modifications to the files stored on it.
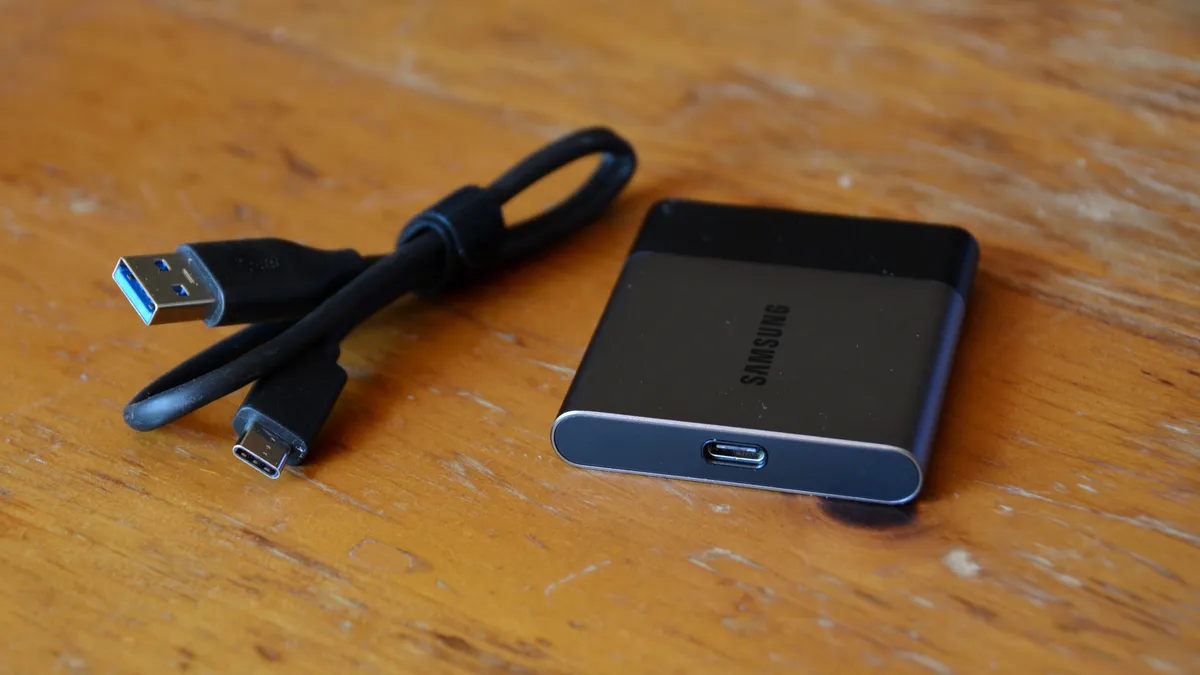
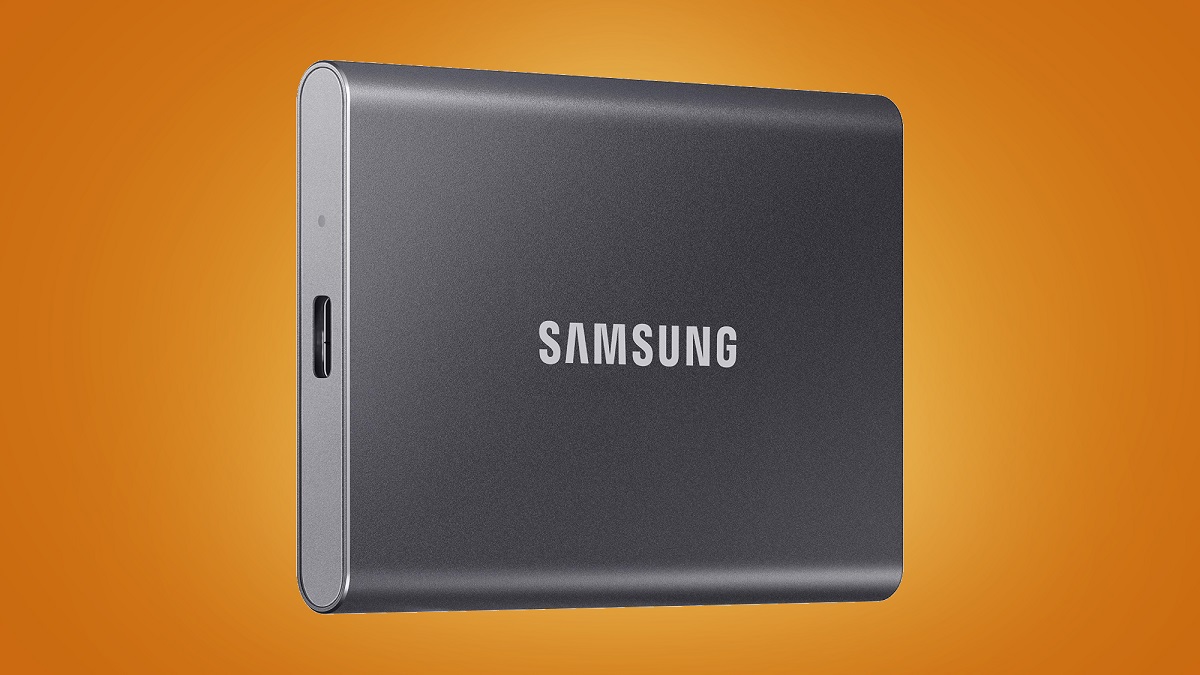
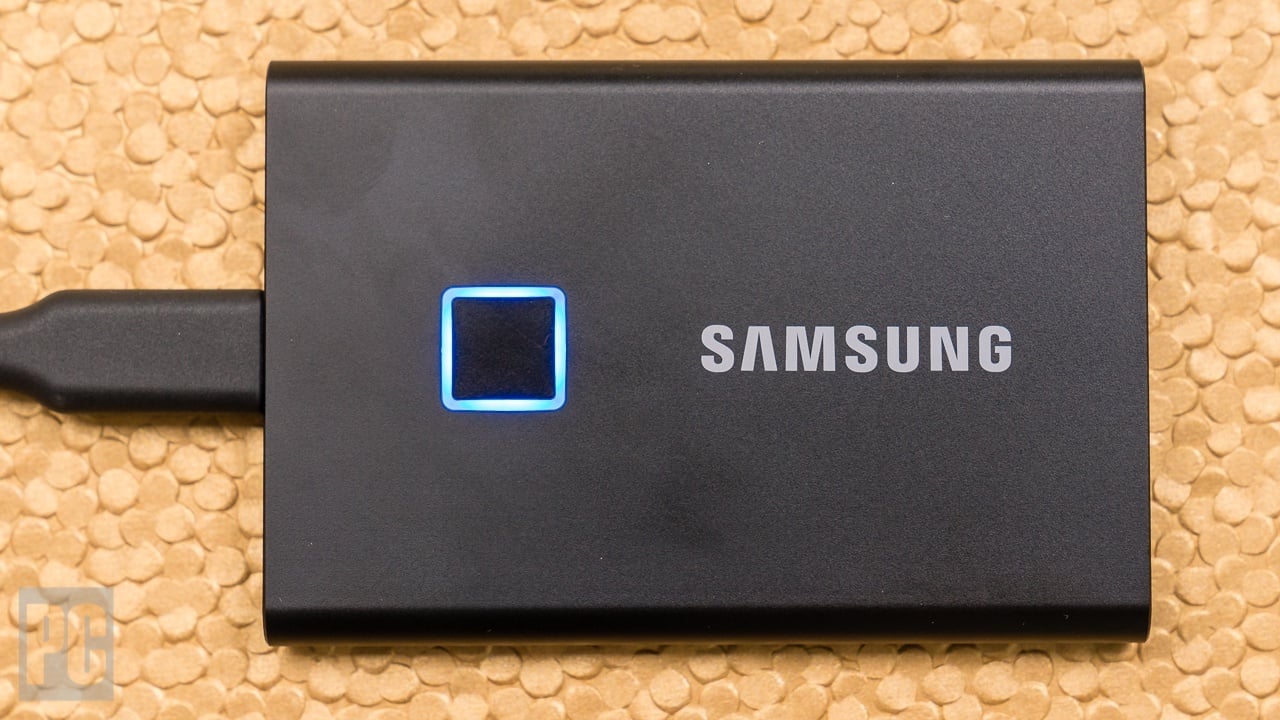
Start by examining your Samsung portable SSD for any physical switches or buttons that may be present. Look for labels or markings that indicate a write protection function. If you find a switch or button, ensure that it is in the “off” position to disable write protection. Sometimes, the switch may be very small and require a fine tool, such as a pin or needle, to toggle it.
If your Samsung portable SSD does not have a physical switch or button, it is likely that the write protection is software-based. In this case, we will explore alternative methods to disable write protection in the following sections.
Once you have checked for physical write protection and made sure it is disabled, reconnect your Samsung portable SSD to your computer and attempt to modify or delete a file. If you can make changes without any issues, then the physical write protection was successfully disabled.
If, after disabling physical write protection, you still encounter issues with modifying your files, it is possible that the write protection is software-based. In this case, continue reading to learn the steps to disable write protection on different operating systems, including Windows, Mac, and Linux.
Keep in mind that physical write protection is less common in modern Samsung portable SSD models. However, it is always worth checking for physical switches or buttons before moving on to software-based solutions. By ruling out physical write protection, you can focus on resolving the issue through software settings or password removal.
Disabling Write Protection on Windows
If you’re using a Windows operating system and your Samsung portable SSD is experiencing write protection, there are several methods you can try to disable it.
Method 1: Using DiskPart Command
- Connect your Samsung portable SSD to your Windows computer.
- Press
Win + Rto open the Run dialog box, then typediskpartand press Enter. This will open the DiskPart command-line utility. - In the DiskPart window, type
list diskand press Enter. This will display a list of all connected disks. - Identify your Samsung portable SSD from the list of disks. Note its disk number.
- Type
select disk [disk number], replacing[disk number]with the actual disk number of your Samsung portable SSD, and press Enter. - Once the disk is selected, type
attributes disk clear readonlyand press Enter. This command clears the read-only attribute, effectively disabling write protection on your Samsung portable SSD.
Method 2: Modifying Registry Settings
- Press
Win + Rto open the Run dialog box, then typeregeditand press Enter. This will open the Registry Editor. - In the Registry Editor, navigate to the following path:
HKEY_LOCAL_MACHINE\SYSTEM\CurrentControlSet\Control\StorageDevicePolicies. If the “StorageDevicePolicies” key doesn’t exist, you may need to create it. - In the “StorageDevicePolicies” key, locate a value named
WriteProtect. Double-click on it to modify its value. - Change the value data to
0and click OK. This will remove the write protection from your Samsung portable SSD.
After following either of these methods, restart your computer and reconnect the Samsung portable SSD. The write protection should now be disabled, allowing you to freely modify and delete files on your SSD.
If none of the above methods work or you encounter any issues, it may be helpful to seek further assistance from Samsung support or consult relevant forums for additional troubleshooting steps specific to your Samsung portable SSD model.
Disabling Write Protection on Mac
If you’re using a Mac and your Samsung portable SSD is write-protected, there are a few methods you can try to disable the write protection.
Method 1: Checking External Drive Settings
- Connect your Samsung portable SSD to your Mac.
- Open Finder and navigate to the Applications folder.
- Locate and open the Utilities folder, then launch the Disk Utility application.
- In the Disk Utility window, select your Samsung portable SSD from the list of devices on the left-hand side.
- Click on the “Erase” tab at the top.
- Ensure that the “Format” is set to a compatible format, such as APFS or Mac OS Extended (Journaled).
- Click on the “Security Options” button and make sure the “Writable” option is selected.
- Click on the “Erase” button to reformat your Samsung portable SSD.
Method 2: Using Terminal
- Connect your Samsung portable SSD to your Mac.
- Open Finder and navigate to the Applications folder.
- Locate and open the Utilities folder, then launch the Terminal application.
- In the Terminal window, type
diskutil listand press Enter. This will display a list of connected disks. - Identify your Samsung portable SSD based on its size and type.
- Type
diskutil unmountDisk force /dev/[disk identifier], replacing[disk identifier]with the actual identifier of your Samsung portable SSD, and press Enter. - Next, type
sudo rmformat -d /dev/[disk identifier]and press Enter. Once again, replace[disk identifier]with the identifier of your Samsung portable SSD.
After trying either of these methods, disconnect and reconnect your Samsung portable SSD. The write protection should now be disabled, allowing you to modify and delete files on your SSD using your Mac.
If you encounter any difficulties or the write protection issue persists, consider reaching out to Samsung support or consulting online forums for further assistance. They may be able to provide specific troubleshooting steps or solutions for your Samsung portable SSD model.
Disabling Write Protection on Linux
If you’re using a Linux operating system and your Samsung portable SSD is write-protected, there are a few methods you can try to disable the write protection.
Method 1: Using the hdparm Command
- Connect your Samsung portable SSD to your Linux computer.
- Open a terminal window.
- Type
sudo fdisk -land press Enter to list all the connected disks. Identify your Samsung portable SSD based on its size and file system type. - Type
sudo hdparm -r0 /dev/[device], replacing[device]with the appropriate device path of your Samsung portable SSD (e.g.,/dev/sdb).
Method 2: Modifying the udev Rules
- Connect your Samsung portable SSD to your Linux computer.
- Open a terminal window.
- Type
lsblkand press Enter to list all the connected disks. Identify your Samsung portable SSD based on its size and file system type. - Type
sudo nano /etc/udev/rules.d/10-local.rulesto open a text editor for modifying the udev rules. - Add the following line:
ACTION=="add", KERNEL=="sd[a-z]", ATTRS{idVendor}=="[vendor_id]", ATTRS{idProduct}=="[product_id]", RUN+="/bin/sh -c 'echo 0 > /sys/$devpath/ro', replacing[vendor_id]and[product_id]with the appropriate values for your Samsung portable SSD. - Save the file and exit the text editor.
- Restart your computer or execute the command
sudo udevadm control --reload-rules && sudo udevadm triggerto apply the changes.
After trying either of these methods, disconnect and reconnect your Samsung portable SSD. The write protection should now be disabled, allowing you to modify and delete files on your SSD using Linux.
Keep in mind that specific steps may vary based on your Linux distribution and version. If you encounter any issues or the write protection problem persists, consider consulting relevant Linux forums or seeking assistance from the Linux community for further guidance.
Removing Password-Based Write Protection
If your Samsung portable SSD has password-based write protection enabled, you can follow these steps to remove the password and disable write protection:
Method 1: Using Samsung Portable SSD Software
- Download and install the official Samsung Portable SSD Software for your operating system from the Samsung website.
- Launch the Samsung Portable SSD Software and connect your Samsung portable SSD to your computer.
- In the software interface, navigate to the settings or security section where you can manage the password settings.
- Enter the current password to access the password settings.
- Look for the option to remove the password or disable write protection. Follow the prompts and confirm the action.
- Once the password is removed, write protection will also be disabled.
Method 2: Performing a Factory Reset
Note: Performing a factory reset will erase all data on your Samsung portable SSD. Make sure to backup any important files before proceeding with this method.
- Connect your Samsung portable SSD to your computer.
- Power on the device and press the reset button (if available) using a small pin or paperclip. Refer to your device’s documentation for the exact location of the reset button.
- Hold the reset button for a few seconds until the device resets and restores its factory settings.
- Once the factory reset is complete, the password-based write protection will be disabled.
By following these methods, you should be able to remove the password-based write protection on your Samsung portable SSD. Remember to secure your SSD with a new password or other security measures if desired.
If you encounter any difficulties or have any specific questions about removing password-based write protection on your Samsung portable SSD model, it is recommended to refer to the product’s user manual or reach out to Samsung support for further assistance.
Troubleshooting Common Issues
While disabling write protection on your Samsung portable SSD should resolve most issues, you may encounter some common challenges during the process. Here are a few troubleshooting tips to help you overcome these obstacles:
Issue 1: Write protection persists even after following the methods
If you have tried the methods described earlier, but write protection still persists on your Samsung portable SSD, here are a few additional steps you can take:
- Double-check that you have followed the instructions correctly, especially when it comes to physical switches, button positions, or software-based settings.
- Disconnect and reconnect the SSD, ensuring it is properly connected and recognized by your computer.
- Try using the SSD on a different computer or operating system to rule out any compatibility issues.
- Update your computer’s operating system and drivers to the latest version.
Issue 2: Unable to access files due to write protection
If you can’t access or modify files on your Samsung portable SSD due to write protection, try the following steps:
- Ensure that you are logged in as an administrator or have the necessary permissions to make changes.
- Use data recovery software to retrieve the files from the write-protected SSD before attempting to disable write protection.
- Try accessing the files from a different computer or operating system to see if the issue is system-specific.
Issue 3: Recurring write protection after disabling
If write protection keeps reactivating even after disabling it, consider the following troubleshooting tips:
- Scan your device for malware or viruses that may be causing the write protection issue.
- Check for firmware updates for your Samsung portable SSD. Updating the firmware may resolve any software-related write protection problems.
- Contact the Samsung support team for further assistance and provide them with detailed information about the issue.
It’s worth noting that specific troubleshooting steps may vary depending on your Samsung portable SSD model and the operating system you’re using. In case of persistent write protection issues, it is recommended to consult the user manual, visit the Samsung support website, or seek assistance from the official Samsung support channels.
Conclusion
Removing write protection from your Samsung portable SSD is crucial for managing and modifying your files freely. Whether it’s physical write protection, software-based write protection, or password-based protection, we’ve covered various methods to help you disable write protection and regain control over your data.
During the process, it is important to consider the type of write protection affecting your Samsung portable SSD. Checking for physical write protection, such as switches or buttons, is the first step. If physical write protection is not present, you can proceed with software-based solutions, such as using DiskPart Command or modifying registry settings on Windows, checking external drive settings or using Terminal commands on Mac, or utilizing the hdparm command or modifying udev rules on Linux.
In the case of password-based write protection, you can remove the password by using Samsung Portable SSD Software or performing a factory reset. These methods will disable write protection and allow you to manage your files without restrictions.
However, if you encounter any difficulties or the write protection issue persists, it is recommended to consult the user manual, visit the Samsung support website, or seek assistance from the official Samsung support channels. They can provide further guidance and troubleshooting steps specific to your Samsung portable SSD model.
By following the methods and troubleshooting tips outlined in this guide, you’ll be well-equipped to remove write protection on your Samsung portable SSD and ensure a seamless data management experience.


