Introduction
So, you’ve decided to part ways with your beloved Apple Watch. Whether it’s to upgrade to a newer model or simply because you no longer need it, removing your Apple Watch from your account is a necessary step. By doing so, you can ensure that your personal data is protected and that the watch is ready to be used by its new owner.
Removing your Apple Watch from your account involves a few important steps, including unpairing it from your iPhone, backing up your watch, signing out of iCloud, erasing all data from the watch, and finally removing it from your Apple ID account. In this article, we’ll guide you through these steps to help make the process as smooth as possible.
Before we dive into the details, it’s important to note that removing your Apple Watch from your account permanently disconnects it from your iPhone and erases all data from the watch. Therefore, it’s crucial to back up any important data or settings that you want to preserve. Once your Apple Watch is removed from your account, you can no longer access its features or receive any notifications on it.
Now that we have a clear understanding of what’s involved, let’s get started with the first step: unpairing your Apple Watch from your iPhone. Follow along with the instructions below to complete each step and remove your Apple Watch from your account.
Step 1: Unpairing from your iPhone
The first step in removing your Apple Watch from your account is to unpair it from your iPhone. This will disconnect the two devices and remove any personal data that may be stored on your Apple Watch.
To unpair your Apple Watch from your iPhone, follow these simple steps:
- Unlock your iPhone and open the Watch app.
- Tap on the “My Watch” tab at the bottom of the screen.
- Select your Apple Watch from the list of devices.
- Tap on the “i” icon next to your Apple Watch.
- Tap on “Unpair Apple Watch” and confirm your decision by tapping “Unpair [Apple Watch Name]”.
Once you’ve confirmed the unpairing process, your Apple Watch will disconnect from your iPhone. This may take a few minutes, but you’ll be notified once the process is complete.
It’s worth noting that unpairing your Apple Watch from your iPhone does not automatically remove it from your Apple ID account. To complete the removal process, we’ll cover that in the next steps.
Now that you’ve successfully unpaired your Apple Watch from your iPhone, it’s time to move on to the next step: backing up your Apple Watch. This ensures that you have a copy of your data, settings, and personal preferences before proceeding with the removal process.
Step 2: Backing up your Apple Watch
Before removing your Apple Watch from your account, it’s essential to back up any data and settings that you want to preserve. This will ensure that you have a copy of your important information before proceeding with the removal process.
To back up your Apple Watch, follow the steps below:
- Make sure your iPhone is connected to Wi-Fi and is in close proximity to your Apple Watch.
- Open the Watch app on your iPhone.
- Navigate to the “My Watch” tab at the bottom of the screen.
- Tap on “General” and then select “Software Update.”
- Ensure that your Apple Watch is running the latest version of watchOS. If an update is available, download and install it.
- Once your Apple Watch is up to date, return to the “My Watch” tab.
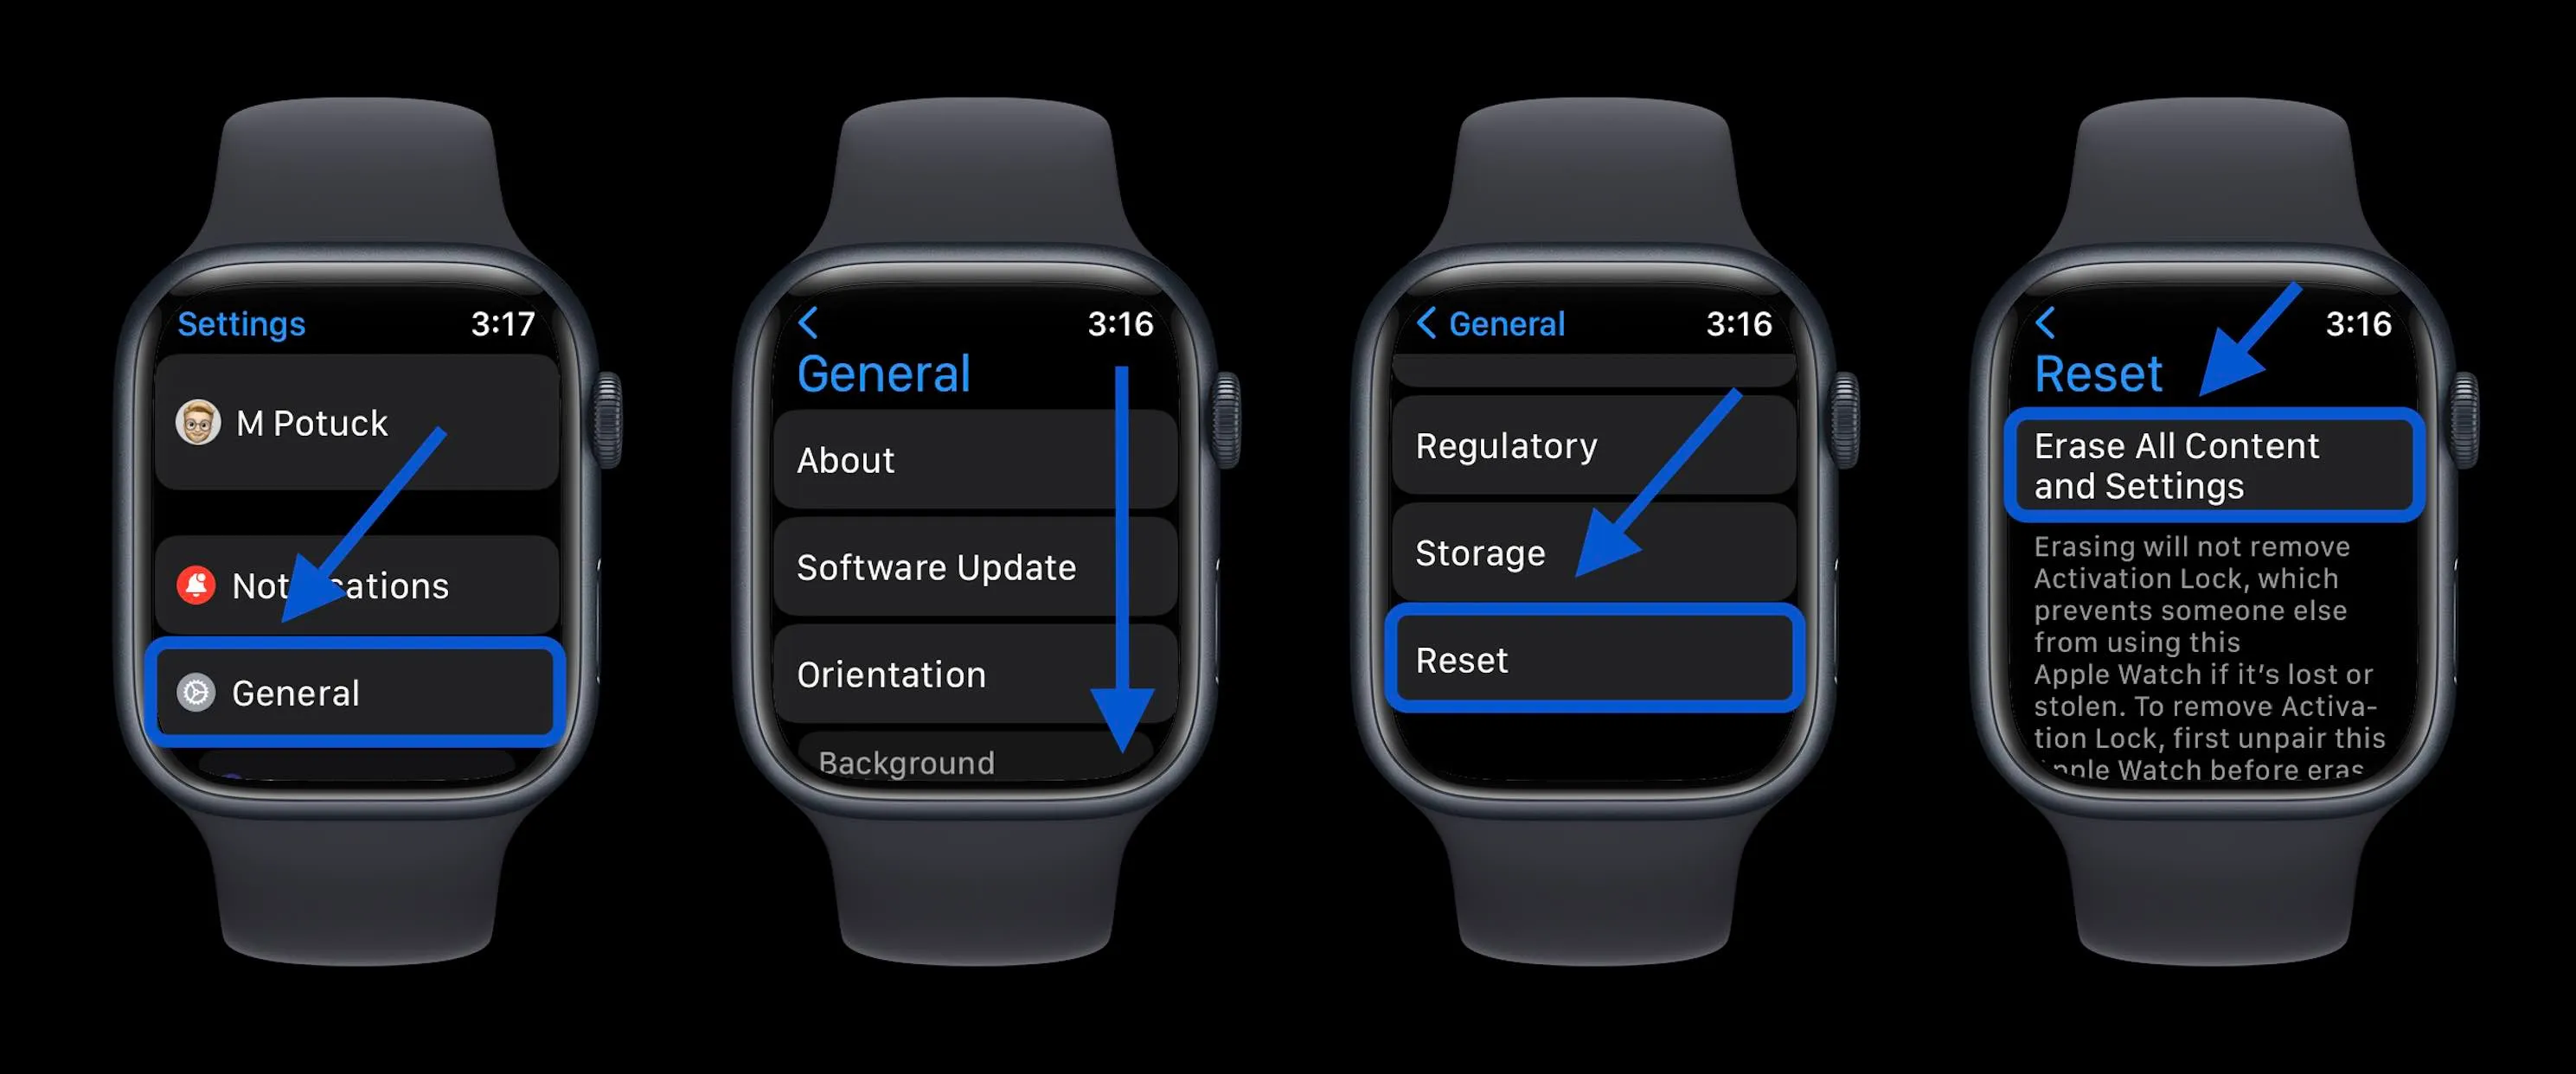
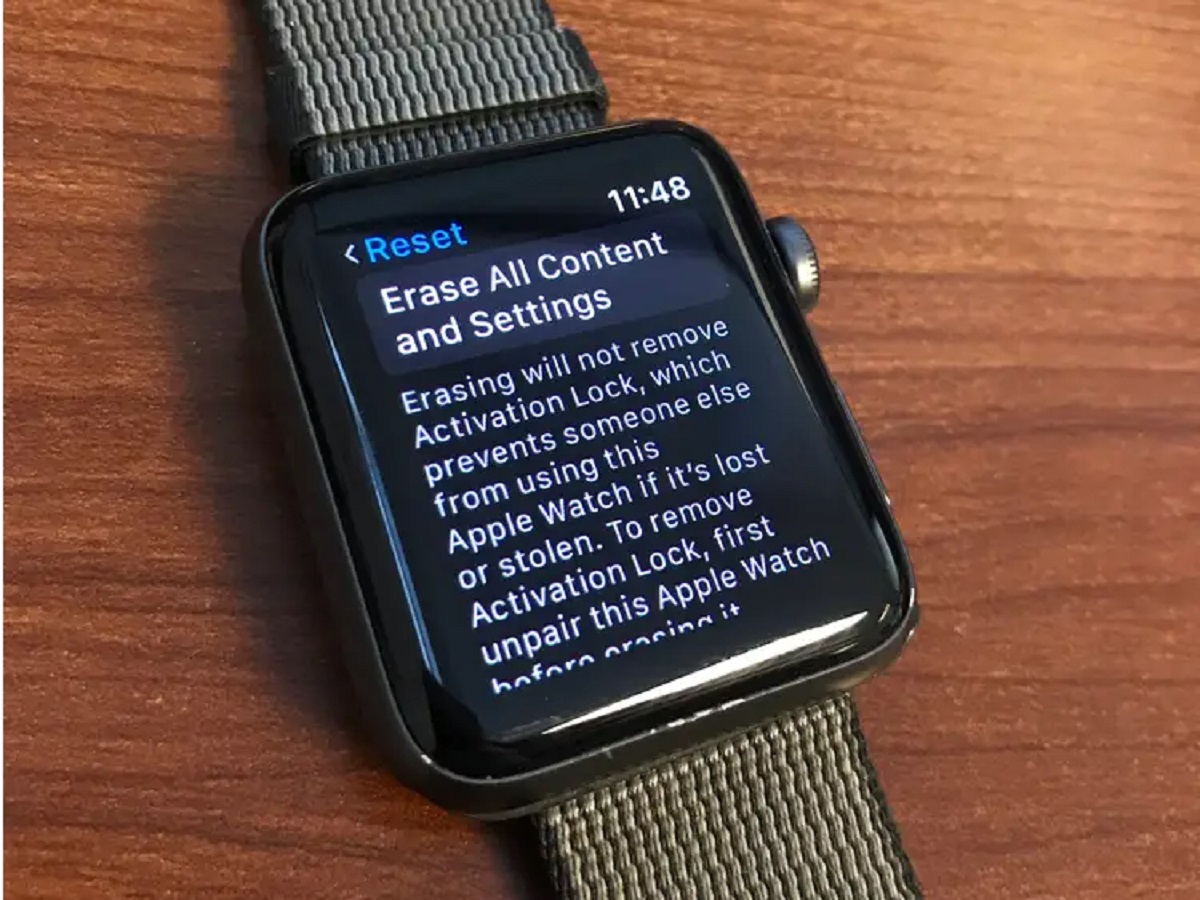
- Scroll down and tap on “Reset.”
- Select “Erase All Content and Settings.”
- Follow the on-screen prompts to confirm the erasure and enter your passcode if prompted.
By following these steps, your Apple Watch will be reset to its factory settings, but don’t worry, your data will be backed up to your iPhone. This backup will include your app layout, health and fitness data, and other important settings.
Once the backup process is complete, you can proceed with confidence knowing that your data is safely stored on your iPhone. Now, let’s move on to the next step: signing out of iCloud.
Step 3: Signing out of iCloud
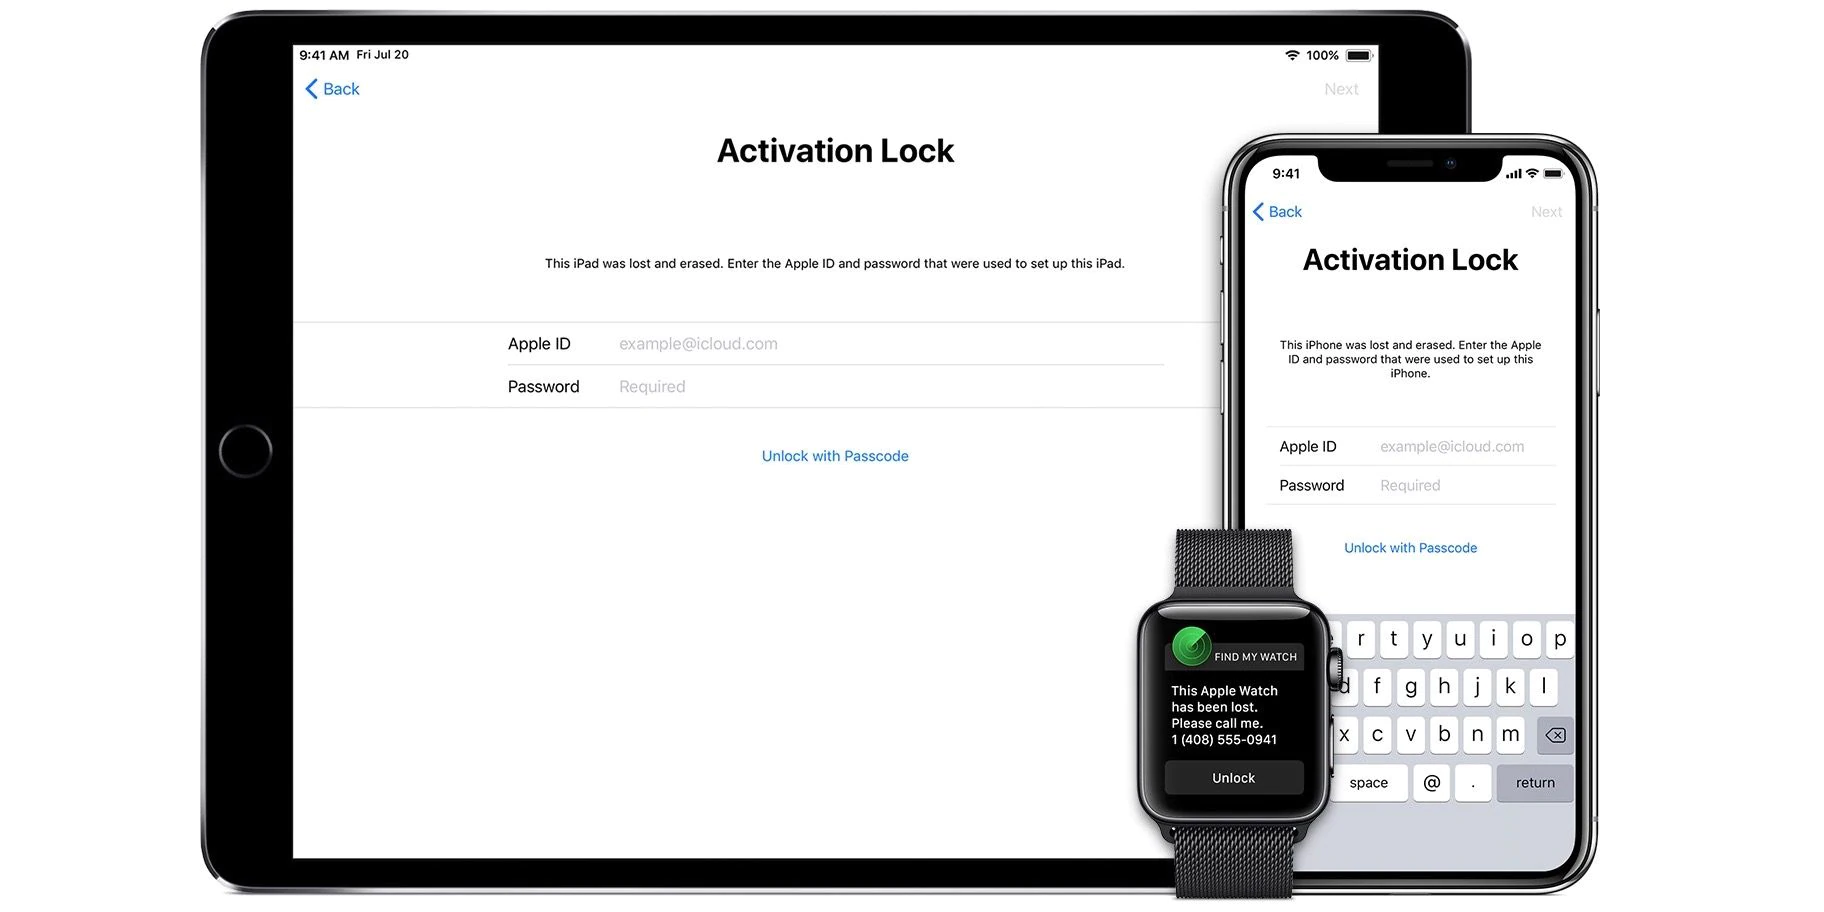
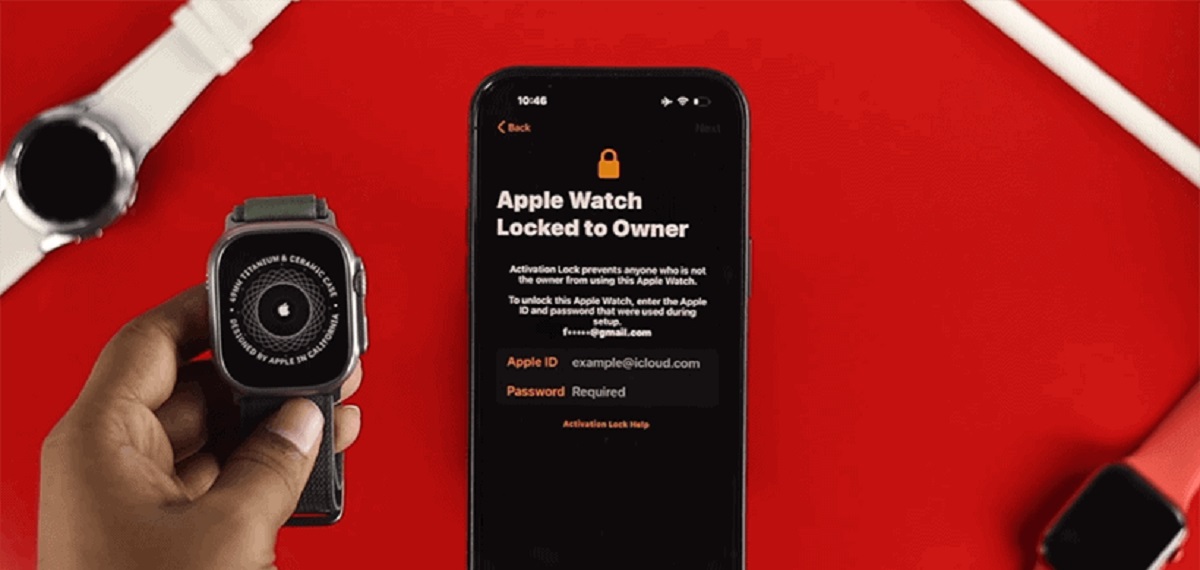
Before removing your Apple Watch from your account, it’s crucial to sign out of iCloud on your watch. This ensures that your Apple Watch is no longer linked to your iCloud account and helps protect your personal data.
To sign out of iCloud on your Apple Watch, follow these steps:
- On your Apple Watch, navigate to the home screen by pressing the digital crown.
- Tap on the “Settings” app icon.
- Scroll down and tap on “Accounts & Passwords.”
- Tap on “iCloud.”
- Scroll down and select “Sign Out.”
- Enter your Apple ID password and tap “Turn Off.”
- You will be prompted to choose whether to keep or remove your data from the watch. Select “Keep on My iPhone” to ensure that your data stays on your connected iPhone.
Once you’ve completed these steps, your Apple Watch will no longer be signed in to your iCloud account. This step is vital to protect your privacy and prevent any unauthorized access to your iCloud data.
With iCloud sign out complete, you’re almost there! The next step is to erase all data from your Apple Watch, ensuring that it’s clean and ready for a new owner. Let’s move on to step 4.
Step 4: Erasing all data from your Apple Watch
Now that you’ve signed out of iCloud on your Apple Watch, it’s time to proceed with erasing all data from the device. This step ensures that your personal information and settings are completely removed, providing you with peace of mind.
To erase all data from your Apple Watch, follow these steps:
- On your Apple Watch, go to the home screen by pressing the digital crown.
- Tap on the “Settings” app icon.
- Scroll down and tap on “General.”
- Swipe down and select “Reset.”
- Tap on “Erase All Content and Settings.”
- Enter your passcode if prompted.
- Confirm the erasure by tapping “Erase All” and follow any additional prompts that may appear.
Please note that this process may take a few minutes to complete. Once done, your Apple Watch will restart and be reset to its factory settings. All data, apps, and settings will be erased, and the watch will be ready for a new user to set it up.
Now that your Apple Watch is wiped clean, it’s time for the final step: removing it from your Apple ID account. Let’s proceed to the next section to complete this process.
Step 5: Removing your Apple Watch from your Apple ID account
With your Apple Watch unpaired, signed out of iCloud, and all data erased, the final step is to remove it from your Apple ID account. This ensures that your Apple Watch is no longer associated with your account and can be set up by a new owner.
To remove your Apple Watch from your Apple ID account, follow these instructions:
- Visit the Apple ID website on a computer or mobile device and sign in with your Apple ID credentials.
- Scroll down to the “Devices” section and find your Apple Watch in the list.
- Click on your Apple Watch to open the device details.
- Click on the “Remove from Account” option.
- A confirmation prompt will appear. Click on “Remove” to confirm the removal.
After confirming the removal, your Apple Watch will no longer be associated with your Apple ID account. This means that the watch is now ready to be set up by its new owner and will no longer appear in your Apple ID device list.
By following these steps, you have successfully removed your Apple Watch from your Apple ID account. It’s important to note that once the watch is removed from your account, you will no longer be able to access its features or receive any notifications on it.
With the removal process complete, you can now safely sell, gift, or dispose of your Apple Watch knowing that your personal data is protected. Congratulations on successfully removing your Apple Watch from your account!
And that concludes the step-by-step process of removing your Apple Watch from your account. By following these steps, you can ensure that your personal data is protected and that your Apple Watch is ready to be used by someone else. Now you can confidently proceed with selling, gifting, or disposing of your Apple Watch, knowing that your information is safeguarded. Remember to always be cautious and follow proper security procedures when dealing with technology devices.
Conclusion
Removing your Apple Watch from your account is an important process to secure your personal data and prepare the device for its next user. By following the five steps outlined in this guide, you can ensure that your Apple Watch is unpaired from your iPhone, backed up, signed out of iCloud, all data is erased, and it is removed from your Apple ID account.
Throughout this process, it is crucial to take the necessary precautions to protect your personal information. Backing up your Apple Watch ensures that you have a copy of your important data, settings, and preferences. Signing out of iCloud and erasing all data from your Apple Watch protect your privacy and prepare the device for a new owner.
Finally, removing your Apple Watch from your Apple ID account completes the process, allowing you to sell, gift, or dispose of the device knowing that it is no longer associated with your personal information.
Remember, the steps outlined in this guide should be followed carefully to ensure a smooth and successful removal process. By doing so, you can confidently move on from your Apple Watch and explore new possibilities or upgrade to a newer model.
We hope this guide has been helpful in assisting you with removing your Apple Watch from your account. If you have any questions or encounter any issues along the way, don’t hesitate to reach out to Apple Support or consult their official documentation for further assistance. Happy removing!