Introduction
Welcome to our guide on how to remove an app from an Android tablet. If you have ever found your tablet cluttered with unnecessary or unwanted apps, then you know how important it is to have a hassle-free process to remove them. Whether you want to free up storage space, declutter your home screen, or simply get rid of apps that you no longer use, we’ve got you covered.
Android tablets offer a user-friendly interface that allows you to easily organize and customize your apps. The process of uninstalling apps can vary slightly depending on your specific tablet model and Android version, but the fundamental steps remain the same. In this guide, we will walk you through the general steps to remove an app from an Android tablet, ensuring a smooth and straightforward experience.
It’s worth mentioning that some pre-installed apps, also known as bloatware, cannot be completely removed from your device without rooting it. However, we will explain how to disable these apps to keep them from cluttering up your tablet’s storage and resources.
So, whether you are a tech-savvy user or a beginner, follow along as we outline the steps to remove apps from your Android tablet. Let’s dive in!
Step 1: Open the App Drawer
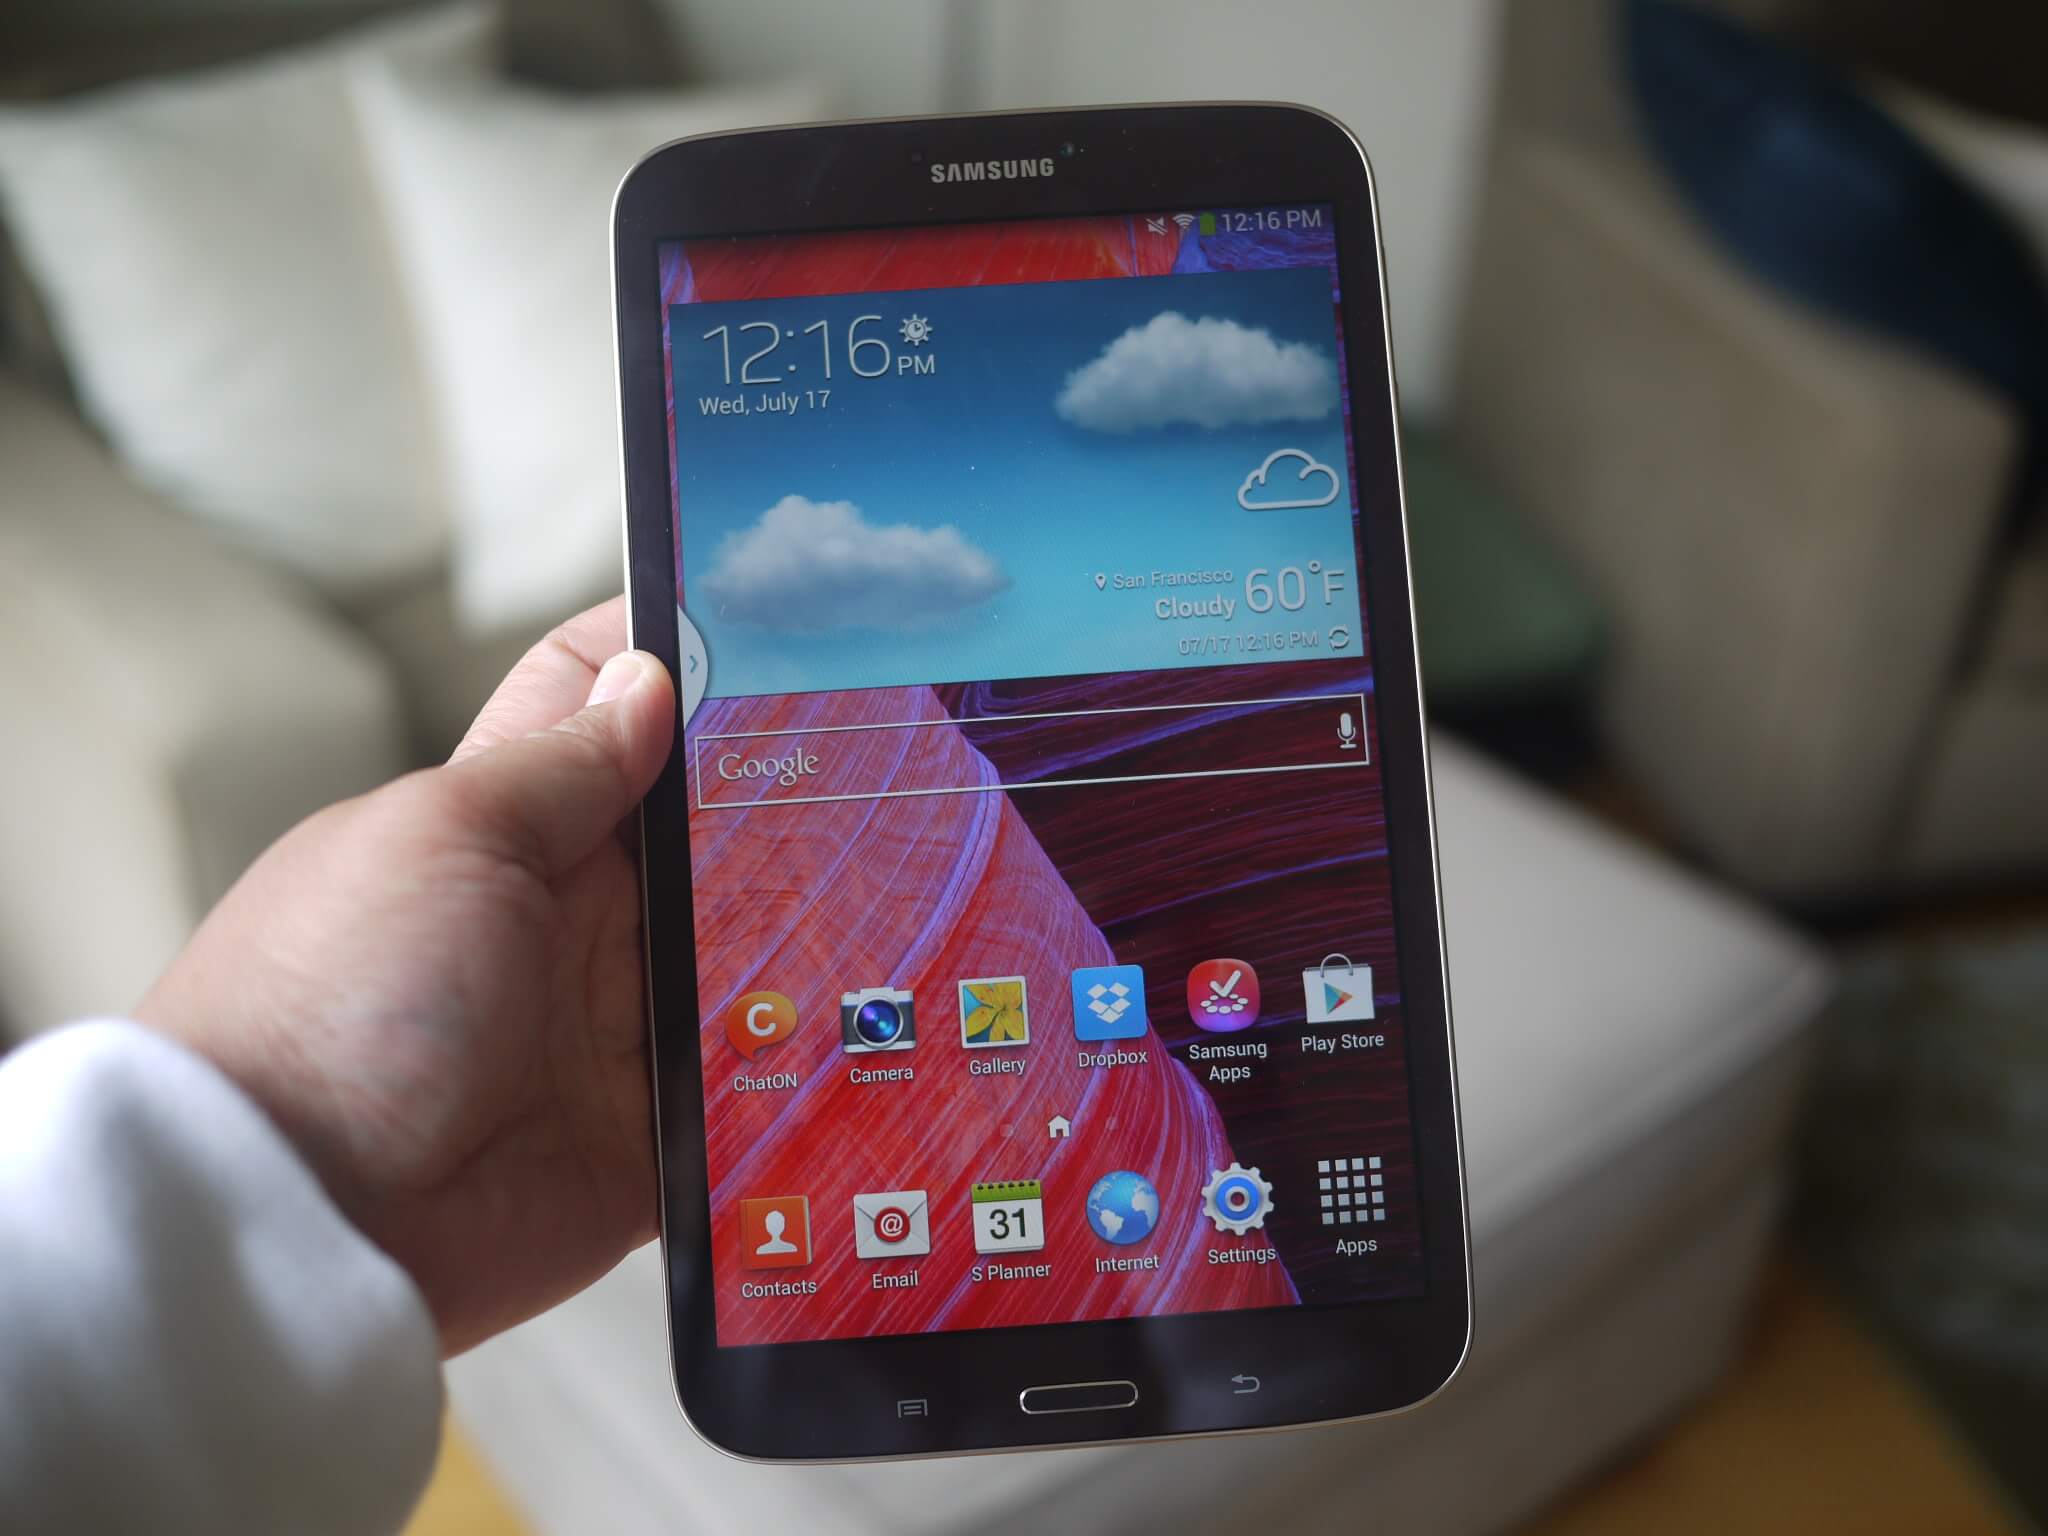
The first step to removing an app from your Android tablet is to locate the App Drawer. The App Drawer is where all your installed apps are listed, making it easy to find and manage them.
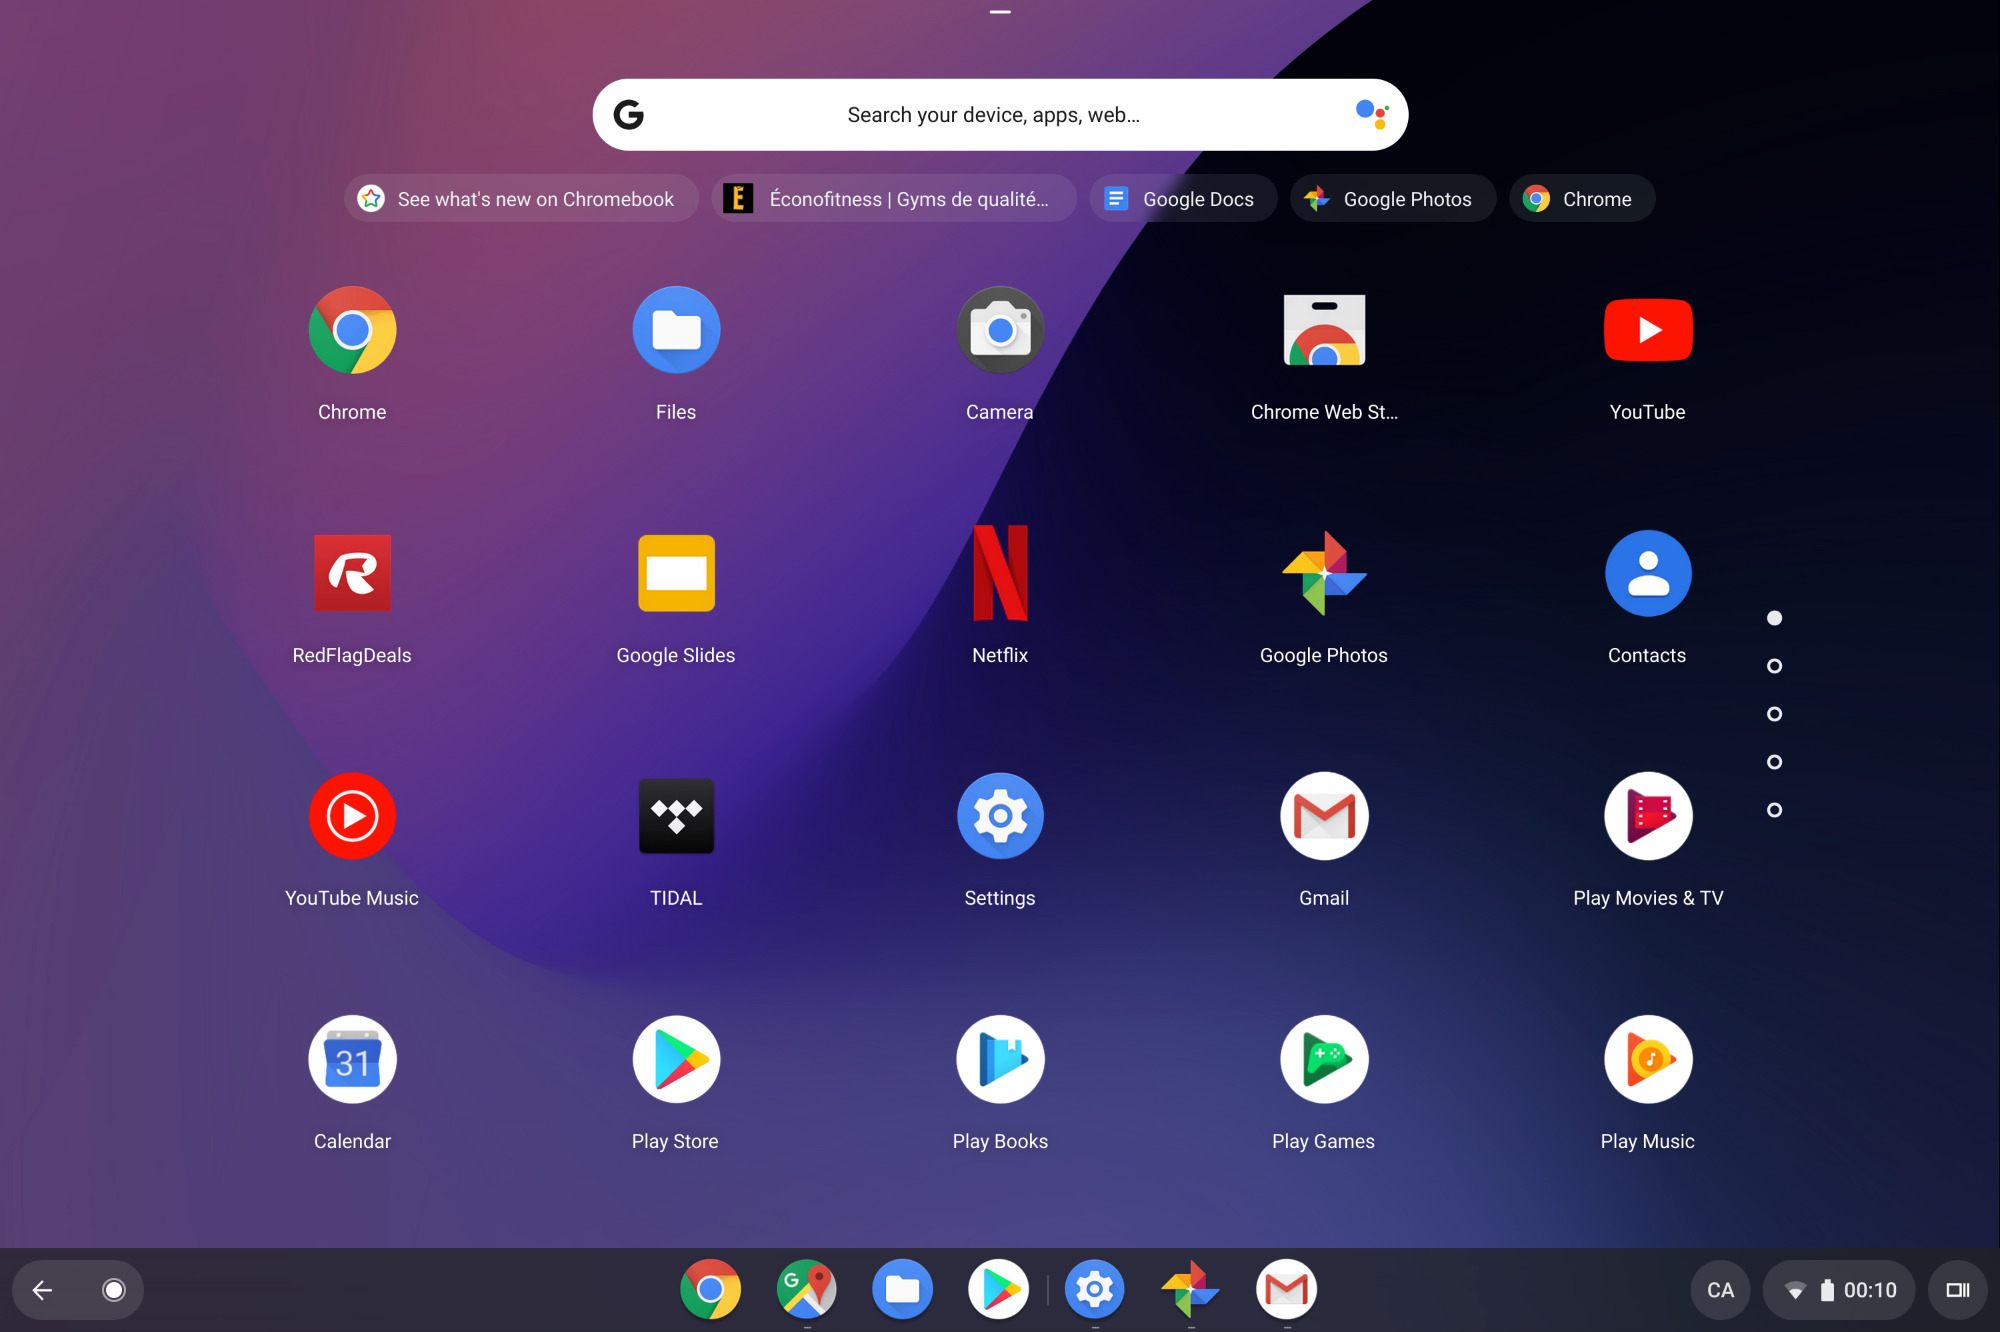
To open the App Drawer, you need to locate the app launcher icon, which is usually a grid of small squares or dots, on your home screen. It can be found at the bottom center or bottom right corner, depending on your device.
Once you find the app launcher icon, simply tap on it to open the App Drawer. This will bring up a list of all the apps installed on your tablet, organized in alphabetical order or categorized sections, depending on your device’s settings.
In some cases, you may find multiple pages within the App Drawer if you have a large number of apps installed. You can swipe left or right to navigate between these pages until you find the app you wish to remove.
Now that you have successfully opened the App Drawer, you are ready to proceed to the next step of removing the app from your Android tablet. Let’s move on!
Step 2: Tap and Hold the App Icon
Once you have opened the App Drawer and located the app you want to remove, the next step is to tap and hold the app icon. This action will allow you to access the options menu for that particular app.
To do this, simply find the app icon on the App Drawer screen and press and hold your finger on it. You will notice that the app icon becomes larger, and you may feel a slight vibration or hear an audible feedback, indicating that the app is selected.
When you tap and hold the app icon, you will see a pop-up menu or a set of options appear above or around the app icon. The appearance of this menu can vary depending on your tablet’s manufacturer and Android version.
In some cases, you may see options such as “Uninstall,” “Remove,” or a trash bin icon. These indicate that you can proceed with uninstalling the app directly from this menu. For other devices, you may see an “X” or a cross sign indicating that you can drag the app icon to that position to remove it.
It’s important to note that if the app icon you selected is part of a folder or grouped with other apps, you may need to lift your finger and continue holding it over the icon to expand or open the group. Once expanded, you can proceed to the next step.
Now that you have successfully tapped and held the app icon and accessed the options menu, let’s move on to the next step of removing the app from your Android tablet.
Step 3: Drag the App Icon to the “Uninstall” Option
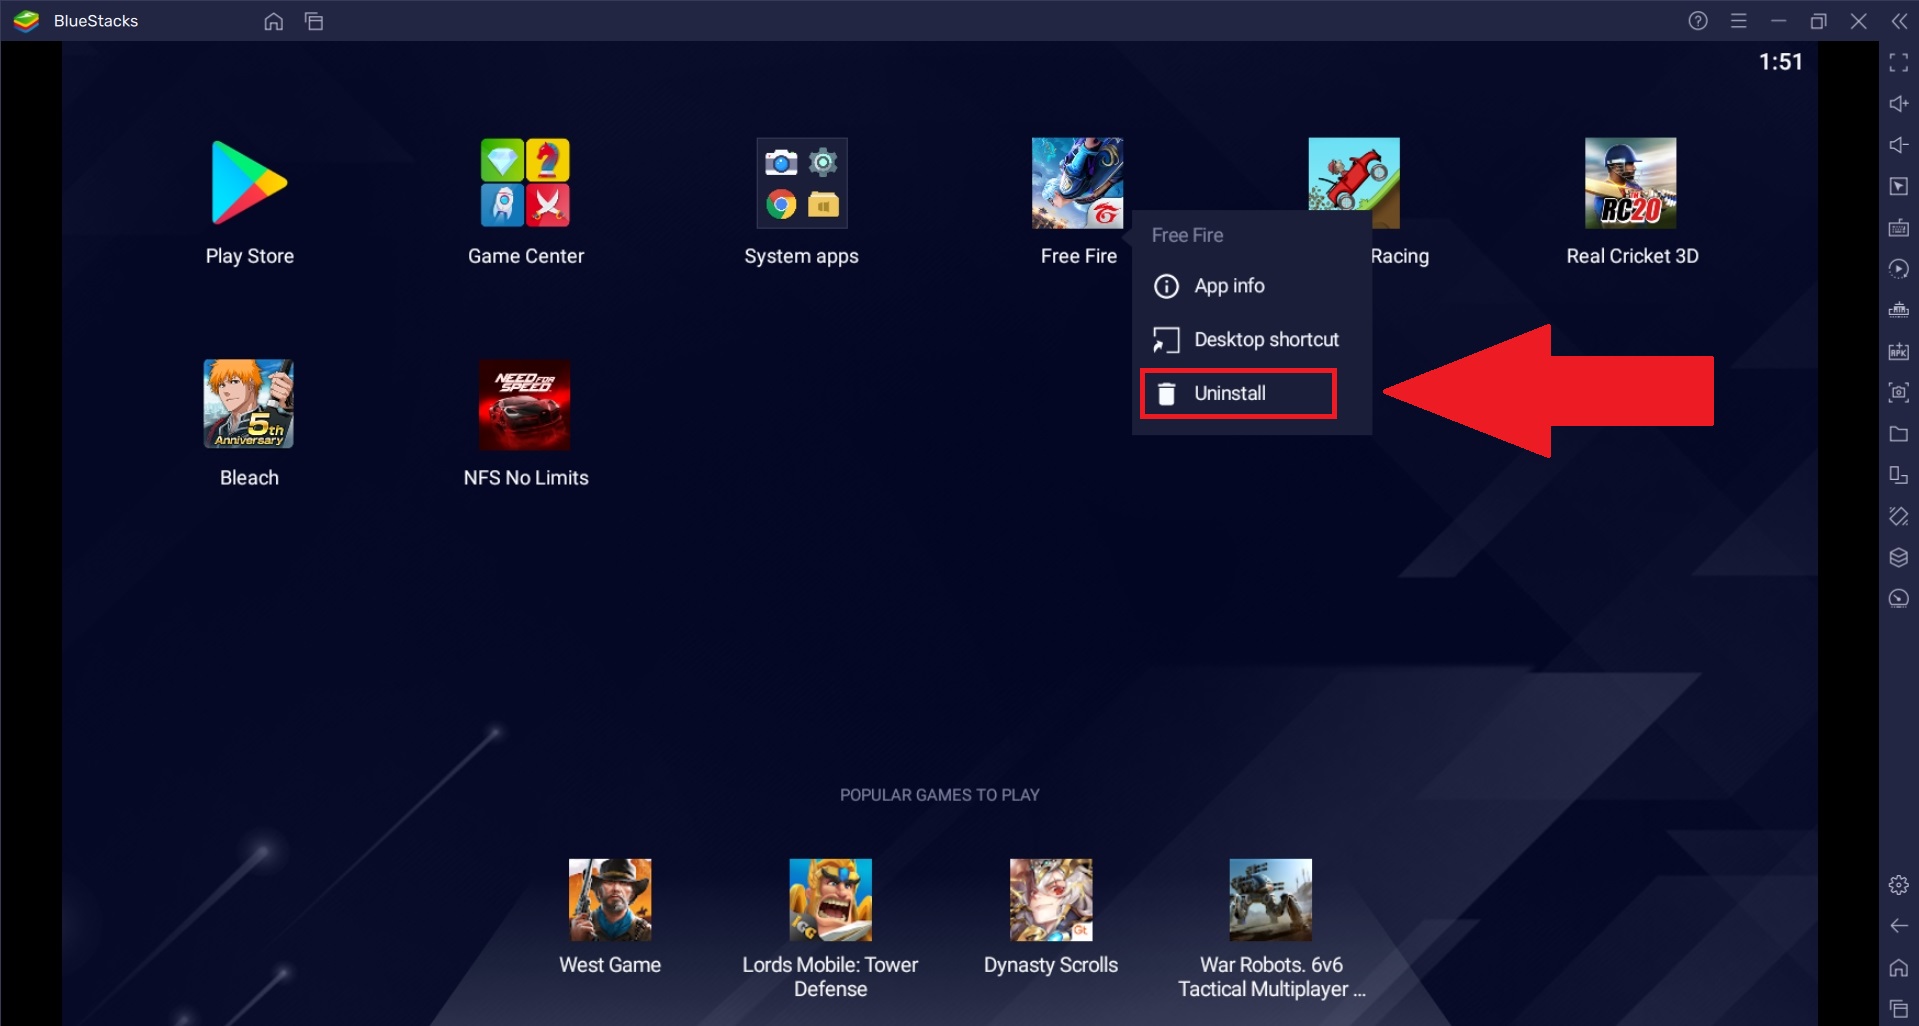
After tapping and holding the app icon, you will see various options appear. Look for the option that says “Uninstall” or a trash bin icon, as this is the option specifically designed to remove the app from your Android tablet.
To proceed with uninstalling the app, drag the app icon towards the “Uninstall” option or the trash bin icon. As you do this, you will notice that the app icon follows your finger movement, allowing you to visually confirm your action.
Continue dragging the app icon until it reaches the “Uninstall” option. You may need to drag it to the top or bottom of the screen, or hover it directly over the “Uninstall” button, depending on your device’s interface.
Once the app icon is positioned over the “Uninstall” option, release your finger from the screen. At this point, a confirmation prompt may appear asking if you want to uninstall the app. You may also be asked if you want to remove any associated data or cache files. These prompts may slightly differ depending on the app and your device’s settings.
To proceed with uninstalling the app, simply confirm your action by tapping on the “Uninstall” button or selecting “OK” in the prompt. If there is an additional prompt asking to remove associated data, you can choose to remove it as well.
Your Android tablet will then proceed with the uninstallation process, which typically takes a few moments. Once the app is successfully uninstalled, you will receive a notification confirming the removal.
Now that you have successfully dragged the app icon to the “Uninstall” option and confirmed the uninstallation, let’s move on to the next step of removing the app from your Android tablet.
Step 4: Confirm the Uninstallation
After dragging the app icon to the “Uninstall” option and confirming your action, the next step is to confirm the uninstallation of the app from your Android tablet. This is an important final step to ensure that the app is completely removed.
Upon confirming the uninstallation, your tablet will start the process of removing the app. You may notice a progress bar or a loading icon indicating that the uninstallation is in progress.
During this process, it’s important to refrain from closing or interrupting the uninstallation, as it may cause issues or incomplete removal of the app. It’s best to allow the tablet to complete the uninstallation on its own.
Once the uninstallation is complete, you will receive a notification or a confirmation message informing you that the app has been successfully removed from your tablet. You may also see the app icon disappear from the App Drawer or the home screen.
It’s worth noting that some apps may have dependencies or associated files that are not automatically removed during the uninstallation process. If you encounter any prompts asking if you want to delete data or cache files associated with the app, it’s advisable to remove them as well.
Confirming the uninstallation is crucial to ensuring that the app is thoroughly removed from your Android tablet. By following this step, you can rest assured that the unwanted app no longer occupies storage space or affects the performance of your device.
Now that you have successfully confirmed the uninstallation, let’s move on to the optional steps that you can take to further manage and optimize your app removal process.
Step 5: Remove App Updates (Optional)
Once you have successfully uninstalled an app and want to further clean up your Android tablet, you have the option to remove any updates that the app may have received. Removing app updates can be beneficial in cases where you want to free up additional storage space or revert to an earlier version of the app.
To remove app updates, follow these steps:
- Open the “Settings” app on your Android tablet. You can usually find the “Settings” app in the App Drawer or by swiping down from the top of the screen and tapping the gear icon.
- Scroll down and find the “Apps” or “App Management” option. The name may vary depending on your device’s manufacturer and Android version.
- Tap on the “Apps” option to view a list of all the apps installed on your tablet.
- Locate the app for which you want to remove updates and tap on it to open the app’s settings.
- Within the app settings, look for the option that says “Uninstall updates” or something similar.
- Tap on the “Uninstall updates” option to remove any updates that have been installed for the app.
- A confirmation prompt may appear asking if you want to proceed with uninstalling updates. Confirm your action, and the updates will be removed.
Please note that removing app updates will revert the app to its original version. It’s important to keep in mind that older versions of apps may lack the latest features, bug fixes, and security patches. Therefore, it’s recommended to remove updates only if you have specific reasons to do so.
Now that you know how to remove app updates, you have the option to further manage and optimize the installed apps on your Android tablet. Let’s move on to the next optional step: clearing app data.
Step 6: Clear App Data (Optional)
In addition to uninstalling apps and removing updates, you have the option to clear app data on your Android tablet. Clearing app data can help free up additional storage space and reset the app to its default settings, as if it was newly installed.
Here are the steps to clear app data:
- Open the “Settings” app on your Android tablet.
- Scroll down and find the “Apps” or “App Management” option. Tap on it.
- Locate the app for which you want to clear the data and tap on it.
- Within the app settings, you will find an option that says “Storage” or “Storage & cache.” Tap on it.
- In the storage settings, you will see the “Clear data” option. Tap on it.
- A confirmation prompt will appear, explaining that clearing data will delete all your app’s settings and data. Confirm your action.
- The app’s data will be cleared, and it will be restored to its default settings.
It’s important to keep in mind that clearing app data will remove all your personalized settings, login credentials, and app-specific data. If you have any important data or preferences stored within the app, it’s advisable to back them up before proceeding with clearing the data.
Clearing app data can be beneficial if you encounter issues with an app, such as crashes or slow performance. By clearing the data, you can start fresh and potentially resolve any app-related problems.
Now that you know how to clear app data, let’s move on to the last optional step: disabling pre-installed apps.
Step 7: Disable Pre-installed Apps (Optional)
On Android tablets, you may find that there are pre-installed apps that you don’t use or need. These apps, also known as bloatware, can take up valuable storage space and resources. Fortunately, you have the option to disable these pre-installed apps, effectively hiding them from your app list and freeing up space on your device.
Here’s how you can disable pre-installed apps:
- Go to the “Settings” app on your Android tablet.
- Scroll down and find the “Apps” or “App Management” option. Tap on it.
- In the app settings, look for the “All Apps” or “System Apps” tab, and tap on it.
- You will see a list of all the apps installed on your tablet, including the pre-installed ones.
- Scroll through the list and locate the pre-installed app you want to disable.
- Tap on the app to open its settings.
- Within the app settings, you will find an option that says “Disable” or “Turn off.” Tap on it.
- A confirmation prompt will appear, informing you about the consequences of disabling the app. Confirm your action.
- The pre-installed app will be disabled and no longer visible in the App Drawer or the list of installed apps.
Please note that while disabling pre-installed apps helps remove them from view and frees up space, it does not completely remove them from your device. The app’s data and resources will still remain on your tablet, but they won’t be actively running or consuming system resources.
Disabling pre-installed apps can be useful for optimizing your device’s performance and removing unnecessary clutter. However, keep in mind that some pre-installed apps may be essential for the proper functioning of your tablet’s system, so exercise caution when disabling apps.
Now that you know how to disable pre-installed apps, you have the option to further customize and optimize your Android tablet. Take control of the apps that are installed and running on your device to ensure a smooth and efficient user experience.
Conclusion
Removing apps from your Android tablet is a straightforward process that can help you declutter your device, free up storage space, and optimize performance. By following the steps outlined in this guide, you can easily uninstall unwanted apps, remove app updates, clear app data, and disable pre-installed apps.
Remember that the specific steps may vary slightly depending on your tablet model and Android version, but the general principles remain the same. It’s always a good idea to check your device’s user manual or consult the manufacturer’s support resources for any specific instructions.
When removing apps, it’s important to consider the implications of uninstalling updates, clearing app data, and disabling pre-installed apps. Removing updates may revert an app to an earlier version, potentially resulting in the loss of new features or bug fixes. Clearing app data will reset an app to its default settings, so ensure you have backups of any important data before proceeding. Disabling pre-installed apps can free up space, but be aware that some apps are necessary for the proper functioning of your tablet’s system.
By taking control of the apps on your Android tablet, you can ensure a streamlined and optimized experience that meets your needs and preferences. Removing unnecessary apps and managing installed apps will help keep your tablet organized and running smoothly.
We hope this guide has been helpful in assisting you with removing apps from your Android tablet. Enjoy a clutter-free device that is tailored to your preferences, and make the most out of your Android tablet experience!