Introduction
Welcome to this step-by-step guide on how to delete an app from your Android tablet. Whether you’re looking to declutter your device, free up storage space, or remove an app you no longer use, we’re here to help you through the process. Android tablets offer a wide range of applications to download and install from the Google Play Store, but sometimes it’s necessary to remove certain apps for various reasons.
Deleting an app from your Android tablet is a simple and straightforward process. In just a few steps, you can quickly uninstall any unwanted apps and reclaim valuable space on your device. Additionally, removing apps that you no longer utilize can improve the overall performance and efficiency of your tablet.
In this guide, we will walk you through the necessary steps to delete an app from your Android tablet. Whether you have a Samsung, Google Pixel, Lenovo, or any other Android tablet, the steps will remain relatively similar across different devices and versions of the Android operating system.
Before we proceed, it’s important to note that these instructions may vary slightly depending on the specific Android tablet model and the version of the Android operating system you are using. However, the overall process should remain consistent.
Now, let’s dive into the steps to delete an app from your Android tablet.
Step 1: Accessing the Apps Menu
The first step to deleting an app from your Android tablet is to access the Apps menu. This menu houses all the applications installed on your device, making it easy to locate and manage them.
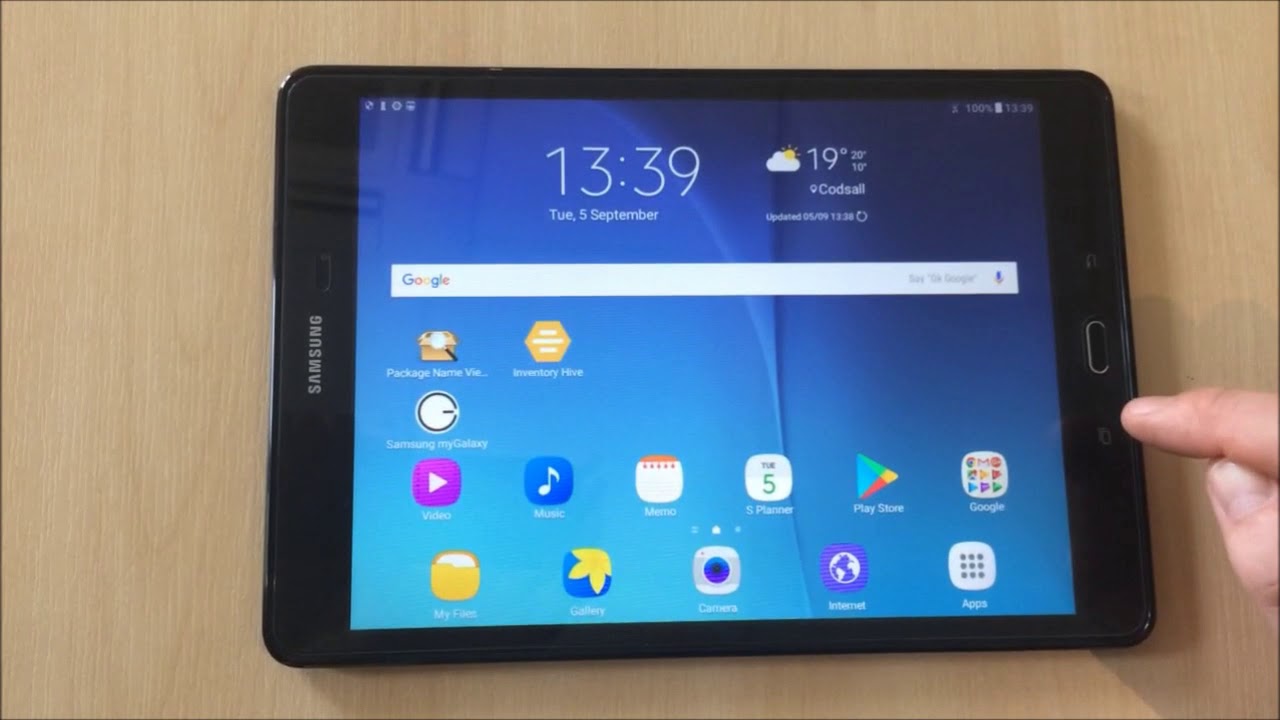
To access the Apps menu, you need to locate the App Drawer icon on your tablet’s home screen. The exact appearance of the App Drawer icon may vary depending on your tablet’s manufacturer and Android version, but it is typically represented by a grid of dots, small squares, or a circle with six dots inside.
Once you locate the App Drawer icon, follow these steps:
- Tap on the App Drawer icon on your tablet’s home screen. This will open the Apps menu and display all the installed apps.
- Scroll through the list of apps to find the one you want to delete. You can swipe up or down on the screen to scroll through the apps.
- If you have many apps installed, you can also use the search bar at the top of the screen to quickly locate the app by typing its name.
- Once you find the app you wish to delete, proceed to the next step.
Accessing the Apps menu allows you to easily locate the app you want to delete. This step is crucial as it ensures you select the correct app for removal. By following this step, you ensure that you are on the right track to efficiently delete the app from your Android tablet.
Step 2: Selecting the App to Delete
After accessing the Apps menu on your Android tablet, the next step is to select the app you want to delete. This ensures that you are targeting the specific app you wish to remove from your device. Follow these instructions to select the app:
- While in the Apps menu, locate the app you want to delete.
- Tap and hold on the app icon. After a moment, you will see a pop-up menu appear.
- Look for an option that says “Uninstall” or shows a trash bin icon. Different Android versions and devices may have slightly different options displayed here.
- Select the “Uninstall” option or tap on the trash bin icon. This action will initiate the app deletion process.
It’s important to ensure that you select the correct app for deletion. Double-check the app icon and name to avoid accidentally uninstalling an app that you still want to keep. If you’re unsure about an app’s purpose or are hesitant about deleting it, you can do some research online to understand its functions and determine if it’s essential for your needs.
Once you have successfully selected the app, proceed to the next step to uninstall and remove it from your Android tablet. Remember, the app will be completely removed, including any associated data or saved settings. If you think you may need this data in the future, it might be wise to back it up before proceeding with the deletion.
Step 3: Uninstalling the App
With the app selected for deletion in the previous step, you are now ready to proceed with uninstalling it from your Android tablet. The uninstallation process removes the app from your device’s storage, freeing up space and ensuring it no longer occupies valuable resources. Follow these instructions to uninstall the app:
- After selecting the app for deletion, you will be directed to an uninstallation screen. This screen provides you with additional information about the app and its impact on your device.
- Review the information on the screen for any important details about the app or its associated data.
- Tap on the “Uninstall” button or similar wording to initiate the uninstallation process.
- A confirmation prompt may appear, asking if you want to remove the app. Read the prompt carefully and ensure that you are uninstalling the correct app.
- Tap “OK” or “Uninstall” to confirm and proceed with the app uninstallation.
- Wait for a few moments as the system removes the app from your tablet. This duration may vary depending on the size of the app and your device’s processing power. Avoid interrupting the process to ensure a smooth uninstallation.
Once the app has been successfully uninstalled, it will no longer appear in your Apps menu, and its associated data and settings will be removed from your device’s storage. This step clears up space on your Android tablet, allowing you to install new apps or accommodate other files as needed.
Remember, you can always reinstall the app from the Google Play Store or any other trusted source if you decide you need it again in the future. But for now, let’s move on to the next step to confirm the app deletion and ensure it’s permanently removed from your device.
Step 4: Confirming the Deletion
After uninstalling the app in the previous step, it is essential to confirm that the deletion was successful and that the app is permanently removed from your Android tablet. This verification step ensures that the app no longer appears on your device and that all its associated files and data have been eradicated. Follow these instructions to confirm the deletion:
- Return to your tablet’s home screen or navigate back to the Apps menu.
- Scroll through the list of apps or search for the previously deleted app.
- Verify that the app icon and name no longer appear in the list. If the app is no longer visible, this confirms that the deletion was successful.
- Attempt to launch the app by tapping on its icon, if it still exists on your home screen or launcher. If the app does not open and instead displays an error message or is unresponsive, this further confirms that the app has been deleted.
Confirming the deletion is crucial to ensure that you have successfully removed the app from your Android tablet. It gives you peace of mind and reassurance that the app is no longer present on your device and that it won’t impact your tablet’s performance or consume unnecessary storage space.
If, for any reason, you still see the app appearing in the Apps menu or it is launchable after following these steps, it’s possible that the uninstallation process was not completed properly. In such cases, you may need to repeat the uninstallation process or explore alternative methods to delete the app successfully.
Now that you have confirmed the deletion, let’s move on to the next step, which involves removing any remaining app data (if desired and applicable).
Step 5: Removing App Data (optional)
After confirming the app deletion, you have the option to remove any remaining app data associated with the deleted app. App data includes files, cache, and other information that the app may have stored on your Android tablet. Removing app data can help further free up storage space and ensure a clean slate for your device. However, not all apps leave significant amounts of data behind, so this step may vary in its importance depending on the app.
To remove app data for the deleted app, follow these instructions:
- Open your device’s Settings app. You can typically find the Settings icon on your home screen or in the App Drawer.
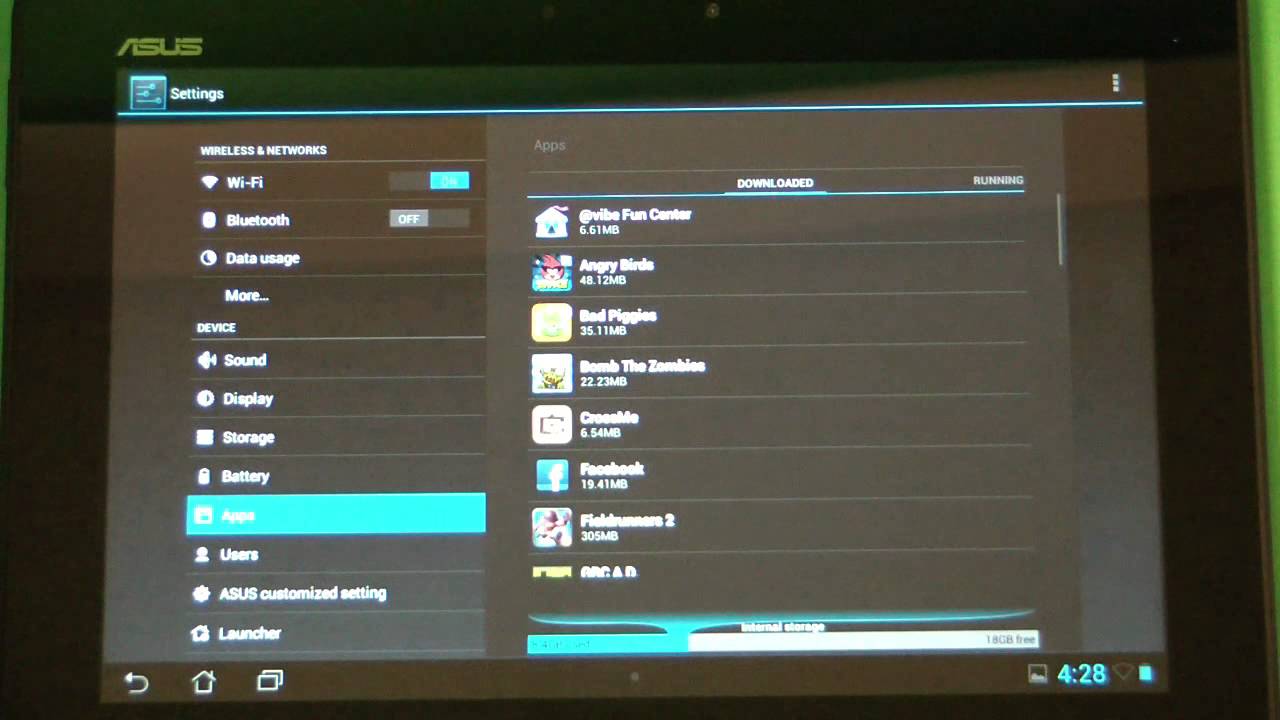
- Scroll through the settings options or use the search bar at the top to locate “Apps” or “App & Notifications.” The exact wording may vary based on your device’s manufacturer and Android version.
- Tap on the “Apps” option to access the list of installed apps on your tablet.
- Scroll through the list or use the search bar to find the deleted app. Remember, you’re looking for the app’s name, which should no longer have an associated icon.
- Tap on the app name to open its App Info page.
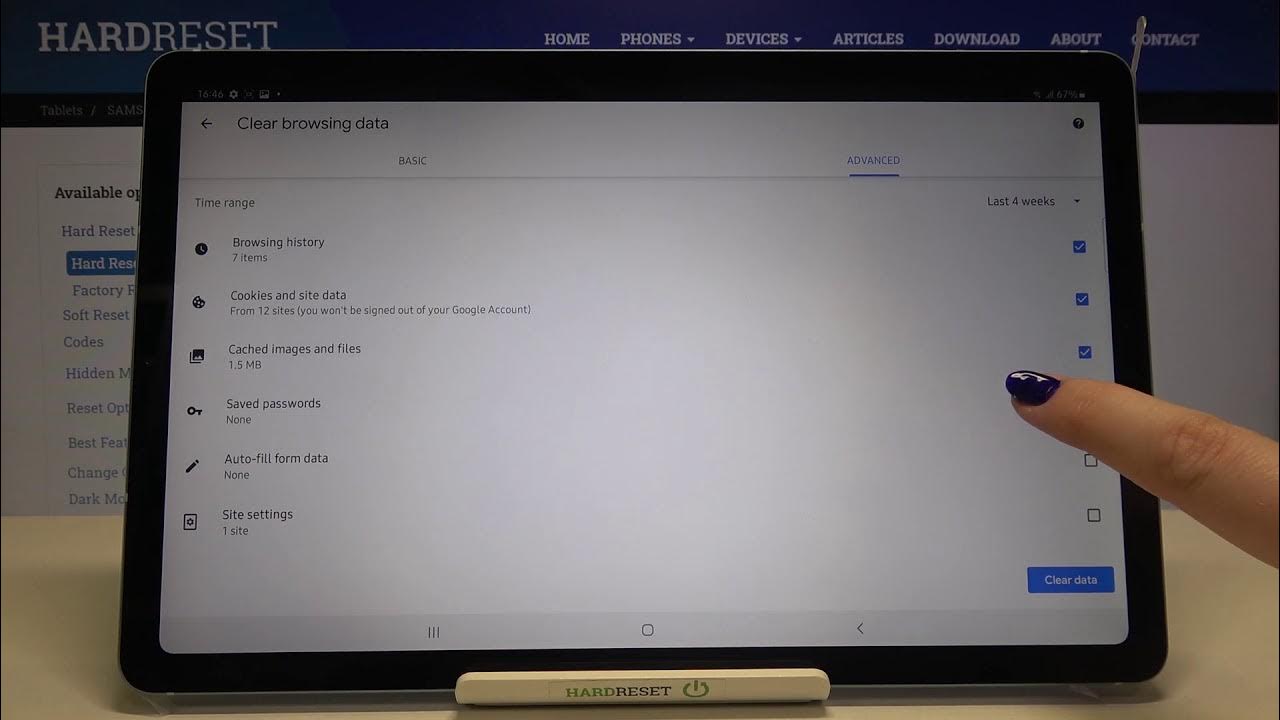
- Inside the App Info page, you should find an option labeled “Storage” or “Storage & cache.” Tap on this option to access the app’s storage settings.
- On the storage screen, you will see two buttons: “Clear storage” and “Clear cache.” These options allow you to remove the app’s data. Be cautious, as clearing the storage will delete all app data, including any saved data or settings.
- If you want to remove all app data, tap on the “Clear storage” button. If you only want to remove the app’s cache, tap on the “Clear cache” button.
- A confirmation prompt may appear, asking for your consent to clear the data. Read the prompt carefully, as this action is irreversible.
- Tap on “OK” or “Clear” to proceed with the removal of the app data.
Removing app data is an optional step but can be particularly useful if you want to completely reset an app to its initial state or if you are concerned about lingering files on your device. Note that by removing app data, any saved preferences or data associated with the app will also be lost, so exercise caution and ensure that you want to permanently delete this information.
With this step completed, you have successfully deleted the app and removed any remaining app data if desired. Your Android tablet should now be free from the presence of the app and its associated files, allowing you to enjoy the newfound storage space and improved performance.
Conclusion
Congratulations! You have successfully learned how to delete an app from your Android tablet. By following the step-by-step guide provided, you can effectively remove unwanted apps, free up storage space, and optimize the performance of your device.
Throughout this guide, we covered the necessary steps to delete an app from your Android tablet. We started by accessing the Apps menu, locating the specific app you wanted to delete, and then initiating the uninstallation process. We also emphasized the importance of confirming the deletion and ensuring that the app is permanently removed from your device.
Additionally, we explored the optional step of removing app data, which can help further free up storage space and delete any remaining files or cache associated with the deleted app.
It’s worth noting that the exact steps and options might vary slightly depending on your Android tablet model and version of the Android operating system. However, the fundamental concept of deleting an app remains the same across most Android devices.
Remember to exercise caution when deleting apps and ensure that you are selecting the correct app for removal. If you have any concerns or uncertainties about a particular app, it’s always a good idea to do some research or consult with others before proceeding with the deletion.
Deleting unnecessary apps from your Android tablet not only frees up storage space but also helps declutter your device and improve its overall performance. It allows you to have better control over your app collection and ensures that only the apps you truly need and use are taking up space on your device.
We hope this guide has been helpful in assisting you in deleting apps from your Android tablet. Enjoy your clean, optimized device and make the most out of your Android experience!