Introduction
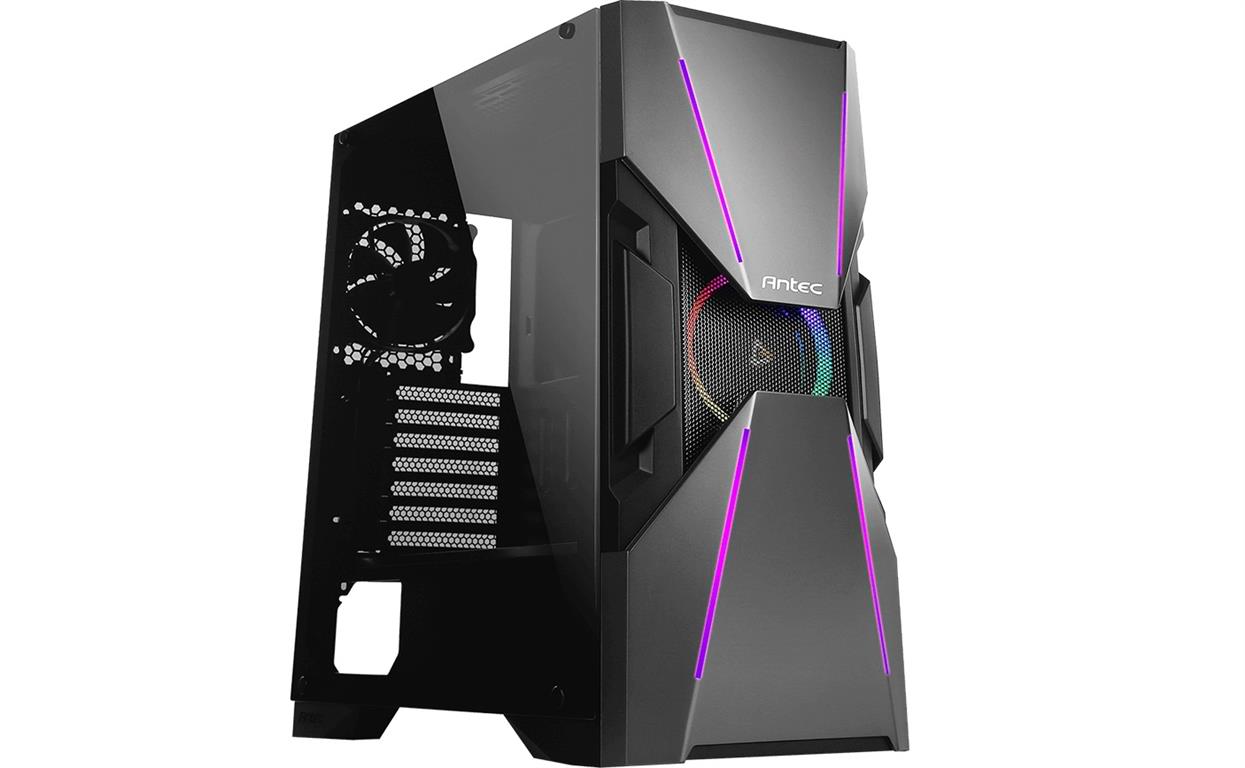
An Antec PC case is a crucial component in any computer setup, providing a protective enclosure for the internal hardware. However, there may be instances where you need to access the internal components, upgrade or replace hardware, or perform maintenance tasks. In such situations, it becomes necessary to remove the cover of the Antec PC case.
Removing the cover allows you to gain easier access to the inner workings of your computer, making it simpler to perform tasks such as installing additional RAM, upgrading the graphics card, or cleaning out dust and debris that may accumulate over time. Though it may seem like a daunting task, taking off the cover of an Antec PC case is a fairly straightforward process.
This guide will walk you through the step-by-step process of removing the cover on an Antec PC case. We will discuss the tools you will need, the precautions to take, and the methods to safely remove and reattach the cover. By following these instructions carefully, you will be able to remove the cover of your Antec PC case with ease, ensuring you can perform any necessary maintenance or upgrades without any hassles.
So, if you’re ready to dive in and learn how to remove the cover of your Antec PC case, let’s get started!
Why do you need to remove the cover of an Antec PC case?
There are several reasons why you may need to remove the cover of an Antec PC case. Here are a few common scenarios:
- Upgrading or replacing hardware: Whether you want to add more RAM, install a new graphics card, or upgrade your storage, removing the cover of the Antec PC case is necessary to access the internal components. This allows you to easily install or swap out hardware without any constraints.
- Cleaning and maintenance: Over time, dust and debris can accumulate inside the computer case, affecting the cooling system’s efficiency and potentially causing hardware issues. Removing the cover gives you the opportunity to clean the components, fans, and filters, ensuring optimal airflow and preventing overheating.
- Troubleshooting and diagnostics: If you are experiencing hardware or software problems, removing the cover of the Antec PC case allows you to visually inspect the components for any visible issues. It also provides easier access to cables and connectors, making it easier to reseat or replace them if necessary.
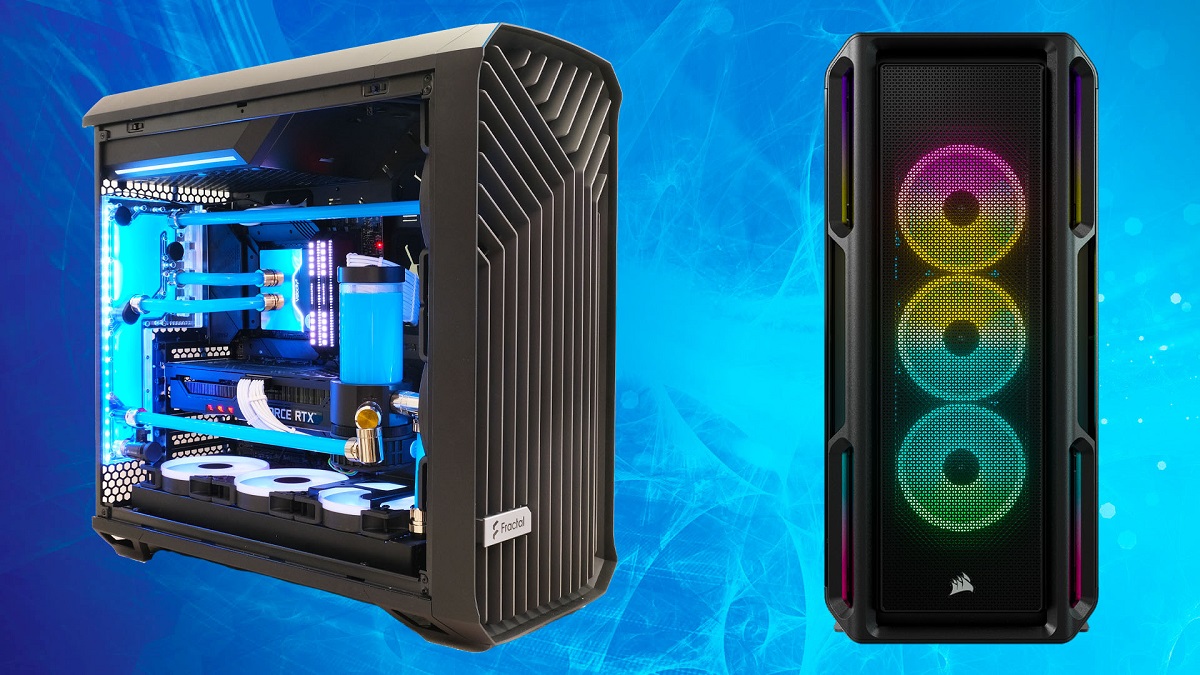
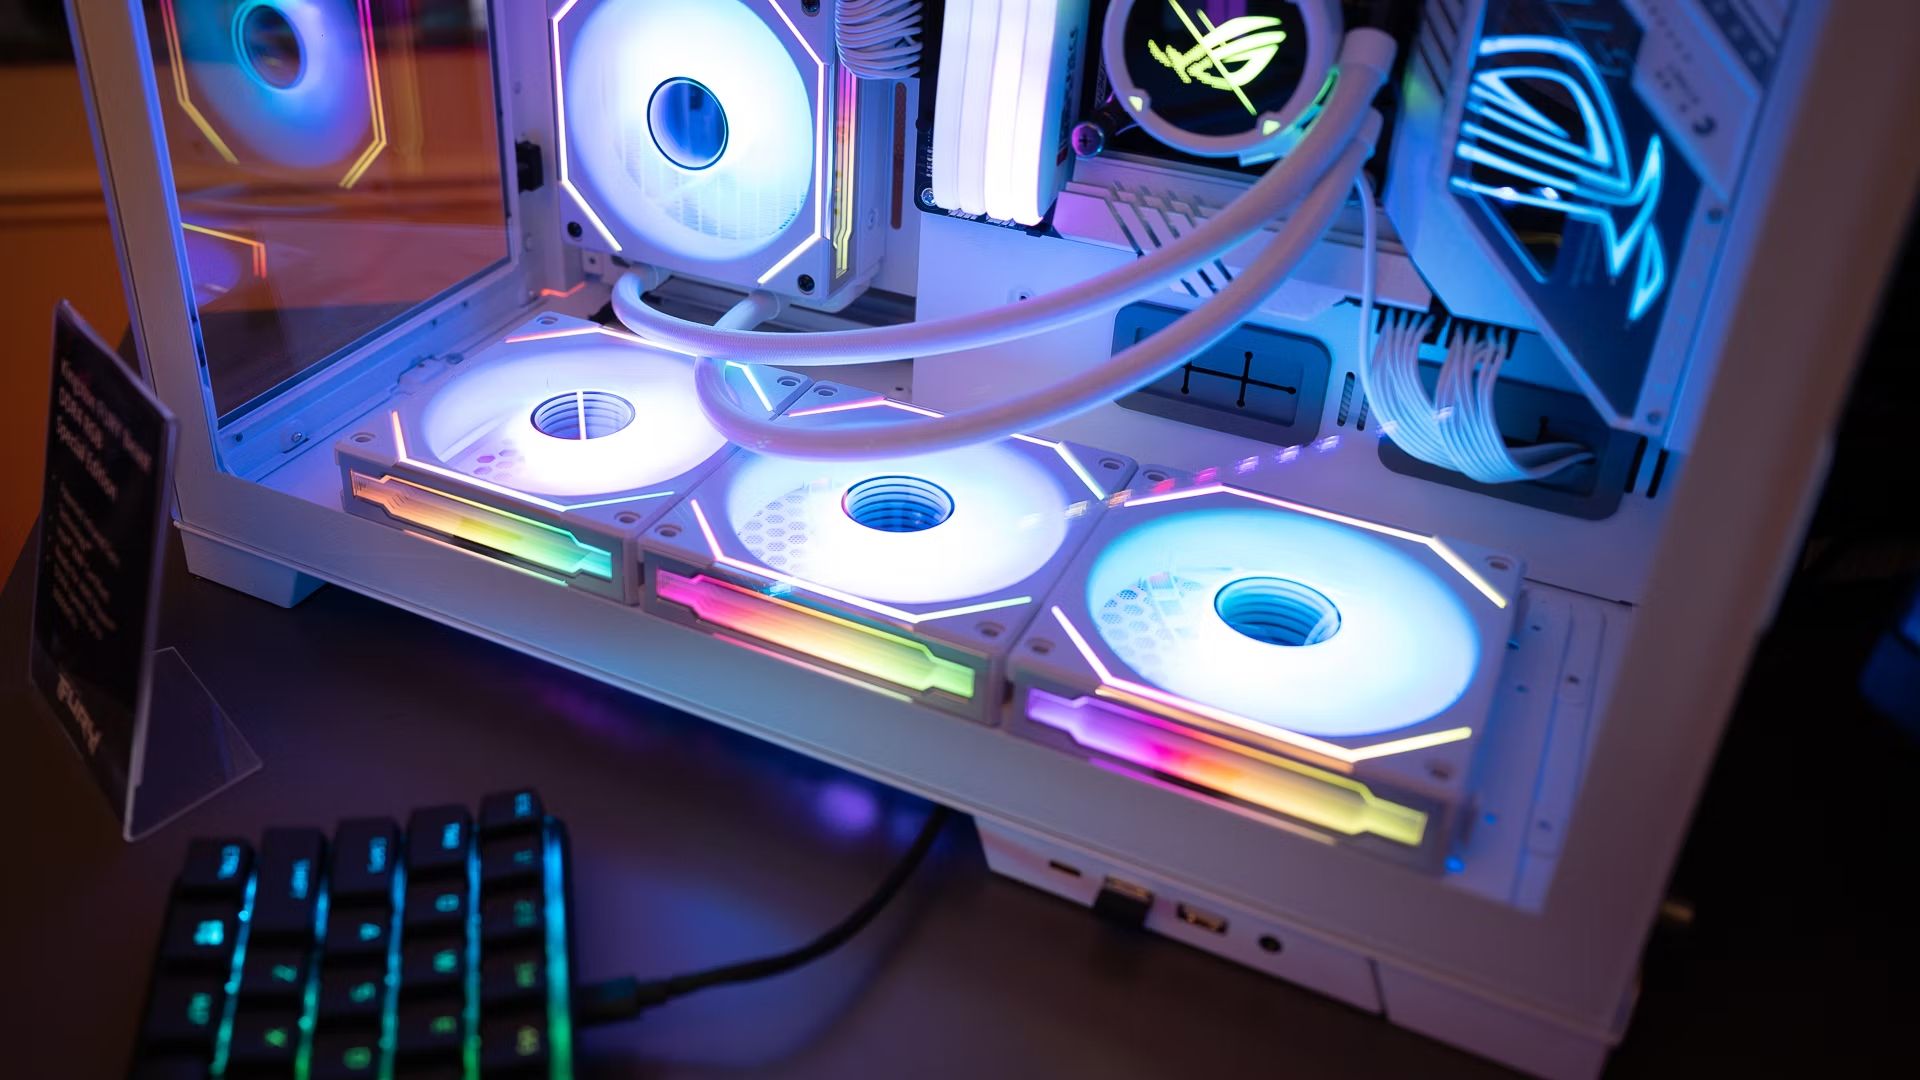
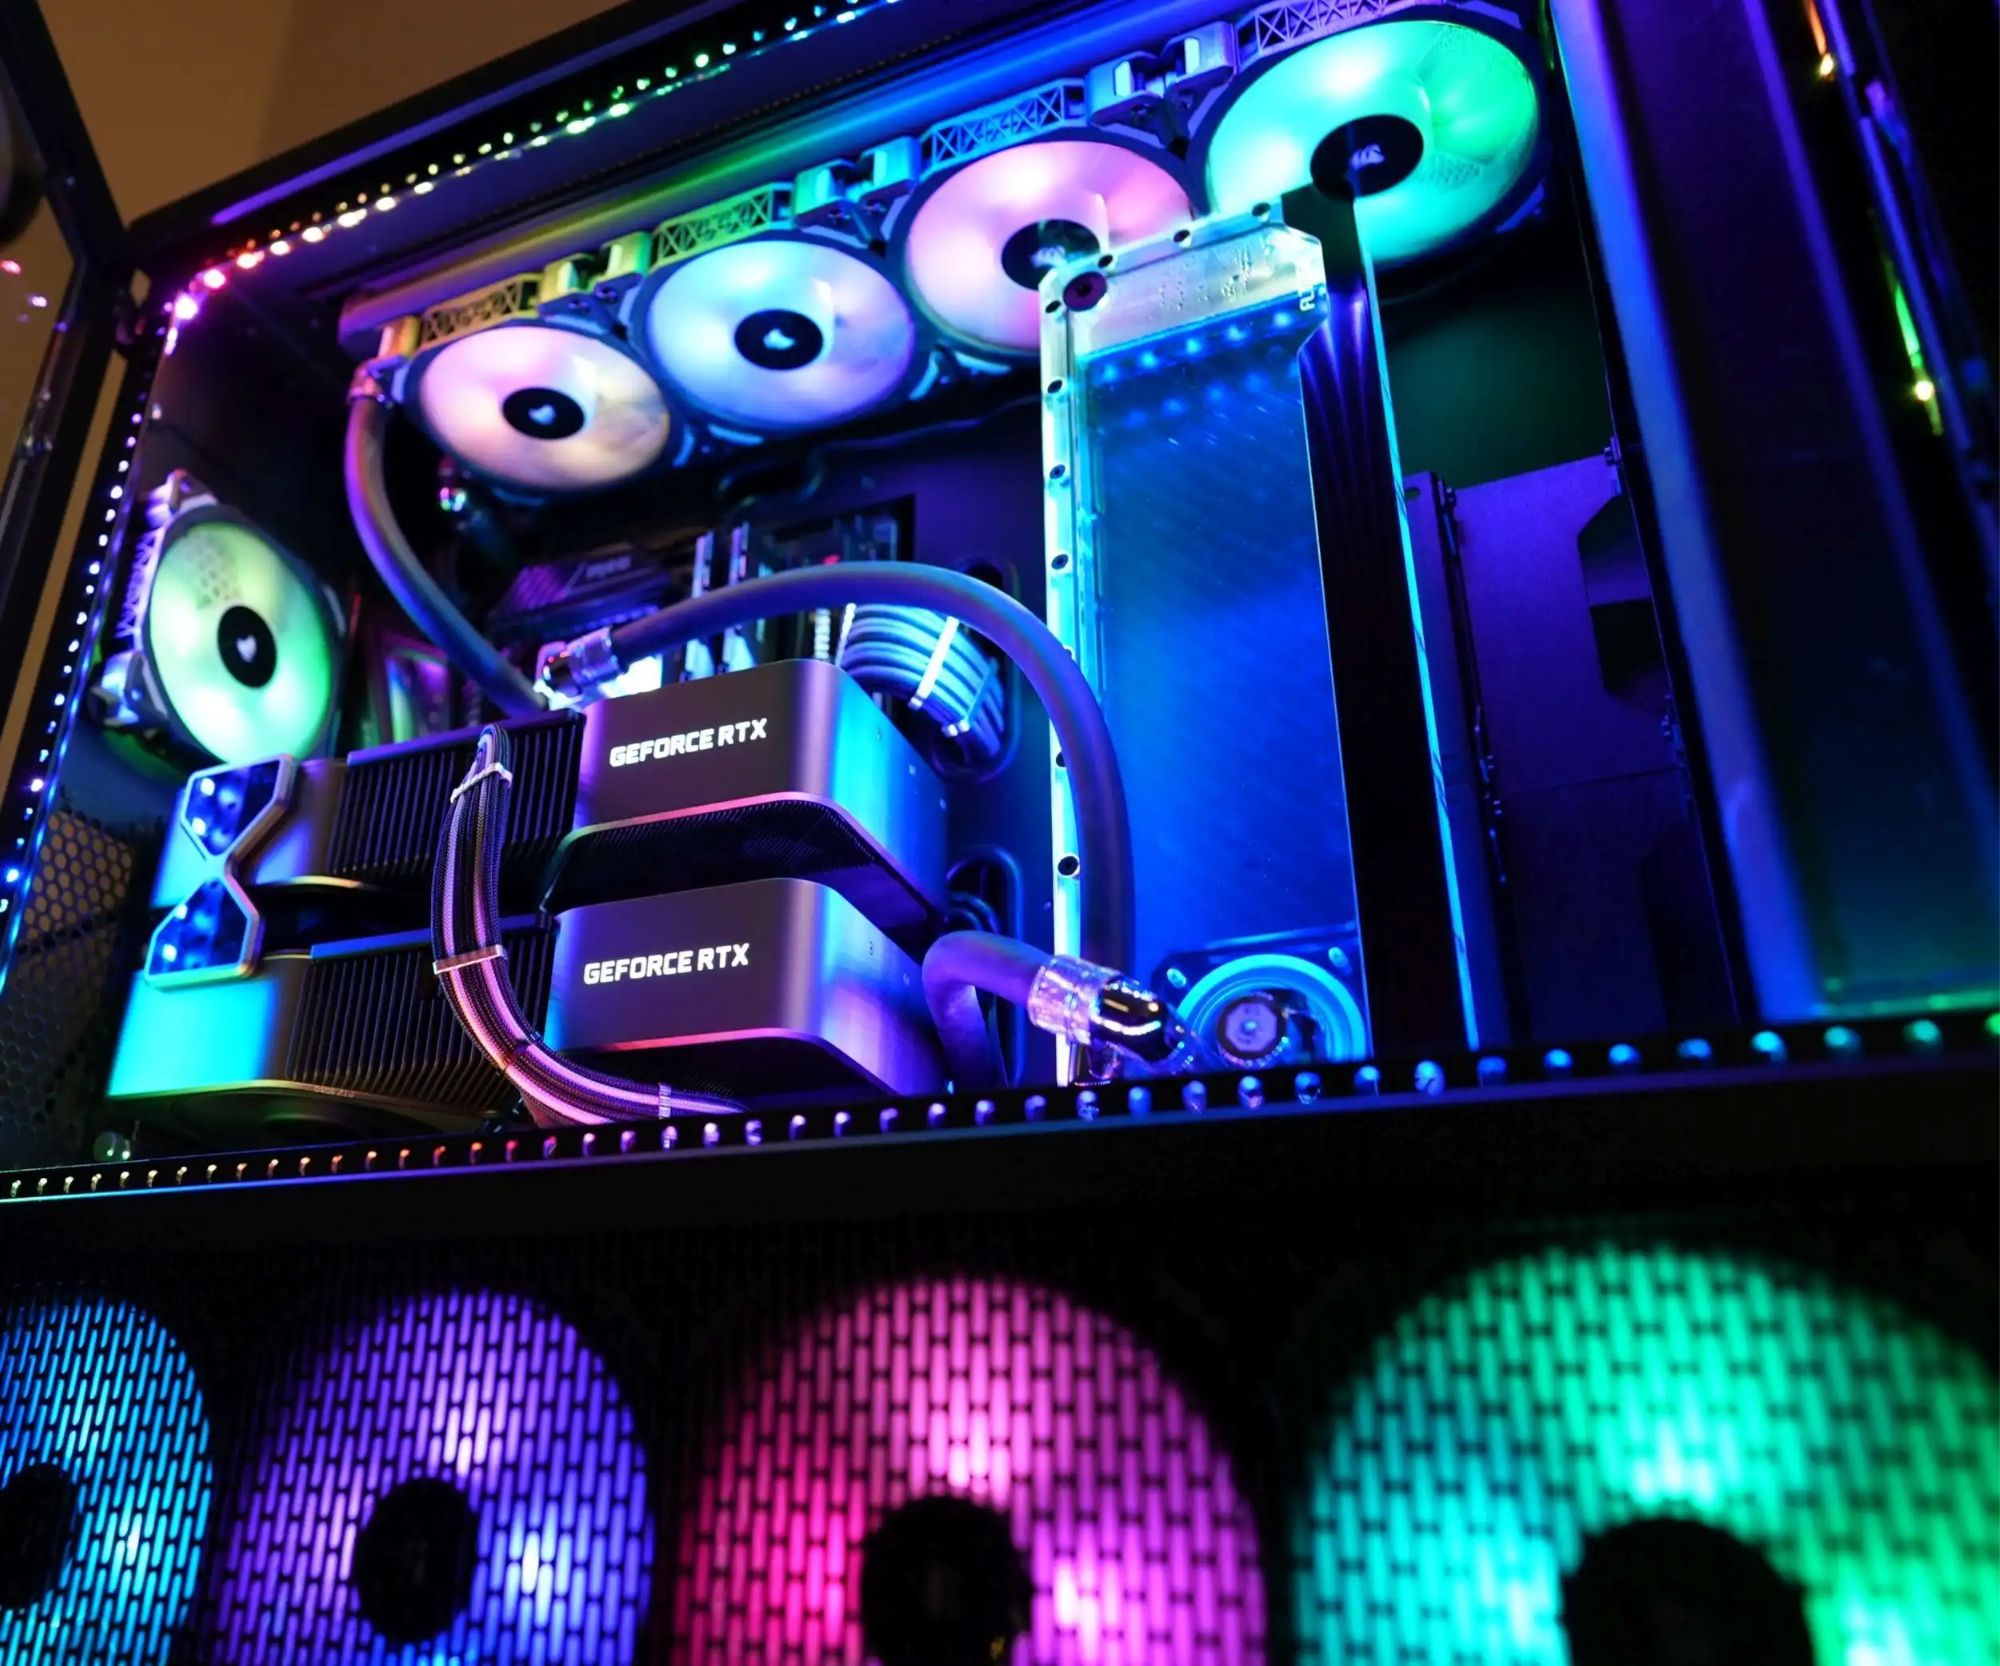
- Customization and modification: Some PC enthusiasts enjoy customizing their computer setups, adding LED lighting, custom cooling solutions, or modifying the case design. Removing the cover allows you to access the internal components and make the desired modifications or enhancements to create a unique and personalized PC setup.
By removing the cover of your Antec PC case, you gain the ability to perform essential tasks such as hardware upgrades, cleaning, troubleshooting, and customization. It not only improves the overall functionality and performance of your computer but also gives you the flexibility to adapt and enhance your PC setup according to your specific needs and preferences.
Tools required to remove the cover
Before you begin the process of removing the cover of an Antec PC case, it is important to gather the necessary tools. Having the right tools on hand will make the task much easier and help ensure a smooth and efficient removal process. Here are the essential tools you will need:
- Screwdriver: The most important tool you will need is a screwdriver. The type of screwdriver required will depend on the type of screws used to secure the cover of your Antec PC case. Most commonly, you will need a Phillips-head screwdriver to remove the screws.
- Anti-static wrist strap: It is recommended to wear an anti-static wrist strap while working on your PC to prevent any static electricity discharge that could potentially damage sensitive internal components. This strap keeps you grounded and dissipates any static charge.
- Compressed air or a soft brush: In some cases, you may need to clean out dust and debris from the internal components or the case itself. Compressed air or a soft brush can be used to remove the dirt without causing any damage.
- Optional: flashlight or headlamp: Depending on the lighting conditions in your workspace, you may find it helpful to have a flashlight or headlamp to illuminate the inside of the case. This makes it easier to see the screws and components.
Having these tools readily available will make the process of removing the cover of your Antec PC case much smoother. It is important to ensure that the screwdriver fits the screws properly to avoid any stripping of the screw heads. Using an anti-static wrist strap is highly recommended to prevent any accidental damage to the internal components. Additionally, having compressed air or a soft brush on hand allows you to easily clean out any accumulated dust in the case.
Now that you have gathered the necessary tools, you are ready to move on to the next steps of removing the cover of your Antec PC case.
Step 1: Gather the necessary supplies
Before you begin removing the cover of your Antec PC case, it’s essential to gather all the necessary supplies. Having everything you need within reach will ensure a smooth and efficient removal process. Here are the supplies and equipment you should gather:
- Screwdriver: Make sure you have a screwdriver that matches the type of screws used to secure the cover of your Antec PC case. Most Antec cases utilize Phillips-head screws, so a Phillips-head screwdriver is typically required.
- Anti-static wrist strap: To prevent any static electricity discharge that could potentially damage sensitive internal components, wear an anti-static wrist strap. This strap keeps you grounded and dissipates any static charge that may build up on your body.
- Compressed air or soft brush: If your PC case needs cleaning, you’ll want compressed air or a soft brush to remove any accumulated dust or debris. This will help ensure optimal cooling and prevent hardware issues caused by overheating.
- Optional: Flashlight or headlamp: Depending on the lighting conditions of your workspace, having a flashlight or headlamp can be useful. It will provide extra illumination inside the case, making it easier to see the screws and components.
Take a moment to organize your supplies on a clean and stable surface near your PC setup. This way, you won’t have to search for anything when you need it, allowing for a more efficient process.
It’s important to note that you should gather the appropriate size and type of screwdriver for your case. Using the wrong screwdriver can damage the screws, making it difficult to remove the cover or potentially voiding any warranty.
Now that you have gathered all the necessary supplies, you can proceed to the next steps of removing the cover of your Antec PC case.
Step 2: Switch off the computer and unplug all cables
Before you start removing the cover of your Antec PC case, it’s crucial to ensure the safety of both yourself and the computer. Follow these steps to switch off the computer and disconnect all cables:
- Shut down the computer: Save any open files and close all programs running on your computer. Then, click on the “Start” button and select “Shut down” from the options. Wait for the computer to completely shut down before proceeding.
- Unplug the power cable from the wall outlet: Locate the power cable connected to the back of your computer and unplug it from the wall outlet. This step ensures that there is no electricity flowing into the computer, reducing any potential risks.
- Disconnect all peripherals and cables: Remove any peripheral devices connected to your computer, such as monitors, keyboards, and mice. Also, unplug any other cables, such as Ethernet cables, USB cables, and audio cables. Ensure that the computer is completely disconnected from any external power sources.
- Press the power button to discharge residual power: After unplugging all cables, press and hold the power button on your computer for about 10 seconds. This will help discharge any residual power remaining in the system. It’s a crucial step in preventing any potential electrical shocks when working inside the PC case.
By switching off the computer and disconnecting all cables, you eliminate the risk of electrical shock and ensure a safe working environment. Remember to exercise caution when handling electrical components and follow best practices to avoid any accidents.
Once you have completed these steps, you’re now ready to proceed to the next stage of removing the cover of your Antec PC case.
Step 3: Locate the screws that secure the cover
Now that you have switched off your computer and disconnected all cables, it’s time to locate the screws that secure the cover of your Antec PC case. These screws hold the cover in place, and removing them is essential to access the internal components. Follow these steps to locate the screws:
- Inspect the back panel: Turn your attention to the back panel of your Antec PC case. This is where you’ll typically find the screws that secure the cover. Take a moment to examine the area and look for any visible screws or fasteners.
- Look for thumb screws or regular screws: Depending on the model of your Antec PC case, the screws may be thumb screws, which can be easily removed by hand, or regular screws that require a screwdriver. Identify the type of screws present and make a note of it.
- Count the number of screws: Take note of the number of screws used to secure the cover. Antec PC cases usually have a set number of screws evenly distributed around the back panel.
- Check for any additional screws: In some cases, there may be additional screws or fasteners on the side panels or front of the case. Inspect these areas and make sure to locate and count any additional screws that may be present.
It’s important to pay attention to the location and number of screws in order to ensure a smooth removal process. By familiarizing yourself with the positioning and quantity of screws, you will be better prepared for the next step of removing the cover of your Antec PC case.
Once you have located the screws that secure the cover, you are ready to move on to the next step of actually removing them and taking off the cover of your Antec PC case.
Step 4: Remove the screws from the back of the case
Now that you have identified the screws that secure the cover of your Antec PC case, it’s time to remove them. Follow these steps to safely remove the screws from the back of the case:
- Retrieve your screwdriver: Select the appropriate screwdriver based on the type of screws used to secure the cover. It is usually a Phillips-head screwdriver for Antec PC cases.
- Position yourself comfortably: Find a comfortable position that allows you to access the back panel of your Antec PC case without straining yourself or the components.
- Begin unscrewing the screws: Starting from any corner, insert your screwdriver into the screw head and turn it counterclockwise to loosen the screw. Repeat this process for each screw around the back panel.
- Place screws in a safe location: As you remove each screw, place them in a small container or a safe spot where they won’t roll away. This ensures that you won’t misplace or lose any screws during the process.
- Continue unscrewing until all screws are removed: Work your way around the back panel, unscrewing each screw until they are all removed. Be cautious while removing the last few screws, as the cover may become loose and might require additional support.
Take care not to apply excessive force when unscrewing the screws, as this can potentially strip the threads or damage the screw heads. It’s important to maintain a steady and gentle pressure throughout the process.
Once you have successfully removed all the screws from the back of your Antec PC case, you are now ready to proceed to the next step of actually taking off the cover.
Step 5: Slide or lift off the cover
With the screws removed from the back of your Antec PC case, you are now ready to slide or lift off the cover. Follow these steps to safely remove the cover:
- Determine the method of cover removal: Depending on the specific design of your Antec PC case, the cover may either slide off or need to be lifted. Take a moment to identify the correct method for your case.
- Slide the cover off: If your Antec PC case has a sliding cover, gently push or slide the cover towards the back of the case. Apply even pressure and carefully guide the cover until it is completely separated from the main body of the case.
- Lift the cover off: If your Antec PC case requires lifting the cover, locate the designated latch or release mechanism. Depress or release the latch and carefully lift the cover straight up, ensuring it clears any internal components or connectors.
- Set the cover aside: Once the cover is removed, place it in a safe and clean area away from your workspace. This will prevent any accidental damage to the cover or interference with your work.
When removing the cover, be mindful of any cables, connectors, or components that may be attached to it. Take care not to accidentally disconnect or damage any internal parts while removing the cover.
Remember to handle the cover with care to prevent any scratches, dents, or other damage. If the cover is heavy or awkward to handle, it may be helpful to have an extra pair of hands for assistance.
Once you have successfully slid or lifted off the cover of your Antec PC case, you can proceed with the necessary maintenance or upgrades. When you’re finished, follow the next steps to reattach the cover and complete the process.
Step 6: Put the cover aside safely
Now that you have successfully removed the cover of your Antec PC case, it’s important to put it aside safely. Properly storing the cover will prevent any damage and keep it in good condition until it’s time to reattach it. Follow these steps to ensure the cover is set aside securely:
- Select a clean and safe area: Choose a designated area on a clean and stable surface where you can place the cover. Make sure the area is free from any potential hazards that could cause damage, such as liquids or sharp objects.
- Protect the cover: To protect the cover from scratches or dust, consider placing it on a soft cloth or a non-abrasive surface. This will help maintain the cover’s appearance and prevent any unwanted debris from accumulating on it.
- Keep the cover away from excess heat or extreme temperatures: Avoid placing the cover near heat sources, direct sunlight, or areas with extreme temperature fluctuations. Exposure to excessive heat or extreme temperatures can cause warping or damage to the cover.
- Store the cover securely: If you plan to store the cover for an extended period, consider using a protective case or wrapping it in a soft cloth or bubble wrap. This added layer of protection will further safeguard the cover from potential damage.
By taking these precautions when putting the cover aside, you ensure that it remains safe and protected until you’re ready to reattach it. When the time comes to replace the cover, you’ll have peace of mind knowing it’s in good condition and ready for use.
Now that the cover is safely stored, you can proceed with performing the necessary maintenance or upgrades to your Antec PC case.
Step 7: Reattach the cover when necessary
After completing the maintenance or upgrades on your Antec PC case, it’s time to reattach the cover. Follow these steps to ensure a secure and proper reattachment:
- Clean the case and components: Before placing the cover back on, take a moment to clean any dust or debris from the internal components and the case itself. This will help ensure optimal performance and prevent any potential issues caused by accumulated dirt.
- Position the cover correctly: Align the cover with the main body of the Antec PC case, ensuring it is oriented correctly. Check for any guide pins or slots that help ensure proper alignment.
- Slide or press the cover into place: If the cover slides onto the case, gently slide it into position, making sure it engages fully. If the cover requires pressure to snap or press into place, apply even pressure along the edges until you hear or feel it click securely.
- Ensure all screws align: If there were screws used to secure the cover, check that all the screw holes align properly. Carefully insert each screw and tighten them gradually, making sure not to overtighten, which could cause damage to the case or cover.
- Double-check for secure attachment: Once all screws are tightened, ensure the cover is securely fastened to the Antec PC case. Gently press on different parts of the cover to check for any movement or give. If the cover feels loose, double-check the screws and tighten them if necessary.
- Reconnect cables and peripherals: After reattaching the cover, reconnect all the cables and peripherals to the appropriate ports. Ensure each connection is secure and properly seated.
By following these steps to reattach the cover of your Antec PC case, you ensure that it is properly secured, providing protection to the internal components while maintaining the aesthetic appeal of the case.
Now that the cover is reattached and all connections are restored, you can power on your computer and enjoy its enhanced functionality or the upgrades you have completed.
Conclusion
Removing and reattaching the cover of an Antec PC case may seem like a daunting task, but with the right steps and precautions, it can be a straightforward process. By following each step carefully, you can safely access the internal components, perform maintenance, upgrades, or customization, and ensure optimal performance of your computer.
Throughout this guide, we have discussed the reasons why you may need to remove the cover, the tools required, and the step-by-step process to successfully remove and reattach it. Remember to gather the necessary supplies, switch off the computer, locate and remove the screws, and slide or lift off the cover. Put the cover aside safely during your maintenance tasks, and when you’re ready, reattach it securely, double-checking for proper alignment and tightening of the screws.
By following these instructions, you can confidently remove and reattach the cover of your Antec PC case, allowing you to perform necessary upgrades, maintenance, or customization with ease. Just remember, always exercise caution, handle components carefully, and ensure a safe working environment to prevent any accidental damage or injury.
With the cover properly reattached, you can now power on your computer and enjoy the enhanced functionality, improved cooling, or the upgrades you have completed. Remember, if you’re ever unsure or uncomfortable with any step of the process, it’s always best to seek assistance from a professional or consult the Antec PC case manual for specific instructions.


