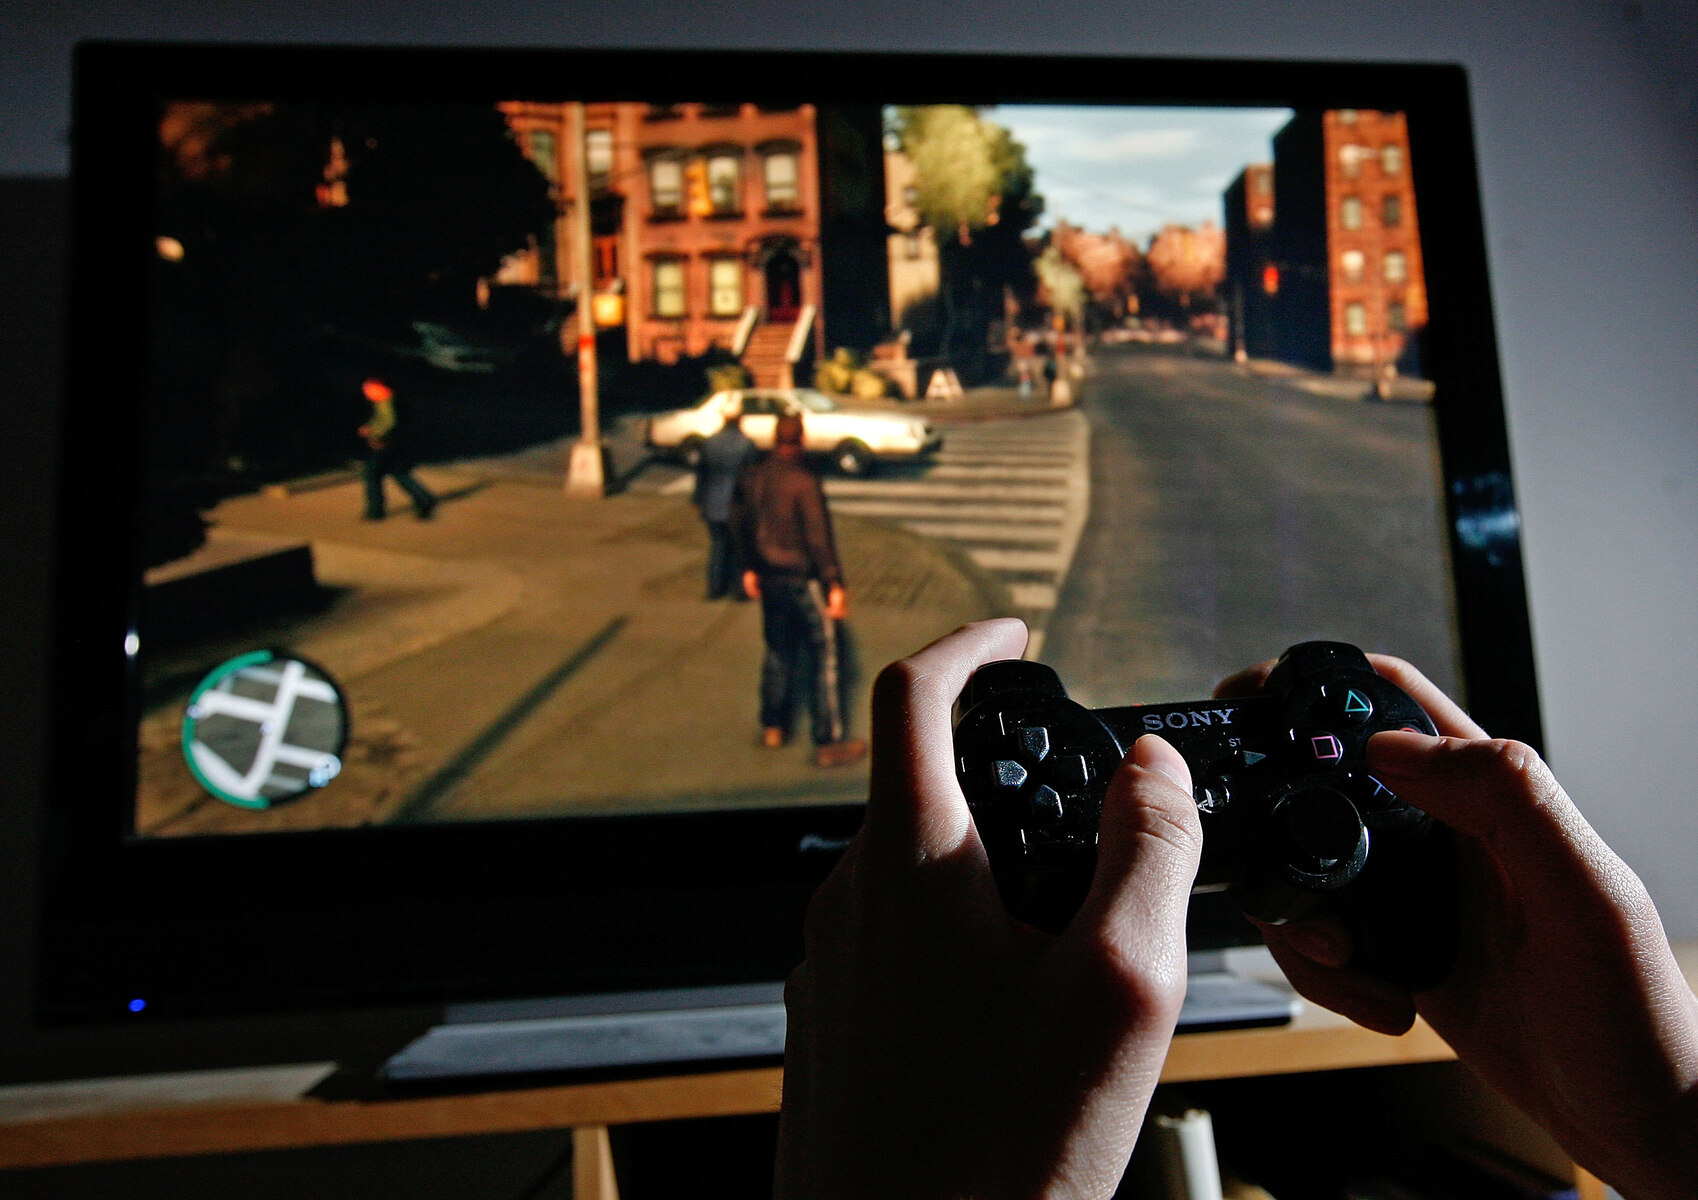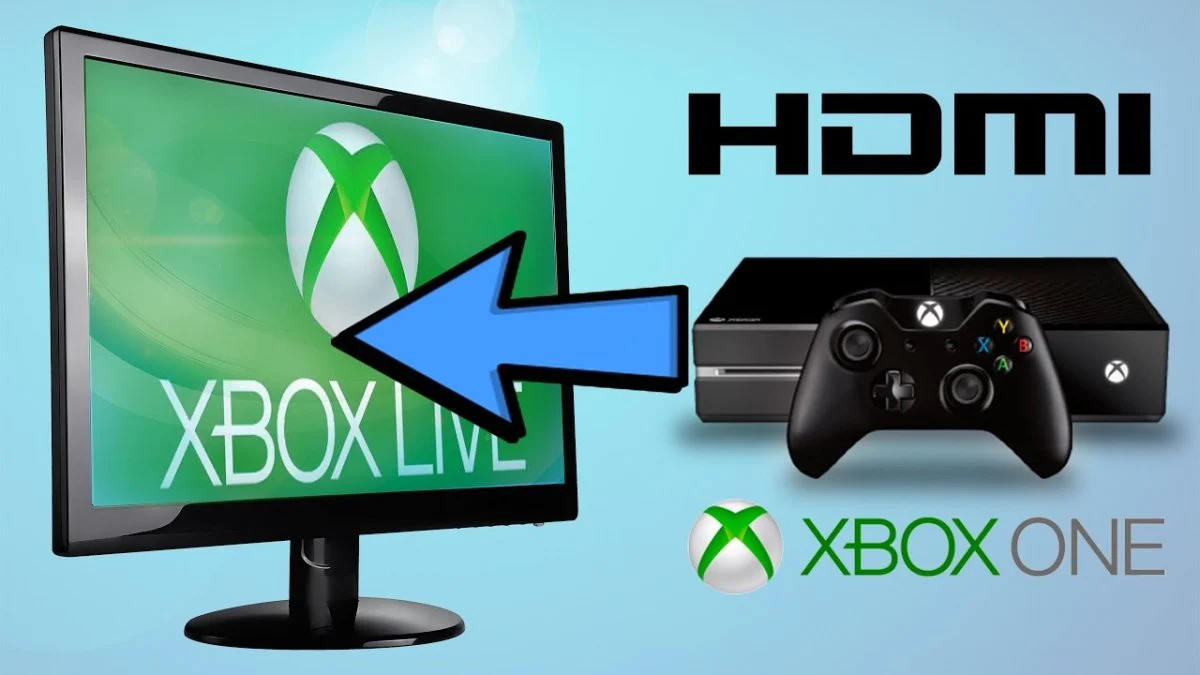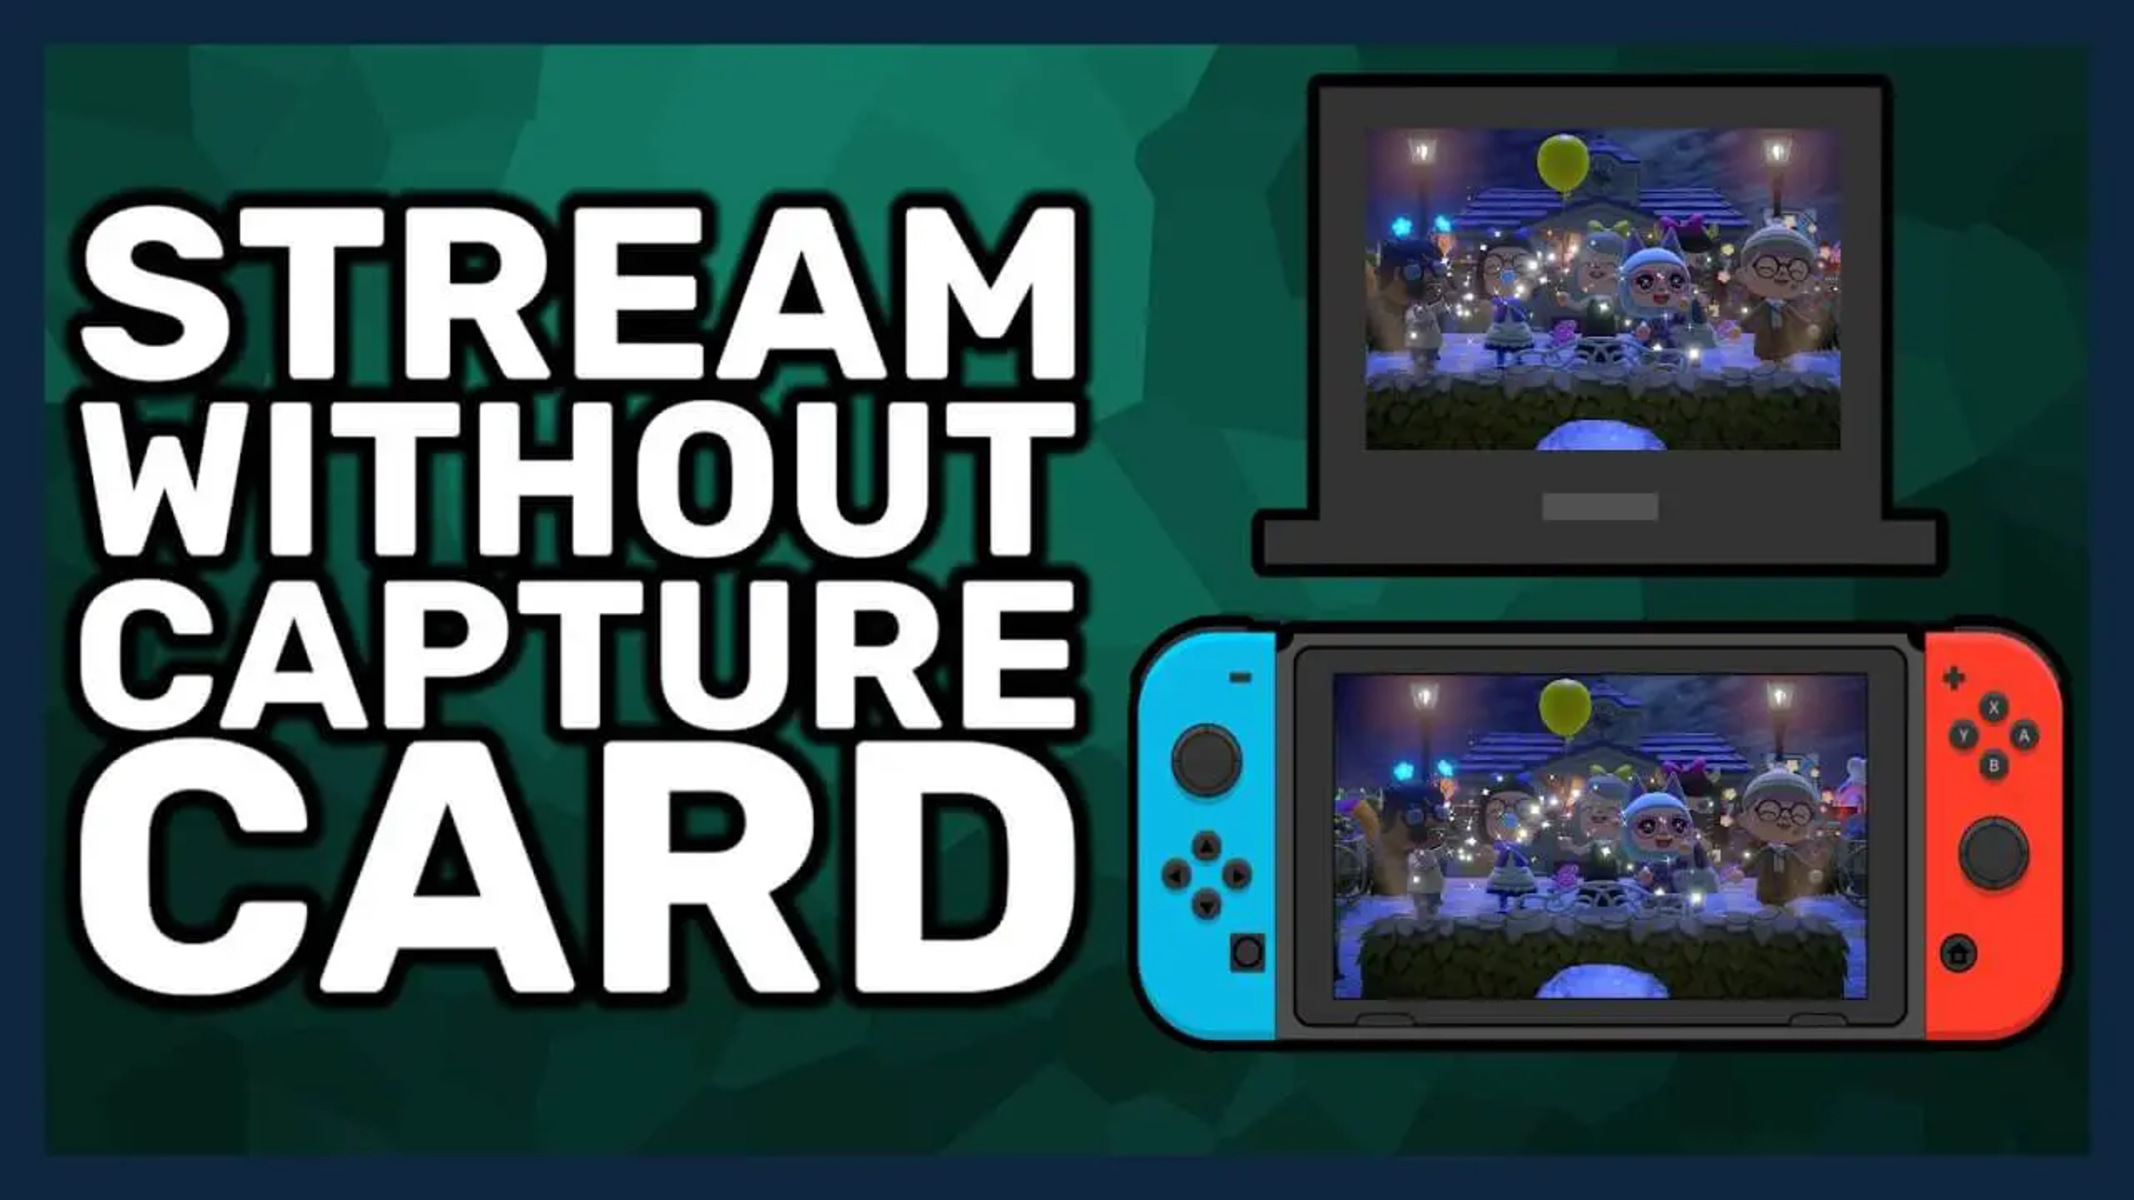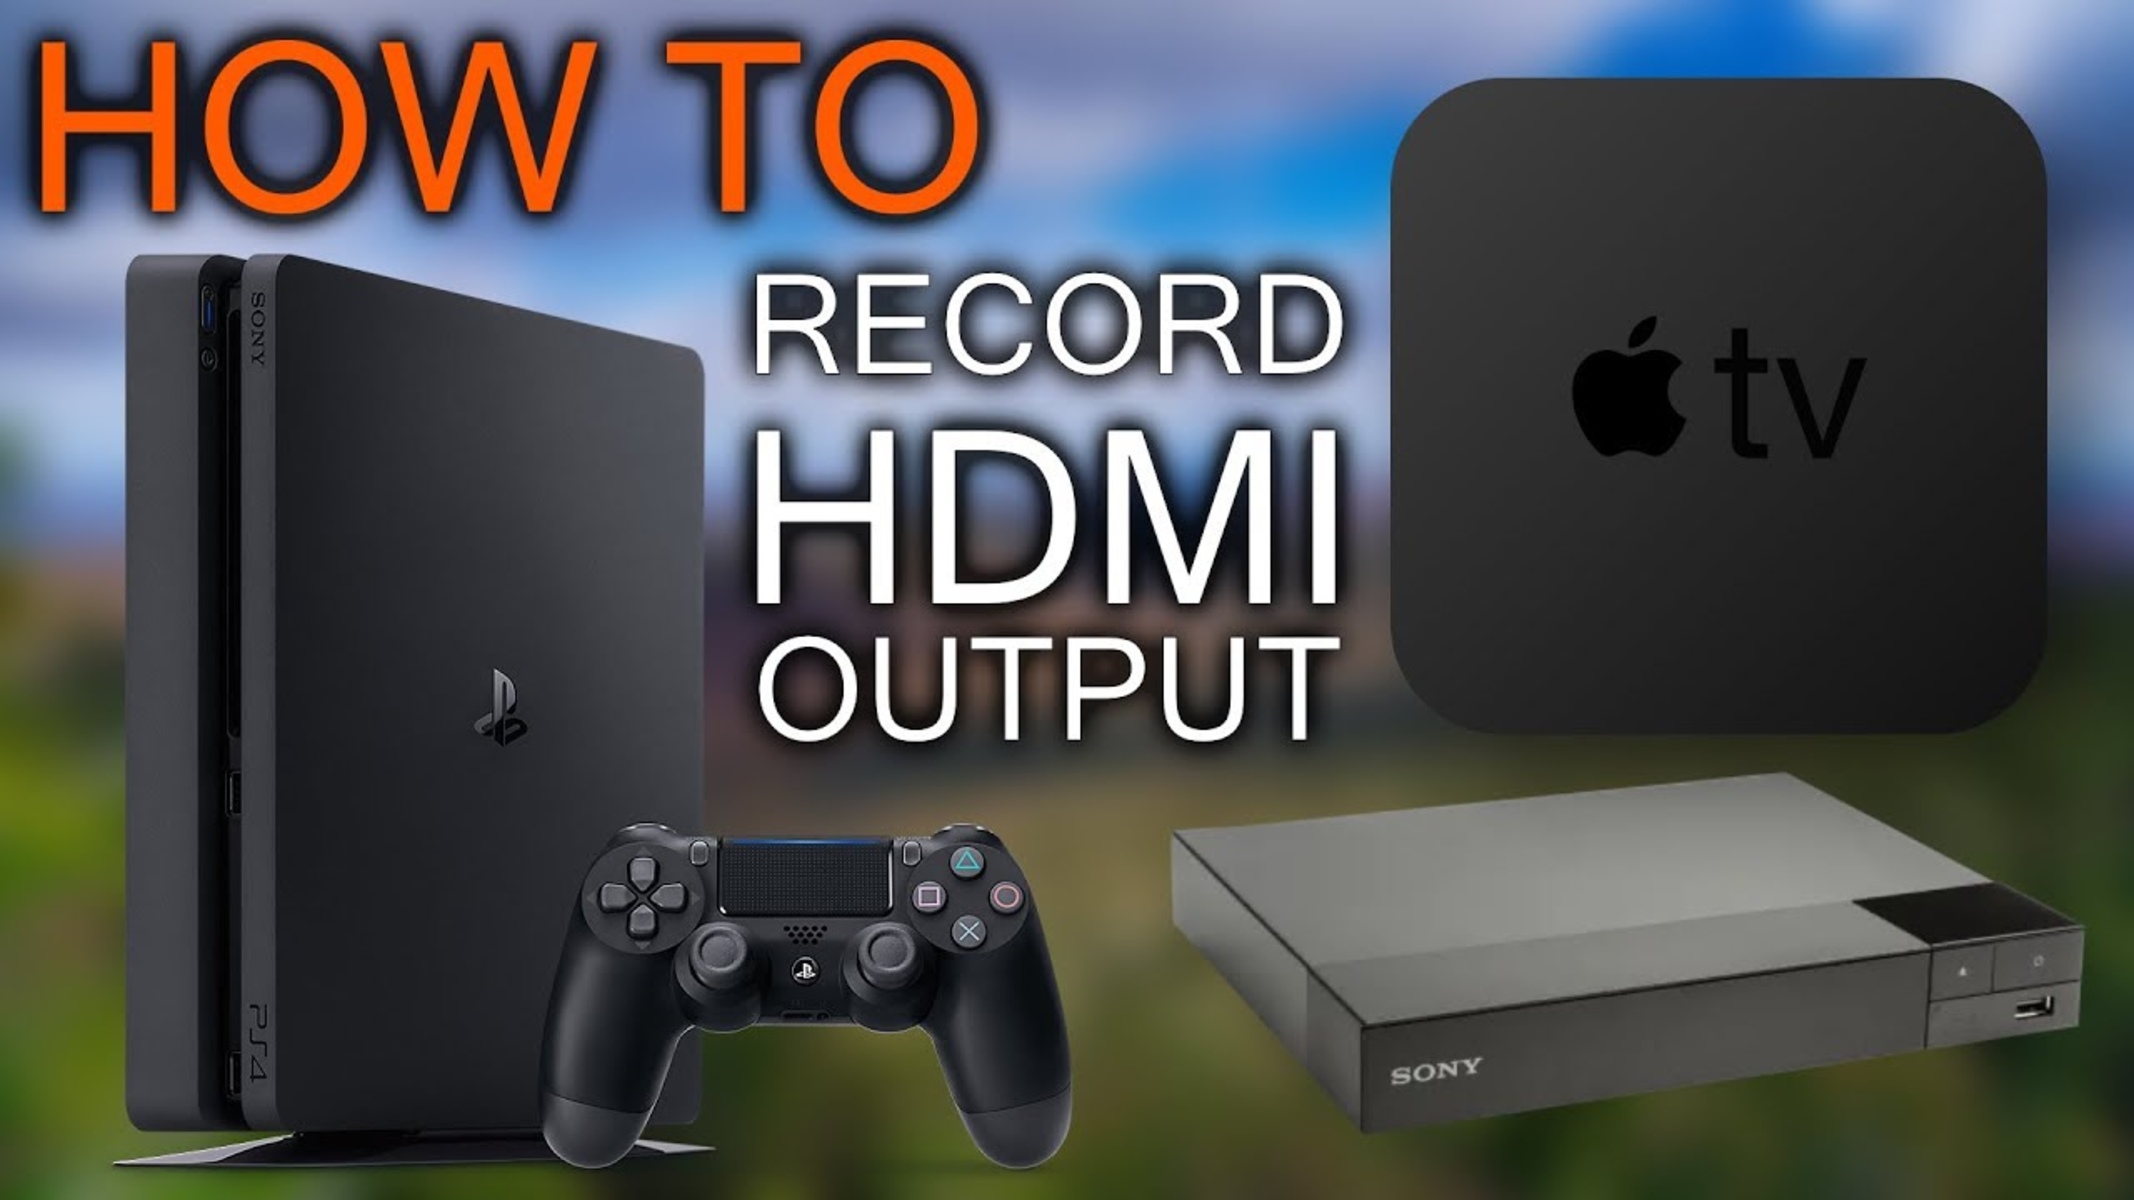
To record from HDMI output, you need to connect your source device to a USB capture card, then use free software like OBS Studio to save the video and audio to your computer. If you want better wireless audio capture, you can also use dji mic alongside your HDMI feed. This method works for game consoles, cameras, laptops, or any device with an HDMI port, and it's the same workflow used by professional streamers and content creators.
What you need to record from HDMI output
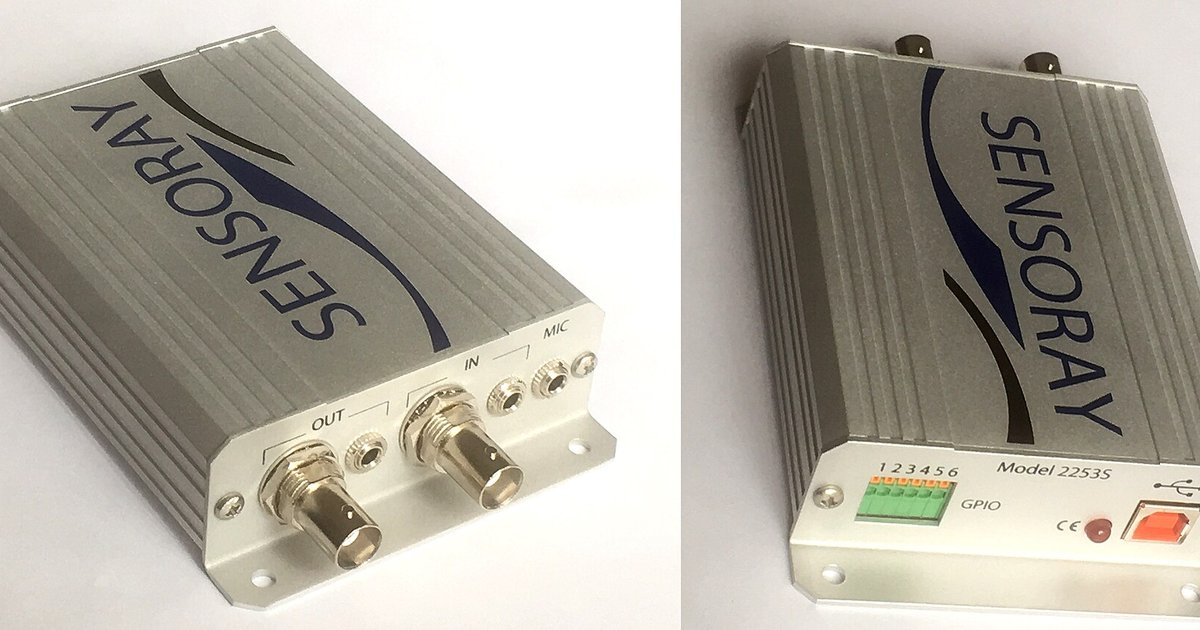
Recording from HDMI output requires four essential pieces of equipment. First, you need an HDMI source device, this is the thing you want to capture, such as a PlayStation, Xbox, Nintendo Switch, DSLR camera, or another computer. Second, you need a USB HDMI capture card, which acts as the bridge between your source and your computer; these are inexpensive and plug in via USB. Third, you need a computer with enough processing power to handle video encoding, plus some free storage space for the recorded files. Finally, you need OBS Studio, a free and open-source recording and streaming application that works on Windows, macOS, and Linux.
Step 1: Install and set up OBS Studio
OBS Studio is the most reliable free tool for capturing HDMI output because it handles both video and audio from your capture card in one place. Go to the official OBS Project website and download the installer for your operating system, then run the installer and follow the on-screen prompts. You'll see the main OBS window with a preview area, a "Sources" panel, and an "Audio Mixer" panel, which is where you'll build your recording setup.
Step 2: Connect your capture card
Physical connections come before software configuration, so plug everything in before you open OBS. Take an HDMI cable and connect one end to your source device's HDMI output port, then connect the other end to the HDMI input port on your capture card. Power on your source device and wait for it to display normally on its own screen; the capture card itself doesn't have a screen, so you'll verify the signal in OBS in the next step.
Step 3: Add your HDMI feed as a source in OBS
With the hardware connected, you now tell OBS what to record by adding your capture card as a video source. Name the source something descriptive like "Capture Card" and click OK. Click OK, and you should see your source device's video appear in the OBS preview window.
Step 4: Configure your audio
HDMI carries both video and audio, but OBS needs to know to listen to the capture card's audio stream so you don't end up with silent footage. In the "Audio Mixer" panel, look for the audio device that corresponds to your capture card, it will have a name matching your card model. Then check the volume level in the mixer; the green meter should move when your source device plays sound. If the audio is too quiet or too loud, drag the slider up or down until it sits comfortably in the green zone without peaking into the red.
Step 5: Start and stop your recording
Once your video and audio are both showing correctly in OBS, you're ready to capture. Go ahead and play your game, record your camera feed, or run whatever content you want to capture from your HDMI source. When you're done, click "Stop Recording" to end the capture.
Troubleshooting a black screen with HDCP
If you connect your capture card and see a black screen in OBS even though your source device displays fine, the likely culprit is HDCP (High-bandwidth Digital Content Protection). HDCP is an encryption protocol that many game consoles and streaming devices use to prevent unauthorized copying of copy-protected content, and capture cards typically refuse to process HDCP-encrypted signals. Once HDCP is disabled or bypassed, your capture card should receive the clean HDMI signal and OBS will display it normally.
\nRelated reading: How To Connect PS3 To PC With HDMI and How To Connect Xbox To PC With HDMI.