Introduction
Welcome to this step-by-step guide on how to put a SIM card in a Samsung tablet. If you own a Samsung tablet and want to connect to a mobile network or access data on the go, inserting a SIM card is essential. Whether you have a new tablet or just got a new SIM card, we will walk you through the process to ensure a smooth installation.
Having a SIM card in your tablet allows you to make calls, send messages, and access the internet without relying solely on Wi-Fi. It provides you with the freedom to stay connected wherever you are. With Samsung tablets, the process is straightforward, and you’ll be able to start using your device with mobile data in no time.
Before we get started, it’s good to note that not all Samsung tablets have a SIM card slot. Some models are Wi-Fi only and do not support cellular connectivity. If you’re unsure whether your tablet has a SIM card slot, refer to the user manual or check the Samsung website for specifications.
In the following steps, we will guide you through the process of putting a SIM card in a Samsung tablet. Make sure to gather the necessary materials and follow the instructions carefully to avoid any complications. Let’s get started!
Step 1: Gather the necessary materials
Before you begin the process of inserting a SIM card into your Samsung tablet, it’s important to gather the necessary materials. This will ensure a seamless and efficient installation. Here’s what you’ll need:
- A Samsung tablet with a SIM card slot: Check the specifications of your tablet to confirm that it supports a SIM card. Not all Samsung tablets have this feature, so it’s crucial to have one that does.
- A compatible SIM card: Ensure that you have a SIM card that is compatible with your tablet and is activated with a mobile network provider. If you don’t have a SIM card yet, you can obtain one from a mobile network provider or online.
- A SIM card ejector tool or a small paperclip: Most Samsung tablets come with a SIM card ejector tool, but if you don’t have one, a small paperclip can be used as an alternative.
- A clean, well-lit workspace: Find a comfortable and well-lit area where you can work on your tablet without any distractions. This will help you to focus on the task at hand and prevent any accidental damage to your device.
Once you have gathered all of these materials, you’re ready to move on to the next step. Having everything together beforehand will save you time and ensure a smooth installation process. Take a moment to check that you have all the necessary items and let’s proceed to the next step.
Step 2: Locate the SIM card slot
Now that you have gathered all the necessary materials, the next step is to locate the SIM card slot on your Samsung tablet. The exact location and design of the SIM card slot may vary depending on the model of your tablet, so it’s important to carefully examine your device.
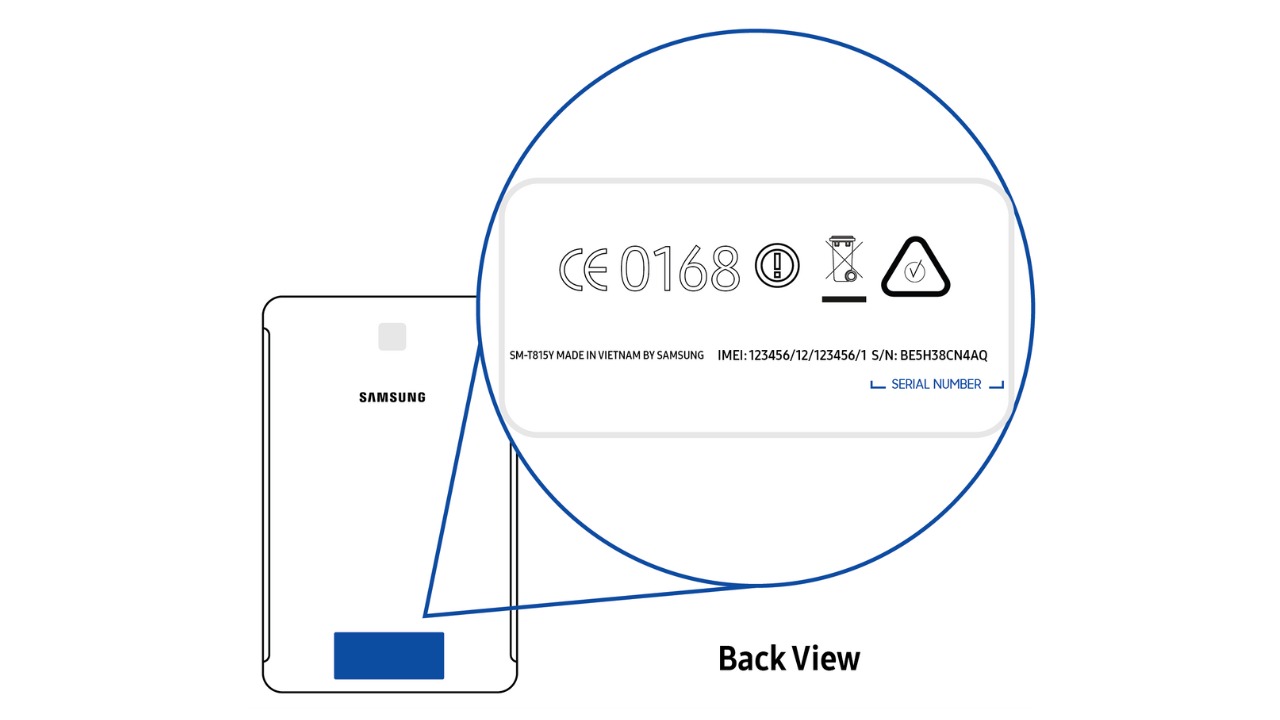
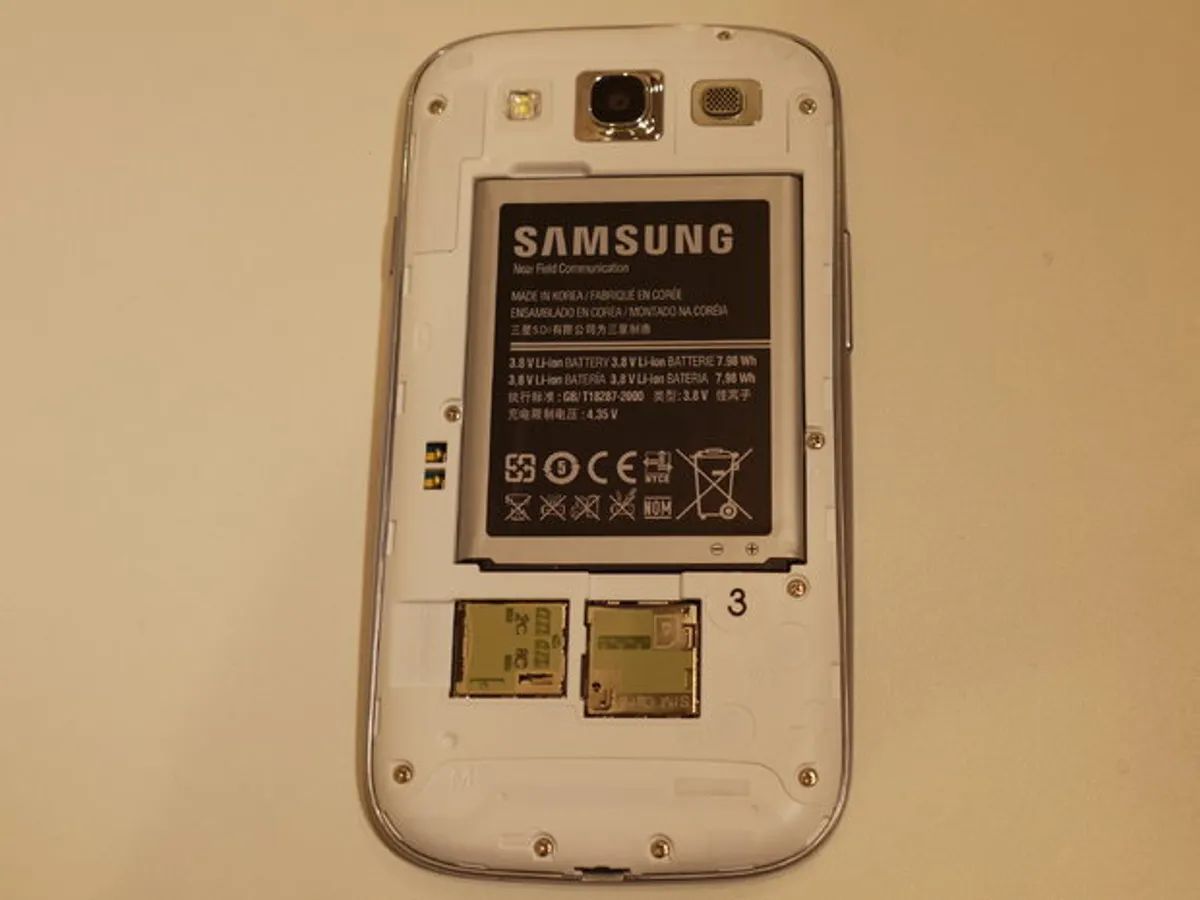
In most Samsung tablets, the SIM card slot is usually located on the side or back of the device. It may be covered by a small flap or tray that needs to be opened. Look for a small pinhole or a lever near the slot, which indicates that it is the SIM card slot.
If you’re having trouble finding the SIM card slot, refer to the user manual that came with your tablet. It will provide detailed instructions and illustrations on how to locate and access the SIM card slot specific to your model.
Once you have identified the SIM card slot, ensure that your tablet is powered off before proceeding to the next step. This will prevent any accidental damage and ensure a safe installation process.
Now that you know where the SIM card slot is and have powered off your tablet, let’s move on to the next step and learn how to insert the SIM card correctly.
Step 3: Insert the SIM card properly
Now that you have located the SIM card slot on your Samsung tablet, it’s time to insert the SIM card correctly. Follow these steps to ensure a proper installation:
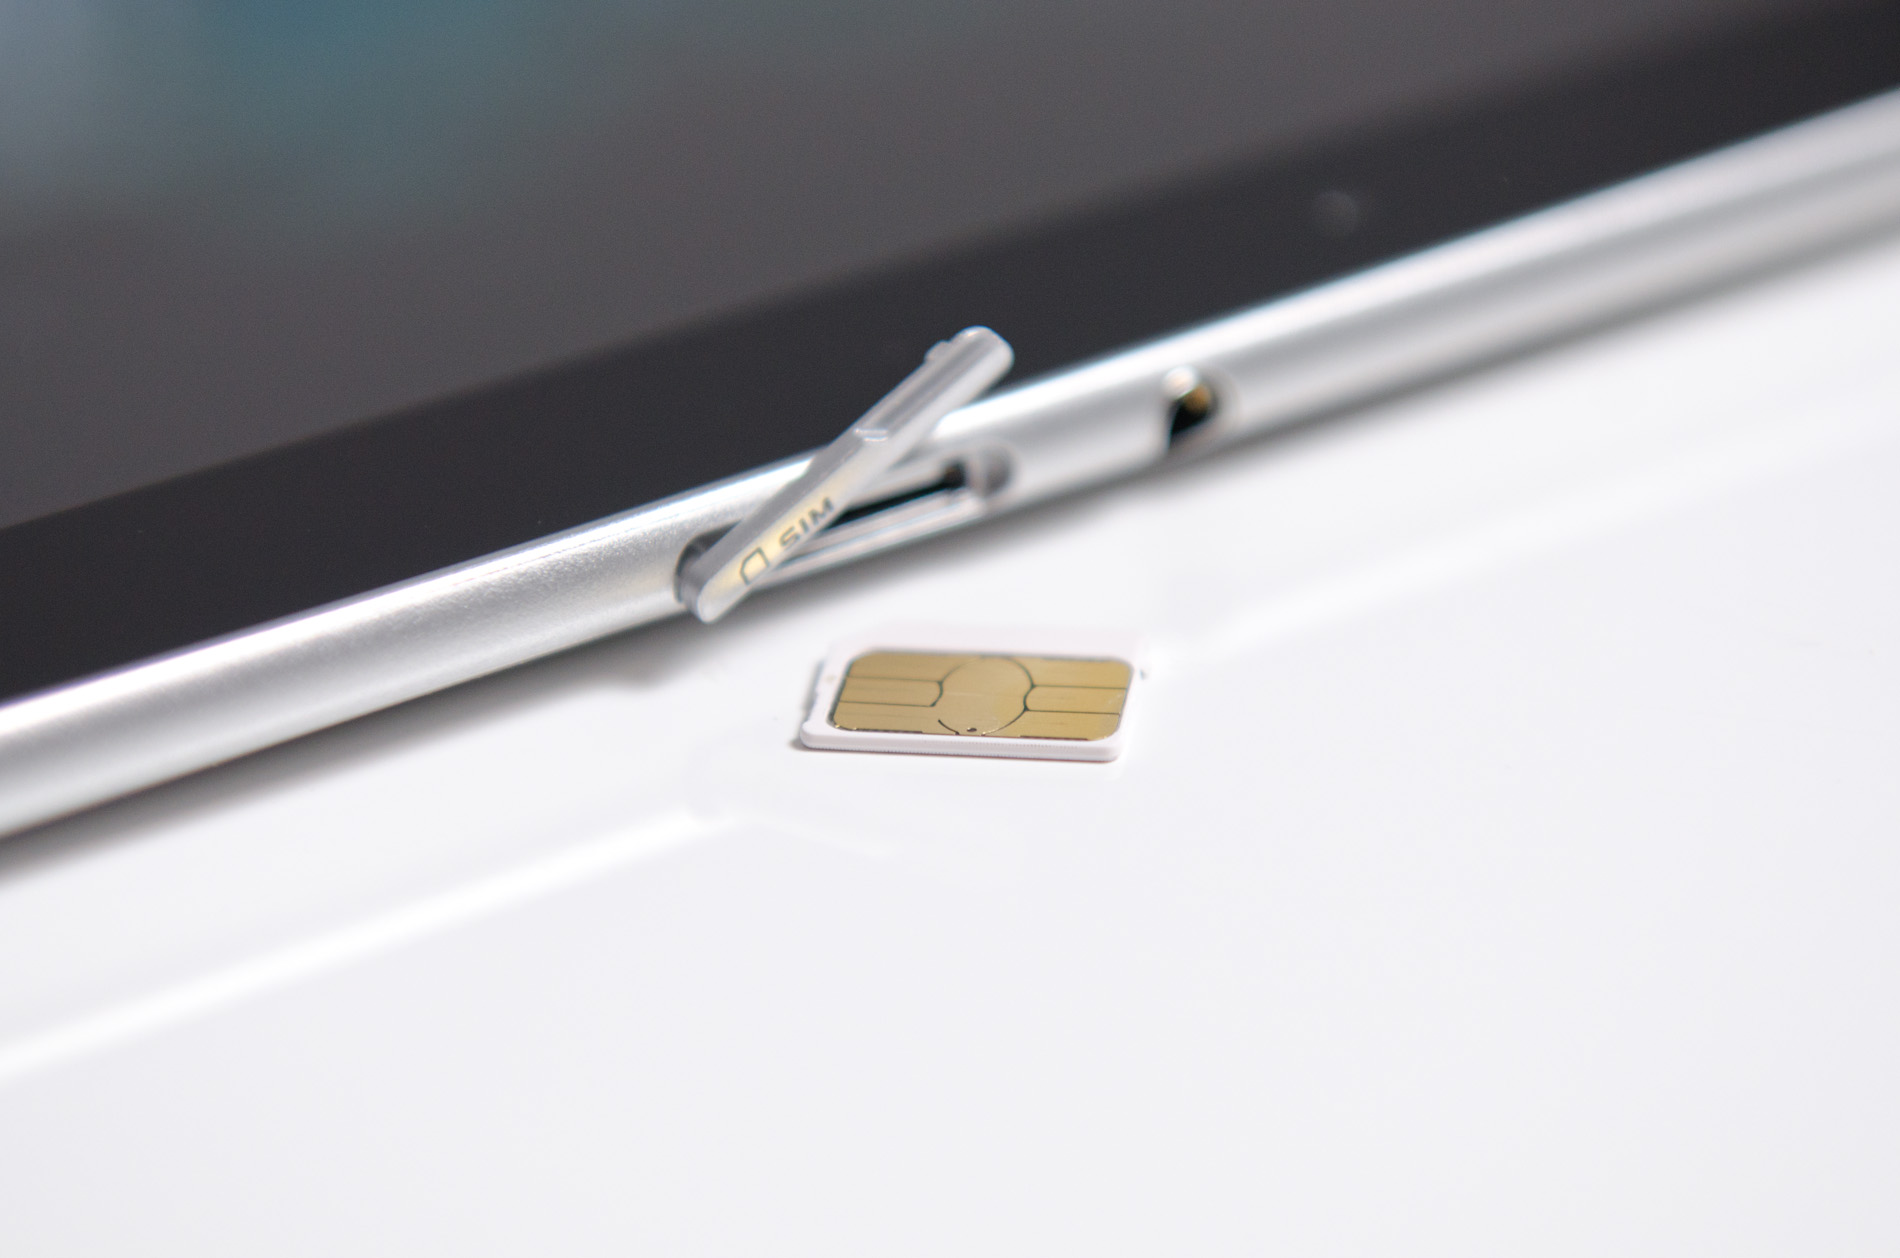
- Take your SIM card ejector tool or a small paperclip and insert it into the pinhole or lever near the SIM card slot. Apply a gentle amount of pressure to release the SIM card tray.
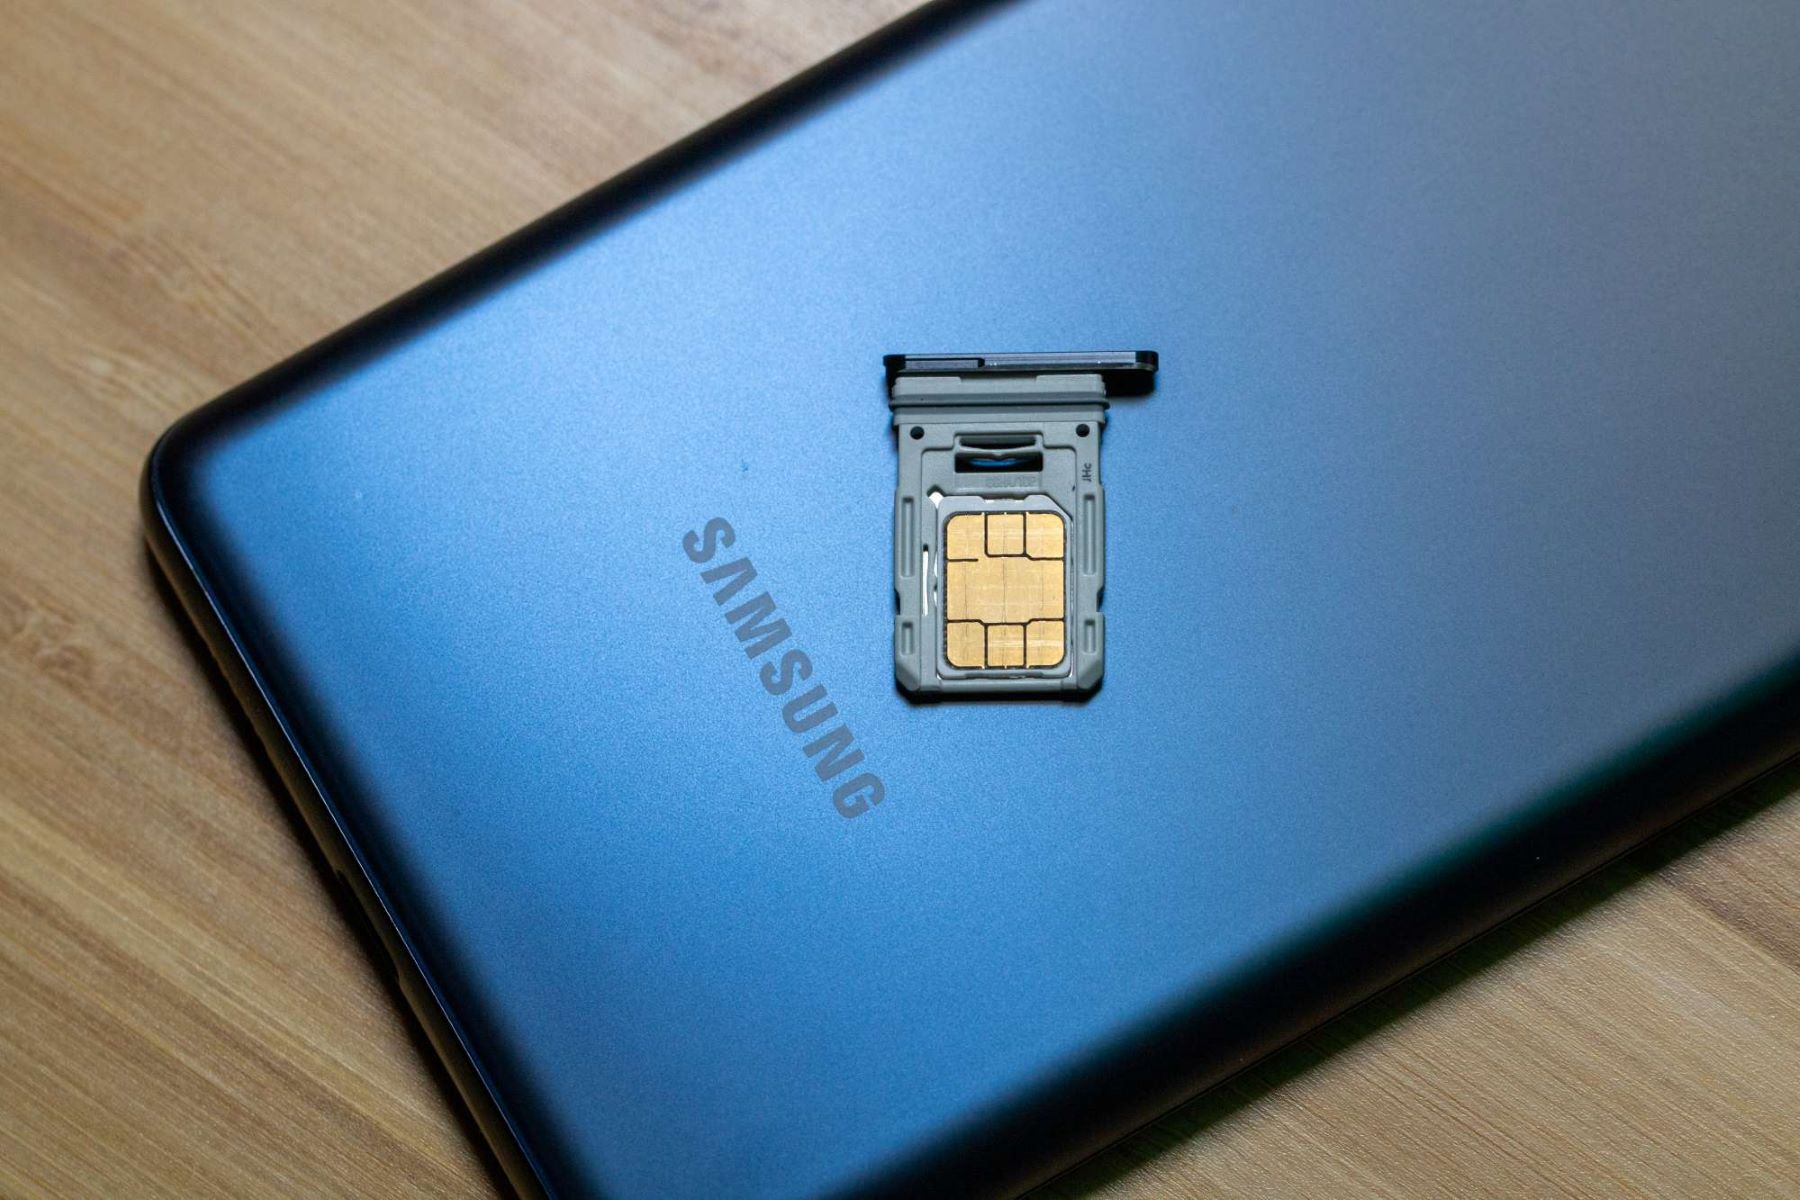
- Gently pull out the SIM card tray from the slot. The tray will have designated slots for the SIM card and possibly a microSD card if your device supports it. Make sure to identify the slot specifically meant for the SIM card.
- Take your SIM card and carefully place it into the designated slot on the SIM card tray. Ensure that the gold contacts on the SIM card are facing down and align with the corresponding contacts on the tray.
- Once you have placed the SIM card onto the tray, gently push the tray back into the SIM card slot on your tablet until it clicks into place. Make sure it is fully inserted and secure.
It’s important to handle the SIM card with care and avoid touching the gold contacts or bending the card. Damaging the SIM card may affect the functionality and connectivity of your tablet.
Remember to power on your tablet once the SIM card is inserted properly. This will allow the device to detect the SIM card and establish a connection with the mobile network provider.
Now that you have successfully inserted the SIM card into your Samsung tablet, it’s time to move on to the next step and secure the SIM card in place.
Step 4: Secure the SIM card in place
After inserting the SIM card into your Samsung tablet, the next step is to secure it in place. This will ensure that the SIM card stays properly seated and prevents any connectivity issues. Follow these steps to secure the SIM card:
- Carefully push the SIM card tray back into the SIM card slot on your tablet until it clicks into place. Make sure it is fully inserted and sits flush with the device.
- Gently press down on the tray to ensure that it is securely locked in place. This will prevent the SIM card from becoming loose and potentially causing interruptions in connectivity.
- If your tablet has a SIM card tray cover or flap, carefully close it to protect the SIM card and keep it safe from dust or damage. Make sure the cover is securely closed.
Once the SIM card is secured in place, you can proceed to the next step and power on your tablet. This will allow your device to detect the SIM card and establish a connection with your mobile network provider.
It’s essential to handle the SIM card tray and cover with care to avoid any accidental damage. Using excessive force or mishandling the tray can result in a damaged SIM card slot, which may impair the functionality of your tablet.
Now that you have successfully secured the SIM card in your Samsung tablet, it’s time to power it on and check for SIM card detection. Let’s move on to the next step.
Step 5: Power on the tablet and check SIM card detection
Now that you have inserted and secured the SIM card in your Samsung tablet, it’s time to power on the device and check if the SIM card is detected. Follow these steps:
- Press and hold the power button on your tablet until it powers on. The exact location of the power button may vary depending on the model of your device.
- Once the tablet has powered on, wait for a few moments to allow the device to detect the SIM card and establish a connection with your mobile network provider.
- If the SIM card is detected successfully, you will see a signal strength icon or the name of your mobile network provider appear in the status bar at the top of the screen. This indicates that your tablet is now connected to the mobile network.
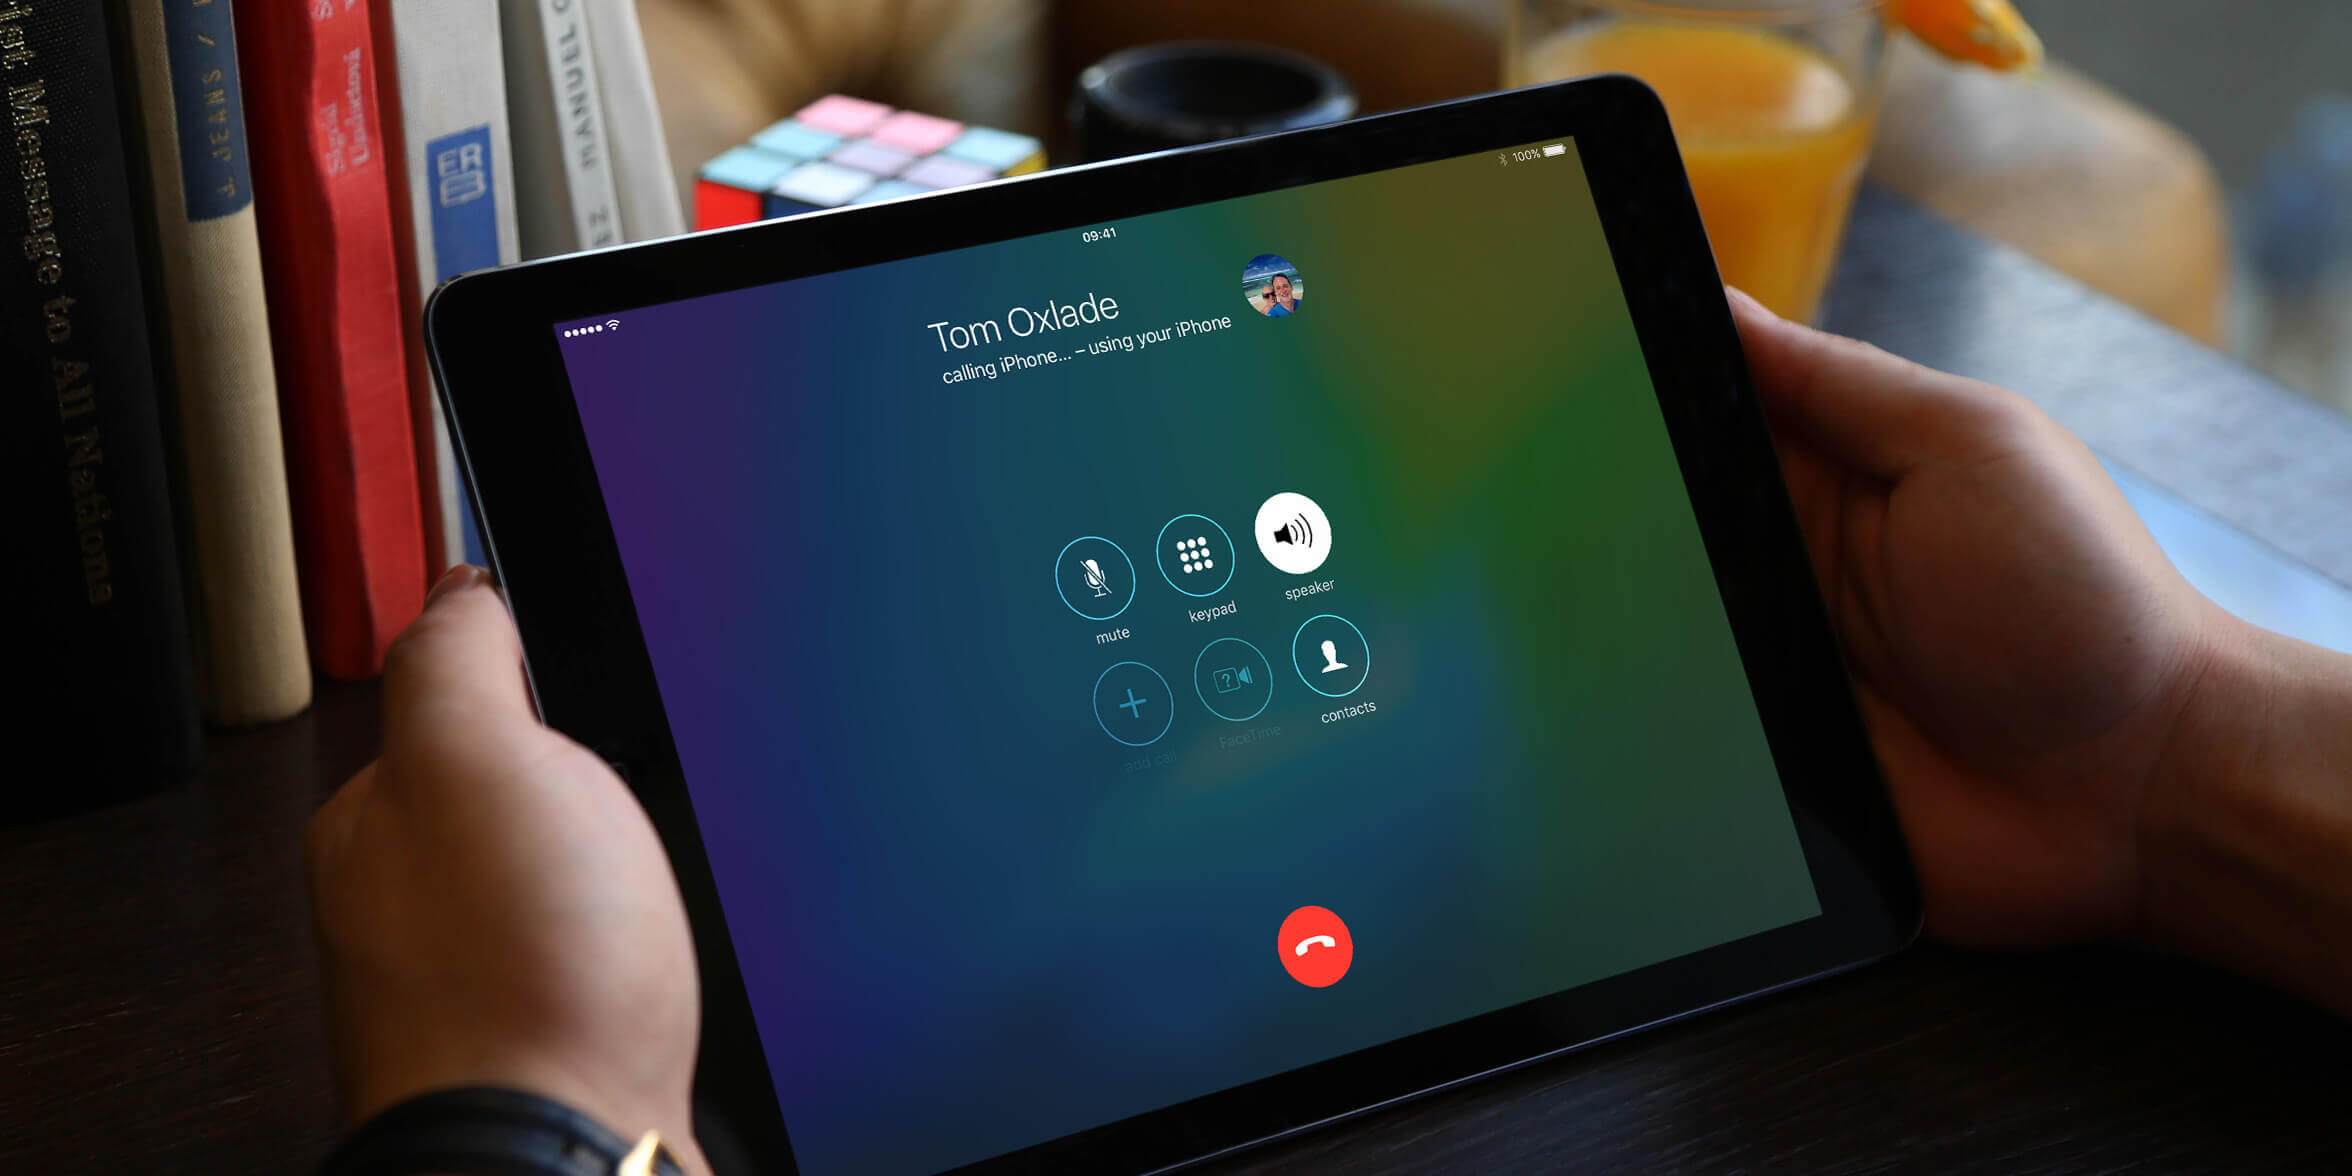
- To ensure that the SIM card is working properly, you can make a test call, send a text message, or open a web browser to access the internet. If you can do any of these tasks without any issues, it means that your SIM card is functioning correctly.
If the SIM card is not detected or you’re experiencing connectivity issues, try the following troubleshooting steps:
- Power off your tablet, remove the SIM card, and carefully reinsert it, ensuring it is properly aligned.
- Check if the SIM card is damaged or expired. If it is, contact your mobile network provider to get a replacement SIM card.
- Verify that your mobile network provider’s coverage is available in your area. Poor network coverage can affect the functionality of the SIM card.
- If the issue persists, contact your mobile network provider’s customer support for further assistance.
Once you have confirmed that the SIM card is detected and your tablet is properly connected to the mobile network, you can start enjoying the benefits of mobile data on your Samsung tablet. Congratulations!
Conclusion
Congratulations! You have successfully learned how to put a SIM card in your Samsung tablet. By following the step-by-step instructions, you can now enjoy the convenience of mobile data connectivity on your device. Here’s a quick recap of the steps:
- Gather the necessary materials, including a Samsung tablet with a SIM card slot, a compatible SIM card, a SIM card ejector tool or paperclip, and a clean workspace.
- Locate the SIM card slot on your Samsung tablet, which can usually be found on the side or back of the device.
- Insert the SIM card properly by using a SIM card ejector tool or paperclip to release the SIM card tray, placing the SIM card onto the designated slot, and pushing the tray back into the slot until it clicks.
- Secure the SIM card by ensuring that the tray is fully inserted and locked in place, and closing any SIM card tray cover or flap that may be present.
- Power on your tablet and check for SIM card detection by looking for the signal strength icon or the name of your mobile network provider in the status bar. Test the functionality of the SIM card by making a call, sending a message, or accessing the internet.
Remember, it’s important to handle the SIM card and tablet with care throughout the process to avoid any damage. If you encounter any issues, refer to the troubleshooting steps provided or contact your mobile network provider for assistance.
Now that you have successfully installed your SIM card, you can enjoy the convenience of staying connected while on the go. Whether it’s making calls, sending messages, or browsing the internet, having a SIM card in your Samsung tablet opens up a world of possibilities. Happy surfing!