Overview
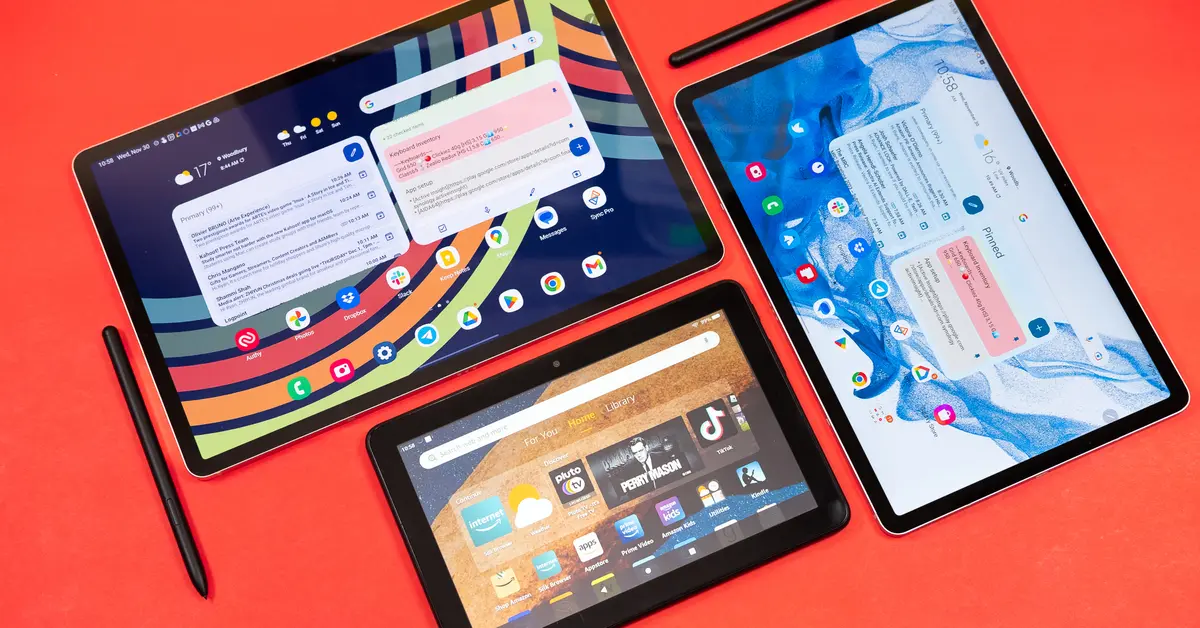
Adding memory to your Samsung tablet can greatly enhance its performance and storage capacity, allowing you to store more apps, photos, videos, and documents. Whether you have a Samsung Galaxy Tab or a Samsung Galaxy Note tablet, the process of adding memory is quite straightforward. This article will guide you through the steps involved in expanding the memory on your Samsung tablet.
Before you begin, it’s important to ensure that your tablet is compatible with memory expansion. Not all tablets have the option to add extra memory, so it’s crucial to check the specifications of your specific model.
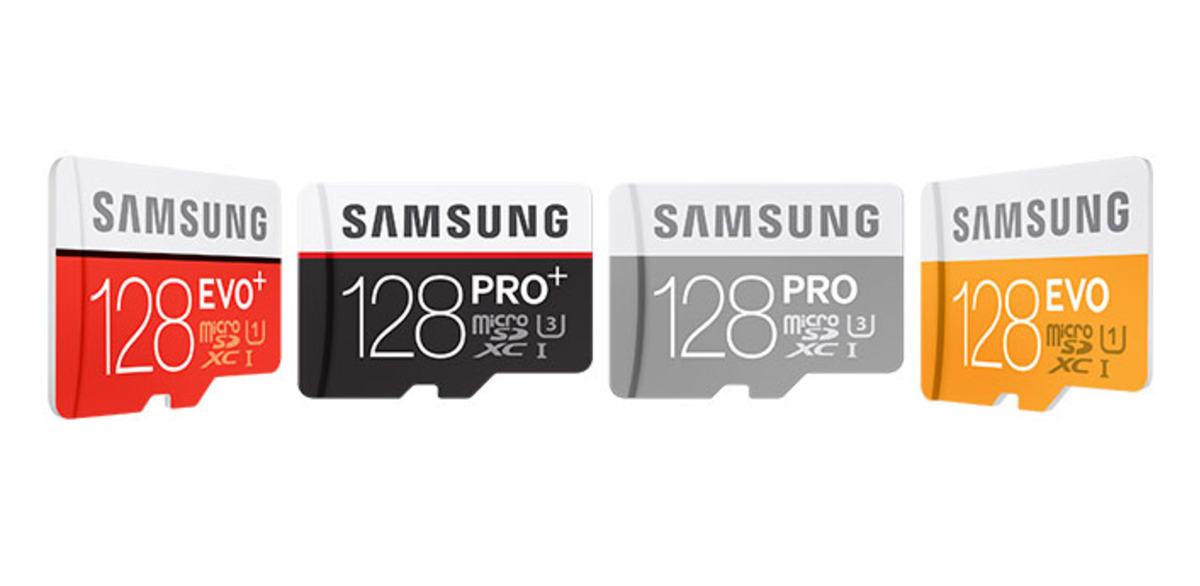
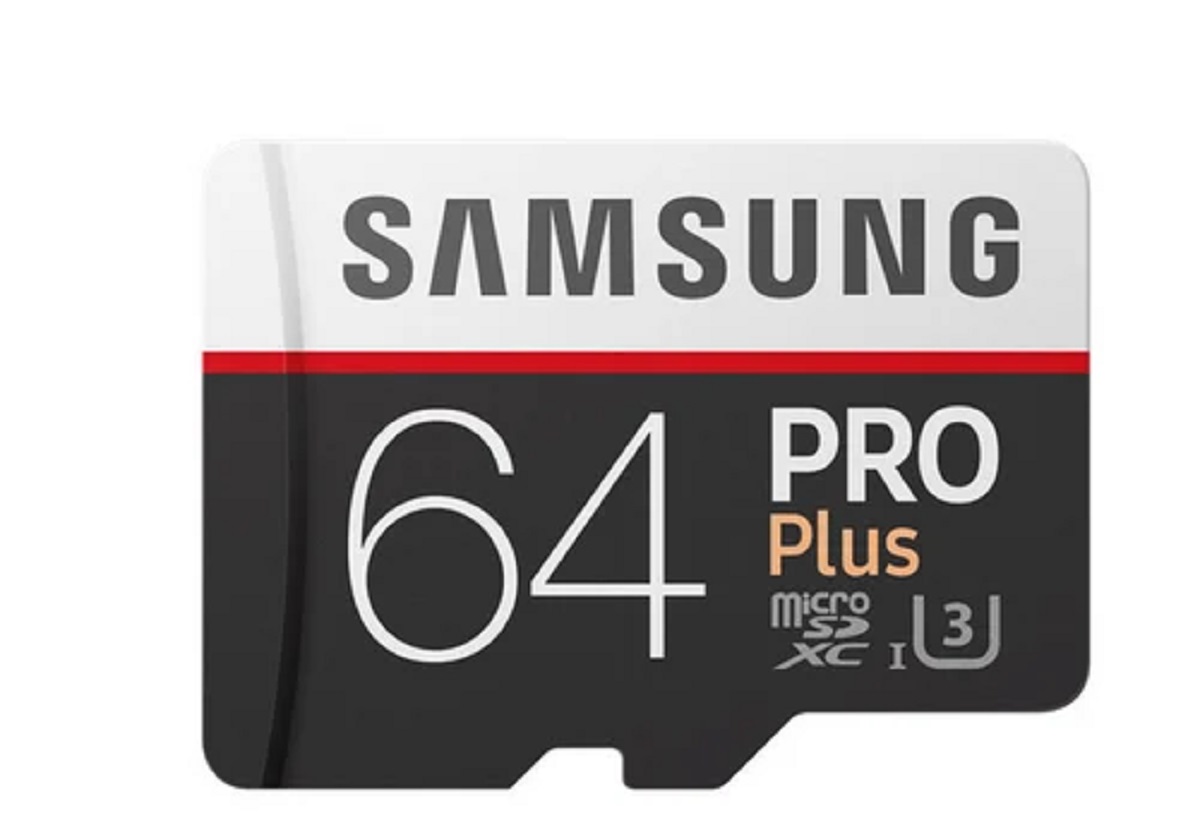
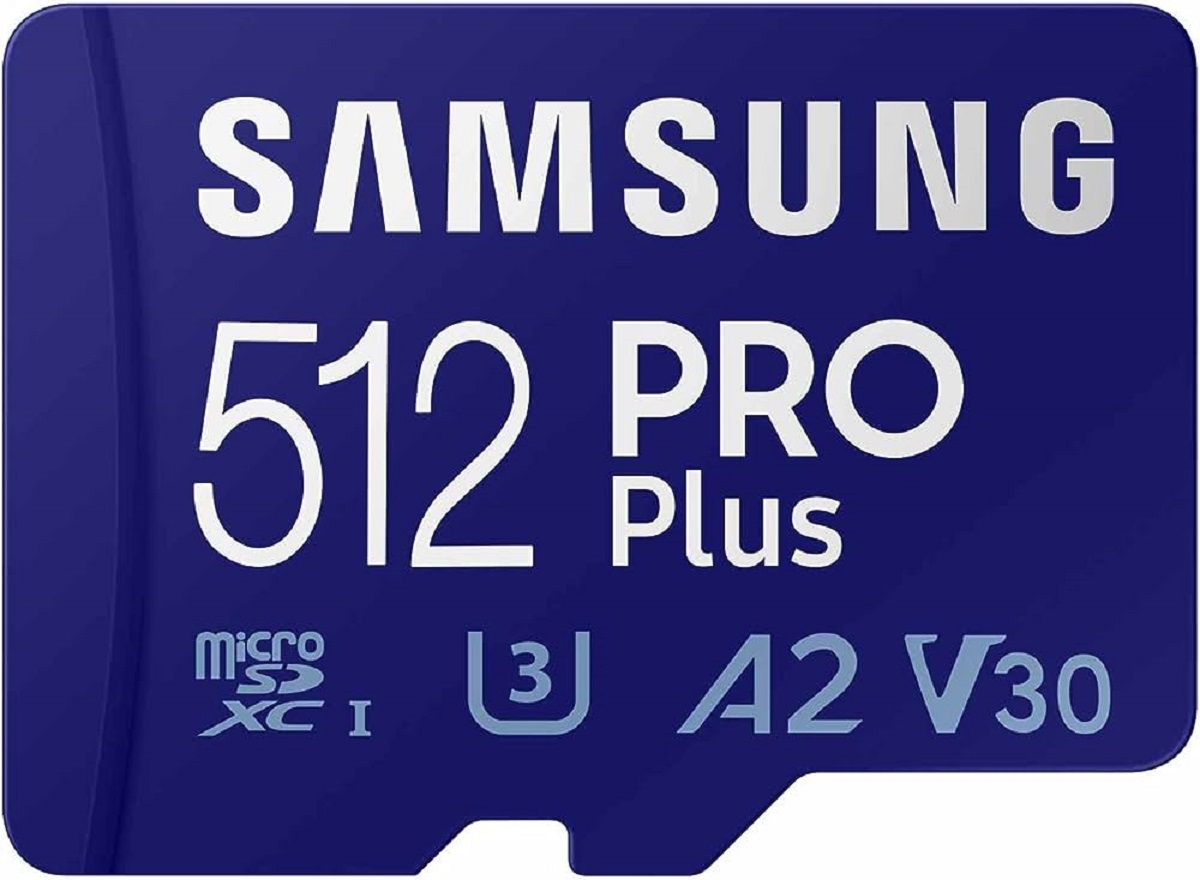
Adding memory to your Samsung tablet involves the use of a microSD card, which is a small, portable storage device. These cards come in different storage capacities, ranging from a few gigabytes to several terabytes. It’s crucial to select a card that meets your storage needs and is compatible with your tablet.
The process of adding memory to your Samsung tablet includes powering off the device, locating the memory card slot, inserting the card, and powering the tablet back on. Once the tablet is on, you’ll need to verify that the added memory is recognized by the device.
After adding the memory, it’s important to format the new memory card to ensure it works optimally with your tablet. Additionally, you may need to transfer apps and data from the internal storage of the tablet to the new memory card to free up space.
This article will guide you through each step of the process, providing detailed instructions to help you successfully add memory to your Samsung tablet. Follow along to expand your tablet’s storage capacity and enjoy enhanced performance and efficiency.
Step 1: Determine the Tablet’s Compatibility
Before you can proceed with adding memory to your Samsung tablet, it’s important to determine whether your tablet supports memory expansion. Not all tablets have the option to add extra memory, so it’s crucial to check the specifications of your specific model.
To find out if your tablet supports memory expansion, you can do a quick search online using the specific model number or check the user manual that came with your tablet. The user manual typically provides information about the tablet’s hardware specifications, including whether it has a memory card slot.
Another way to check for memory expansion capability is by navigating to the settings of your tablet. Follow these steps:
- Open the Settings app on your Samsung tablet.
- Scroll down and look for the “Storage” or “Storage & USB” option.
- Tap on this option to access the storage settings.
- Look for information about the available storage and whether there’s an option to insert a memory card.
If you find information about a memory card slot or an option to insert a memory card, it means your tablet supports memory expansion. Take note of the type of memory card supported by your tablet. Most Samsung tablets use microSD cards, so make sure to get a microSD card that is compatible with your tablet.
Understanding your tablet’s compatibility and whether it supports memory expansion is crucial before proceeding with the steps to add memory. This will ensure that you have all the necessary hardware and that you won’t encounter any compatibility issues later on. Once you’ve confirmed your tablet’s compatibility, you’re ready to move on to the next step of the process.
Step 2: Purchase the Correct Memory Card
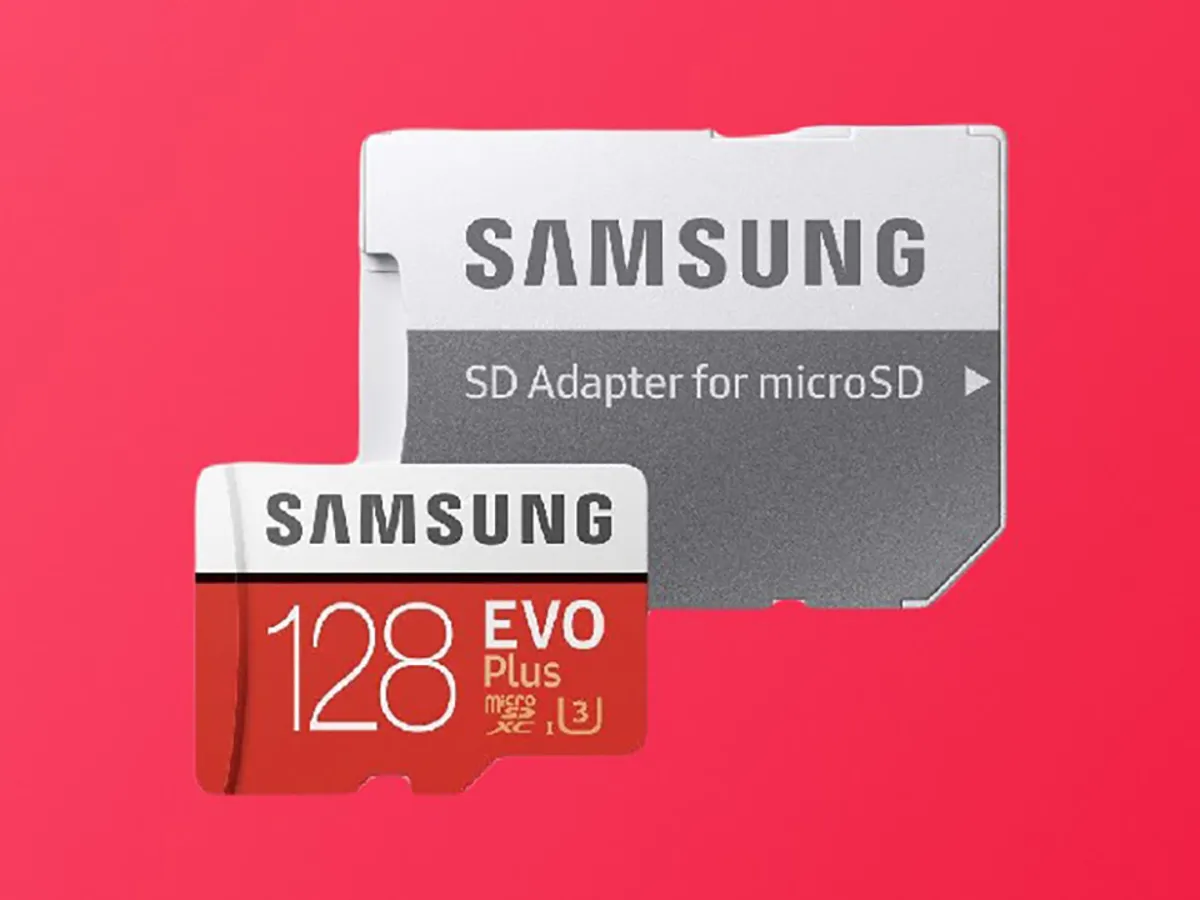
Now that you’ve determined that your Samsung tablet supports memory expansion, it’s time to purchase the correct memory card. Most Samsung tablets use microSD cards, but it’s essential to ensure that you choose a card that is compatible with your specific tablet model.
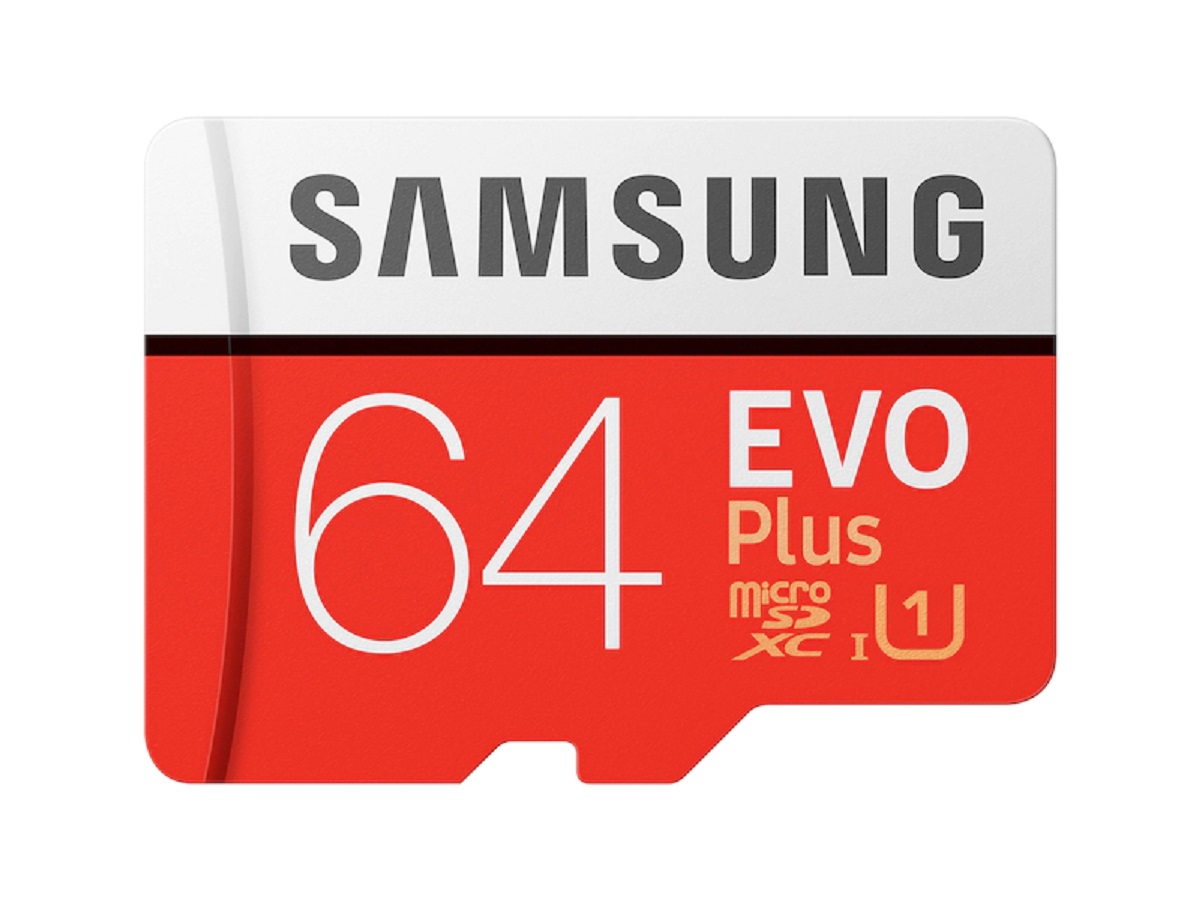
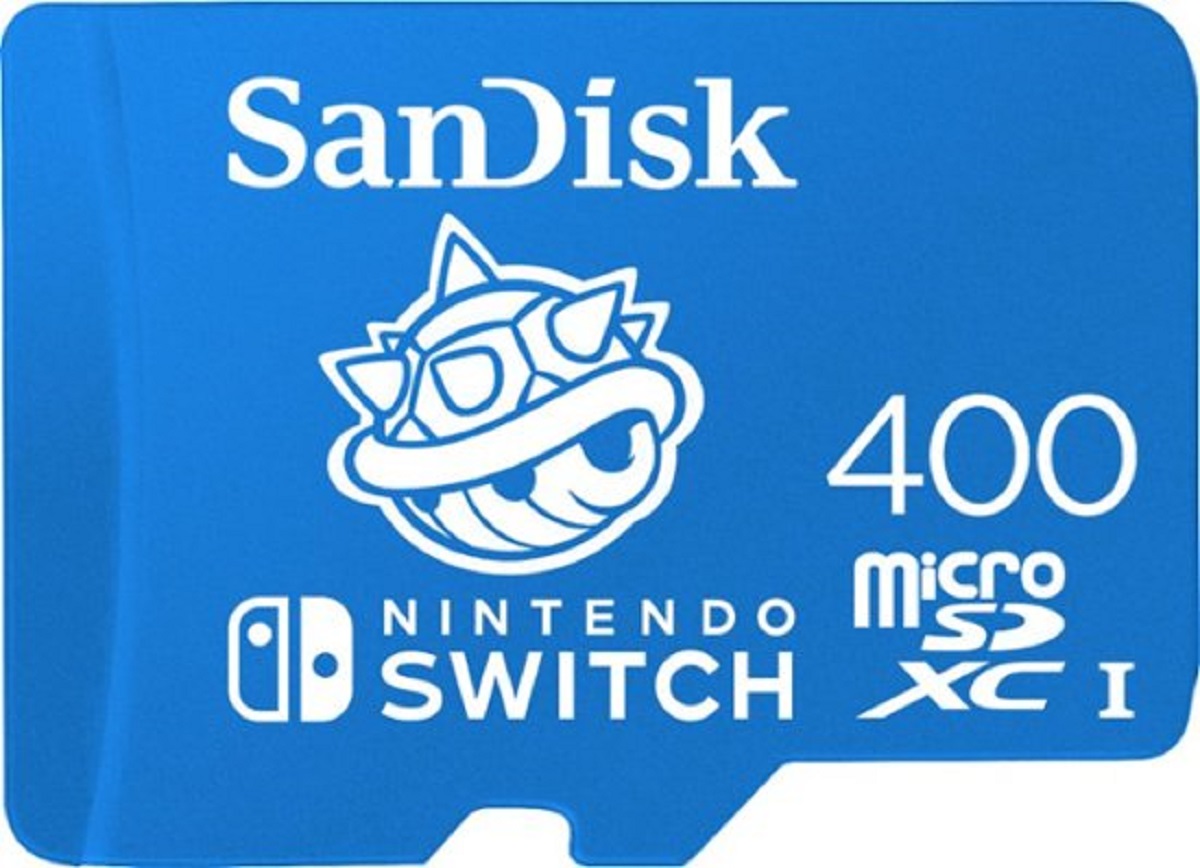
When selecting a memory card, consider the storage capacity you need. MicroSD cards come in various sizes, ranging from a few gigabytes to several terabytes. Think about how much additional storage you require for your tablet and choose a card that can accommodate your needs.
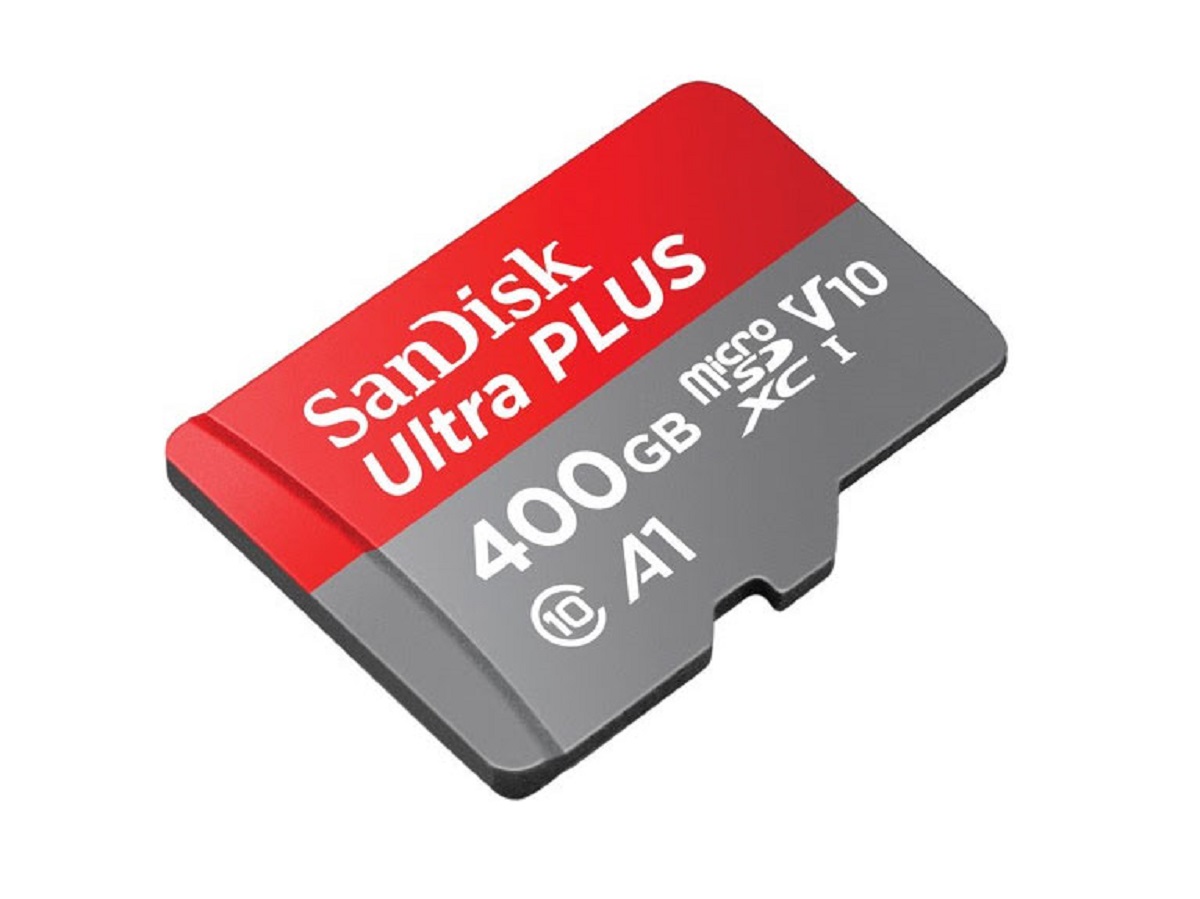
It’s also important to look for trusted and reliable brands when purchasing a memory card. Opting for a reputable brand will ensure the quality and reliability of the card, reducing the risk of data loss or device compatibility issues.
Here are some tips to help you choose the correct memory card for your Samsung tablet:
- Check the specifications and compatibility information provided by the tablet manufacturer.
- Look for the recommended storage capacity range for your tablet model.
- Read reviews and ratings of the memory card before making a purchase.
- Consider the speed class of the memory card to ensure faster data transfer.
- Verify that the memory card is a genuine product, as counterfeit cards are prevalent in the market.
Once you’ve purchased the memory card, make sure to keep it in a safe place until you’re ready to insert it into your tablet. It’s recommended to handle the memory card with care to avoid any damage to the card or the tablet’s memory card slot.
By purchasing the correct memory card for your Samsung tablet, you’re ensuring compatibility and optimal performance. Now that you have the memory card ready, let’s move on to the next step of the process to add the memory to your tablet.
Step 3: Power Off the Tablet and Remove the Battery
Before you can insert the memory card into your Samsung tablet, it’s important to power off the device and remove the battery if possible. Removing the battery ensures that the tablet is completely powered off and eliminates the risk of any electrical damage during the memory card installation process.
Please note that not all Samsung tablets have removable batteries. If your tablet does not have a removable battery, you can skip this step and proceed to the next one.
Here’s how you can power off your Samsung tablet and remove the battery:
- Ensure that your tablet is turned on.
- Press and hold the power button until the power options menu appears on the screen.
- Select the “Power off” or “Turn off” option from the menu. This will initiate the shutdown process.
- Wait for the tablet to power off completely. You may see a confirmation message on the screen indicating that the device has powered off.
- If your tablet has a removable battery, locate the battery compartment on the back of the device.
- Remove the back panel or cover by gently prying it off with your fingers or using a small tool if necessary. Be careful not to apply excessive force or damage the panel.
- Once the back panel is removed, you should be able to see the battery.
- Carefully disconnect any connectors or clips holding the battery in place.
- Remove the battery by lifting it from one corner and gently pulling it out of the slot.
By powering off your tablet and removing the battery, you ensure the safety and proper installation of the memory card. Once the battery is removed, you’re ready to move on to the next step and insert the memory card into your Samsung tablet.
Step 4: Locate the Memory Card Slot
After powering off your Samsung tablet and removing the battery if applicable, the next step is to locate the memory card slot. The memory card slot is where you will insert the microSD card to expand the tablet’s storage capacity.
The location of the memory card slot may vary depending on the model of your Samsung tablet. However, most tablets have the memory card slot conveniently located on the side or back of the device.
To locate the memory card slot on your Samsung tablet, follow these steps:
- Inspect the sides and edges of your tablet. Look for a small rectangular or square-shaped slot that is just big enough to accommodate the microSD card.
- On some tablets, the memory card slot may be hidden behind a small cover or panel. If you see a cover, gently remove it to reveal the memory card slot.
- If you’re having trouble locating the memory card slot, refer to the user manual that came with your tablet. The manual will provide detailed information about the device’s hardware layout and the location of the memory card slot.
Once you’ve located the memory card slot, it’s important to handle it with care. Avoid applying excessive force or inserting the microSD card in the wrong direction, as this can cause damage to the card or the slot.
Each tablet model may have a slightly different design for the memory card slot, so take a moment to familiarize yourself with the specific slot layout of your tablet. This way, you can ensure a smooth and successful installation of the memory card.
Now that you’ve located the memory card slot, you’re ready for the next step: inserting the microSD card into your Samsung tablet.
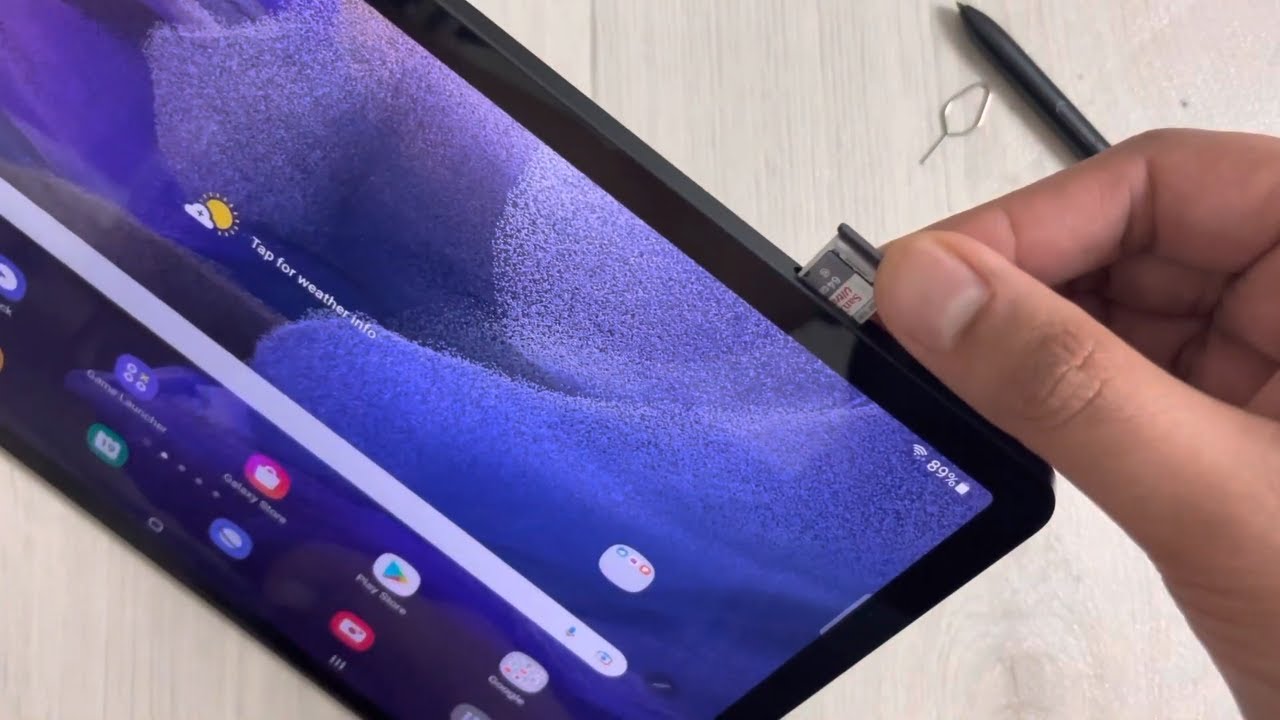
Step 5: Insert the Memory Card
With the memory card slot located on your Samsung tablet, it’s time to insert the microSD card to expand the storage capacity of your device. Follow these steps to insert the memory card:
- Ensure that your tablet is powered off and the battery, if removable, is removed.
- Hold the microSD card with the gold contacts facing down and the notched edge of the card facing toward the slot.
- Gently insert the microSD card into the memory card slot on your tablet. Be careful not to insert the card upside down or at an angle to avoid damaging the card or the slot.
- Press the card firmly into the slot until you feel a slight click or resistance, indicating that the card is securely in place.
- If your tablet has a cover or panel that was removed to access the memory card slot, carefully reattach it, ensuring that it fits snugly and securely.
- If your tablet has a removable battery, reinsert the battery carefully, making sure to reconnect any connectors or clips that hold it in place.
Once the memory card is inserted correctly, you can proceed to the next step. Power on your Samsung tablet to verify that the added memory is recognized and functioning correctly.
It’s important to note that some tablets may require additional steps or settings adjustments to recognize and utilize the newly added memory card. Refer to your tablet’s user manual or manufacturer’s website for any specific instructions regarding memory card installation.
Now that the memory card is inserted into your Samsung tablet, you’re one step closer to expanding its storage capacity. In the next step, we will power on the tablet and verify that the added memory is detected properly.
Step 6: Power On the Tablet and Verify the Added Memory
After inserting the memory card into your Samsung tablet, it’s time to power on the device and ensure that the added memory is recognized and functioning correctly. Follow these steps to verify the added memory:
- If your tablet is powered off, press the power button to turn it on. If it’s already on, proceed to the next step.
- Wait for the tablet to boot up and reach the home screen.
- Once you’re on the home screen, swipe down from the top of the screen to access the notification panel.
- Look for a notification related to the memory card, such as “SD card detected” or “New storage device found.” This indicates that the tablet has recognized the added memory card.
- Alternatively, you can open the Settings app and navigate to the Storage or Storage & USB section to check if the added memory card is displayed as an available storage option.
- If you see the memory card listed under the available storage options, it means that the tablet has successfully detected the added memory and you can proceed to format it.
- If the memory card is not recognized or not appearing in the storage options, power off the tablet, remove the memory card, and repeat the previous steps to reinsert it. Ensure that the card is inserted correctly and securely.
- If the issue persists, it’s recommended to consult the user manual or contact Samsung support for further assistance.
Verifying that the added memory card is correctly recognized by your Samsung tablet is essential to ensure that it’s functioning properly. This step confirms that the tablet can utilize the additional storage capacity provided by the memory card.
If your tablet successfully recognizes the added memory, you can proceed to the next steps, such as formatting the memory card and transferring apps and data, to fully utilize the expanded storage on your Samsung tablet.
Please note that formatting the memory card will erase all existing data on it, so it’s crucial to backup any important data before proceeding with the formatting process.
In the next step, we will discuss how to format the new memory card to ensure optimal performance and compatibility with your Samsung tablet.
Step 7: Format the New Memory Card
After verifying that your Samsung tablet recognizes the added memory card, it’s important to format the new memory card. Formatting the memory card ensures that it is compatible with your device and prepares it for storage usage.
Before proceeding with the formatting process, keep in mind that formatting the memory card will erase all existing data on it. Therefore, it’s crucial to back up any important data you may have on the card before proceeding.
Here are the steps to format the new memory card on your Samsung tablet:
- Open the Settings app on your tablet.
- Scroll down and tap on the “Storage” or “Storage & USB” option.
- Look for the name of the memory card under the “Portable storage” or “SD card” section.
- Tap on the name of the memory card to access its settings.
- Scroll down and look for the option to “Format” or “Format as internal” or “Erase & format”.
- Tap on the format option and follow the on-screen prompts to initiate the formatting process.
- Wait for the formatting process to complete. This may take a few minutes.
- Once the formatting is complete, you’ll see a confirmation message indicating that the memory card has been formatted successfully.
After formatting, the memory card is ready to be used as additional storage for your Samsung tablet. You can now transfer apps, files, photos, and other data to the newly formatted memory card.
In case you want to use the memory card as internal storage, some tablets offer an option to format the memory card as internal storage. This allows you to install apps directly on the memory card and have them run from there, effectively expanding your tablet’s internal storage capacity. However, keep in mind that once you format the memory card as internal storage, it will be encrypted and tied to your specific device, making it difficult to use the card on another device without reformatting it.
Now that the new memory card is successfully formatted, you can proceed to the next step and transfer your apps and data to the expanded storage on your Samsung tablet.
Step 8: Transfer Apps and Data to the New Memory Card
Now that you have successfully formatted the new memory card on your Samsung tablet, it’s time to transfer your apps and data to the expanded storage. This will help free up space on your tablet’s internal storage and utilize the added memory card effectively.
Follow these steps to transfer apps and data to the new memory card:
- Open the Settings app on your tablet.
- Scroll down and tap on the “Apps” or “Applications” option.
- Select the app that you want to transfer to the memory card.
- In the app settings, look for the “Storage” or “Storage usage” option.
- Tap on the “Change” or “Move” button to specify the storage location for the app.
- Select the memory card as the destination storage for the app.
- Wait for the app to be moved to the memory card. This may take a few moments, depending on the size of the app.
- Repeat these steps for each app you want to transfer to the memory card.
- To transfer photos, videos, or other files to the memory card, you can use a file manager app or connect your tablet to a computer via USB and manually copy and paste the files to the memory card.
By transferring apps and data to the new memory card, you’ll free up valuable space on your tablet’s internal storage, making it run more efficiently and minimizing the risk of running out of storage space.
Note that not all apps can be transferred to the memory card. Some system apps and certain apps with specific restrictions may not support this feature. In such cases, you can focus on transferring larger apps or apps that consume significant storage space.
It’s important to regularly manage your apps and data, as well as monitor the available storage on your tablet and the memory card. This will help ensure optimal performance and make the most of the expanded storage capacity.
In the next step, we will discuss how to safely eject the memory card from your Samsung tablet.
Step 9: Safely Eject the Memory Card
When you no longer need the memory card or if you want to remove it from your Samsung tablet for any reason, it’s important to safely eject the memory card to avoid any data corruption or damage. Follow these steps to safely eject the memory card:
- Ensure that your tablet is powered off.
- If your tablet has a cover or panel protecting the memory card slot, gently remove it.
- Locate the memory card on your tablet.
- Press the memory card gently until you hear or feel a click. This indicates that the card has been released from the slot.
- Once the memory card is released, carefully pull it out of the slot.
- If your tablet has a cover or panel, reattach it securely.
Safely ejecting the memory card ensures that all data is written and saved before removing the card. This helps prevent data loss, corruption, or damage to the memory card.
If you want to transfer the memory card to another device or if you need to store it safely, it’s recommended to put the memory card in a protective case or sleeve to prevent any physical damage or accidental data deletion.
Remember to handle the memory card with care. Avoid touching the gold contacts or exposing it to extreme temperatures or moisture, as these can lead to data loss or physical damage.
Once you have safely ejected the memory card from your Samsung tablet, you can store it or use it on another compatible device. If you decide to use it again in your tablet, you can simply insert it following the previous steps mentioned in this article.
By safely ejecting the memory card, you ensure the longevity and functionality of the card and maintain its compatibility with your Samsung tablet.
Congratulations! You have successfully learned how to add memory to your Samsung tablet and expand its storage capacity. Enjoy the enhanced performance and ample storage space for your apps, photos, videos, and files.
Conclusion
Expanding the memory of your Samsung tablet can greatly improve its performance and provide you with more storage space for apps, files, photos, and videos. By following the step-by-step guide outlined in this article, you can successfully add memory to your tablet and make the most of its capabilities.
Throughout the process, it’s crucial to ensure the compatibility of your tablet for memory expansion, purchase the correct memory card, power off the tablet and remove the battery (if applicable), locate the memory card slot, insert the memory card correctly, power on the tablet to verify the added memory, format the new memory card, transfer apps and data to the memory card, and safely eject the memory card when necessary.
Remember to handle the memory card and tablet with care during the installation process and make regular backups of important data to avoid any potential data loss.
Adding memory to your Samsung tablet can extend its lifespan and enhance its functionality, allowing you to enjoy a smoother and more efficient user experience. Take advantage of the expanded storage capacity to store more apps, media files, and other data without worrying about running out of space.
Now that you have successfully learned how to add memory to your Samsung tablet, you can unleash its true potential and make the most of its features. Enjoy the increased storage capacity and improved performance of your tablet for all your digital needs.