Introduction
Do you want to project your HP laptop screen onto a projector for a presentation or to enjoy a movie on a larger screen? Connecting your HP laptop to a projector can be a simple and effective way to share your content with a larger audience. Whether you’re in a conference room, classroom, or home theater, projecting your laptop screen can provide a better viewing experience and make your content more impactful.
In this guide, we’ll walk you through the step-by-step process of projecting your HP laptop to a projector. We’ll cover everything from setting up the projector and laptop to adjusting the display settings for the best quality. With these instructions, you’ll be able to seamlessly connect your HP laptop to a projector and start sharing your content in no time.
Not only is connecting your HP laptop to a projector a practical solution for presentations and meetings, but it can also enhance your entertainment experience. By projecting your laptop screen onto a larger display, you can enjoy movies, videos, and games in a more immersive and cinematic way. Whether you’re hosting a movie night with friends or having a gaming session, the ability to project your laptop screen will surely elevate your entertainment options.
Before we dive into the specifics, it’s important to note that the steps outlined in this guide are tailored for HP laptops. However, the basic principles should be similar across different laptop brands and models. So even if you don’t have an HP laptop, you can still follow along and adapt the instructions accordingly.
Now, let’s get started with the step-by-step process of setting up your HP laptop and connecting it to a projector. By the end of this guide, you’ll have all the knowledge you need to project your HP laptop screen onto a projector and enjoy a larger display for your content.
Setting up the projector and laptop
Before you can start connecting your HP laptop to a projector, you’ll need to ensure that both the projector and laptop are properly set up. Here are the steps to follow:
- Choose an appropriate location: Find a suitable location for both the projector and laptop. Make sure there is enough space and a clear line of sight between the two.
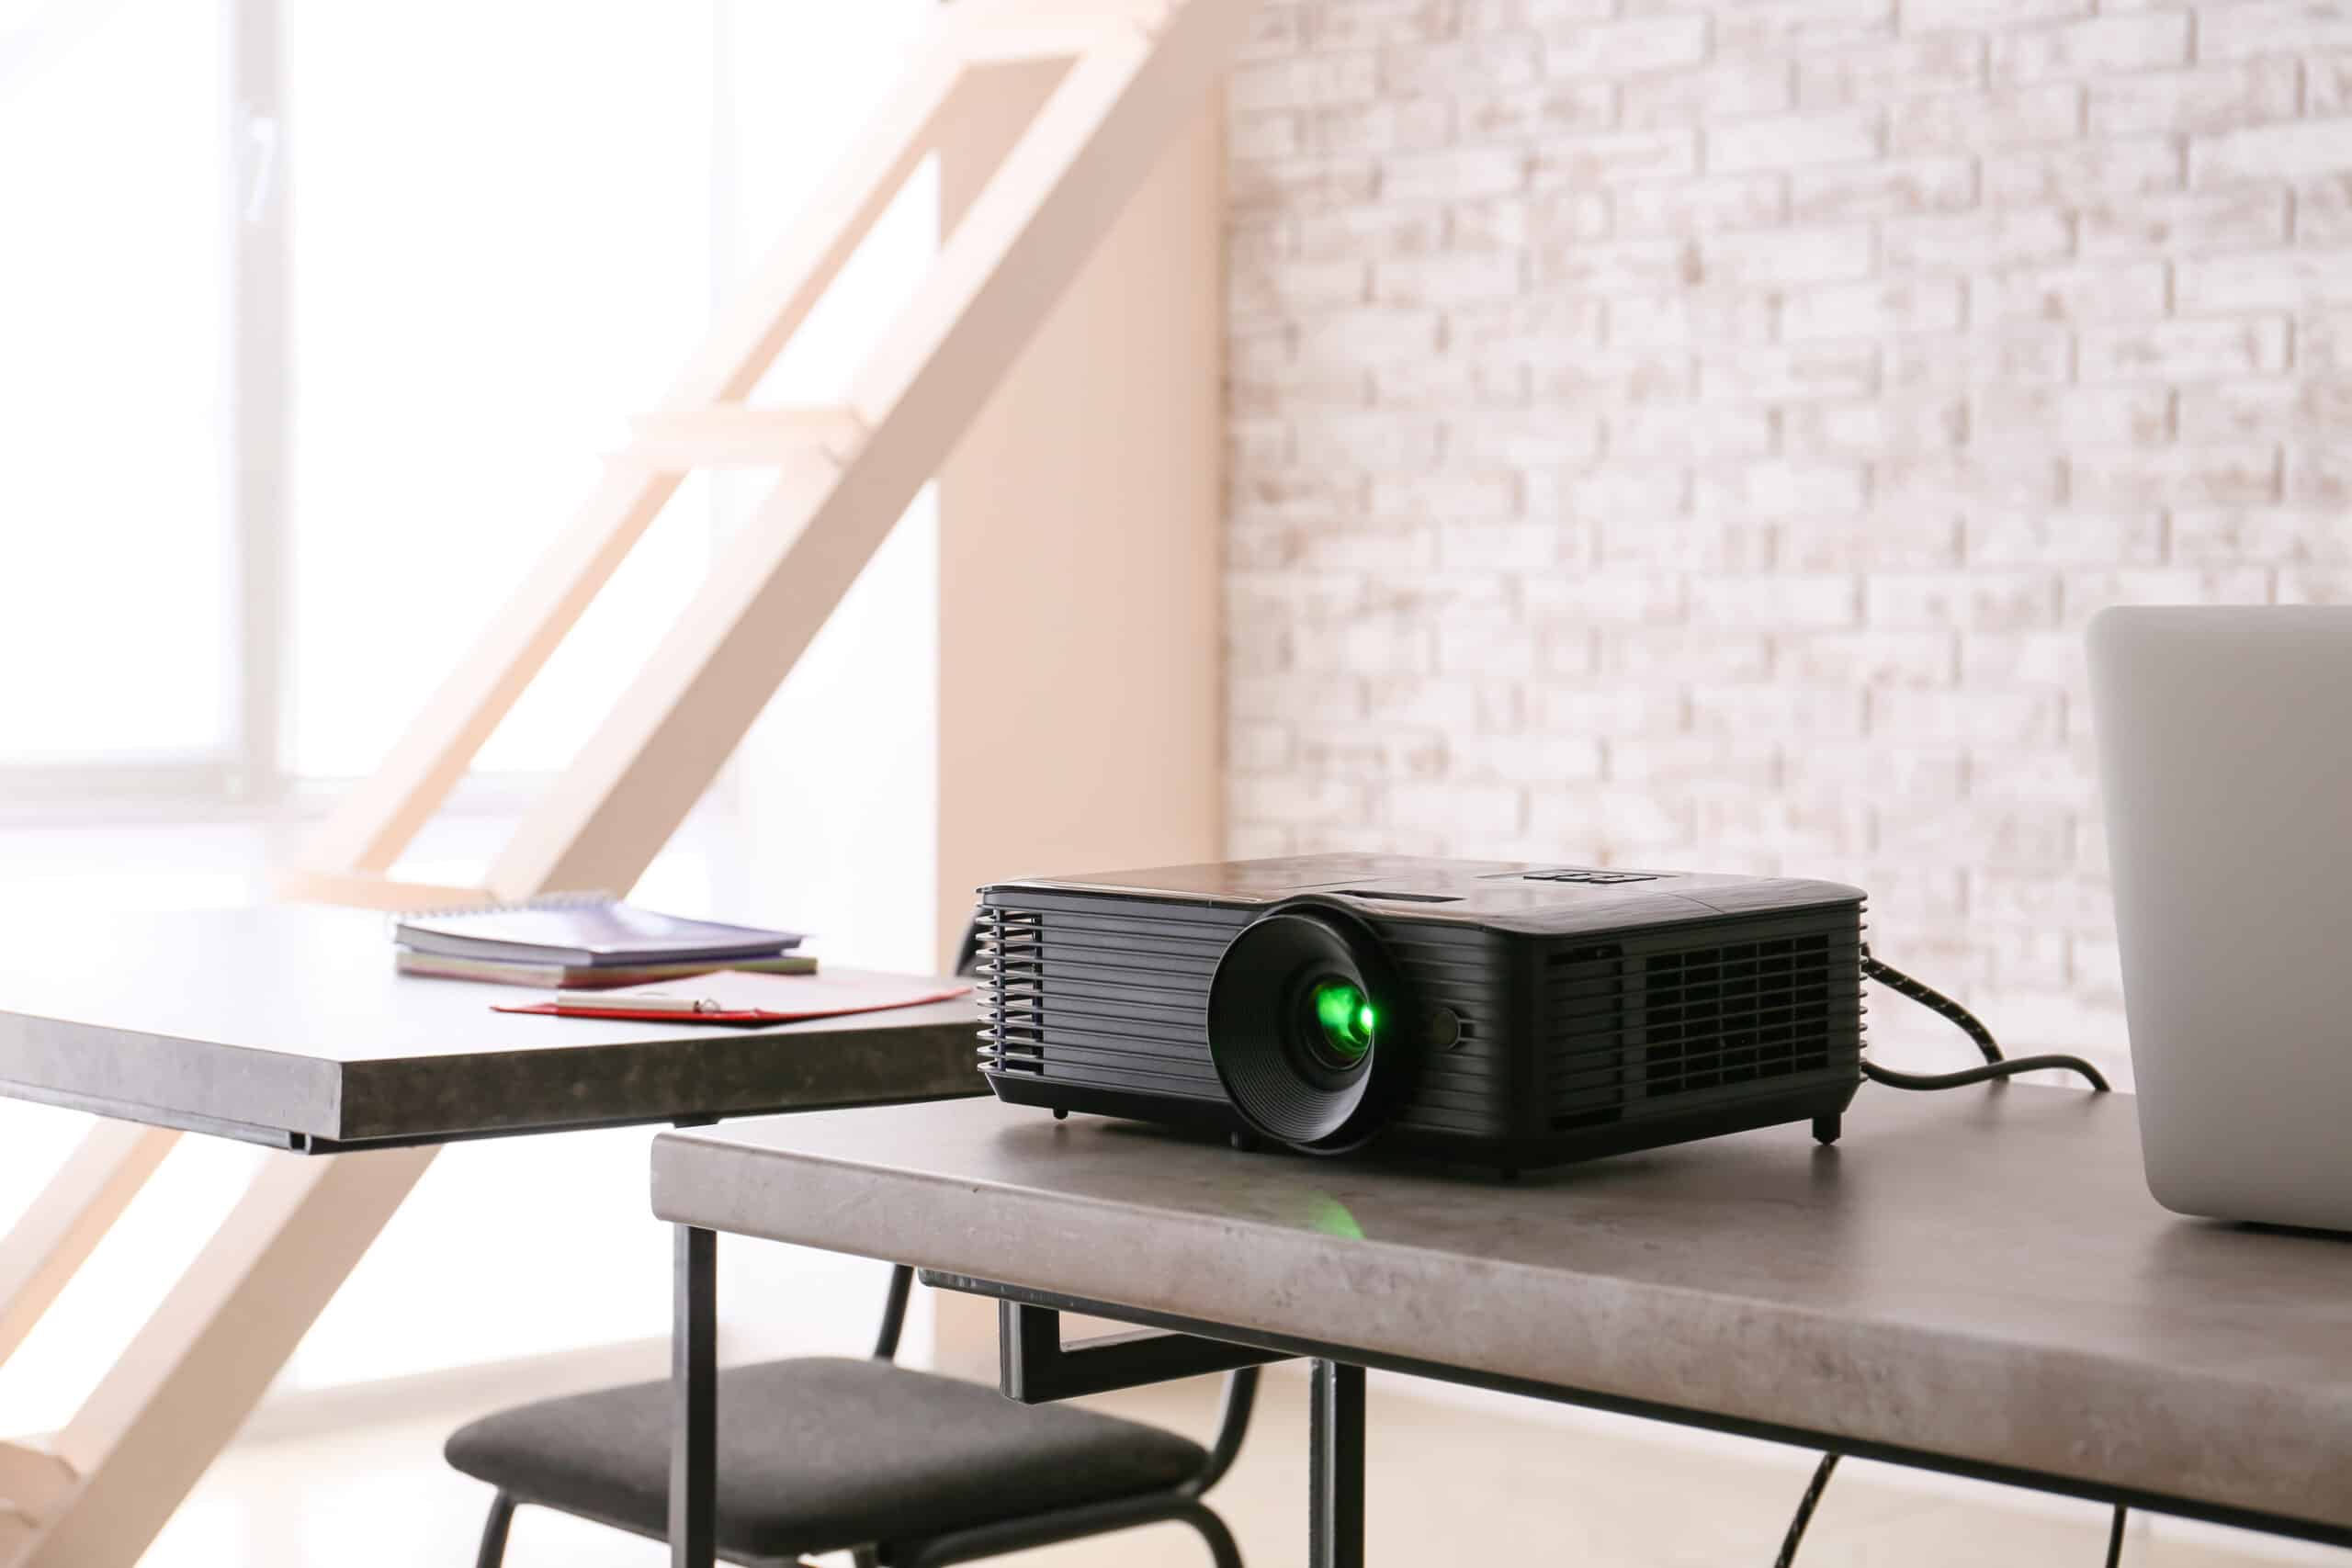
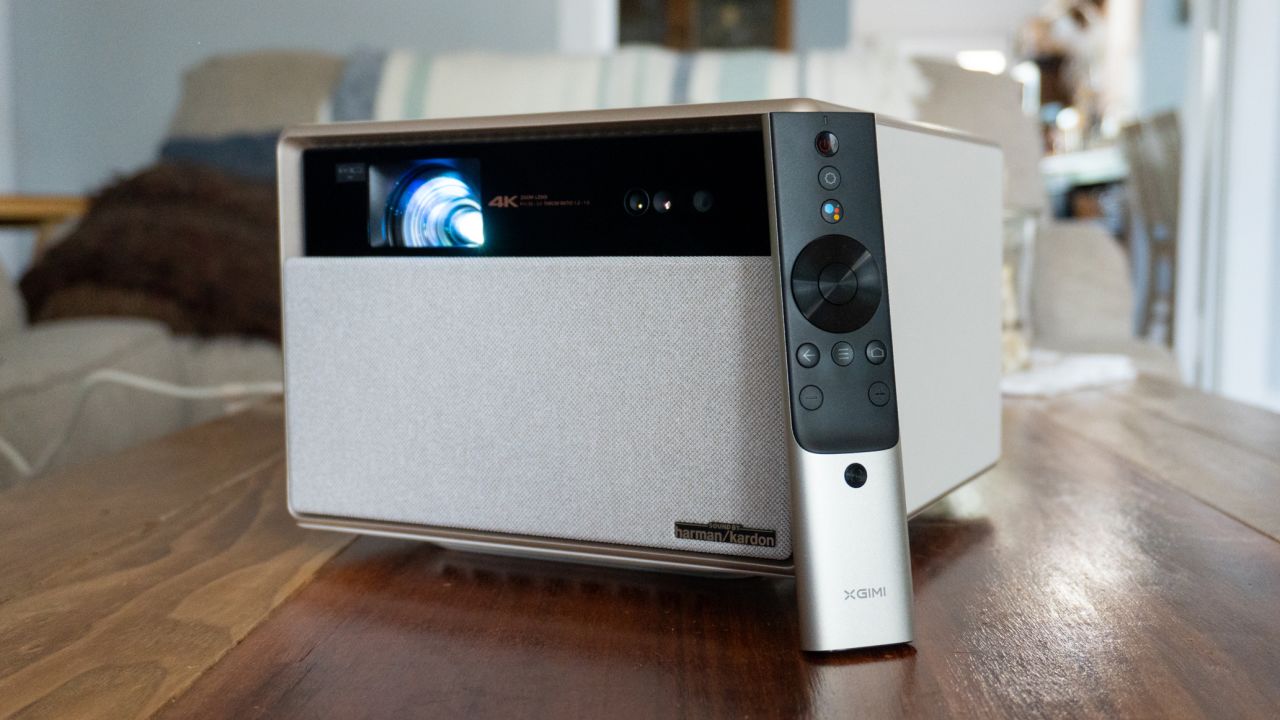
- Position the projector: Set up the projector on a stable surface or mount it securely on a ceiling or wall. Ensure that it is facing the direction where you want the image to be projected.
- Connect the power source: Plug in the projector and connect it to a power source. Ensure that the power cable is securely connected.
- Prepare the laptop: Make sure your HP laptop is charged or connected to a power source. It’s recommended to have your laptop connected to the power adapter during the projection to avoid any disruptions.
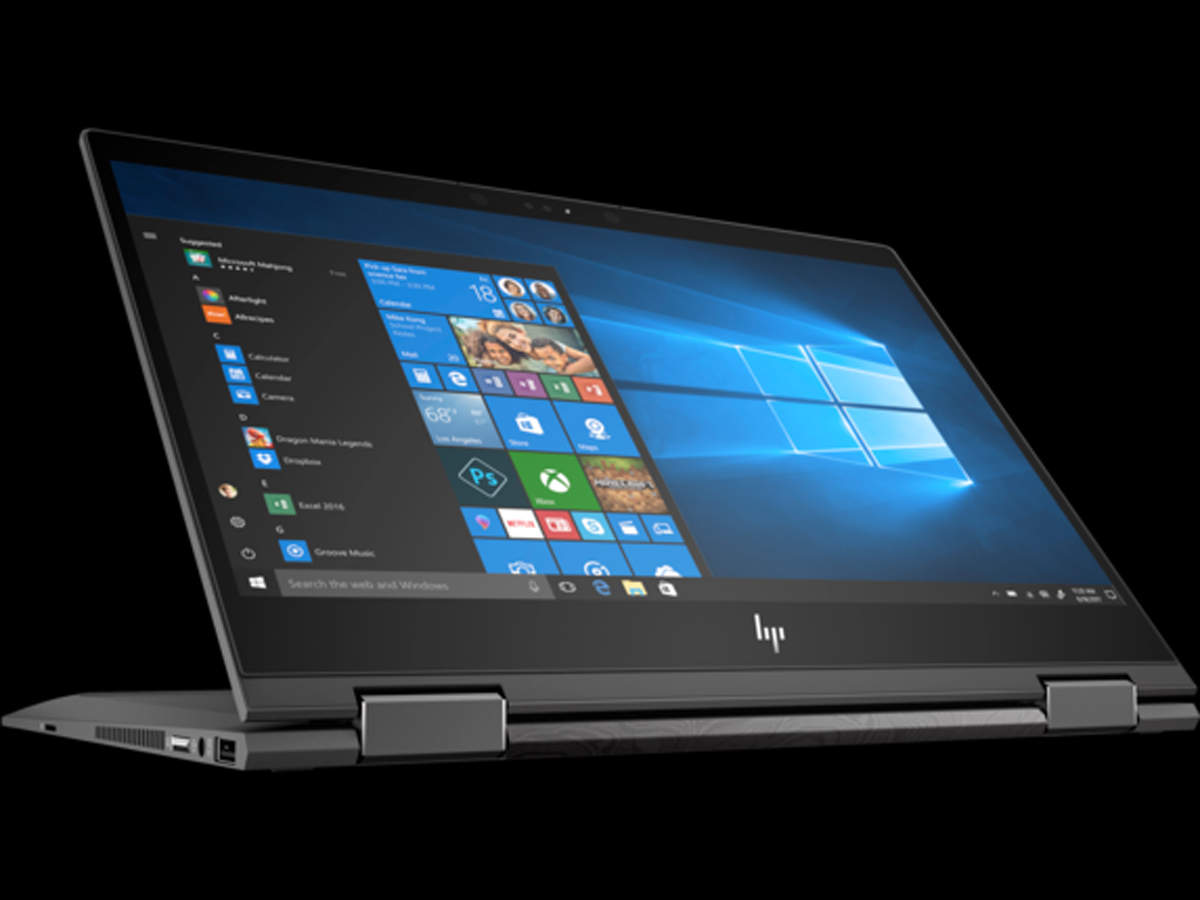
- Adjust the display settings: On your HP laptop, go to the control panel or settings menu and open the display settings. This will allow you to adjust the resolution and other display preferences to match the projector’s requirements.
By properly setting up both the projector and laptop, you’ll ensure a smooth and hassle-free connection process. Taking the time to position the projector correctly and adjust the display settings on your laptop will help optimize the projected image quality.
It’s worth noting that some projectors may have additional setup requirements, such as connecting external speakers or adjusting the focus and zoom settings. Refer to the user manual or instructions provided by the projector manufacturer for specific setup instructions.
Once you have completed the setup process, you’re ready to connect your HP laptop to the projector and start projecting your screen. The next section will guide you through the steps necessary to establish the connection between the two devices.
Choosing the correct display settings
In order to project your HP laptop to a projector successfully, it is essential to choose the correct display settings. This will ensure that the projected image matches the resolution and aspect ratio of the projector, resulting in optimal image quality. Here’s how to select the appropriate display settings on your HP laptop:
- Access the display settings: On your HP laptop, navigate to the control panel or settings menu. Look for the “Display” or “Screen Resolution” option and click on it to open the display settings.
- Identify the projector: Once in the display settings menu, the laptop screen and the connected projector should be displayed as separate options. The projector display may be labeled as “Projector” or with the specific make and model of the projector.
- Choose the resolution: Click on the projector display and select the desired resolution. It is recommended to match the projector’s native resolution for the best image quality. The available resolutions will depend on the capabilities of your laptop and the projector.
- Adjust the aspect ratio: The aspect ratio refers to the proportion of the width to the height of the display. Most projectors have a standard 16:9 or 4:3 aspect ratio. Ensure that the aspect ratio selected on your laptop matches that of the projector to prevent any distortion in the projected image.
By correctly configuring the display settings on your HP laptop, you can ensure that the projected image will be clear, sharp, and properly fitting on the screen. It’s important to note that every projector model may have different resolution and aspect ratio requirements, so it’s essential to consult the user manual or specifications of your particular projector for the best results.
Furthermore, some laptops may provide additional display settings, such as screen orientation, duplicate screen, or extend screen mode. Depending on your specific needs, you can choose to mirror your laptop screen on the projector or extend your desktop to utilize both displays simultaneously.
Once you have selected the appropriate display settings on your HP laptop and matched them to the projector’s specifications, you’re ready to establish the physical connection between the two devices. Continue reading the next section to learn how to connect your laptop to the projector using various connection options.
Connecting the laptop to the projector
Now that you have set up the projector and configured the display settings on your HP laptop, it’s time to connect the two devices. Depending on the available ports and connection options on your laptop and projector, you can choose one of the following methods to establish the connection:
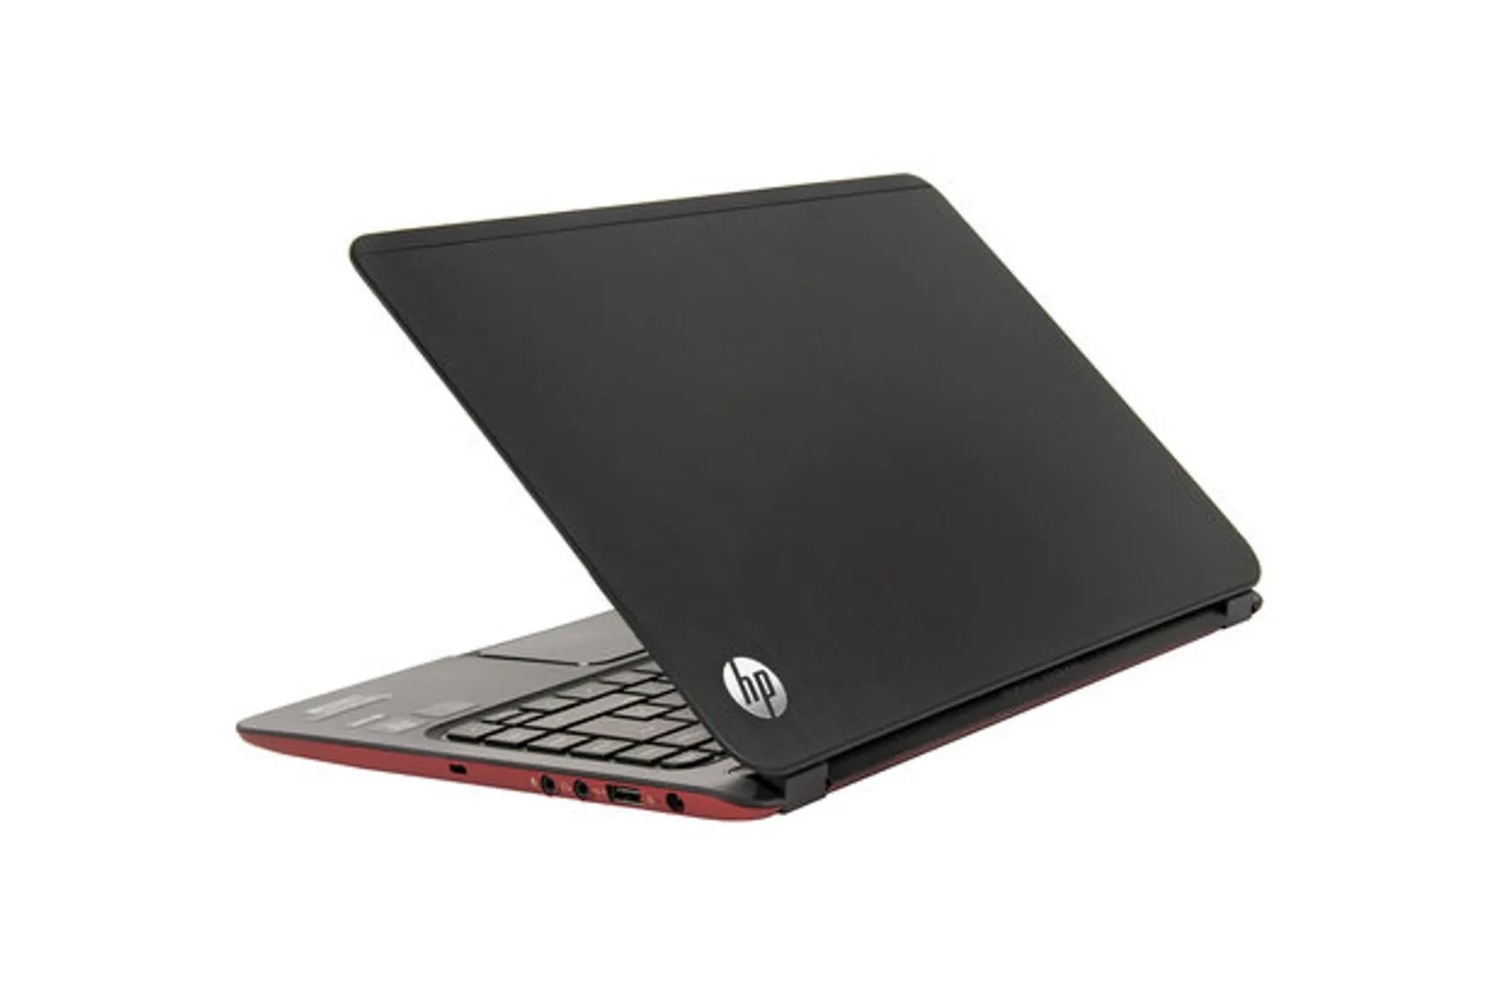
- Using a VGA cable: If your HP laptop and projector both have VGA ports, you can connect them using a VGA cable. Simply plug one end of the VGA cable into the VGA port of your laptop and the other end into the VGA port on the projector. Make sure the connection is secure.
- Using an HDMI cable: If your laptop and projector have HDMI ports, using an HDMI cable is the simplest and most common method. Connect one end of the HDMI cable to the HDMI port of your laptop and the other end to the HDMI port on the projector. Ensure that the cable is firmly inserted into both ports.
- Using a DisplayPort cable: Some newer models of HP laptops and projectors may have DisplayPort connectivity. If this is the case, connect one end of the DisplayPort cable to the DisplayPort on your laptop and the other end to the compatible port on the projector.
Once you have connected the laptop and projector using the appropriate cable, you may need to manually switch the input source on the projector to the corresponding port that you connected the laptop to. This can usually be done using the projector’s remote control or the control panel on the projector itself.
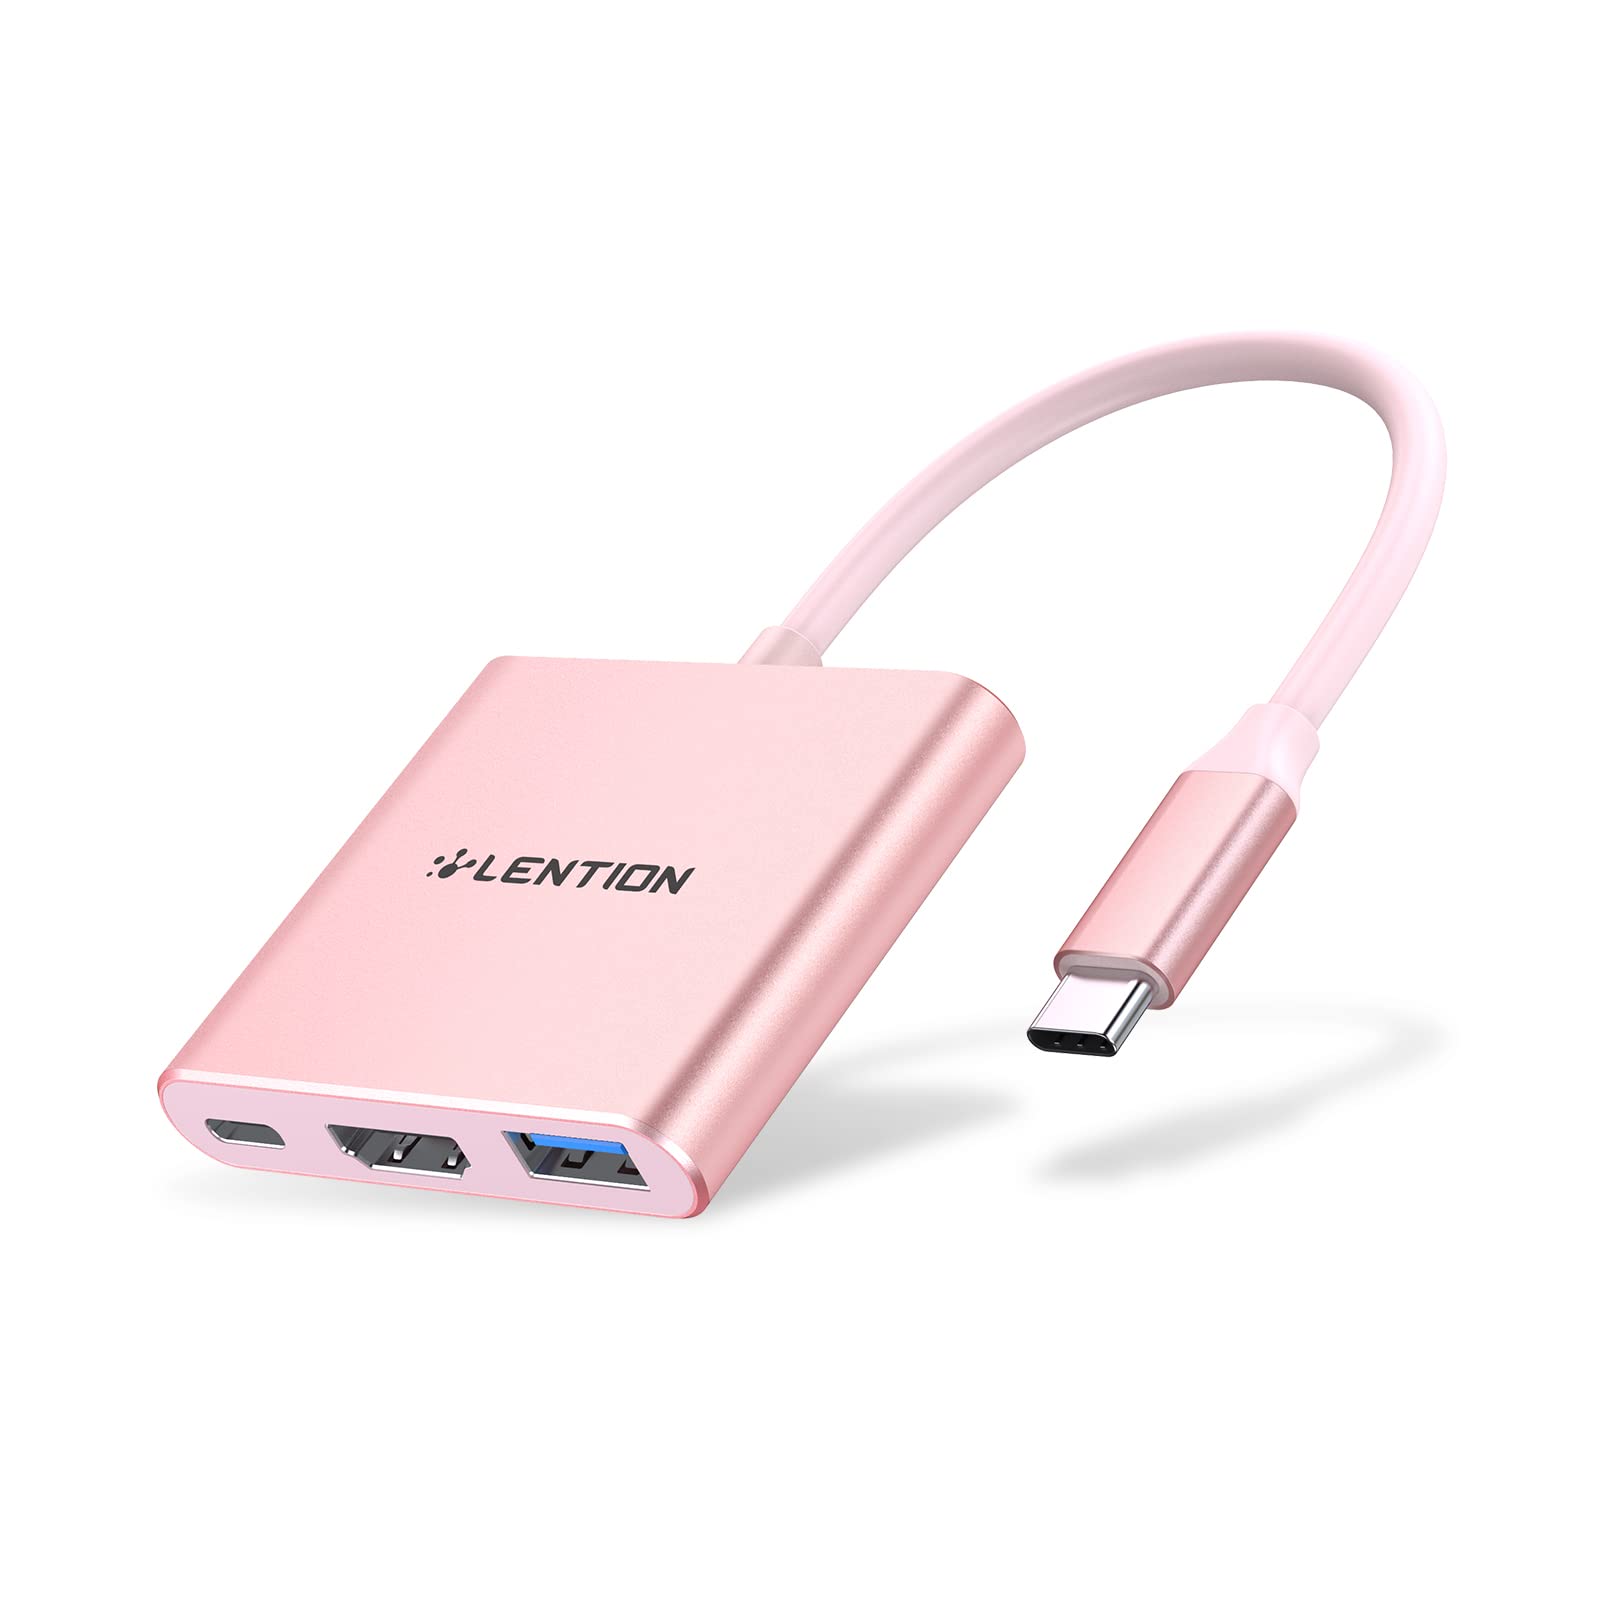
It’s important to mention that if your laptop and projector do not have compatible ports, you may need to use an adapter or converter to bridge the connection. For example, if your laptop has a USB-C port and the projector only has VGA or HDMI ports, you will need to use a USB-C to VGA/HDMI adapter.
Once the laptop and projector are physically connected, the projector should detect the input signal from the laptop and display it on the projected screen. However, you may need to configure additional settings on your laptop, such as the display mode or projector output, to ensure the desired output.
In the next section, we will explore how to adjust the display settings on your laptop to optimize the projection quality and troubleshoot common issues that you may encounter during the process.
Adjusting the display settings on the laptop
After connecting your HP laptop to the projector, it’s important to fine-tune the display settings on your laptop to ensure the best projection quality. Here are some key adjustments you can make:
- Display mode: On your HP laptop, you can choose between different display modes, such as “Duplicate” or “Extend.” The Duplicate mode mirrors your laptop screen on the projector, while the Extend mode allows you to use the projector as an additional display. Select the mode that suits your needs and preferences.
- Projector output: Some laptops have specific settings for projector output. In the display settings, you may find options like “Presentation” or “Projector Only.” These settings optimize the display output for projector use, adjusting brightness, color, and other visual settings.
- Brightness and contrast: Adjusting the brightness and contrast settings on your laptop can enhance the projected image quality. Experiment with these settings to find the optimal balance that suits your projection environment.
- Resolution and scaling: Double-check that the resolution on your laptop matches the native resolution of the projector. Additionally, you may need to adjust the scaling settings to ensure that text and images appear sharp and proportionate on the projected screen.
- Audio output: If you’re using the projector for multimedia purposes, such as playing videos or presenting with audio, make sure the audio output is set to the projector. This will ensure that the sound plays through the projector’s speakers or connected audio system.
It’s crucial to note that the availability of these settings and their specific names may vary depending on the laptop model and operating system. Therefore, it’s important to familiarize yourself with the display settings options on your HP laptop and explore any additional features related to projector connectivity.
Take the time to experiment with different settings and test the projected image quality to ensure it meets your expectations. If needed, refer to the user manual or online resources for your specific HP laptop model to get detailed instructions on adjusting display settings for a projector.
In the event that you encounter any issues or challenges, the next section will provide troubleshooting tips to help you overcome common problems that may arise during the laptop-to-projector connection process.
Troubleshooting common issues
While connecting your HP laptop to a projector is generally a straightforward process, you may encounter some common issues along the way. Here are a few troubleshooting tips to help you overcome these challenges:
- No signal or display: If the projector does not show any signal or display, double-check the connection between your laptop and the projector. Ensure that the cables are securely plugged in and that the correct input source is selected on the projector. You may also need to use the display function key on your laptop to toggle between display options.
- Resolution mismatch: In case the projected image appears distorted, blurry, or does not fit the screen properly, it is likely due to a resolution mismatch. Verify that the resolution settings on your laptop match the native resolution of the projector. Adjust the resolution if necessary to obtain the desired display output.
- No sound: If you’re not getting any sound from the projector, check the audio settings on your laptop. Ensure that the audio output is directed to the projector or the connected audio system. You may need to switch the audio output device or adjust volume settings to resolve the issue.
- Unsupported format or frequency: Some projectors may have specific compatibility requirements for video formats or refresh rates. If you’re experiencing issues with the projected image, confirm that the video format and frequency settings on your laptop are supported by the projector. Adjust the settings accordingly for optimal compatibility.
- Outdated drivers: Outdated or incompatible graphics drivers can cause issues with the laptop-to-projector connection. Ensure that you have the latest graphics drivers installed on your HP laptop. Visit the manufacturer’s website or use the automatic driver update tool to download and install the latest drivers for your specific laptop model.
If you have tried the above troubleshooting tips and are still experiencing difficulties, consult the user manual or online support resources provided by HP for further assistance. Additionally, don’t hesitate to reach out to the manufacturer of the projector if the issue seems to be related to the projector itself.
By understanding and addressing these common connection issues, you’ll be better equipped to troubleshoot and resolve any problems that may arise. Now that you have the knowledge to navigate through any challenges, you can confidently connect your HP laptop to a projector and enjoy the benefits of a larger display for your presentations, movies, and more.
Conclusion
Connecting your HP laptop to a projector opens up a world of possibilities for sharing your content and enhancing your multimedia experience. By following the step-by-step instructions provided in this guide, you can easily set up the projector and laptop, choose the correct display settings, establish the connection, and adjust the display settings for optimal projection quality.
Throughout this guide, we’ve covered the importance of properly setting up the projector and laptop, selecting the appropriate display settings, and troubleshooting common issues that may arise. Remember to position the projector and laptop in a suitable location, connect them using the appropriate cables, and adjust the resolution, aspect ratio, and other display settings to achieve the desired visual output.
It’s worth noting that laptops and projectors may have different ports and connectivity options, so it’s important to understand the specific requirements of your HP laptop and the projector you’re using. Refer to the user manuals and specifications provided by the manufacturer for detailed instructions and compatibility information.
By successfully connecting your HP laptop to a projector, you can enjoy the benefits of a larger screen for presentations, videos, movies, and gaming. Whether you’re delivering a professional presentation or hosting a movie night, projecting your laptop screen onto a larger display is a powerful way to captivate and engage your audience.
Remember to experiment with the display settings on your laptop to find the optimal balance and adjust the settings as necessary. Should you encounter any issues or challenges, refer to the troubleshooting tips provided to overcome them and ensure a seamless projection experience.
Now that you have the knowledge and confidence to connect your HP laptop to a projector, go ahead and enjoy the versatility and expanded possibilities that come with projecting your screen onto a larger display. Whether for work or entertainment, creating a bigger visual impact has never been easier.


