Introduction
Welcome to the era of smart TVs, where you can access a world of entertainment with just a few clicks. But what if you have some old VHS tapes that you want to watch on your shiny new smart TV? Don’t worry, because in this article, we will show you how to plug your VCR into your smart TV and enjoy your cherished VHS memories once again.
While VCRs and smart TVs seem like technologies from different eras, it is still possible to connect the two and transfer the analog video signals to the modern digital display of your smart TV. By following a few simple steps, you can relive your favorite old movies, home videos, and other VCR recordings on the big screen.
Before we dive into the step-by-step guide, let’s first make sure you have all the necessary cables and equipment. To connect your VCR to your smart TV, you will need an HDMI cable or RCA cables, depending on the available ports on your devices. Don’t worry if you’re unsure about the ports – we’ll guide you through that too. Just gather your cables and get ready to embark on a trip down memory lane.
Step 1: Gather the necessary cables and equipment
Before you begin connecting your VCR to your smart TV, make sure you have all the required cables and equipment. The type of cables you will need depends on the available ports on your VCR and smart TV.
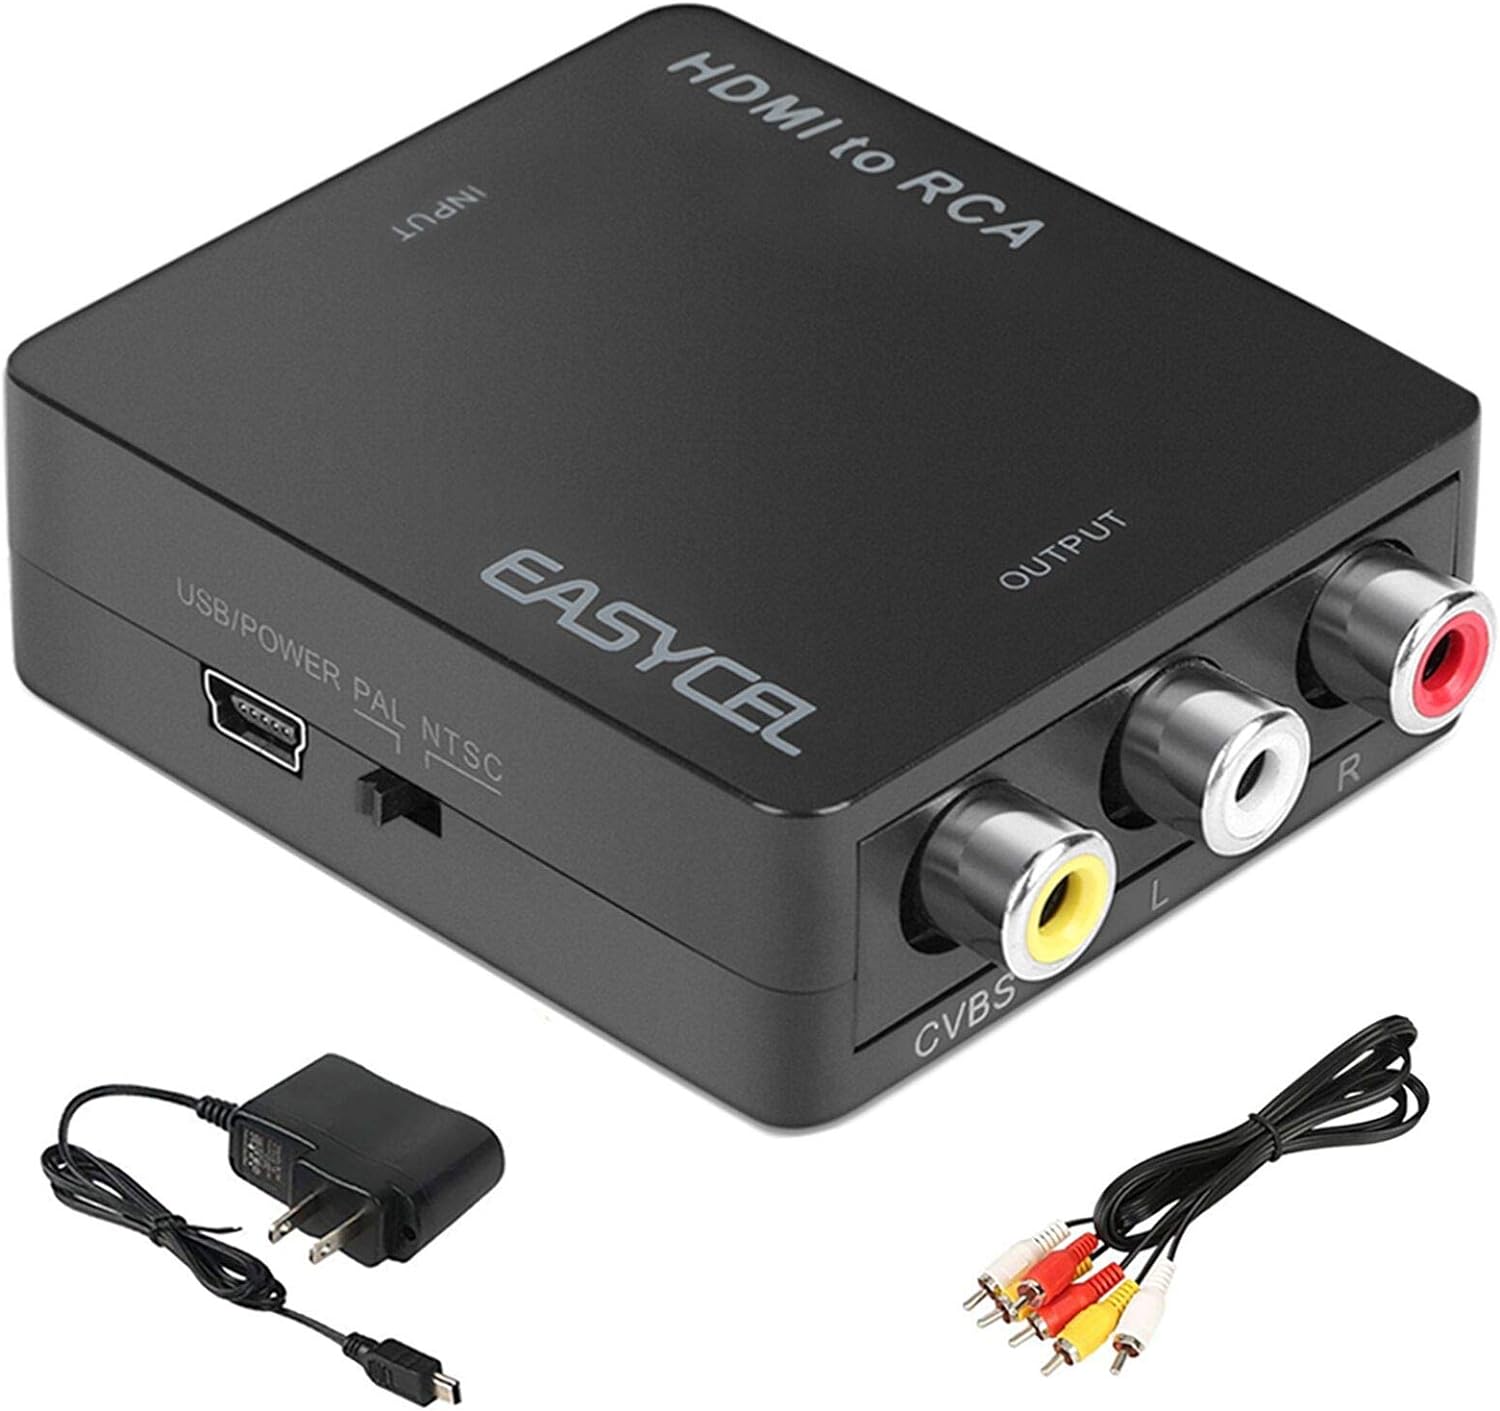
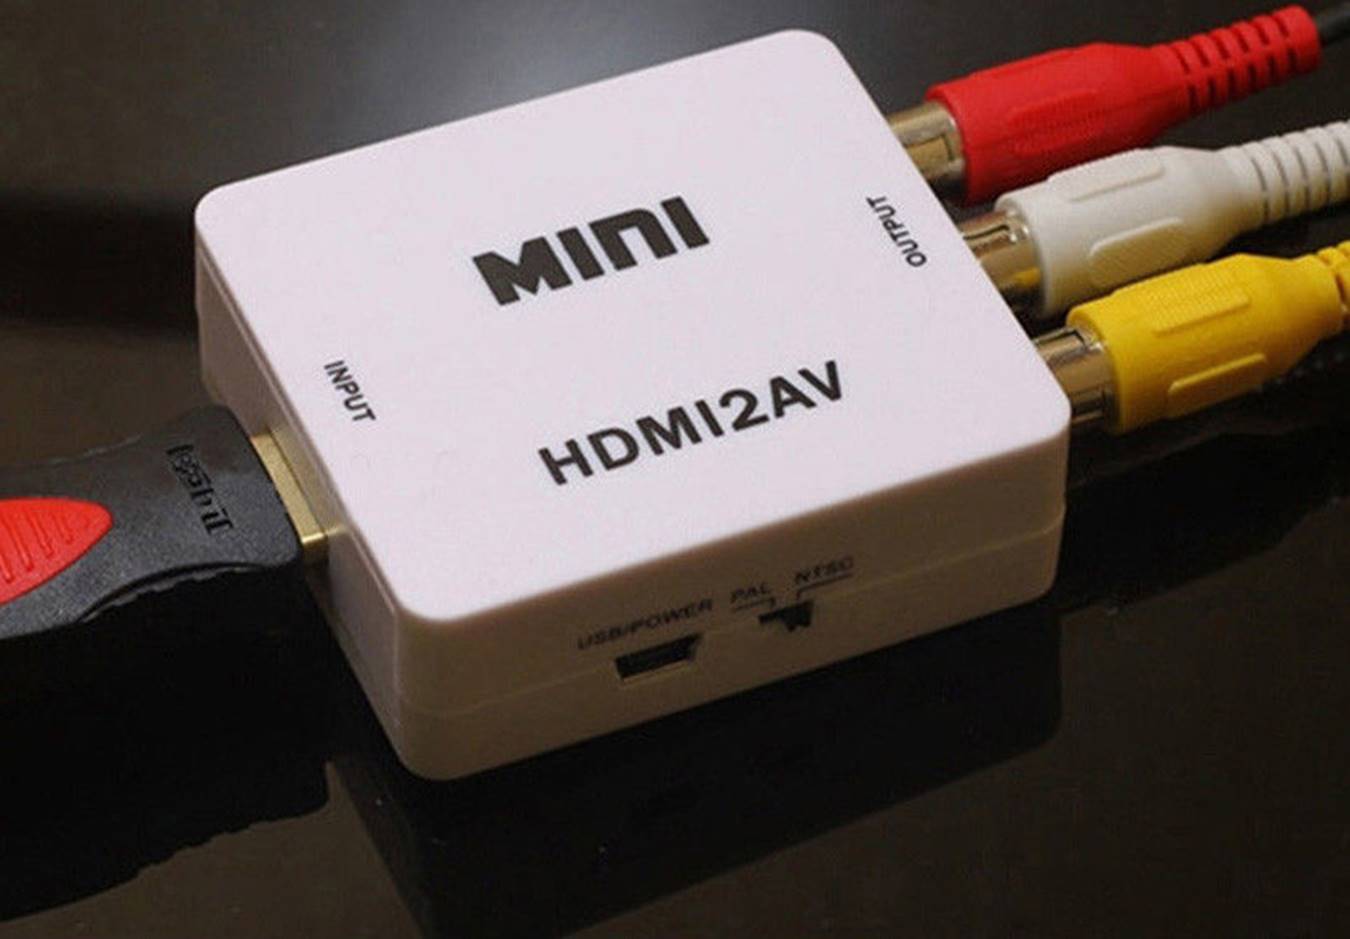
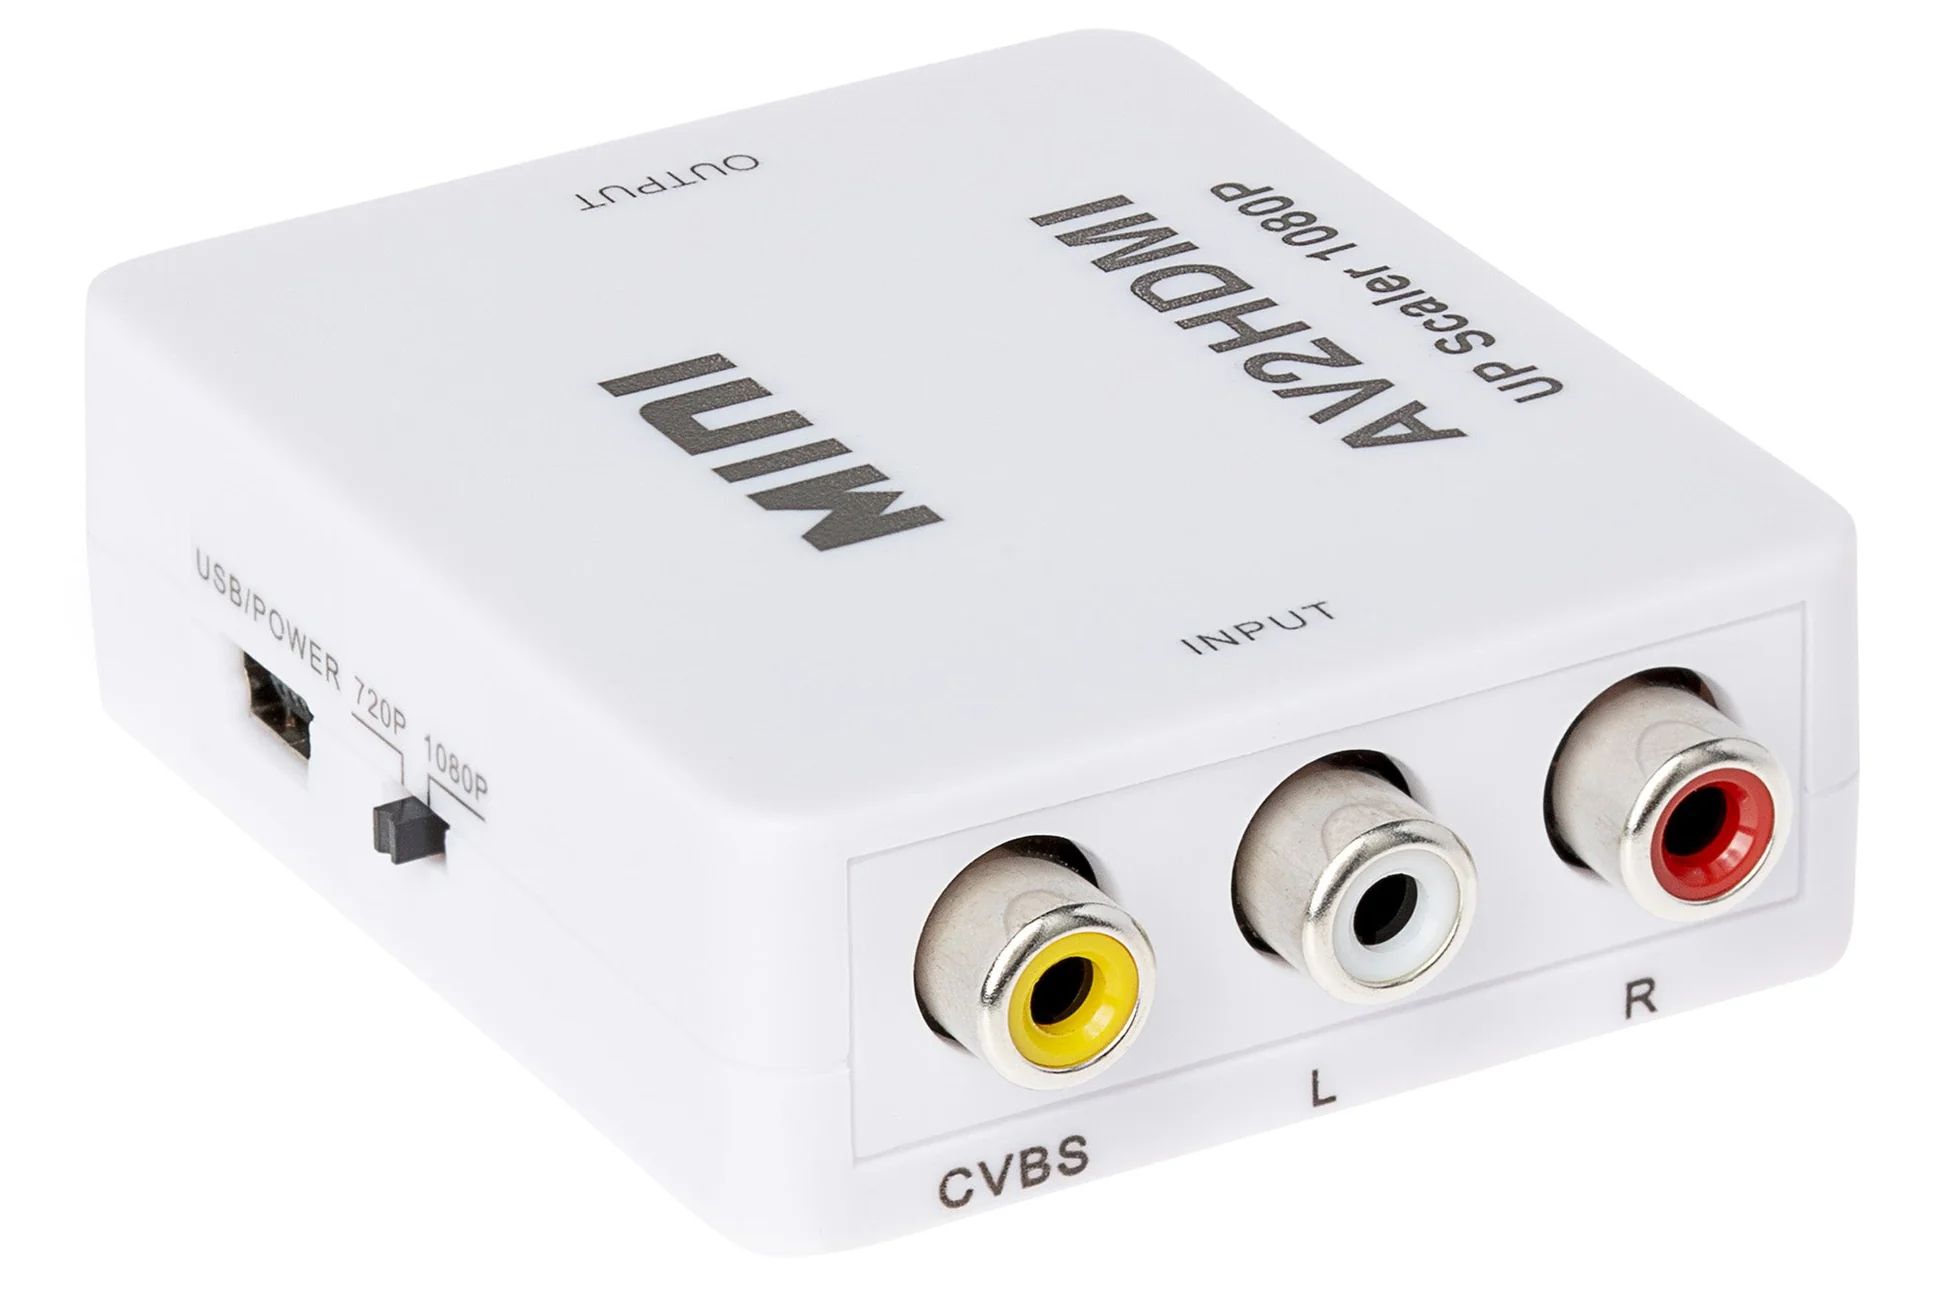
If your VCR and smart TV both have HDMI ports, you will need an HDMI cable. HDMI cables provide high-quality video and audio transmission, allowing you to experience your VHS tapes in crisp detail on your smart TV.
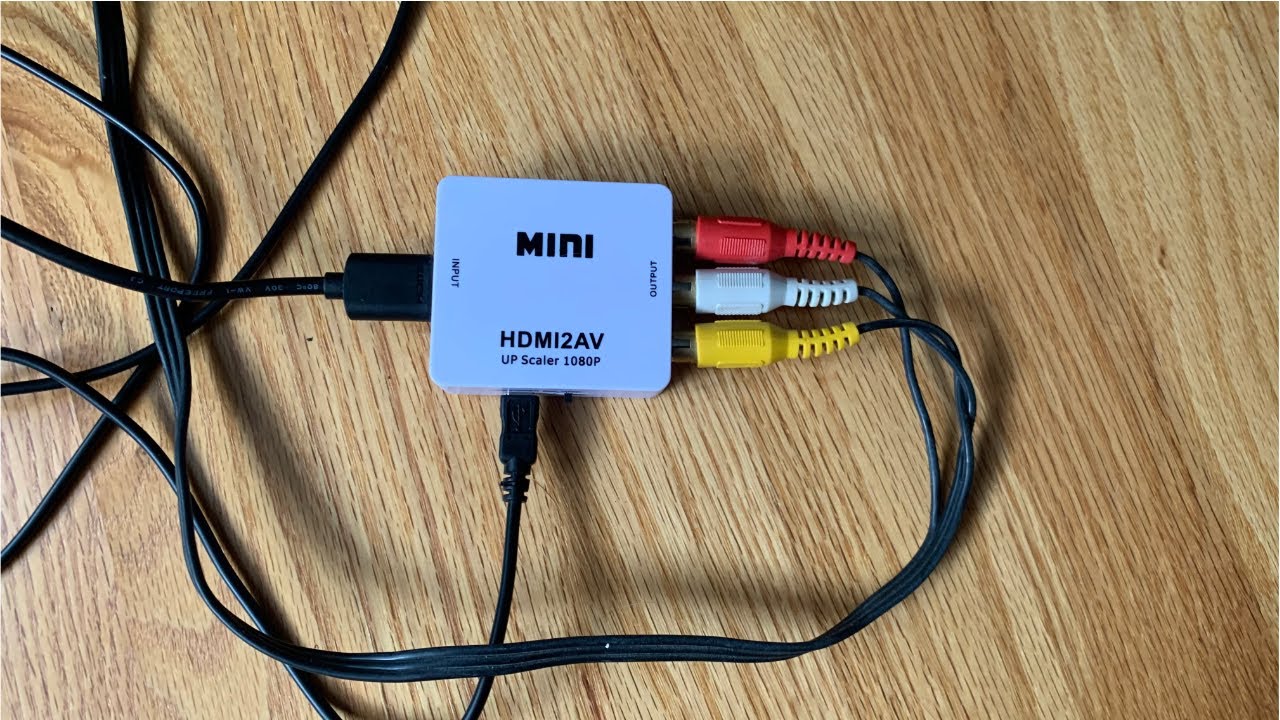
On the other hand, if your VCR has outdated RCA ports, and your smart TV lacks HDMI ports, you will need RCA cables. RCA cables transmit analog video and audio signals, but the video quality may not be as sharp as with HDMI.
It’s a good idea to check your VCR’s and smart TV’s user manuals or consult their manufacturers’ websites for more information on the available ports. This will help you determine the type of cables you need to connect your devices.
Once you have identified the required cables, make sure they are in good condition and of the appropriate length. Longer cables are useful if you need to position your VCR at a distance from your smart TV. Additionally, ensure that the cables have the necessary connectors to fit the ports on your VCR and smart TV.
Now that you have gathered the necessary cables and equipment, you are ready to move on to the next step and establish the connection between your VCR and smart TV.
Step 2: Identify the ports on your VCR and Smart TV
Before you can plug your VCR into your smart TV, you need to accurately identify the ports on both devices. This will allow you to make the correct connections and ensure a seamless transfer of video and audio signals.
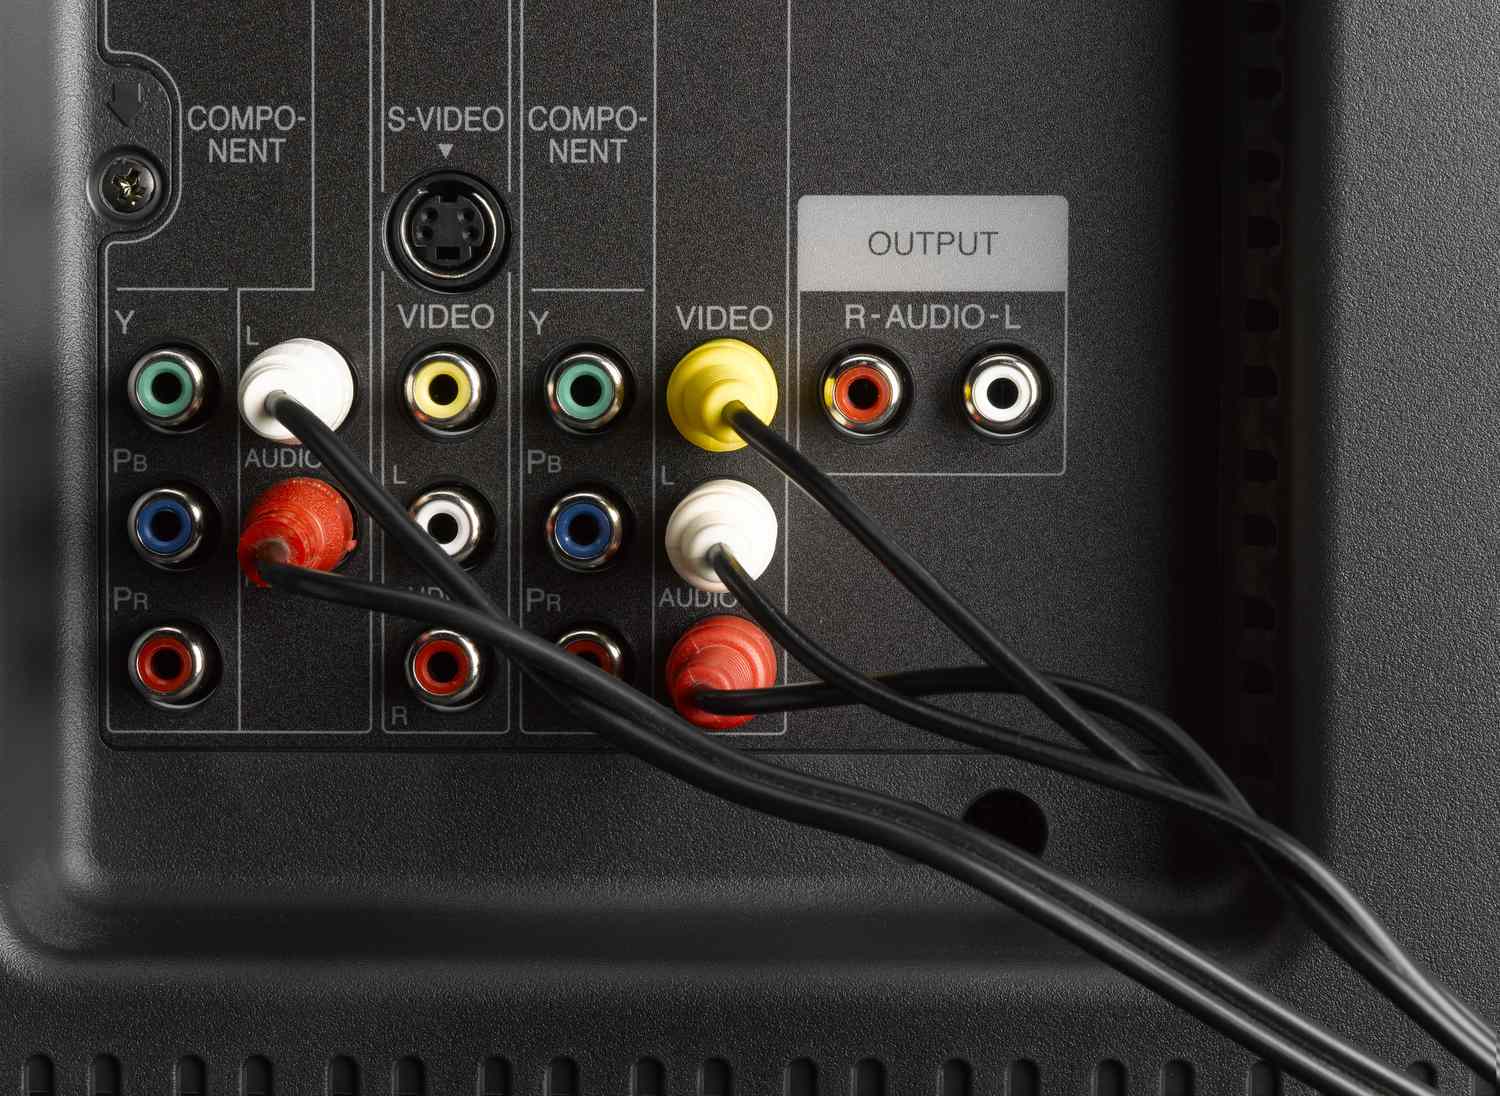
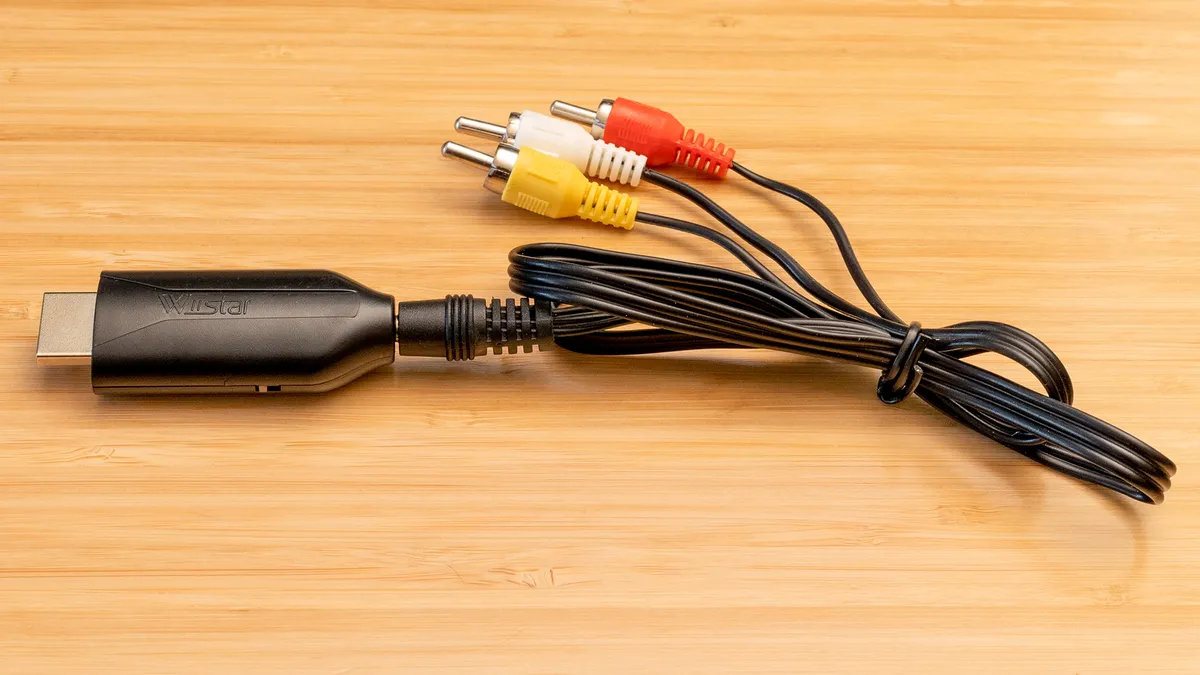
Start by examining the back panel of your VCR. Look for the video and audio output ports. Most VCRs have composite video output (usually labeled as “Video Out” or “Composite Out”) and audio output (typically labeled as “Audio Out”) ports. These ports are commonly color-coded for easy identification – the yellow port is for video, while the red and white ports are for audio.
Next, turn your attention to your smart TV. Look for the input ports available. The most common port to connect external devices like VCRs is the HDMI port, usually labeled as “HDMI”. If your smart TV does not have an HDMI port, look for RCA composite input ports. They are often color-coded as well – yellow for video and red and white for audio.
It’s important to note that some smart TVs may have additional input options, such as component video or S-video. However, these connections require separate cables and are not as common as HDMI or RCA connections.
If you’re having trouble identifying the ports on your VCR or smart TV, refer to their respective user manuals or visit the manufacturers’ websites for detailed diagrams and explanations. These resources will help you locate the correct ports and ensure that you make the proper connections in the upcoming steps.
Now that you have successfully identified the ports on your VCR and smart TV, it’s time to move on to the next step and connect the two devices using the appropriate cables.
Step 3: Connect the VCR to the Smart TV using an HDMI cable
If both your VCR and smart TV have HDMI ports, connecting them is as easy as pie. HDMI (High-Definition Multimedia Interface) offers a high-quality digital connection, delivering both video and audio signals in a single cable. Here’s how you can plug your VCR into your smart TV using an HDMI cable:
- Locate the HDMI port on your VCR. It is usually labeled as “HDMI Out” or “HDMI Output.” Connect one end of the HDMI cable to this port.
- Take the other end of the HDMI cable and find the HDMI input port on your smart TV. It is typically labeled as “HDMI In” or “HDMI Input.” Connect this end of the cable to the TV’s HDMI input port.
- Ensure that both ends of the HDMI cable are securely plugged in, as a loose connection may result in a loss of audio or video quality.
- Once the HDMI cable is properly connected, power on your VCR and smart TV.
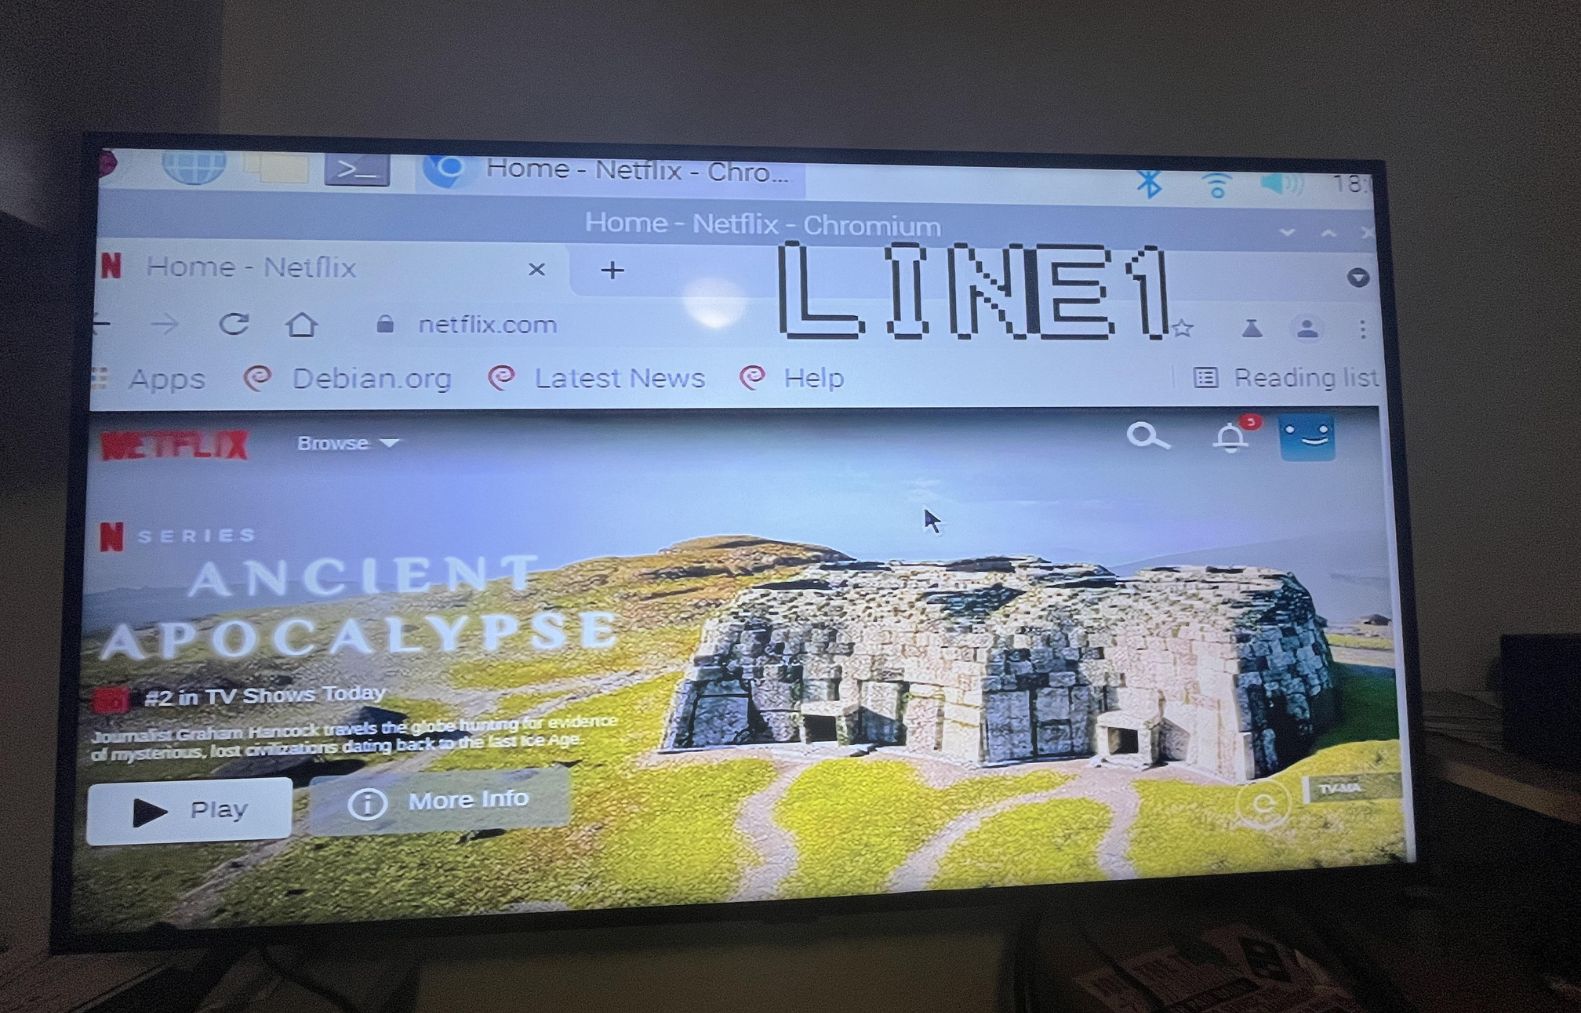
- Using your smart TV’s remote control, navigate to the input/source selection menu. Select the HDMI input channel that corresponds to the HDMI port you connected your VCR to.
- After selecting the correct input channel, you should now see the content from your VCR displayed on your smart TV. Use the VCR’s controls to play, rewind, or fast-forward your tapes, and enjoy watching them on the big screen.
Remember to adjust the volume on both your VCR and smart TV to ensure optimal audio levels. With the HDMI connection established, you can now relish your VHS tapes with improved clarity and digital audio on your smart TV.
If your smart TV lacks HDMI ports, don’t worry. You can still connect your VCR using RCA cables. We’ll cover that process in the next step.
Step 4: Connect the VCR to the Smart TV using RCA cables
If your VCR has RCA ports and your smart TV does not have HDMI ports, you can still connect the two devices using RCA cables. RCA cables transmit analog video and audio signals, although the video quality may not be as sharp as HDMI. Here’s how you can plug your VCR into your smart TV using RCA cables:
- Locate the RCA output ports on your VCR. These ports are typically color-coded – yellow for video and red and white for audio. Connect the corresponding plugs of the RCA cables into these ports on your VCR.
- Find the RCA input ports on your smart TV. These ports are also color-coded – yellow for video and red and white for audio. Connect the other ends of the RCA cables to the appropriate input ports on your smart TV.
- Ensure that each RCA cable is securely plugged into its respective port, as loose connections can result in poor video or audio quality.
- Once the RCA cables are connected, power on both your VCR and smart TV.
- Using your smart TV remote, access the input/source selection menu. Select the composite or AV input channel that corresponds to the RCA input ports you connected your VCR to.
- With the correct input channel selected, you should now see the content from your VCR displayed on your smart TV. Control playback and other functions using your VCR’s controls.
Remember to adjust the volume settings of both your VCR and smart TV to ensure a pleasant audio experience. While RCA cables may not offer the same video quality as HDMI, you can still enjoy your VHS tapes on your smart TV, bringing back treasured memories on a larger screen.
Now that you have successfully connected your VCR to your smart TV using RCA cables, you’re ready to relive the nostalgia of your VHS collection. Enjoy watching your favorite movies, home videos, and recorded TV shows from the comfort of your living room!
Step 5: Power on the VCR and the Smart TV
Now that you have successfully connected your VCR to your smart TV, it’s time to power on both devices. This step may seem simple, but it is crucial to ensure that both the VCR and smart TV are properly functioning.
- Locate the power button on your VCR and press it to turn on the VCR. You may need to wait a few seconds for the VCR to boot up and be ready for use.
- Next, locate the power button on your smart TV or use its remote control to power it on. Again, give the TV a moment to fully power up.
- When both the VCR and smart TV are powered on, you should see their respective power indicators lit up or the screen displaying the manufacturer’s logo.
- If you don’t see anything on your smart TV screen or the VCR isn’t responding, double-check the power connections. Ensure that the VCR is securely plugged into a power outlet, and the power cord of your smart TV is properly connected.
- If everything is connected and powered on correctly, you’re ready to move on to the next step, where we will switch the input/source on your smart TV to display the content from your VCR.
It’s important to remember that the power consumption of both the VCR and smart TV will increase when they are running simultaneously. Take this into account if you have concerns about energy usage or are using other devices on the same electrical circuit.
By powering on your VCR and smart TV, you’re one step closer to enjoying your favorite VHS tapes on a modern, high-definition screen. Let’s proceed to the next step and switch the input/source on your smart TV.
Step 6: Change the input/source on your Smart TV
With your VCR and smart TV connected and powered on, the final step is to switch the input or source on your smart TV. By doing this, you will be able to view the content from your VCR on the screen of your smart TV. Here’s how you can change the input/source on your smart TV:
- Locate the remote control that came with your smart TV. It typically has buttons or a dedicated key labeled “Input” or “Source”.
- Press the “Input” or “Source” button on your smart TV remote control to access the input/source selection menu on your TV screen.
- Using the arrow keys or navigation buttons on your remote control, scroll through the options to find the input source that corresponds to the port you connected your VCR to.
- Once you have highlighted the correct input/source, press the “Enter” or “OK” button on your remote control to confirm the selection.
If you’re having trouble finding the input/source selection menu or cannot locate the specific input/source for your VCR, refer to the user manual of your smart TV or navigate the settings on-screen for assistance. These resources will guide you through the process of changing the input/source on your particular smart TV model.
After successfully changing the input/source, you should see the output from your VCR displayed on your smart TV screen. Use the controls on your VCR to play, rewind, fast forward, or pause your tapes, just as you would with a traditional TV setup.
Remember to adjust the volume settings on both your VCR and smart TV to ensure a clear and enjoyable audio experience. Sit back, relax, and enjoy reliving your favorite VHS memories on the larger screen of your smart TV.
Congratulations! You have successfully connected your VCR to your smart TV and changed the input/source to display the content from your VCR. It’s time to grab some popcorn and enjoy the nostalgia of your VHS collection.
Conclusion
Connecting a VCR to a smart TV may seem like a daunting task, but with the right cables and a little guidance, it can be a straightforward process. By following the step-by-step instructions outlined in this article, you can bring back the joy of watching your beloved VHS tapes on a modern smart TV.
We began by emphasizing the importance of gathering the necessary cables and equipment, as well as identifying the ports on both the VCR and smart TV. This ensured that you had everything you needed and knew exactly where to make the connections.
We then walked you through two different connection methods – using an HDMI cable or RCA cables, depending on the available ports on your devices. Both methods allow you to transfer the video and audio signals from your VCR to your smart TV, with HDMI providing higher quality and simplicity, while RCA offers compatibility with older VCR models.
After making the physical connections, we highlighted the significance of powering on both your VCR and smart TV to ensure they were functioning properly. This step acted as a bridge between the hardware setup and the final step of switching the input/source on your smart TV.
Lastly, we guided you through the process of changing the input/source on your smart TV, allowing you to see the content from your VCR on the screen of your smart TV. Adjusting the volume levels on both devices ensured an optimal viewing and audio experience.
Now that you have successfully connected your VCR to your smart TV, you can relish the nostalgia of your VHS collection. Sit back, relax, and enjoy the magic of dated movies, family videos, or recorded TV shows on the larger, more vibrant screen of your smart TV.
Remember, if you encounter any issues or have specific questions about your devices or connections, always refer to their respective user manuals or reach out to the manufacturers for additional support. The technology landscape continues to evolve, but with a little adaptation and guidance, you can effortlessly merge the old with the new.