Introduction
Welcome to the world of smart home devices, where you can seamlessly connect and control various aspects of your home with just a few simple voice commands. One such device that has taken the market by storm is Amazon’s Alexa. With its intelligent voice recognition capabilities, Alexa can perform a wide range of tasks, including playing your favorite music playlists. If you’re an Amazon Music user and want to know how to play your playlists on Alexa, you’ve come to the right place.
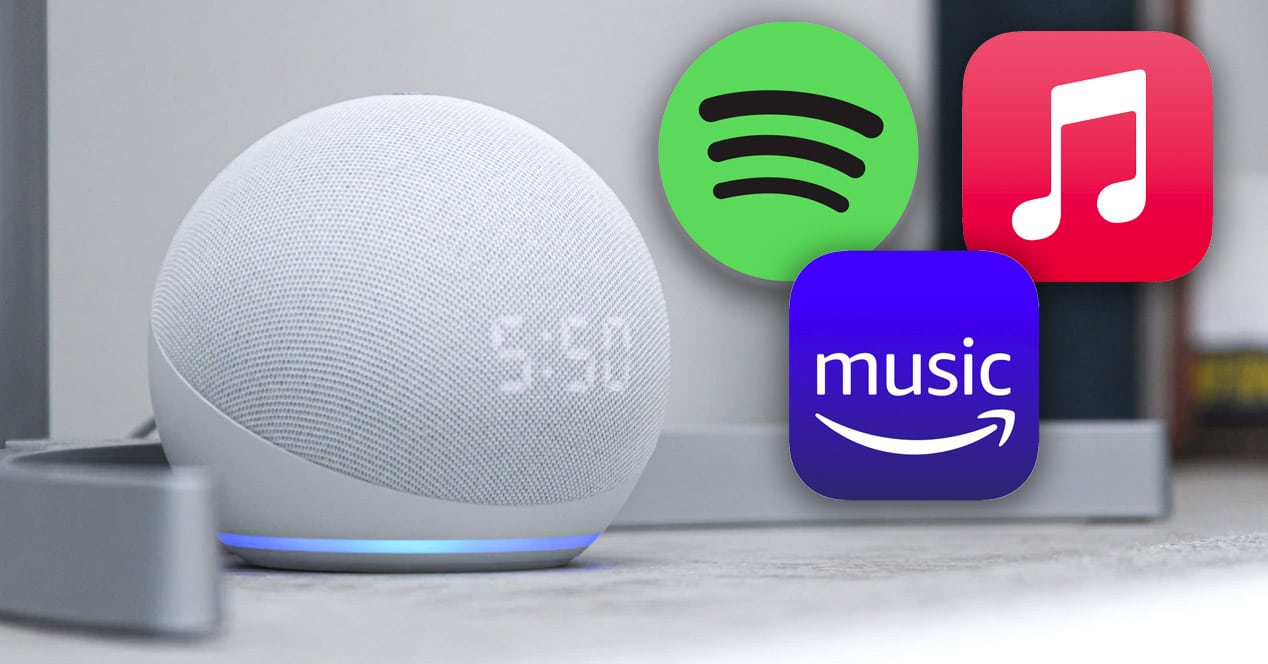
Amazon Music is a popular streaming service that offers a vast library of songs, albums, and playlists across various genres. By integrating Amazon Music with Alexa, you can enjoy your favorite tunes simply by using voice commands. Whether you’re hosting a party, relaxing at home, or getting ready for a workout, Alexa can be your personal DJ, ready to entertain you with your favorite tracks.
In this guide, we will walk you through the steps to set up Amazon Music on Alexa and start playing your playlists effortlessly. Whether you’re a beginner or a seasoned smart home enthusiast, we’ve got you covered. So, let’s dive in and begin our journey towards playing your Amazon Music playlists on Alexa!
Step 1: Set Up Amazon Music on Alexa
The first step to playing your Amazon Music playlists on Alexa is to ensure that the Amazon Music app is set up and ready to go on your Alexa-enabled device. Here’s how you can do it:
- Check Device Compatibility: Ensure that your device is compatible with Amazon Music and Alexa. Most Amazon Echo devices, as well as other third-party devices with Alexa integration, support Amazon Music.
- Install the Amazon Music App: If you haven’t already, download and install the Amazon Music app on your smartphone or tablet. The app is available for both iOS and Android devices and can be found in the respective app stores.
- Connect to Wi-Fi: Make sure that your Alexa-enabled device is connected to the same Wi-Fi network as your smartphone or tablet that has the Amazon Music app installed. This is crucial for seamless communication between the app and Alexa.
- Sign In to Amazon Music: Launch the Amazon Music app and sign in using your Amazon account credentials. If you don’t have an Amazon account, you’ll need to create one to access Amazon Music.
- Verify Amazon Music Subscription: Depending on your location, you may need an active Amazon Music subscription to access certain features. Check if your subscription is valid or sign up for one if necessary.
Once you have completed these steps, you’re ready to move on to the next step of linking your Amazon Music account with Alexa. This will enable seamless synchronization between your music library and your Alexa device, allowing you to control your music using voice commands.
Step 2: Link Your Amazon Music Account
In order to play your Amazon Music playlists on Alexa, you need to link your Amazon Music account with your Alexa-enabled device. This will ensure that Alexa has access to your personalized music library and playlists. Follow these steps to link your account:
- Open the Alexa App: Launch the Alexa app on your smartphone or tablet. If you don’t have the app, you can download it from the respective app store for iOS or Android.
- Tap on Menu: In the app’s navigation menu, tap on the Menu icon in the top-left corner of the screen. It is represented by three horizontal lines.
- Select Music, Video & Books: In the Menu, find and select the Music, Video & Books option. This will take you to the settings related to media services.
- Choose Amazon Music: Here, select Amazon Music from the list of available music services.
- Tap on Link New Service: On the next screen, tap on Link New Service. This will prompt you to sign in to your Amazon Music account.
- Sign in to Your Amazon Music Account: Enter your Amazon account credentials, including the email address and password associated with your Amazon Music subscription.
- Grant Permissions: After signing in, you may be asked to grant permissions for Alexa to access your Amazon Music account. Accept and grant the necessary permissions to proceed.
- Complete the Account Linking: Follow any additional prompts and instructions to complete the account linking process. Once completed, you will receive a confirmation message that your Amazon Music account is successfully linked with Alexa.
Now that your Amazon Music account is properly linked with Alexa, you can proceed to create playlists on Amazon Music and start playing them using voice commands with your Alexa-enabled device.
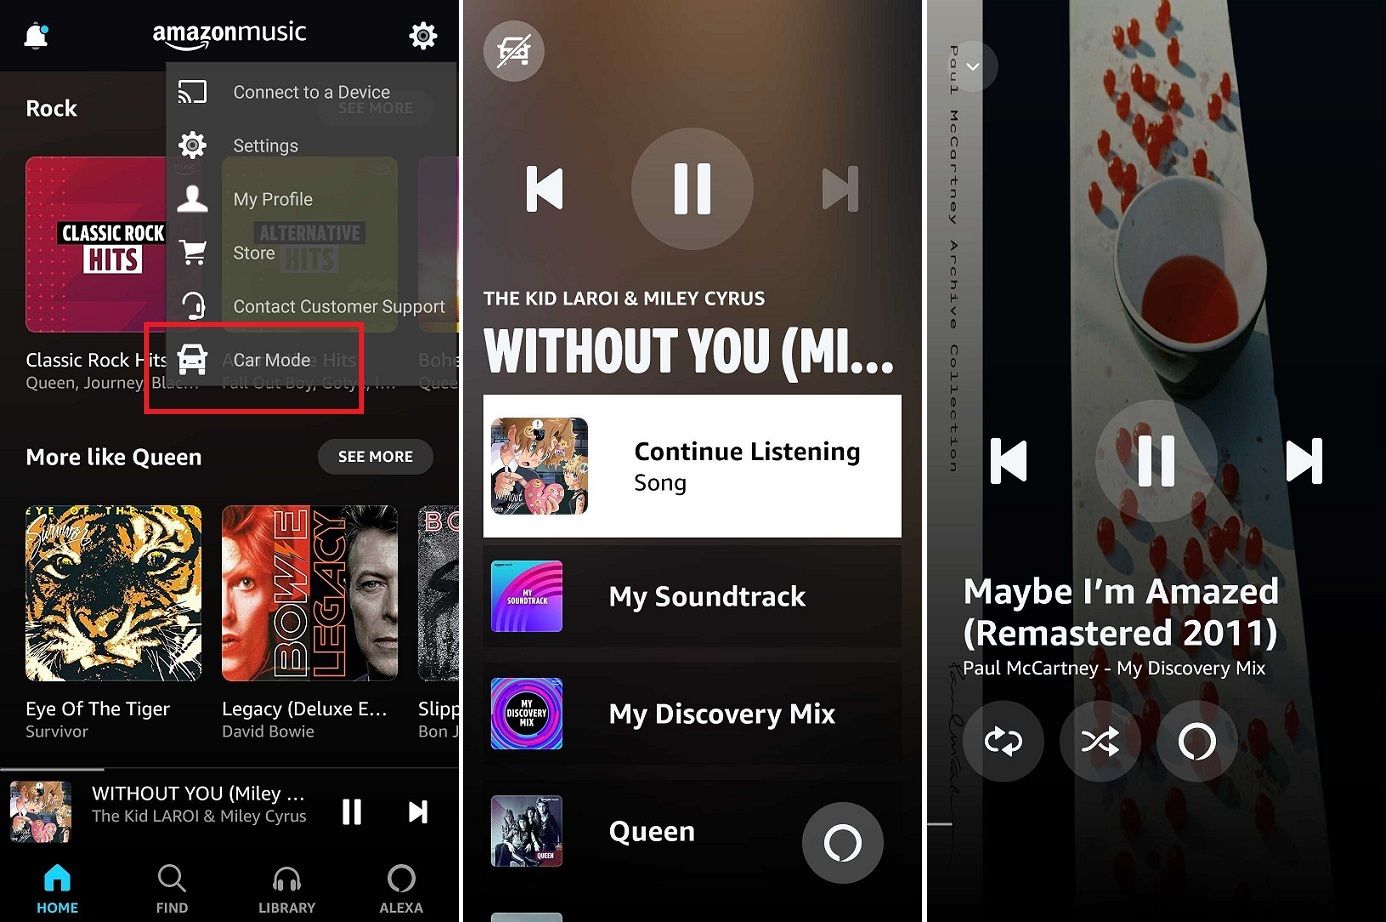
Step 3: Create a Playlist on Amazon Music
Now that you have set up Amazon Music and linked your account with Alexa, it’s time to create your own customized playlists. These playlists will be accessible on your Alexa-enabled device, allowing you to easily play them using voice commands. Follow these steps to create a playlist on Amazon Music:
- Launch the Amazon Music App: Open the Amazon Music app on your smartphone or tablet.
- Sign in to Your Amazon Music Account: If you’re not already signed in, enter your Amazon account credentials to log in.
- Go to My Music: In the app’s navigation menu, find and select My Music. This is where you can manage and organize your music library.
- Select Playlists: Within the My Music section, choose Playlists to view your existing playlists or create a new one.
- Create a New Playlist: To create a new playlist, tap on the New Playlist button. Give your playlist a descriptive name that represents the theme or mood of the songs you plan to add.
- Add Songs to Your Playlist: Now, you can start adding songs to your playlist. You can search for specific songs, browse through albums and artists, or even import songs from your own music library.
- Organize and Customize Your Playlist: Once you’ve added songs, you can rearrange the order, remove or add more songs, and even customize the playlist cover image to personalize your collection.
- Save Your Playlist: Once you’re satisfied with the song selection and customization, tap on the Save or Done button to save your playlist. It will now be available in your Amazon Music library.
Congratulations! You’ve successfully created a playlist on Amazon Music. This playlist can now be accessed and played on your Alexa-enabled device using simple voice commands. In the next step, we will enable the Alexa skill for Amazon Music to seamlessly control and play your playlists.
Step 4: Enable Alexa Skill for Amazon Music
In order to fully utilize and control your Amazon Music playlists with Alexa, you need to enable the Amazon Music skill on your Alexa-enabled device. Enabling this skill will allow Alexa to access your playlists and play them effortlessly. Follow these steps to enable the Alexa skill for Amazon Music:
- Open the Alexa App: Launch the Alexa app on your smartphone or tablet.
- Tap on Menu: In the app’s navigation menu, tap on the Menu icon in the top-left corner of the screen.
- Select Skills & Games: In the Menu, find and select Skills & Games. This will take you to the Alexa skills section.
- Search for Amazon Music: In the skills section, use the search bar to look for Amazon Music. Alternatively, you can browse through the categories or featured skills to find it.
- Select Amazon Music Skill: From the search results, select the Amazon Music skill.
- Enable the Skill: On the skill’s detail page, tap on the Enable button to enable the Amazon Music skill for your Alexa device.
- Link Your Account: Follow the prompts to link your Amazon Music account with the skill. You may be asked to sign in using your Amazon account credentials if you haven’t already.
- Grant Permissions: After linking your account, you may need to grant permissions for Alexa to access your Amazon Music playlists and library. Accept and grant the necessary permissions to proceed.
- Complete the Skill Setup: Follow any additional prompts and instructions to complete the setup process. Once finished, you will receive a confirmation message that the Amazon Music skill is successfully enabled.
With the Amazon Music skill enabled, Alexa now has direct access to your Amazon Music playlists. You’re now ready to use voice commands to play your playlists on your Alexa-enabled device. Exciting times ahead!
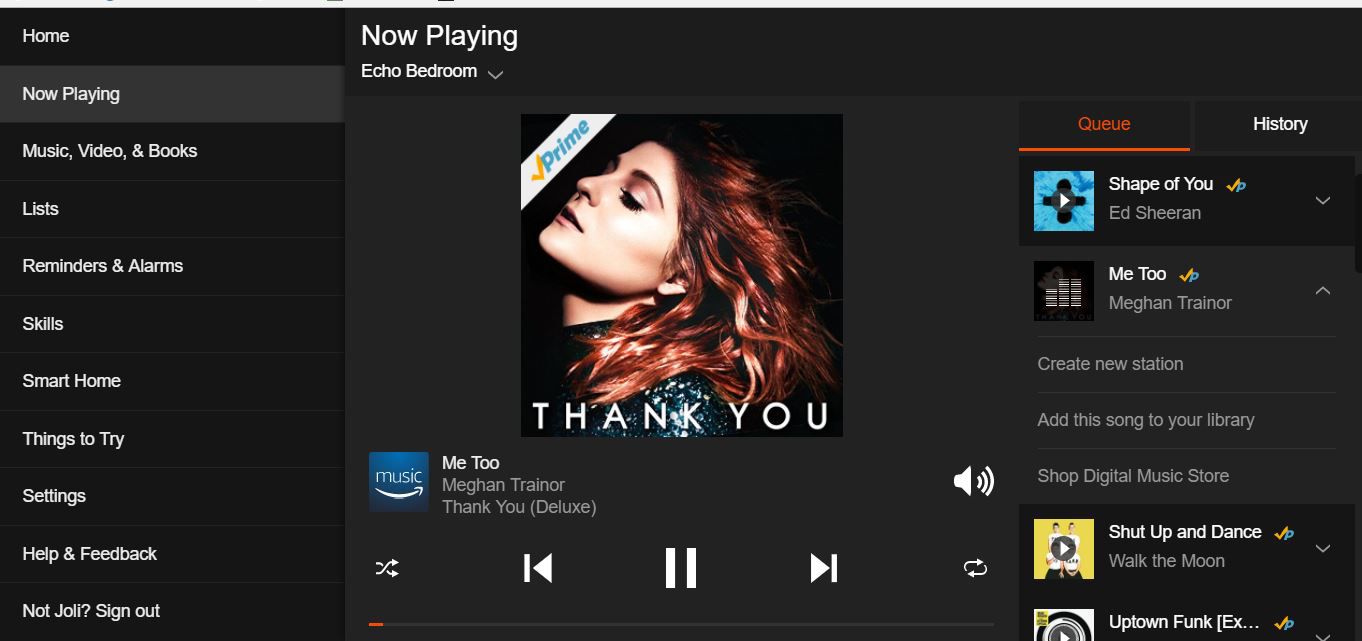
Step 5: Use Voice Commands to Play your Amazon Music Playlist
Now that you have set up Amazon Music, linked your account, created a playlist, and enabled the Alexa skill, it’s time to put it all into action! Using voice commands, you can instruct Alexa to play your Amazon Music playlist effortlessly. Follow these steps to play your Amazon Music playlist using voice commands:
- Wake Up Alexa: Start by waking up Alexa either by using the wake word (e.g., “Alexa”) or pressing the wake button on your Alexa-enabled device.
- Give the Command: Once Alexa is awake and listening, simply say a command like, “Alexa, play my playlist.”
- Confirm Playlist Selection: Alexa will confirm the name of the playlist and start playing it. You may also hear Alexa provide additional details about the playlist or the artist.
- Control Playback: Once your playlist is playing, you can use voice commands to control the playback. For example, you can say, “Alexa, pause” to pause the playback, or “Alexa, skip” to move to the next song.
- Change Volume: If you want to adjust the volume, you can use commands like, “Alexa, set volume to 50%” or “Alexa, increase volume.”
- Switch Playlists: If you have multiple playlists, you can switch between them by saying, “Alexa, play my [other playlist name] playlist.”
- Enjoy the Music: Sit back, relax, and enjoy your favorite tunes as Alexa plays your Amazon Music playlist!
Using voice commands to play your Amazon Music playlist with Alexa offers a hands-free and seamless music experience. You can control your playlist and enjoy your favorite songs with just a few spoken words. Experiment with different voice commands and explore the full potential of Alexa and Amazon Music.
With these five simple steps, you can now enjoy your Amazon Music playlists on your Alexa-enabled device. Whether you’re hosting a party, working out, or simply relaxing at home, Alexa will be your personal DJ, ready to play your favorite tunes at your command. So go ahead, speak up, and let the music begin!
Conclusion
Congratulations! You have successfully learned how to play your Amazon Music playlists on Alexa. By following the steps outlined in this guide, you have set up Amazon Music on your Alexa-enabled device, linked your Amazon Music account, created a playlist, enabled the Alexa skill, and learned how to use voice commands to play your playlists effortlessly.
With Alexa as your personal DJ, you have the power to control your music simply by using your voice. Whether you’re in the mood for a relaxing playlist, a high-energy workout mix, or a nostalgic trip down memory lane, Alexa is ready to deliver the perfect soundtrack for any occasion.
Remember to keep your Amazon Music app up to date, regularly update your playlists with new songs, and explore the other features and functionalities that Amazon Music and Alexa have to offer. With a vast library of songs at your fingertips and the convenience of hands-free control, the possibilities for musical enjoyment are endless.
So go ahead and enjoy the seamless experience of playing your Amazon Music playlists on Alexa. Whether you’re at home, in the office, or on the go, Alexa will be there to provide the musical ambiance you desire with just a simple voice command. Sit back, relax, and let the music play!
Thank you for choosing this guide, and happy listening!