Introduction
Photographing the moon with a digital camera is a fascinating and rewarding experience. Whether you’re an amateur photographer or a seasoned pro, capturing the moon’s beauty can be a challenging yet fulfilling endeavor. The moon’s luminous glow and intricate details make it a captivating subject for photographers of all skill levels.
In this article, we will guide you through the process of photographing the moon with a digital camera. We will provide you with valuable tips and techniques to help you capture stunning images that showcase the moon’s mesmerizing presence. From choosing the right equipment to understanding camera settings, we’ll cover everything you need to know to embark on your lunar photography journey.
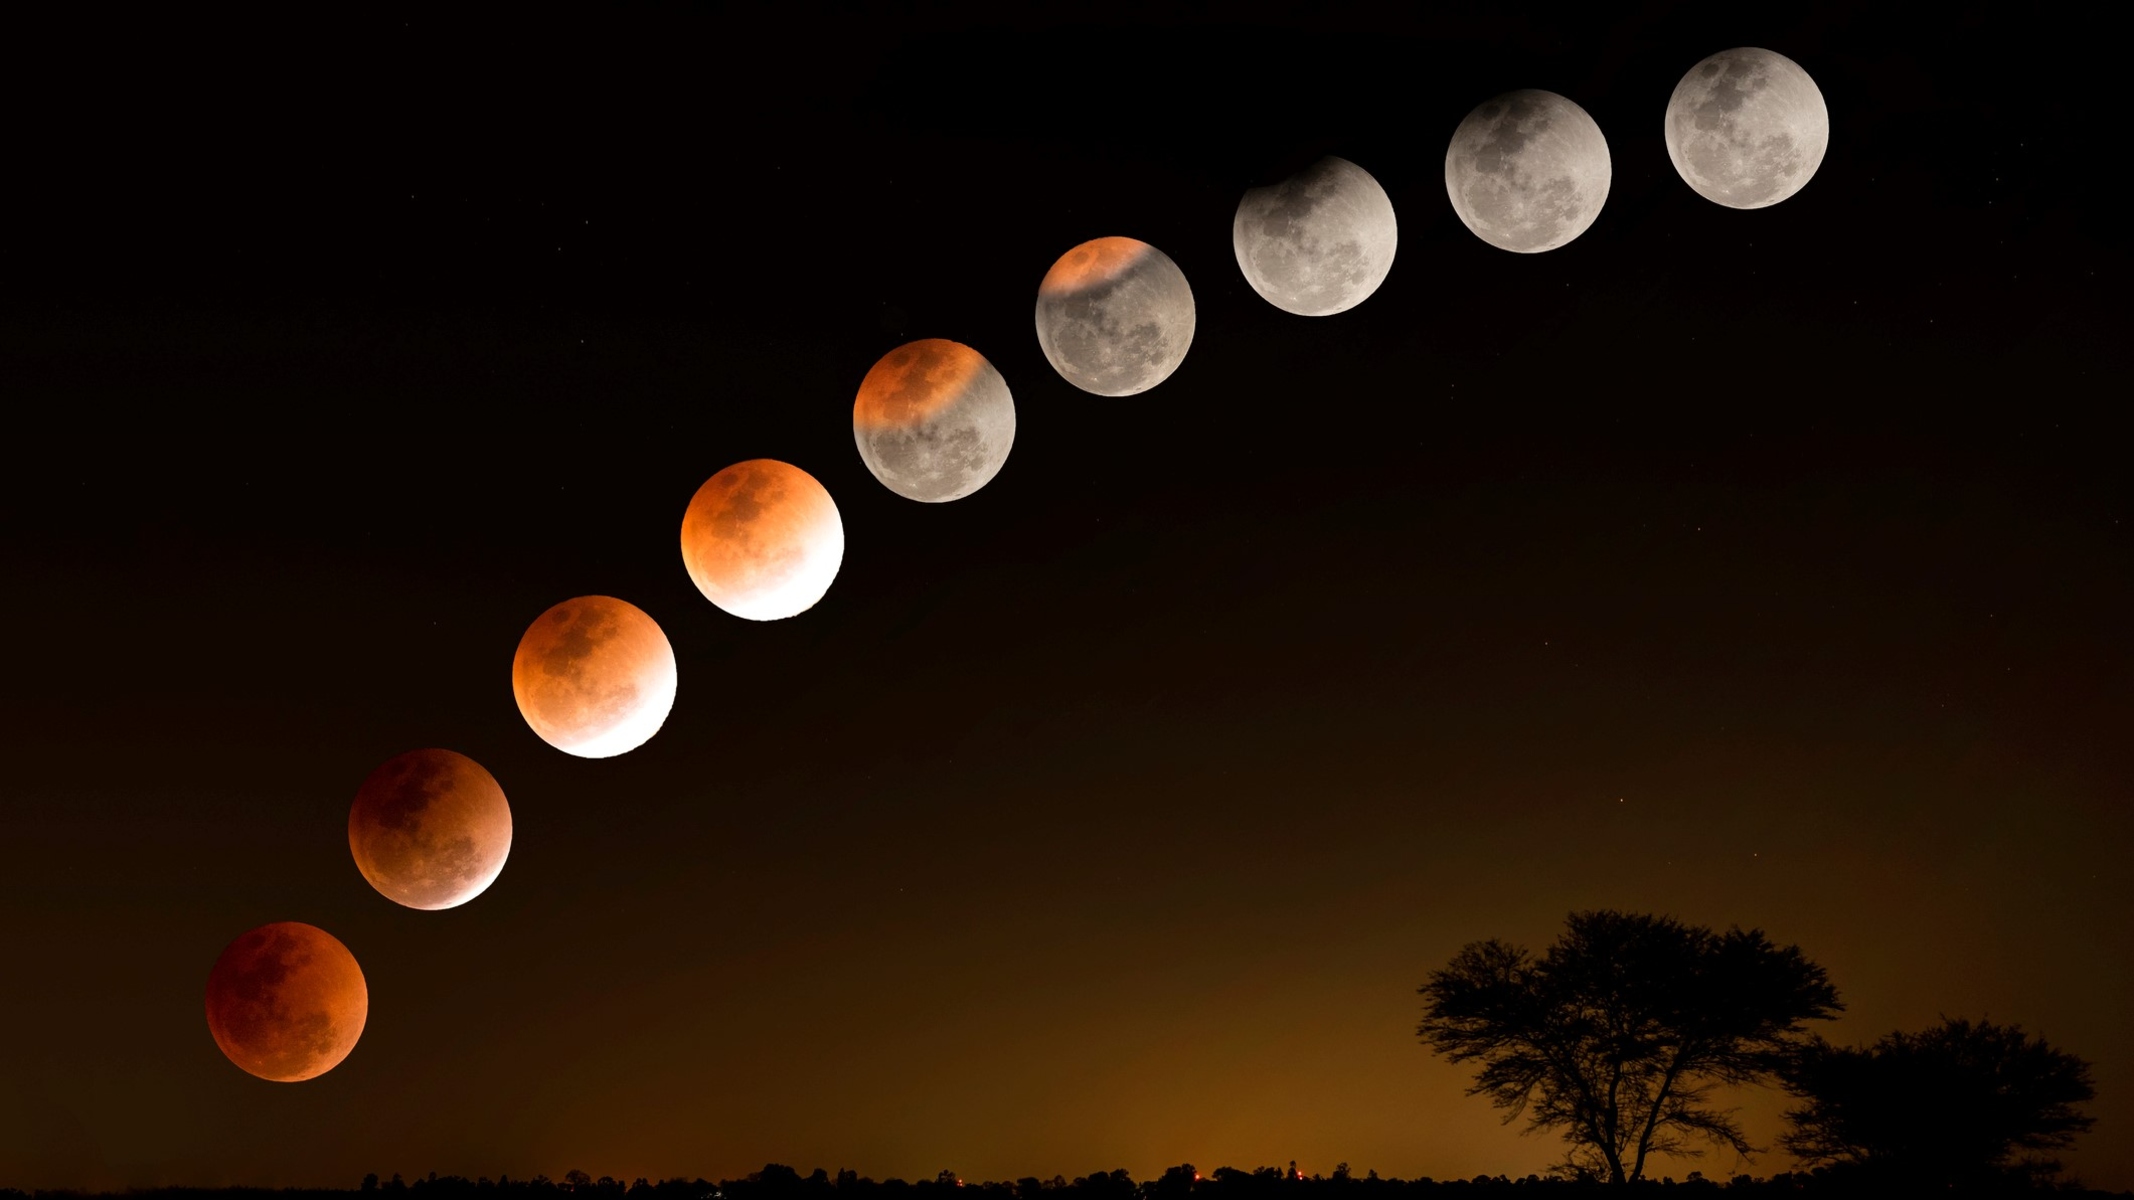
As you delve into the world of moon photography, it’s important to remember that patience and practice are key. The moon’s appearance changes throughout its lunar cycle, presenting various moods, phases, and lighting conditions. By understanding these nuances and applying the right techniques, you can capture breathtaking images that truly do justice to our celestial neighbor.
Ready to explore the enchanting realm of moon photography? Let’s dive in and discover the secrets to creating stunning images that will leave viewers in awe.
Equipment Needed
Before embarking on your moon photography adventure, it’s crucial to have the right equipment at your disposal. While you don’t necessarily need the most expensive gear, having a few essential items will greatly enhance your chances of capturing stunning lunar images.
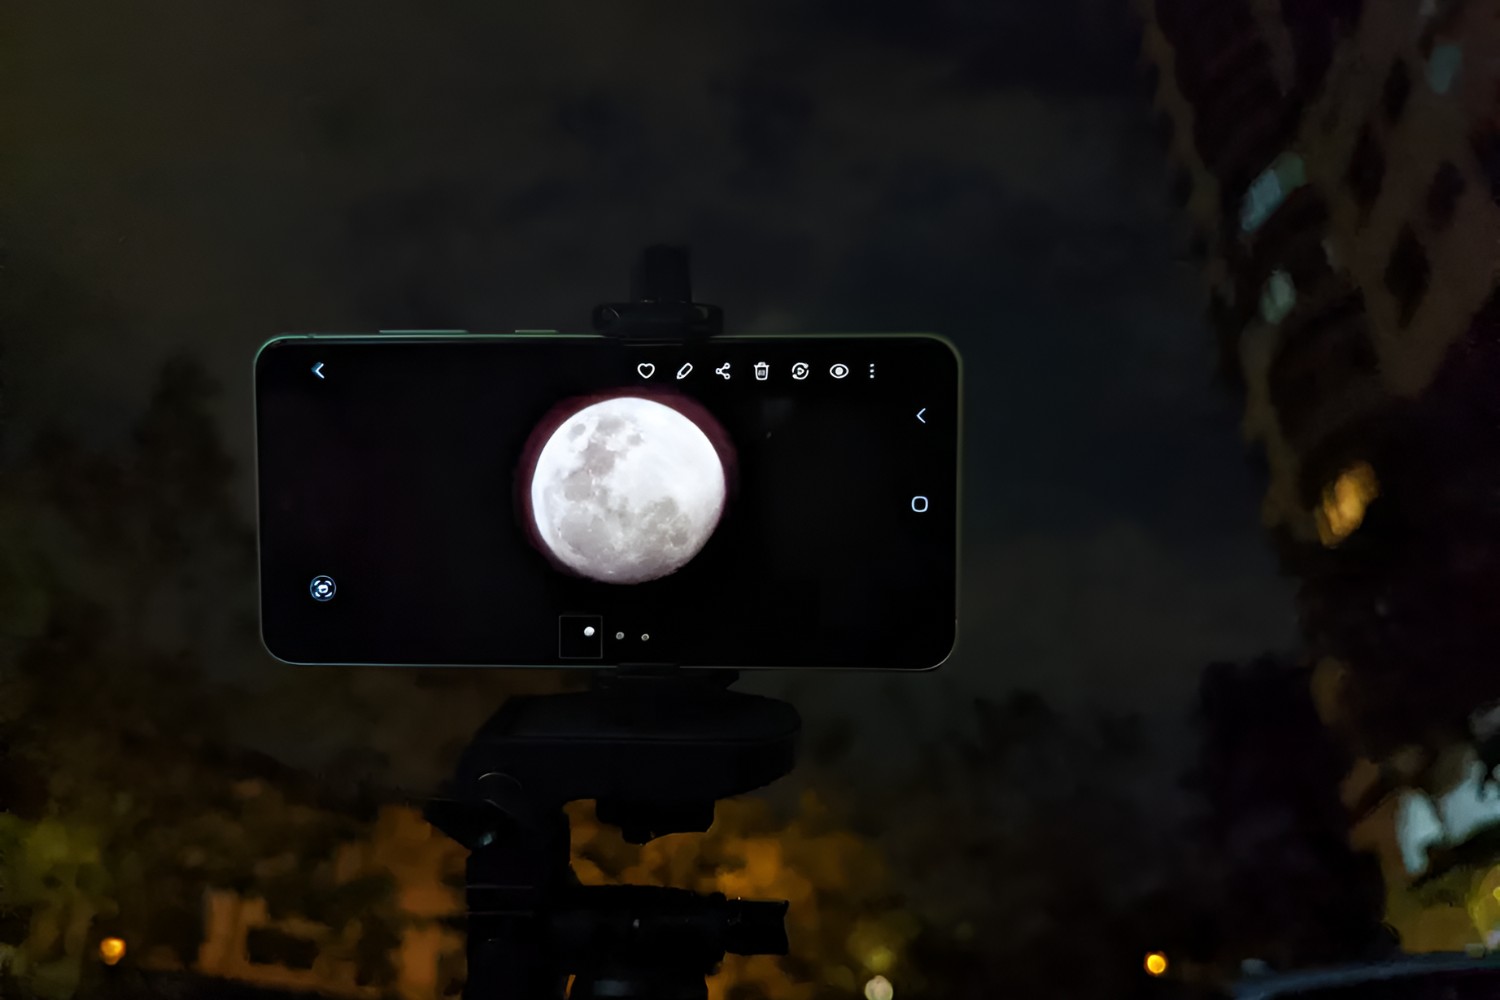
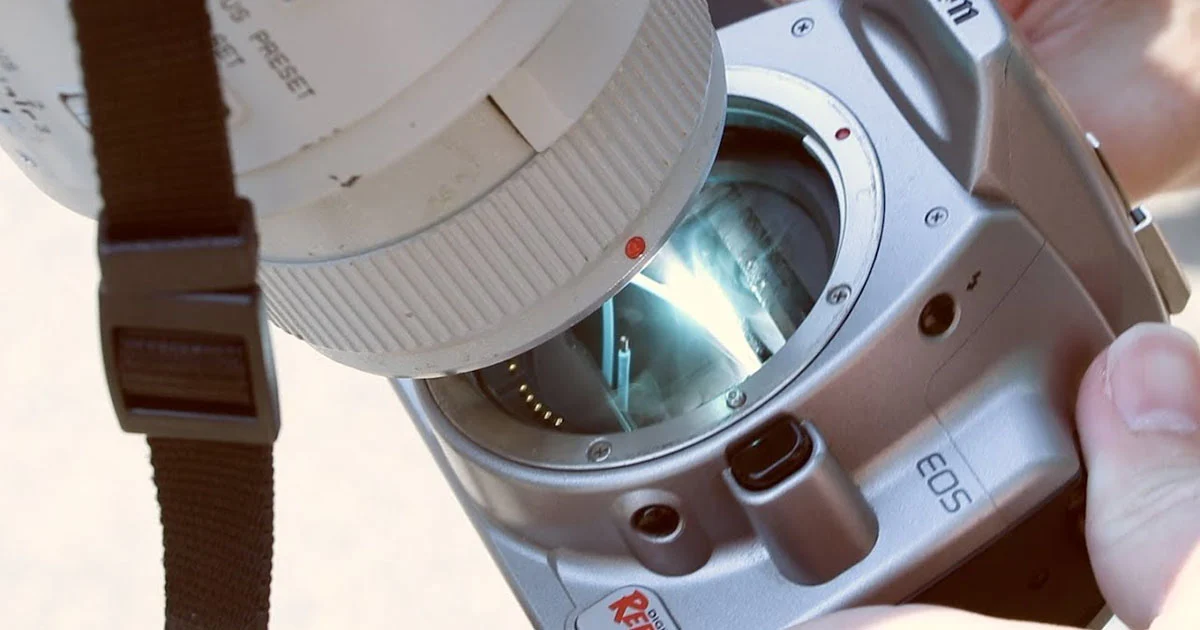
The primary piece of equipment you’ll need is a digital camera. Ideally, a camera with manual settings will give you more control over the exposure and focus. A DSLR or mirrorless camera is typically the preferred choice due to their flexibility and image quality. However, even a high-end point-and-shoot camera or a smartphone with manual controls can yield impressive results.
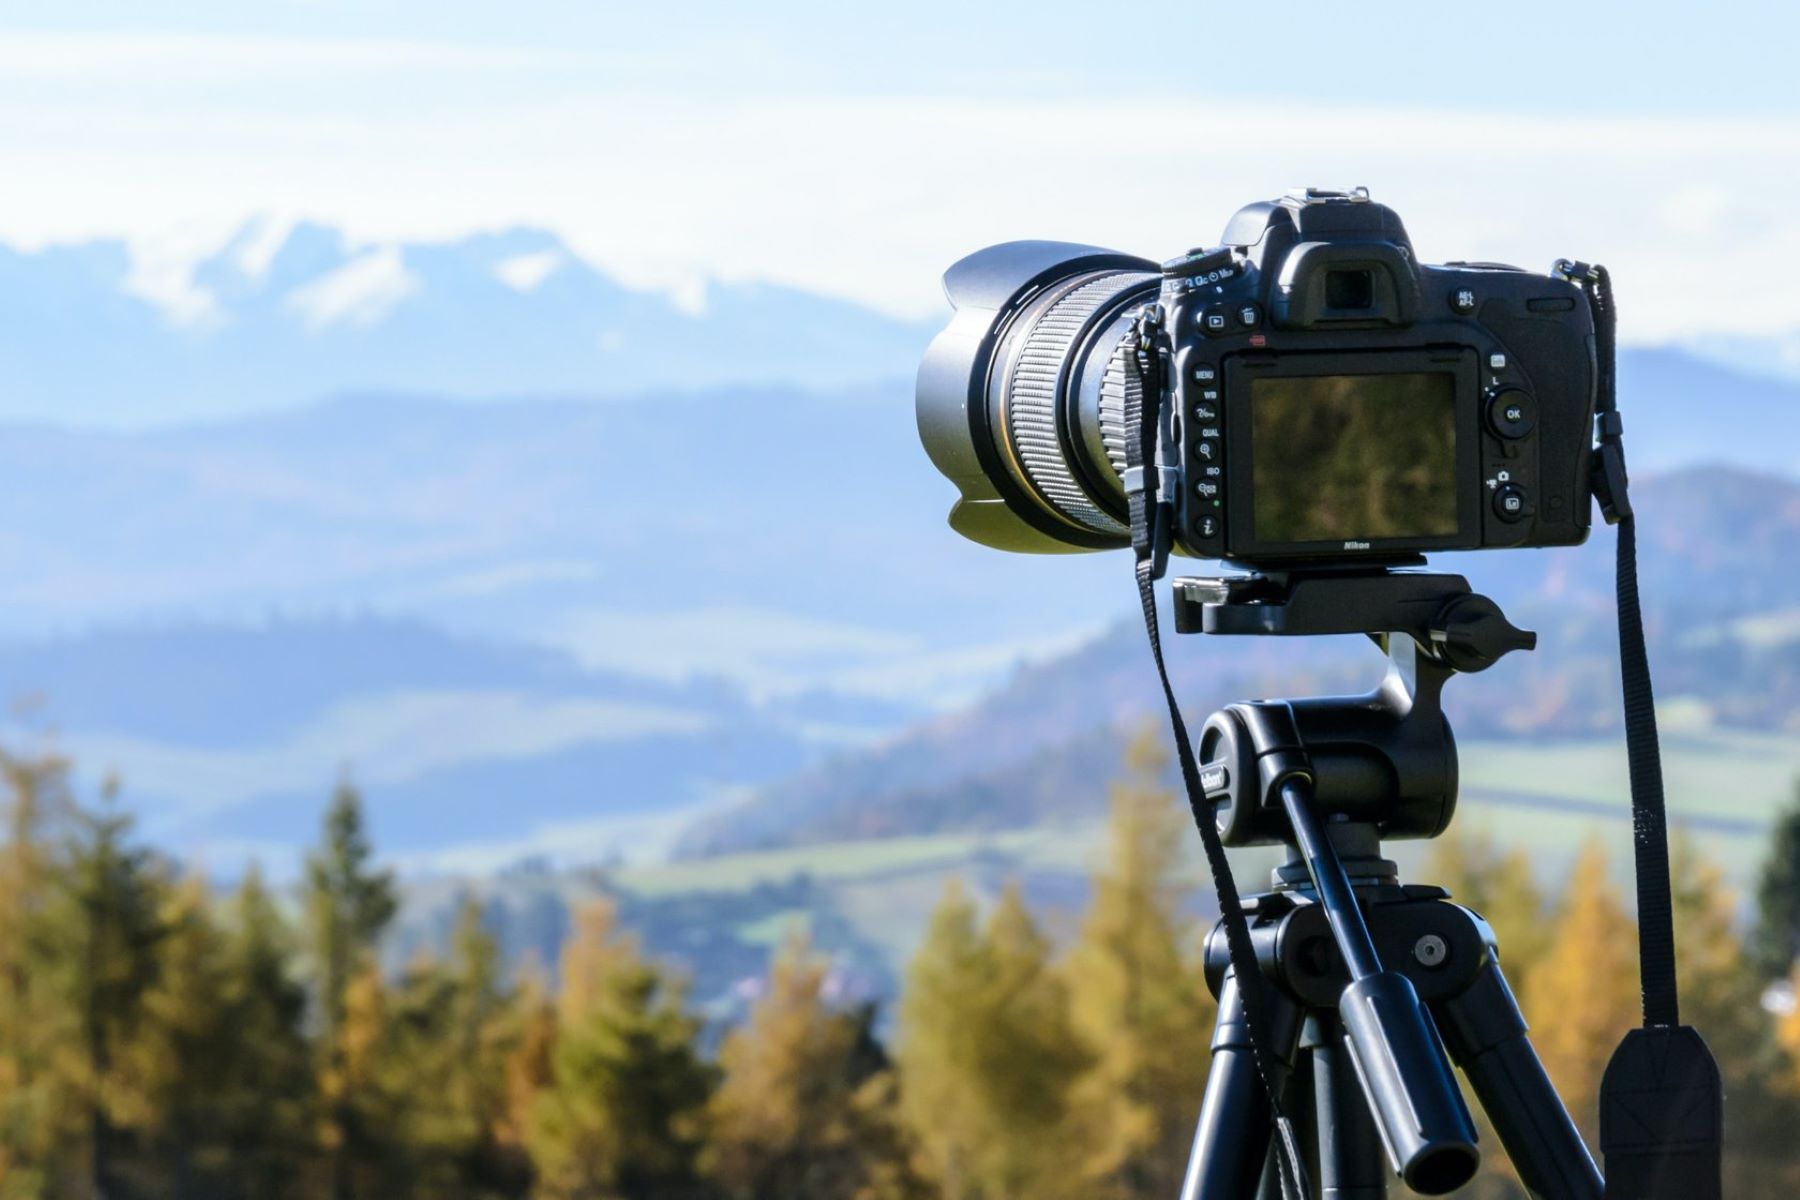
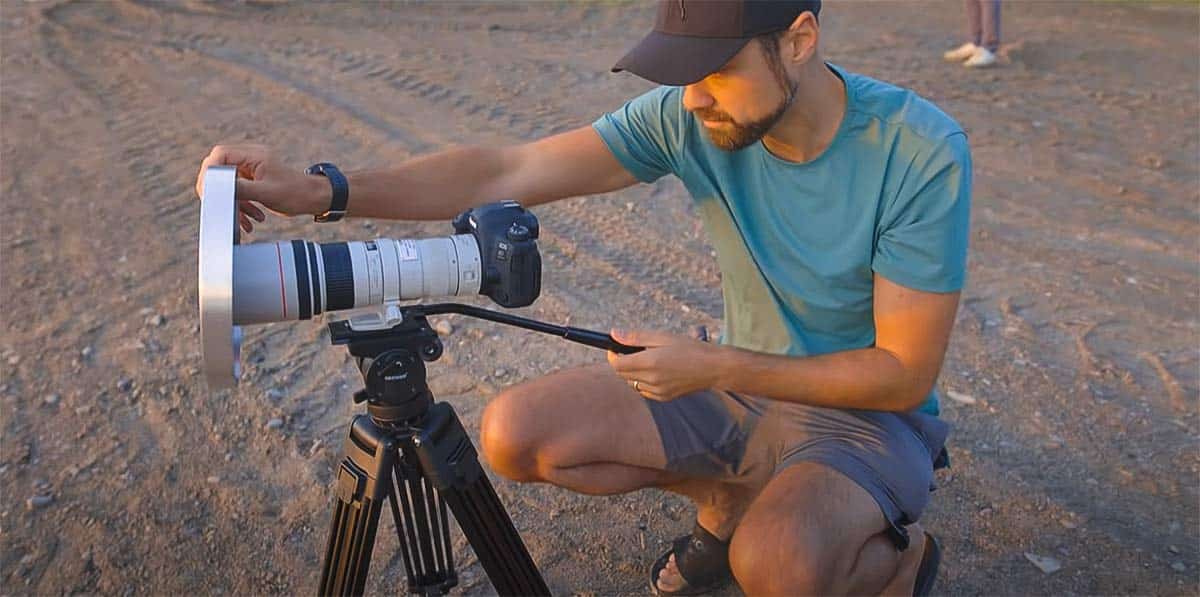
In addition to a camera, you’ll need a sturdy tripod to keep your camera steady during long exposures. This is essential for avoiding camera shake, which can result in blurry images. Look for a tripod that is sturdy yet lightweight for easier transportation.
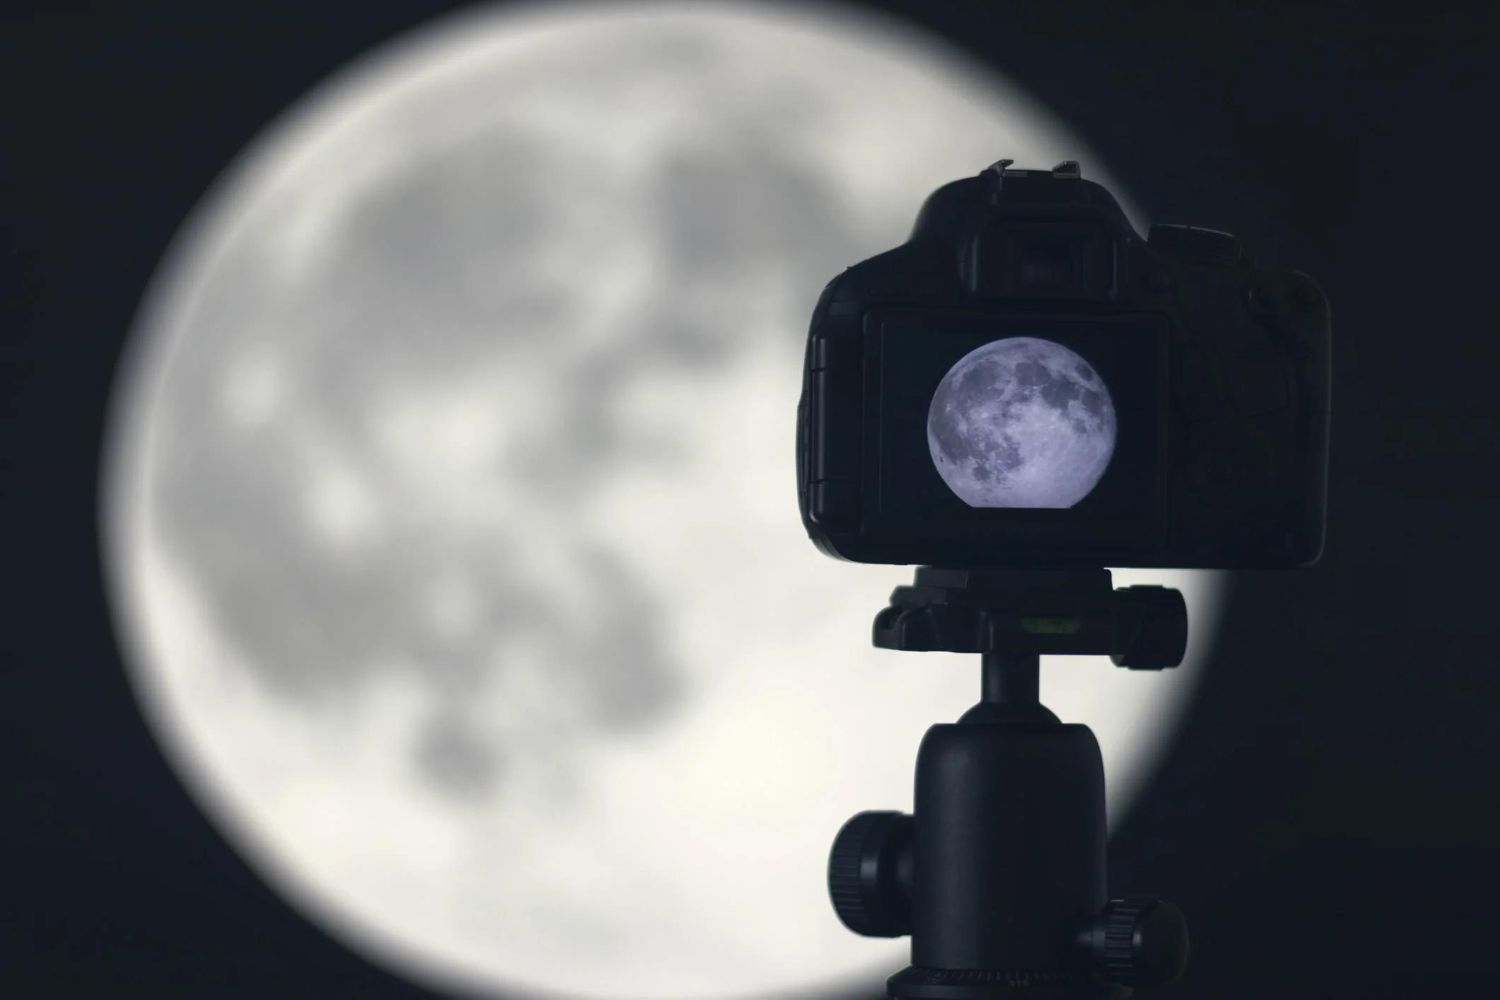
Another essential piece of equipment is a telephoto lens with a decent focal length. The moon may appear large in the sky, but to capture its fine details, you’ll need a lens with a focal length of at least 200mm. A telephoto lens allows you to zoom in and capture the moon’s intricate features with clarity.
Additionally, investing in a remote shutter release cable or using the camera’s built-in self-timer can help minimize camera shake caused by manually pressing the shutter button. This is especially important when using longer exposure times to capture the moon’s nuances.
Apart from the camera and lens, consider carrying spare batteries and memory cards to ensure you have ample power and storage space. It can be disheartening to miss out on capturing a stunning moment because your camera ran out of battery or your memory card got filled up.
Lastly, while not necessary, a sturdy camera bag or backpack can protect your gear from dust, moisture, and accidental damage while you’re out on your moon photography expeditions. This will ensure that your equipment remains in excellent condition for years to come.
Gearing up with the right equipment will give you a solid foundation to embark on your lunar photography journey. Now that you’re equipped with the necessary tools, it’s time to delve into the world of camera settings and techniques to capture the moon’s mystique.
Choosing the Right Digital Camera
When it comes to moon photography, choosing the right digital camera is essential to capture the moon’s mesmerizing beauty. While high-end cameras offer superior image quality and more advanced features, even entry-level DSLRs or mirrorless cameras can produce stunning lunar images with the right techniques.
One of the key factors to consider when selecting a camera for moon photography is its ability to shoot in manual mode. Manual mode allows you to have full control over the camera settings, including the shutter speed, aperture, and ISO. This level of control is crucial in capturing the moon’s intricate details and ensuring proper exposure.
Another important consideration is the camera’s low-light performance. Since moon photography often involves shooting in low-light conditions, a camera with good noise reduction capabilities will produce cleaner and more detailed images. Look for a camera with a wide ISO range and a sensor that performs well at higher ISO settings.
Megapixels also play a role in moon photography. While a higher megapixel count does not necessarily equate to better image quality, having more megapixels can give you the flexibility to crop the image without losing too much detail. This can be useful when you want to zoom in on the moon’s surface or focus on specific features.
In addition to technical specifications, consider the ergonomics and user interface of the camera. A camera that feels comfortable in your hands and has intuitive controls can make a significant difference in capturing the moon’s fleeting moments. Take some time to handle different camera models and see which one suits you best in terms of usability.
Lastly, it’s crucial to consider your budget. While high-end cameras offer the latest technology and superior performance, they come with a higher price tag. However, it’s important to note that you can still capture stunning lunar images with more affordable camera options. Evaluate your needs and budget, and choose a camera that strikes the right balance for you.
Ultimately, the right digital camera for moon photography will depend on your personal preferences, budget, and level of expertise. Whether you choose a top-of-the-line DSLR or an entry-level mirrorless camera, with the right techniques and settings, you can capture breathtaking images that showcase the moon’s enchanting allure.
Understanding Camera Settings
Understanding and properly utilizing the camera settings is crucial for successfully photographing the moon. While shooting in manual mode gives you the most control over the image, familiarizing yourself with each camera setting will allow you to make the necessary adjustments for capturing the moon’s ethereal beauty.
First and foremost, set your camera to manual mode (M) to have full control over the exposure. This way, you can adjust the three core settings: shutter speed, aperture, and ISO.
Shutter speed determines the amount of time the camera’s sensor is exposed to light. For moon photography, using a fast shutter speed is essential to avoid overexposing the moon’s bright surface. Start with a shutter speed of around 1/125th of a second and make adjustments accordingly. Keep in mind that longer shutter speeds may lead to motion blur due to the moon’s movement.
Aperture controls the size of the camera’s aperture opening. When it comes to moon photography, it’s best to use a smaller aperture (higher f-number) to increase the depth of field and ensure sharp focus across the moon’s surface. Aim for an aperture between f/8 and f/16 to strike the right balance between sharpness and clarity.
ISO determines your camera’s sensitivity to light. In low-light situations like moon photography, you may need to increase the ISO to achieve proper exposure. However, be cautious as higher ISO settings can introduce noise and reduce image quality. Start with an ISO of 100 and gradually increase it if necessary, keeping an eye on the resulting image quality.
In addition to these core settings, there are a few other considerations for moon photography. Using the camera’s RAW file format instead of JPEG allows for more flexibility during post-processing, preserving details and dynamic range. Additionally, consider disabling any image stabilization (IS) or vibration reduction (VR) features on your lens or camera as they may introduce blur due to the moon’s relatively fast movement.
Experimenting with different camera settings and reviewing the results is key to finding the perfect combination for capturing stunning moon images. No two lunar photography sessions will be the same, so adjust your settings accordingly depending on the moon’s phase, lighting conditions, and your creative vision.
By understanding and mastering your camera settings, you’ll have greater control over the final image, allowing you to capture the moon’s grandeur in all its glory.
Finding the Right Location
Choosing the right location is crucial for successful moon photography. While the moon is visible from various places, finding a location that offers a clear view of the sky and interesting foreground elements can greatly enhance your lunar images.
One of the most important factors to consider when selecting a location is light pollution. Light pollution from cities and other sources can wash out the moon’s delicate details and make it challenging to capture its full beauty. Look for areas away from urban centers or use light pollution maps to find dark sky locations near you. These areas will provide a clearer view of the moon and a more pronounced contrast against the night sky.
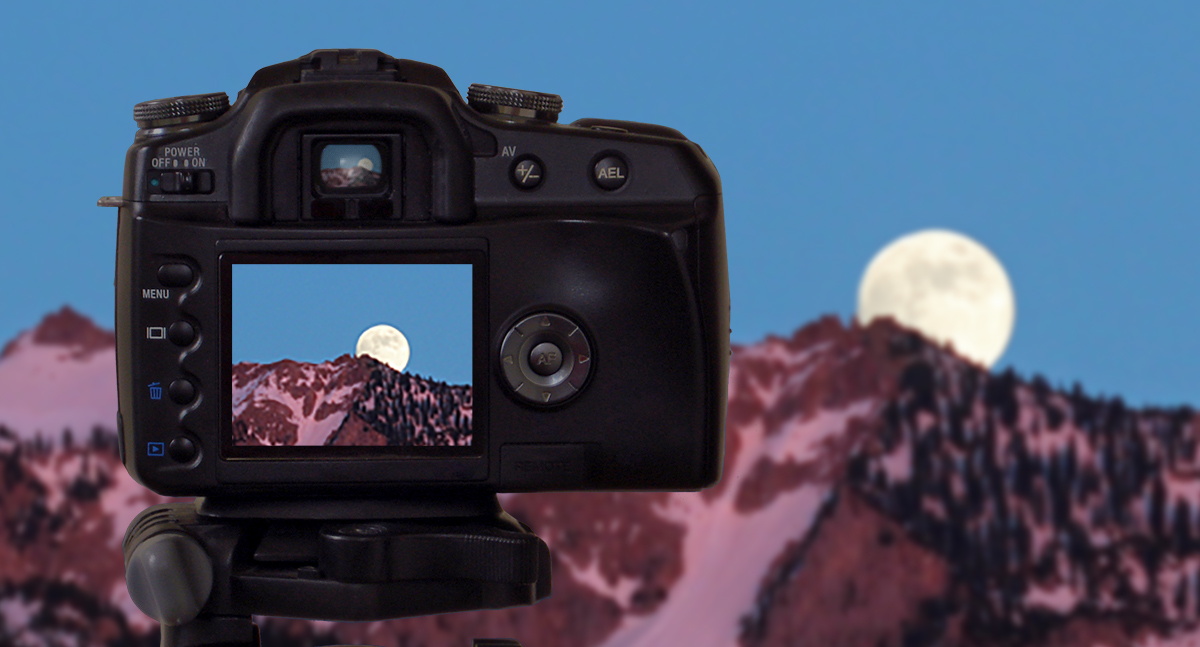
In addition to dark skies, consider the surrounding environment. Look for locations with interesting foreground elements, such as trees, mountains, or bodies of water. These elements can add depth and visual interest to your moon photos, creating a more captivating composition.
Scouting locations in advance can be beneficial, especially if you’re planning to capture the moon during a specific phase or position in the sky. Use smartphone apps or online tools to determine the moon’s rise and set times, as well as its azimuth and altitude at different times of the month. This will help you align your desired location with the moon’s position and plan your shoot accordingly.
Weather conditions are another important consideration. Clear skies are ideal for moon photography, as clouds can obstruct your view and diffuse the moon’s natural light. Keep an eye on weather forecasts and plan your shoots on nights with minimal cloud cover. However, don’t completely disregard the potential for creative shots with partially cloudy skies, as clouds can add drama and texture to your images.
Lastly, always prioritize safety when choosing a location. If you plan to shoot in remote or unfamiliar areas, ensure you are aware of your surroundings and take necessary precautions. Let someone know your shooting location and estimated return time, especially if you’re shooting alone during the nighttime.
By finding the right location, you can maximize your chances of capturing breathtaking moon images that showcase not only the moon’s beauty but also the enchanting landscapes surrounding it.
Preparing for the Shoot
Preparing for a moon photography shoot is essential to ensure a smooth and successful experience. Taking the time to plan and organize your equipment and resources beforehand will help you stay focused and fully immerse yourself in capturing the moon’s ethereal beauty.
First, check the weather forecast for the selected shooting date. While it’s not always possible to predict the weather accurately, having a general idea of the conditions can help you prepare accordingly. Clear skies with minimal cloud cover are ideal for moon photography, allowing for a more unobstructed view of the moon.
Consider the moon’s phase and position when planning your shoot. Different moon phases offer unique lighting conditions and appearances. Familiarize yourself with the moon’s current phase and align it with your creative vision. Additionally, knowing the moon’s rise and set times will help you plan the duration of your shoot and take advantage of the optimal shooting window.
Pack your equipment in advance and make sure you have all the essentials. Charge your camera batteries and bring spares if possible, as moon photography sessions can be time-consuming. Clear and format your memory cards to ensure you have ample space for capturing numerous shots. Double-check that you have your tripod, remote shutter release, and any other accessories you may need.
Consider composing a shot list or a mental checklist of the specific images you’d like to capture. This can help you stay focused during the shoot and ensure that you make the most of the available time. While spontaneity can lead to creative surprises, having a plan in mind will help you stay organized and make the most of the shooting opportunity.
If possible, visit the shooting location in advance or conduct preliminary research to familiarize yourself with the surroundings and potential compositions. Knowing the area and possible vantage points will save you valuable time and allow you to make the most of each shooting session.
Dress appropriately for the weather conditions and choose comfortable clothing. Moon photography often involves shooting during the nighttime, which can bring cooler temperatures. Layer your clothing to stay warm without impeding your movement or accessibility to your equipment.
Lastly, embrace the experience with a sense of wonder and curiosity. Moon photography is a unique opportunity to connect with the universe and capture a celestial beauty that has fascinated humankind for centuries. Enjoy the process, experiment with different techniques, and let your creativity roam freely.
By preparing thoroughly for your moon photography shoot, you can set yourself up for a rewarding and potentially awe-inspiring experience. Remember to plan ahead, pack your equipment mindfully, and be open to the magic of capturing the moon’s captivating presence.
Composition and Framing
Composition and framing play a crucial role in moon photography, allowing you to create visually captivating images that showcase the moon’s ethereal beauty. When capturing the moon, it’s important to consider the elements within your frame and the overall composition of your shot.
One key principle to keep in mind is the “rule of thirds”. Rather than placing the moon in the center of the frame, try positioning it off-center using the gridlines of your camera’s viewfinder or display. This creates a more dynamic and visually pleasing composition, allowing for interesting foreground or background elements to complement the moon.
Speaking of foreground elements, incorporating them into your composition can add depth and visual interest to your moon photos. Look for objects such as trees, mountains, or buildings that can provide a sense of scale and create a more engaging composition. These foreground elements can also act as leading lines, guiding the viewer’s eye toward the moon.
Consider experimenting with different angles and perspectives to find the most compelling composition. Shooting from a low angle, for example, can make the moon appear larger and more prominent in relation to the surrounding elements. Likewise, capturing the moon during different phases and positions in the sky can add further variety and interest to your compositions.
When framing your shot, pay attention to the overall balance and symmetry. Avoid overcrowding the frame with too many elements that compete for attention. Instead, strive for simplicity and allow the moon to take center stage while utilizing other elements to enhance the overall composition.
Another technique to consider is the use of negative space. Negative space refers to the empty areas in your composition that help draw attention to the subject. By incorporating open skies or vast empty spaces around the moon, you can create a sense of solitude and tranquility, allowing the viewer to appreciate the moon’s beauty in a more contemplative manner.
Remember to experiment and be creative with your compositions. Try different framing techniques, perspectives, and focal lengths to capture the moon in unique and unexpected ways. While there are guidelines to follow, don’t be afraid to break the rules and let your creativity soar.
Lastly, always strive for sharp focus and clarity when photographing the moon. Use manual focus and take test shots to ensure that the moon is crisp and well-defined. Adjust the focus as needed, especially if you’re incorporating foreground elements or shooting at different distances.
By considering composition and framing, you can create captivating moon photos that not only showcase its beauty but also evoke emotions and tell a story. Experiment, take creative risks, and let your artistic vision guide you in capturing the moon’s captivating allure.
Focusing Techniques
Focusing is a critical aspect of moon photography that can significantly impact the overall quality of your images. Achieving sharp focus on the moon’s intricate details requires careful attention and the use of specific focusing techniques. Let’s explore some techniques that will help you capture those mesmerizing lunar details with precision.
1. Manual Focus: When photographing the moon, it’s best to switch to manual focus mode. The moon’s smooth surface can confuse autofocus systems, resulting in soft or inconsistent focus. Take control of the focusing process by manually adjusting the focus ring on your lens until the moon appears sharp and well-defined in your viewfinder or LCD screen.
2. Live View: Utilize your camera’s live view mode to zoom in and fine-tune the focus on the moon. This feature allows you to magnify the view, making it easier to detect any focus inaccuracies. Take your time to adjust the focus until the moon’s details are crisp and clear. Remember to zoom out before capturing the final shot.
3. Focus Peaking: Some cameras offer a focus peaking feature that highlights the areas in focus. When enabled, this feature displays a color overlay on sharp edges and details, aiding in achieving accurate focus. Activate focus peaking and adjust the focus until the moon’s outlines are highlighted.
4. Use a High Contrast Area: If you’re struggling with achieving manual focus, look for a high contrast area near the moon, such as the moon’s terminator (the line between illuminated and shadowed portions). Focus on that area and then recompose the shot to include the moon. This technique can assist in achieving sharper focus when the moon itself appears smooth and lacking distinctive features.
5. Trial and Error: Don’t hesitate to take test shots and review them on your camera’s LCD screen. Zoom in to check for sharpness and adjust the focus as needed. This process may require several attempts, especially when experimenting with different camera settings or focal lengths.
Remember, achieving precise focus on the moon’s details can be challenging due to the moon’s distance and brightness. Take your time, be patient, and make fine adjustments until you capture that sharp and crisp focus.
Lastly, if you’re using a telephoto lens to capture the moon, be mindful of lens vibrations caused by mirror slap or the shutter release. Using a remote shutter release or the camera’s built-in self-timer can help eliminate camera shake and ensure sharper images.
By utilizing these focusing techniques, you’ll be better equipped to capture stunning lunar images with the utmost clarity and detail, allowing viewers to truly appreciate the moon’s mesmerizing presence.
Exposing for the Moon
Getting the right exposure for the moon is essential in moon photography. A well-exposed image will capture the moon’s intricate details and showcase its natural luminosity. However, due to the moon’s brightness contrasted against the dark night sky, finding the perfect exposure can be a challenge. Here are some tips to help you expose your moon shots correctly.
1. Metering Mode: Use spot metering mode or center-weighted metering mode to ensure accurate exposure. Since the moon is a small and bright subject, evaluative or matrix metering modes may tend to underexpose the moon, resulting in a dark image. Spot metering will allow you to measure the moon’s brightness accurately and adjust the exposure accordingly.
2. Underexpose Slightly: The moon’s surface reflects bright sunlight, so it’s crucial to slightly underexpose your images to avoid overexposure. Start by dialing in a negative exposure compensation of around -1 to -2 stops. Review the histogram and adjust if necessary. Be careful not to underexpose too much, as it can result in loss of details in the shadows.
3. Bracket Your Shots: To ensure you capture the best exposure for the moon, consider bracketing your shots. Take multiple images with different exposure settings, including slightly underexposed, normal, and slightly overexposed shots. This technique will give you a range of options to choose from during post-processing.
4. Highlight Details: While the moon is a prominent subject, it also contains subtle details that you may want to highlight. Slightly overexposing the moon’s surface can bring out those finer features, such as craters and textures. Experiment with different exposure settings to find the right balance between preserving details and avoiding blown-out highlights.
5. Consider Clipping: The moon’s highlights may approach or even exceed the camera’s dynamic range. While it’s essential to retain details, don’t be afraid to let some areas of the moon’s surface clip or appear pure white. This can give your images a more ethereal and dreamy feel while still retaining the overall lunar presence.
6. Post-Processing: In some cases, you may need to further adjust the exposure during post-processing to fine-tune the final image. Software tools like Adobe Lightroom or Photoshop offer the flexibility to correct exposure, recover details, and enhance the overall quality of your moon photos.
Remember, the exposure settings for moon photography can vary based on factors such as phase, lighting conditions, and personal preferences. Take the time to experiment and review your images on your camera’s LCD screen or histogram to ensure you’ve captured the desired exposure.
By understanding the nuances of exposing for the moon, you can create captivating images that highlight the moon’s natural beauty and reveal its intricate details against the canvas of the night sky.
Reducing Camera Shake
Camera shake can be a common issue when capturing moon photography, especially when using long focal lengths or shooting in low light conditions. Even the slightest movement or vibration can result in blurry images that lack the desired level of clarity. Here are some techniques to help you minimize camera shake and capture sharp moon photos.
1. Use a Tripod: A sturdy tripod is an essential tool for reducing camera shake. Choose a tripod that is sturdy and can support the weight of your camera and lens. Set it up on a stable surface and ensure it is securely tightened to minimize any movement. Using a tripod will eliminate hand movement and provide a solid foundation for sharp images.
2. Use a Remote Shutter Release: Minimize camera shake caused by physically pressing the shutter button by using a remote shutter release or a cable release. These accessories allow you to trigger the camera without touching it, resulting in sharper images. Alternatively, you can also use your camera’s built-in self-timer, which introduces a brief delay before the shutter is released.
3. Mirror Lock-up: If you’re using a DSLR camera, activating the mirror lock-up function can help reduce camera shake. When you press the shutter button, the mirror flips up to reveal the camera’s sensor. This movement can introduce vibrations that affect image sharpness. By using mirror lock-up, the mirror is raised before the exposure, minimizing potential shake caused by the mirror movement.
4. Use Image Stabilization: If your lens or camera features image stabilization (IS) or vibration reduction (VR), enable this function to reduce camera shake. This technology compensates for small movements and vibrations, resulting in sharper images, especially when shooting handheld. However, be aware that IS or VR is less effective or unnecessary when shooting on a tripod.
5. Lower Shutter Speed and ISO: Using lower shutter speeds and ISO settings can reduce the potential for camera shake. The longer the exposure time, the higher the chance of introducing camera shake. Aim for faster shutter speeds when handholding the camera and use low ISO settings to maintain image quality and minimize noise.
6. Avoid Wind and Vibrations: Wind can cause camera shake, especially when using long focal lengths. If possible, shield your camera from the wind by using a tripod windscreen or positioning yourself in a sheltered area. Additionally, avoid touching the camera during the exposure and be mindful of any vibrations from nearby sources, such as passing vehicles or footsteps.
Remember, reducing camera shake is crucial for capturing sharp and crisp moon photos. Combine these techniques and find the optimal balance between stable support, proper triggering, and camera settings to minimize any unwanted blurring and achieve the desired level of image sharpness.
Post-Processing Tips
Post-processing is an essential step in moon photography that allows you to enhance your images and bring out the full potential of your captures. By making thoughtful adjustments, you can emphasize details, correct exposure, and create stunning final results. Here are some post-processing tips to help you elevate your moon photography.
1. Shoot in RAW: Shooting in RAW format gives you greater flexibility during post-processing. RAW files contain more information and allow for more extensive adjustments without degrading image quality. This format enables you to fine-tune white balance, exposure, and other settings, ensuring that you capture the full dynamic range of the moon and its surroundings.
2. Adjust Exposure and Contrast: Start by adjusting the overall exposure and contrast of your moon photos. This step can help bring out the fine details and enhance the contrast between the moon and the background. Use tools like levels, curves, or exposure sliders in your post-processing software to fine-tune the exposure and contrast to your liking.
3. Enhance Sharpness: Sharpening your moon images can bring out the intricate details of the lunar surface. Use the sharpening tools available in your post-processing software to enhance the edges and textures without overdoing it. Be cautious not to introduce too much noise or artifacts in the process.
4. Manage Noise: Moon photography often involves shooting at higher ISO settings, which can result in noise in your images. Luckily, modern post-processing software offers effective noise reduction tools. Experiment with the noise reduction settings to strike a balance between reducing noise and maintaining the fine details of the moon.
5. Fine-Tune White Balance: Adjusting the white balance can significantly impact the overall mood and color rendition of your moon photos. Experiment with different color temperature settings in your post-processing software to achieve the desired look. Warmer tones can create a more inviting and nostalgic atmosphere, while cooler tones can evoke a sense of tranquility and mystery.
6. Crop and Compose: Consider cropping your moon photos to remove any distracting elements or to create a more balanced composition. Cropping can help draw focus to the moon itself and make subtle adjustments to the framing. Additionally, don’t be afraid to experiment with different aspect ratios and compositions to find the most visually appealing result.
7. Consider Creative Effects: Moon photography doesn’t have to be restricted to natural-looking images. Experiment with various creative effects and editing techniques to add a unique touch to your photos. Play with black and white conversions, add vignettes, or experiment with selective color adjustments to make your moon images stand out.
8. Maintain a Natural Look: While post-processing allows for creative adjustments, it’s important to maintain a natural look when editing moon photos. Avoid oversaturating colors, introducing heavy vignettes, or making drastic changes that distort the true nature of the moon. Strive for a balanced and authentic representation of the moon’s beauty.
Remember, the goal of post-processing is to enhance the mood and details of your moon photos while staying true to your creative vision. Practice and experimentation will help you develop your editing skills and find a processing style that best suits your artistic preferences.
By implementing these post-processing tips, you can elevate your moon photography and transform your captures into stunning works of art. Embrace the creative possibilities and enjoy the process of refining your moon images to truly reflect the captivating beauty of our celestial neighbor.
Conclusion
Photographing the moon with a digital camera is a captivating and rewarding endeavor that allows us to capture the enchanting beauty of our celestial neighbor. With the right equipment, an understanding of camera settings, and careful composition, anyone can venture into the world of moon photography and create stunning images.
By choosing the right digital camera, understanding camera settings, and finding the right location, we can set ourselves up for success. Through proper preparation and focusing techniques, we can capture sharp and detailed images of the moon. Additionally, by applying exposure techniques and reducing camera shake, we can ensure that our moon photos are properly exposed and free from unwanted blurring.
Post-processing is an important step in enhancing the final results of our moon photography. By adjusting exposure, enhancing sharpness, and fine-tuning white balance, we can bring out the full potential of our moon images. Through creative effects and careful editing, we can add our artistic touch while staying true to the natural beauty of the moon.
Moon photography is a journey that requires patience, practice, and continuous exploration. Each phase of the moon and every shooting location presents unique opportunities and challenges. By embracing these challenges and putting the tips and techniques into practice, we can capture the moon’s mystique and create images that inspire awe and wonder.
So, grab your camera, venture out under the moonlit sky, and embark on your own moon photography adventure. Let the moon be your muse as you explore the artistry of capturing its ethereal allure. May your shots be sharp, the compositions compelling, and your passion for the moon’s beauty shine through in every image you create.