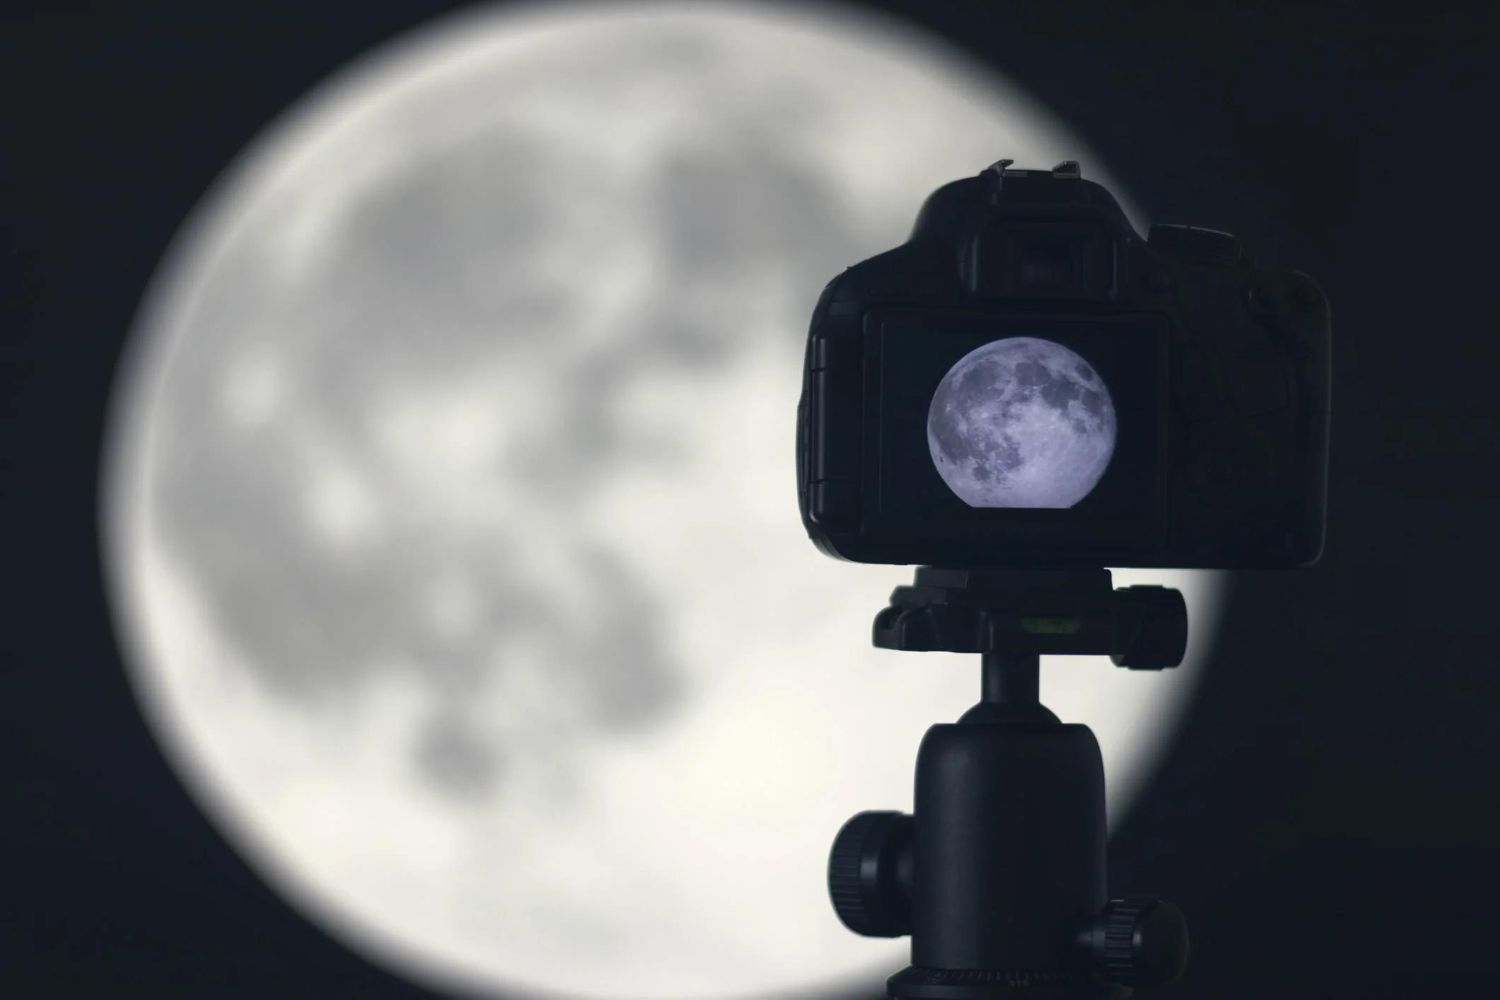
The secret to photograph the moon with a DSLR is to treat it as a bright, sunlit object, not a dim night scene. Because the moon is directly illuminated by the sun, its surface is roughly as bright as a sunny day on Earth, so your exposure settings must follow daylight rules, not low-light ones. This single mental shift is the foundation for getting a sharp, well-exposed lunar image instead of a blurry white blob.
The secret to photograph the moon with a DSLR
Most first-time moon photographers make the same mistake: they point their camera at the night sky, see darkness, and crank up the ISO or open the aperture wide. This results in a blown-out, overexposed disk with no crater detail. The moon is not a dim object; it is a mirror reflecting the sun's intense light. To capture its surface texture, you must expose for the moon itself, not the surrounding sky. Think of it as photographing a bright landscape in the middle of the day, your settings should reflect that reality, not the darkness of the night around it.
Gear you need for sharp moon photos
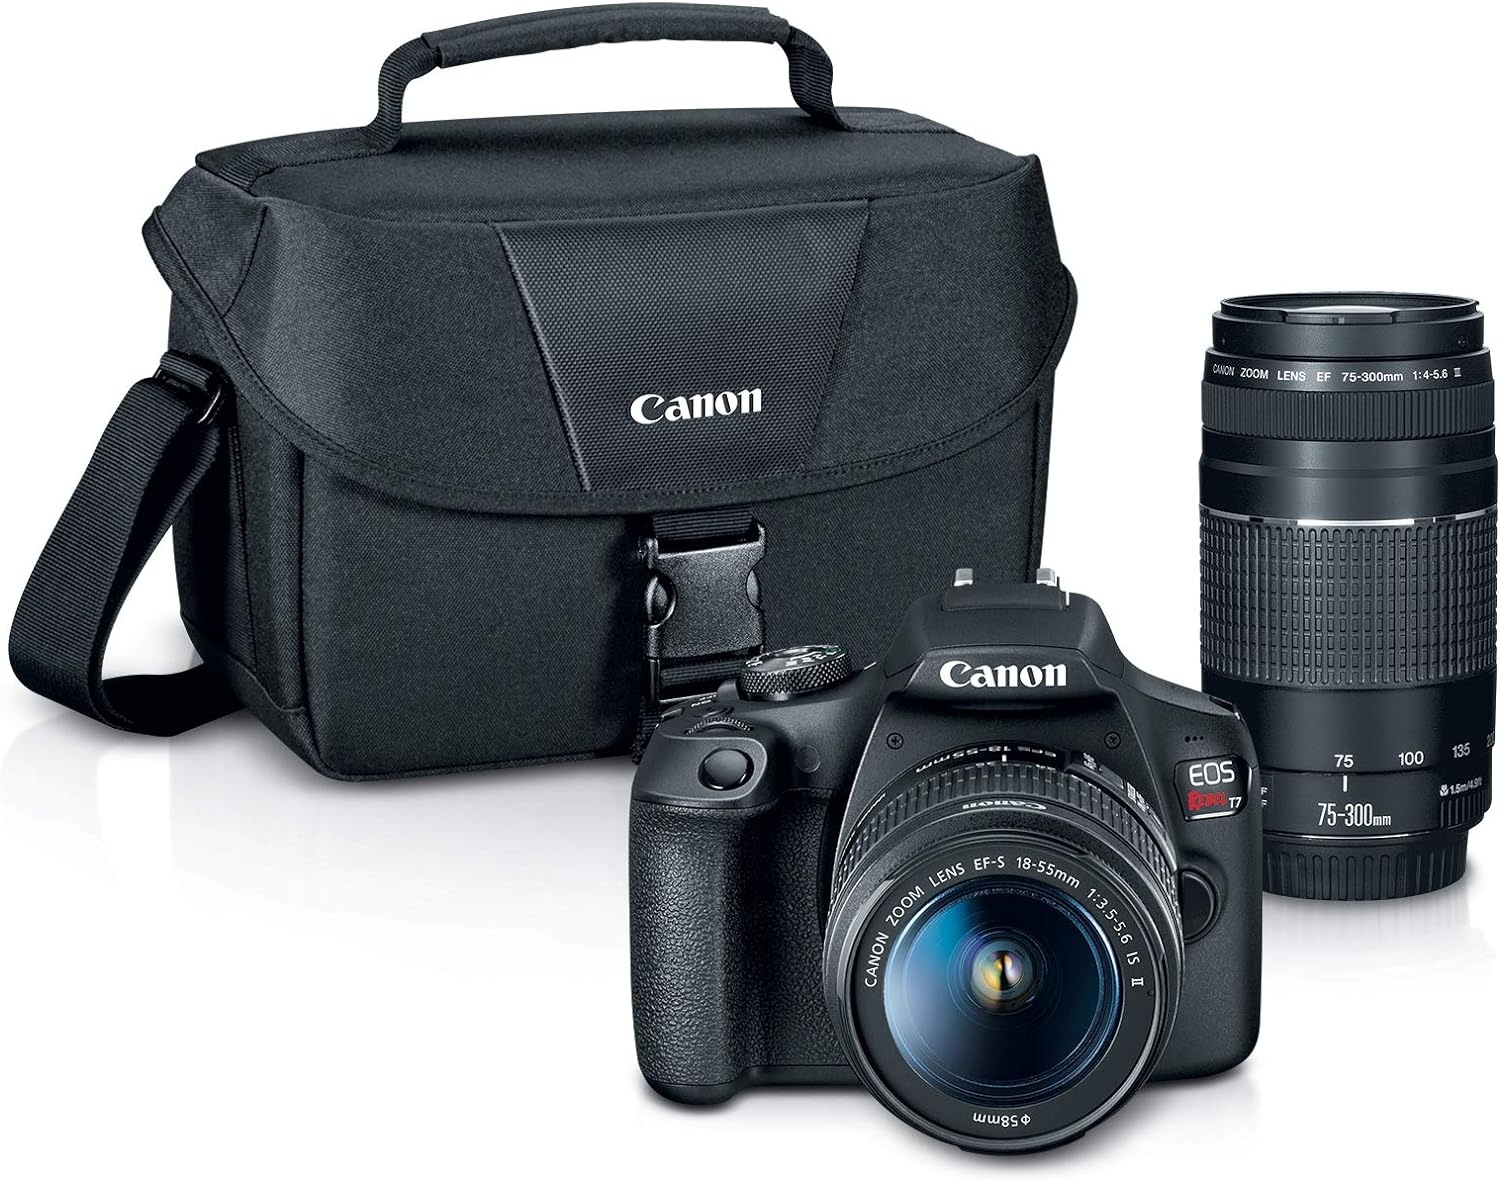
You don't need an expensive astrophotography rig to get a great moon shot, but you do need specific gear. A DSLR body with manual controls is essential, but the lens matters more. A telephoto lens with a focal length of at least 200mm is required for crop-sensor (DX) cameras, while full-frame (FX) cameras need 300mm or more to make the moon fill a reasonable portion of the frame. For the best results, a 400mm to 600mm lens will let you capture the moon's craters and maria in crisp detail. Alongside the lens, a sturdy tripod is non-negotiable, it eliminates the camera shake that blurs long exposures. Finally, use a remote shutter release (wired or wireless) or your camera's 2-second self-timer to trigger the shutter without touching the camera, which prevents vibration-induced softness.
Step 1: Find the right time and place
Location and timing are just as important as your gear. Scout a spot with minimal light pollution, such as a rural area or an elevated vantage point, to get the clearest view of the moon against a dark sky. Check weather forecasts for clear, cloudless nights, and use astronomical calendars to plan around moon phases. A full moon is bright and impressive, but a partial moon (waxing gibbous or crescent) casts shadows across the surface, revealing more crater detail. Choose a night when the moon is high in the sky, not near the horizon, to avoid atmospheric distortion that makes it look fuzzy and bloated.
Step 2: Set up your camera for stability
Mount your camera securely on the tripod, making sure all locks are tight. Turn off any image stabilization (VR or IS) on your lens, as this system can introduce micro-movements when the camera is already stationary. Set your camera to manual mode, and if your camera has a mirror lock-up function, engage it to reduce internal vibration. Use the remote shutter release or set the self-timer to 2 seconds, so the camera settles completely before the shutter opens. This setup is critical: even a tiny shake from pressing the shutter button will ruin the sharpness of your moon image.
Step 3: Dial in the critical camera settings
Now you're ready to set your exposure. Put your camera in full Manual mode. Set your ISO to 100 or 200 (never higher than 400) to minimize digital noise. Choose an aperture of f/11, which is the sweet spot for lens sharpness and depth of field. For shutter speed, start at 1/125 second and adjust between 1/100 and 1/250 second. The moon moves faster than you think across the sky, so slower shutter speeds will cause motion blur. Finally, set your white balance to Daylight, which will render the moon's surface with its true neutral gray tones.
Step 4: Nail focus with live view
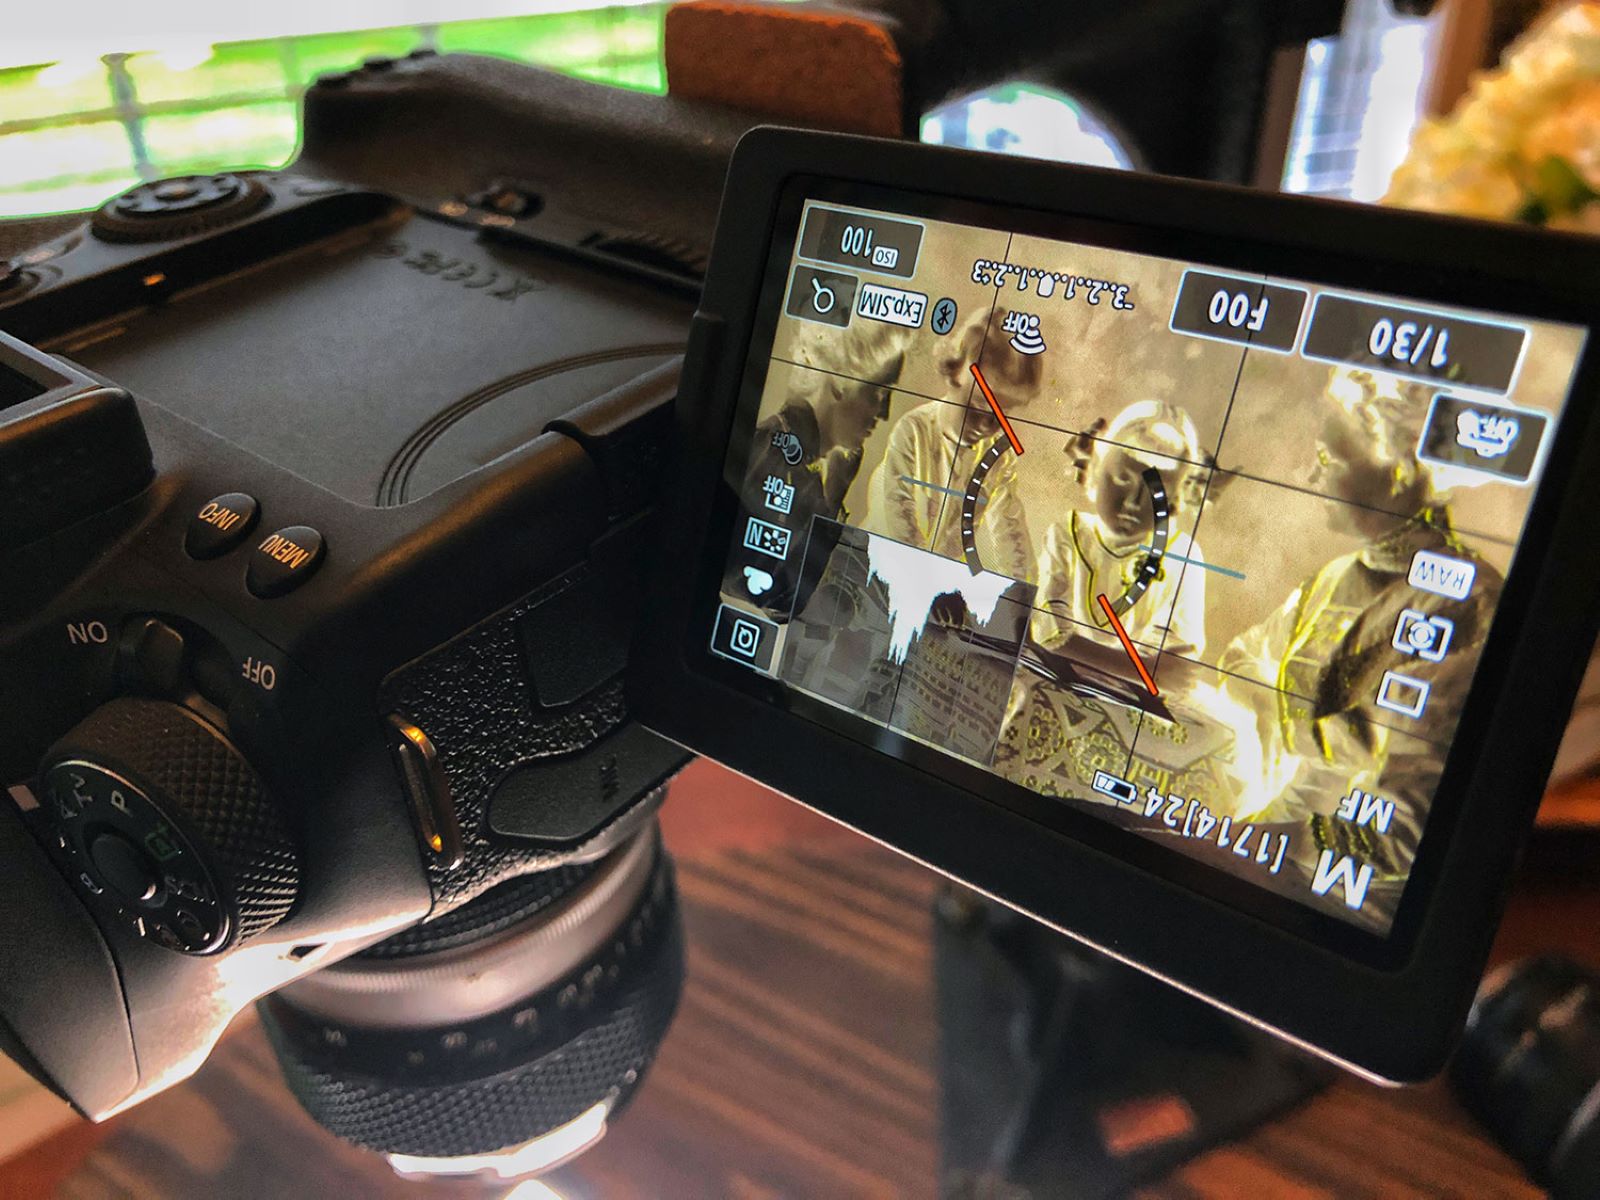
Autofocus will struggle in the dark, so switch your lens to manual focus. Activate Live View on your camera and use the zoom button to magnify the moon to 10x on the rear screen. Slowly turn the focus ring until the edge of a crater appears razor-sharp. The terminator, the line between the lit and unlit part of the moon, is the best place to focus, as it shows the most contrast. Once focus is locked, do not touch the lens. If your lens has an infinity focus mark, you can use it as a starting point, but always verify with Live View because the infinity mark is not always accurate.
Step 5: Take the shot and check your work
With everything set, trigger the shutter using your remote or self-timer. After the first shot, review the image on your camera's screen and zoom in to check the moon's edge for blown-out highlights. The histogram should show a peak in the middle, not clipped on the right side. If the moon looks too bright, increase your shutter speed (e.g., from 1/125 to 1/250). If it's too dark, slow it down slightly. Only adjust the shutter speed, keep your ISO and aperture fixed to maintain image quality and sharpness. Take a few test shots, making small adjustments each time, until the craters and maria are clearly visible with no loss of detail.