Introduction
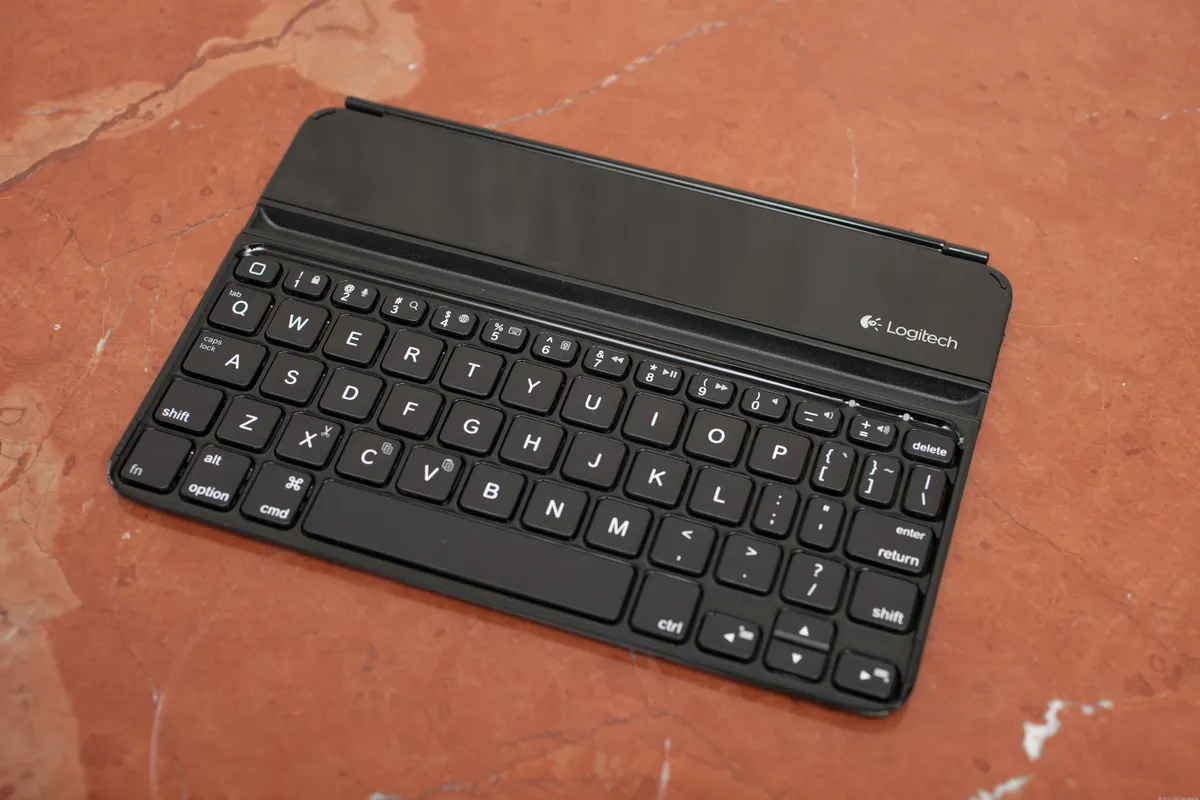
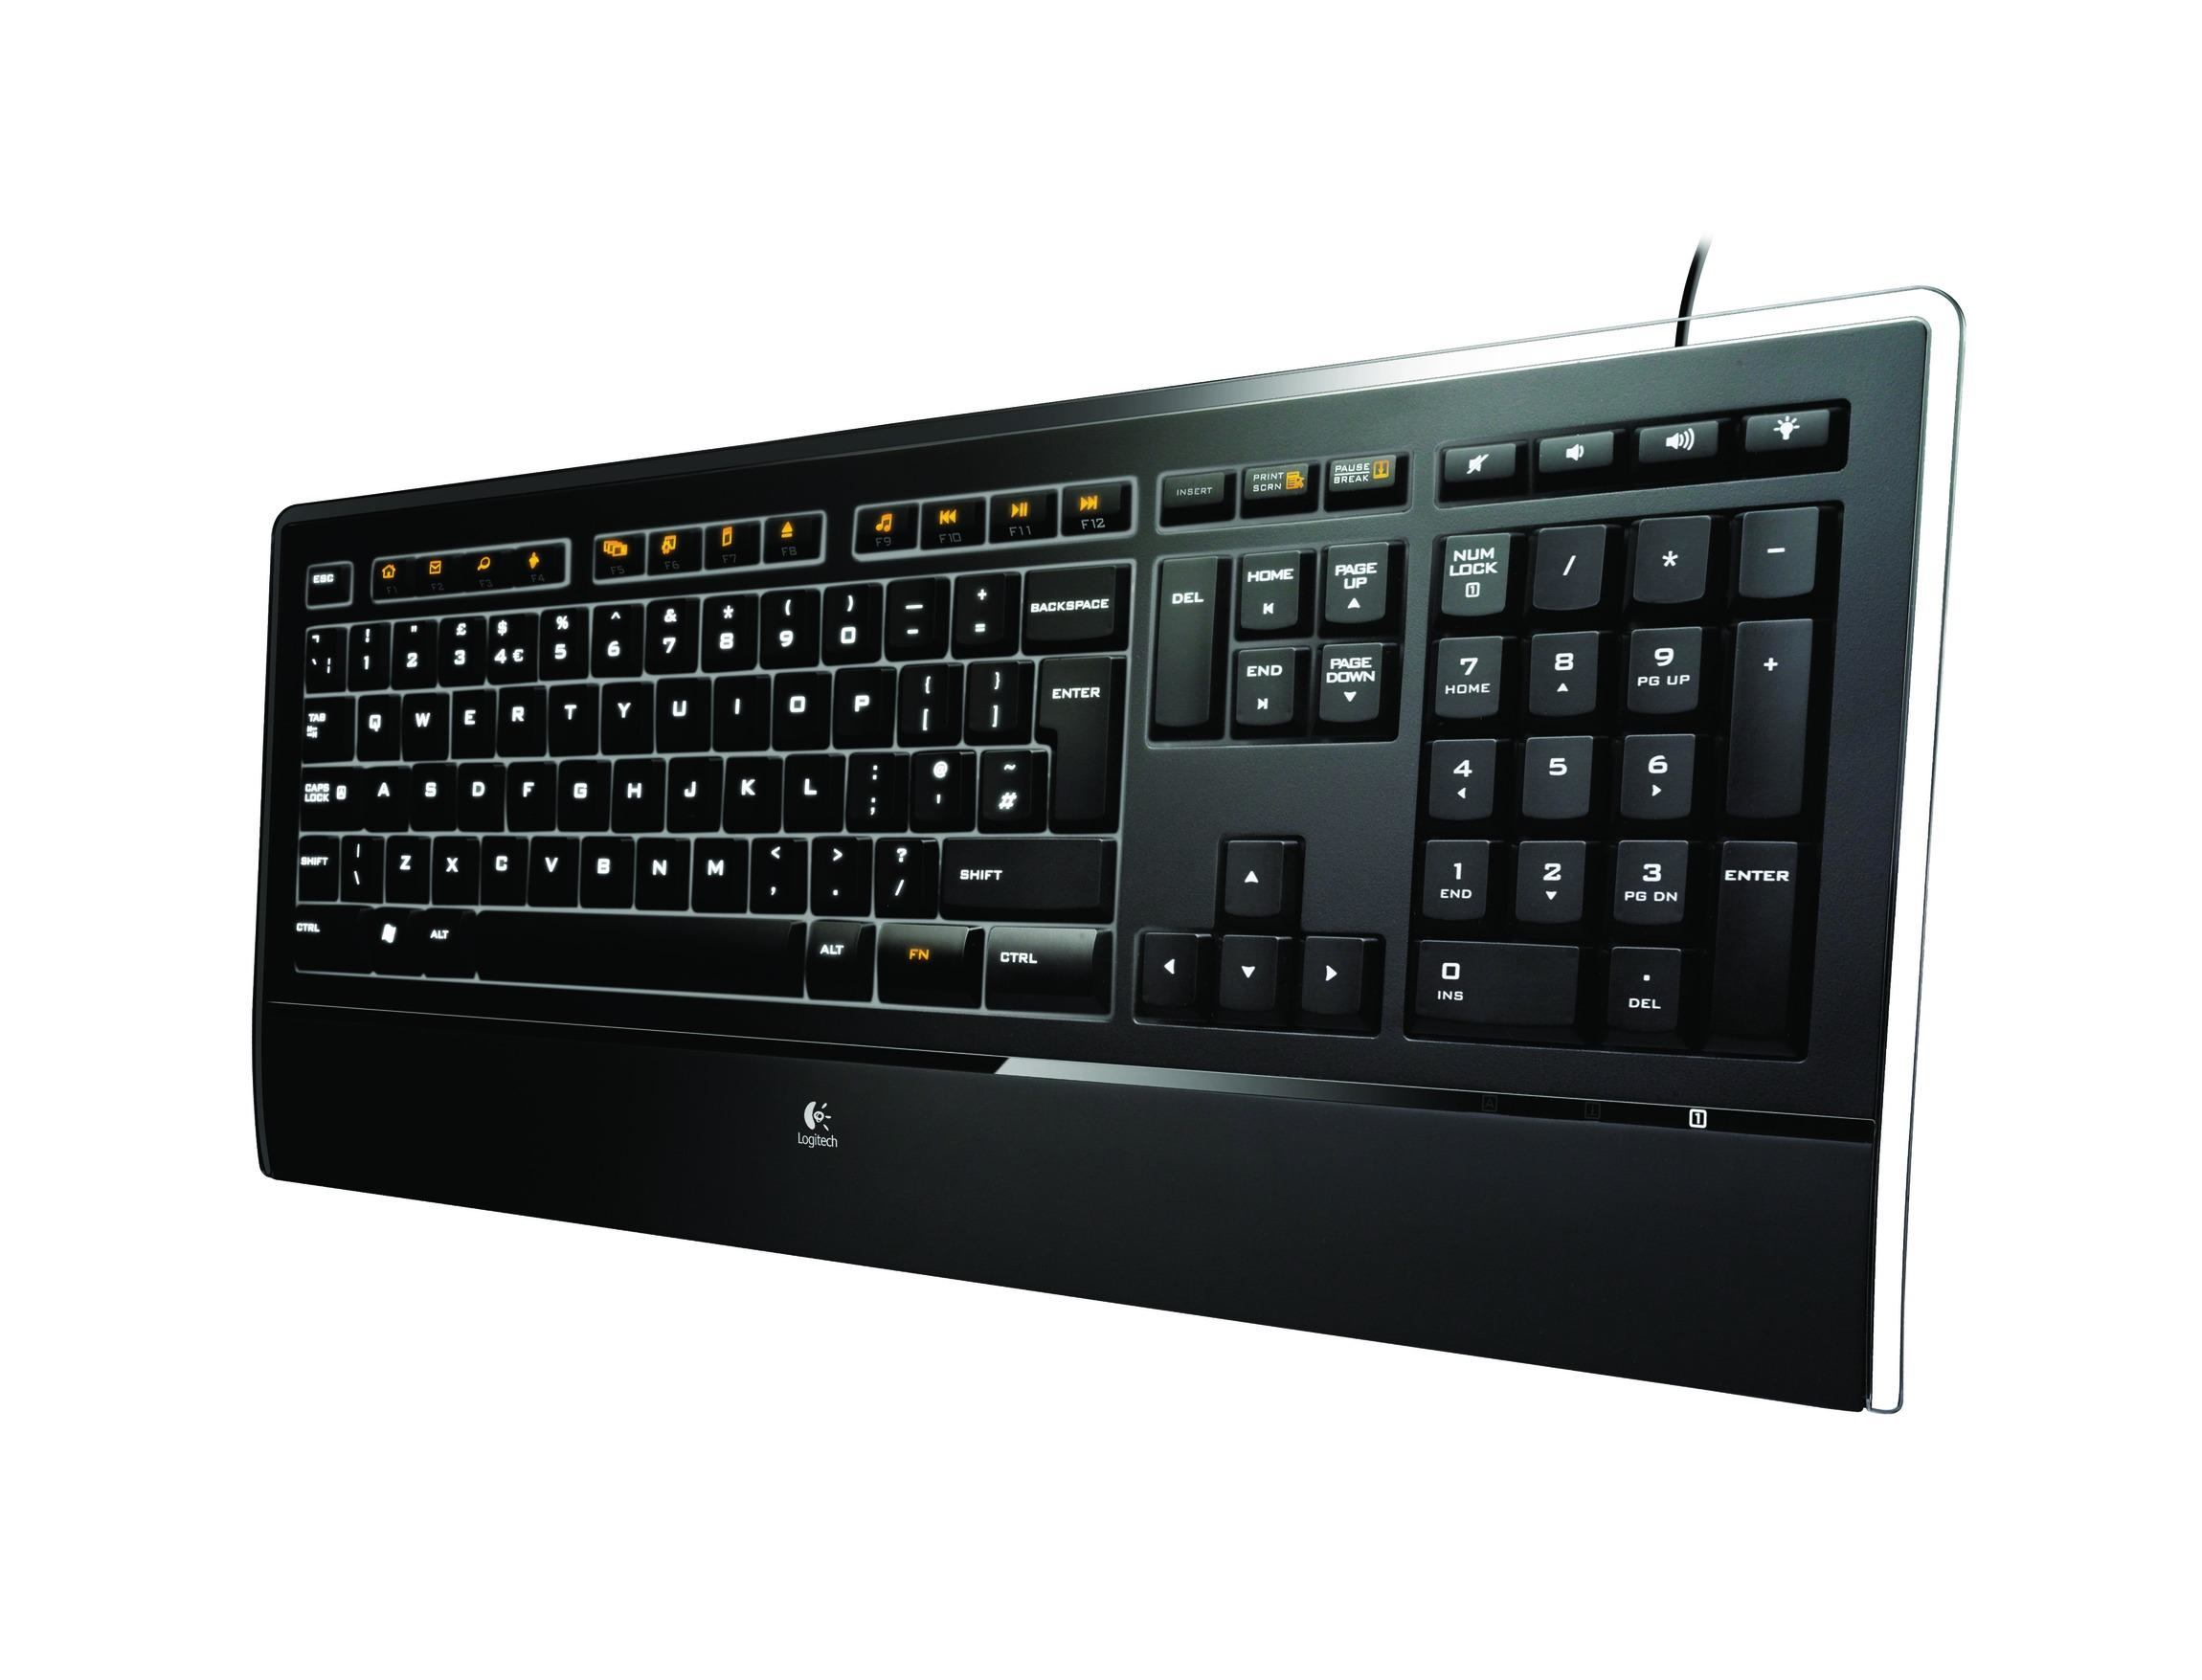
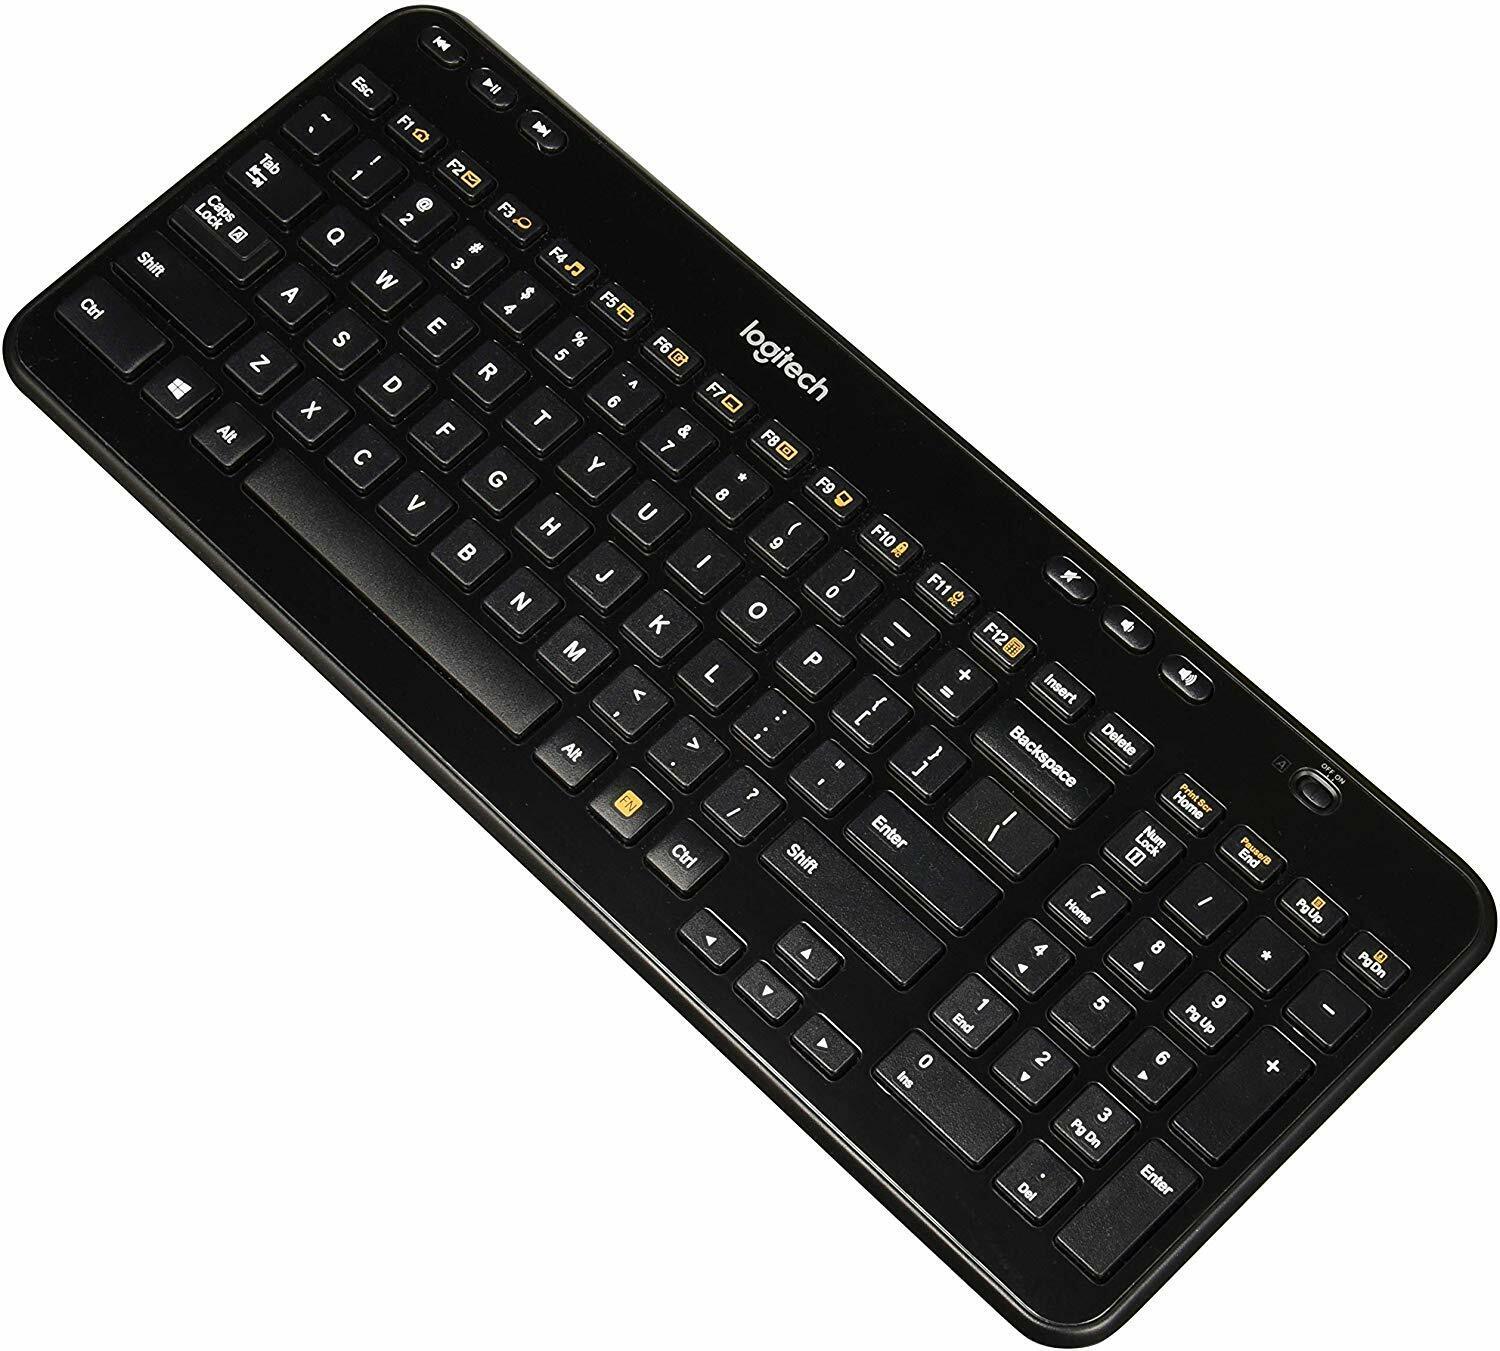
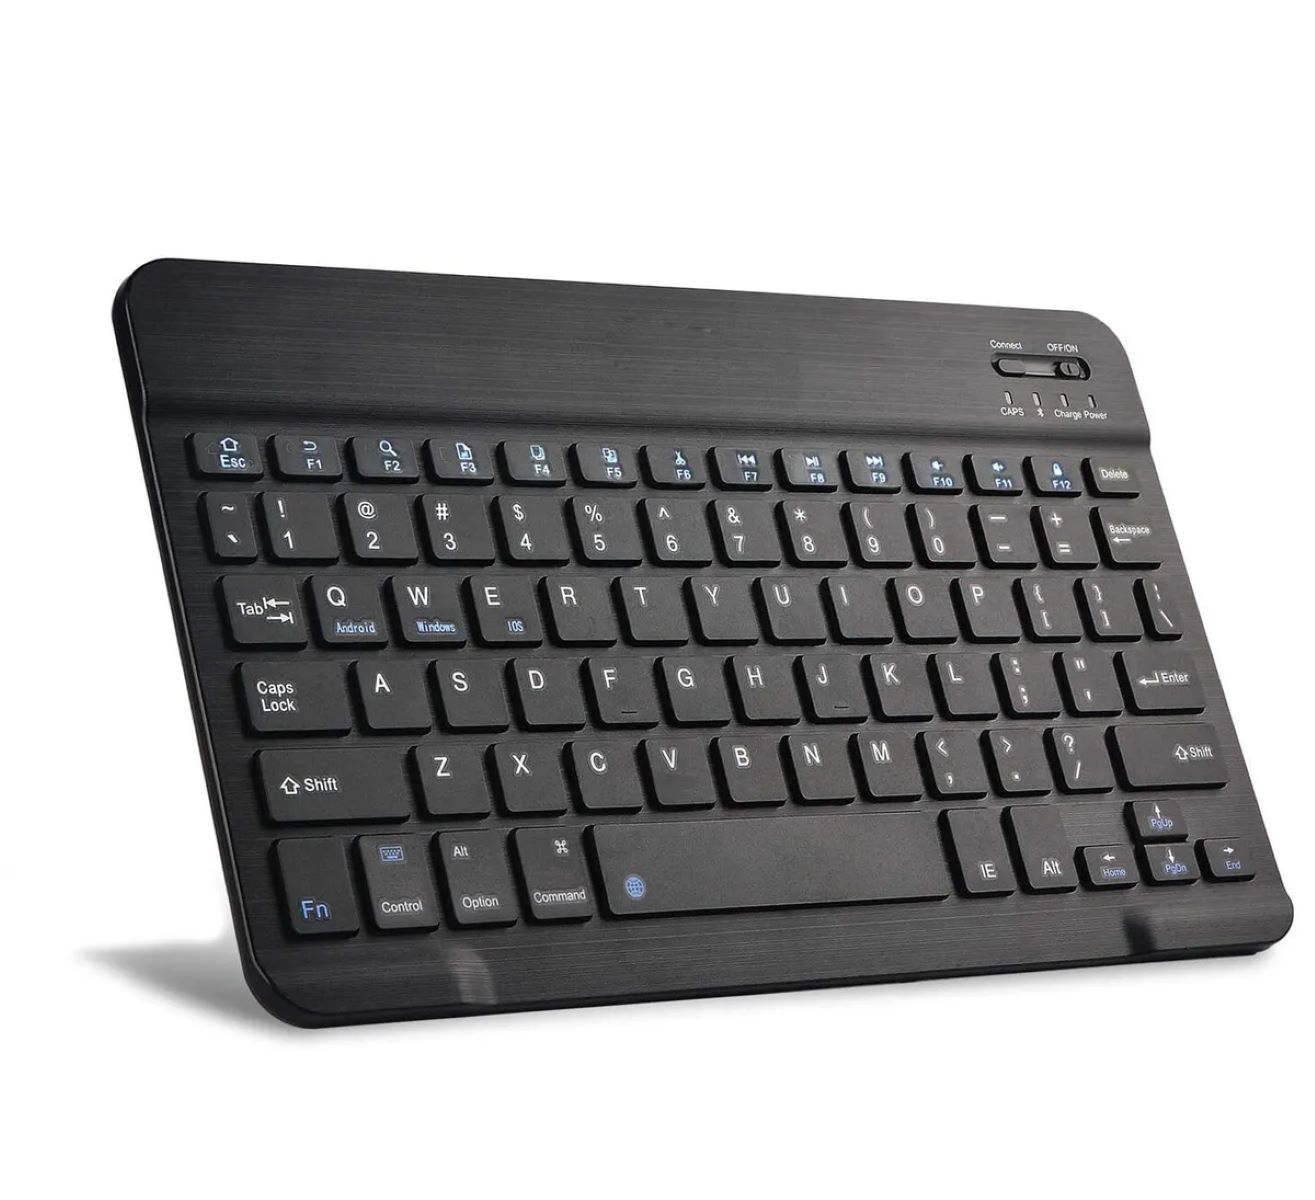
Welcome to our guide on how to pair the Logitech Ultrathin Keyboard with your device. The Logitech Ultrathin Keyboard is a sleek and portable keyboard that brings convenience and efficiency to your typing experience. Whether you’re using it with your iPad, iPhone, or Mac, this keyboard offers wireless connectivity, comfortable key spacing, and a long-lasting battery life.
Pairing your Logitech Ultrathin Keyboard with your device is a simple process that ensures seamless communication between the two. By following the steps outlined in this guide, you’ll be able to enjoy the benefits of a physical keyboard for all your typing needs.
With the Logitech Ultrathin Keyboard, you can significantly improve your productivity and typing speed. It provides a tactile typing experience that is unmatched by virtual keyboards, making it ideal for tasks such as writing documents, emails, or even engaging in online conversations.
By pairing the Logitech Ultrathin Keyboard with your device, you’ll have the freedom to type comfortably and efficiently wherever you go. Whether you’re a student, professional, or simply someone who prefers the tactile feedback of a physical keyboard, this guide will walk you through the steps to successfully pair your Logitech Ultrathin Keyboard with your device.
So, let’s dive in and get your Logitech Ultrathin Keyboard paired with your device, allowing you to unlock a new level of typing convenience and productivity.
Step 1: Ensure Bluetooth is enabled
The first step in pairing your Logitech Ultrathin Keyboard with your device is to ensure that Bluetooth is enabled on your device. Bluetooth is the technology that allows wireless communication between your keyboard and device, so it is essential to have it enabled for the pairing process.
To check if Bluetooth is enabled on your device, follow these steps:
- Go to the settings menu on your device. This can typically be found by tapping on the gear icon.
- Look for the “Bluetooth” option in the settings menu and tap on it.
- If Bluetooth is already enabled, you will see a toggle switch indicating that it is turned on. If it is not enabled, simply tap on the toggle switch to enable Bluetooth.
Once Bluetooth is enabled on your device, it will start searching for available devices to connect to. This is when we’ll move on to the next step of placing your iPad in the designated slot on the keyboard.
Ensuring that Bluetooth is enabled on your device is crucial for establishing a successful connection between your Logitech Ultrathin Keyboard and your device. Without Bluetooth enabled, the pairing process will not be possible, and you won’t be able to utilize the full functionality of your keyboard.
Now that you’ve confirmed that Bluetooth is enabled on your device, let’s move on to the next step of placing your iPad in the designated slot on the Logitech Ultrathin Keyboard.
Step 2: Place the iPad in the designated slot
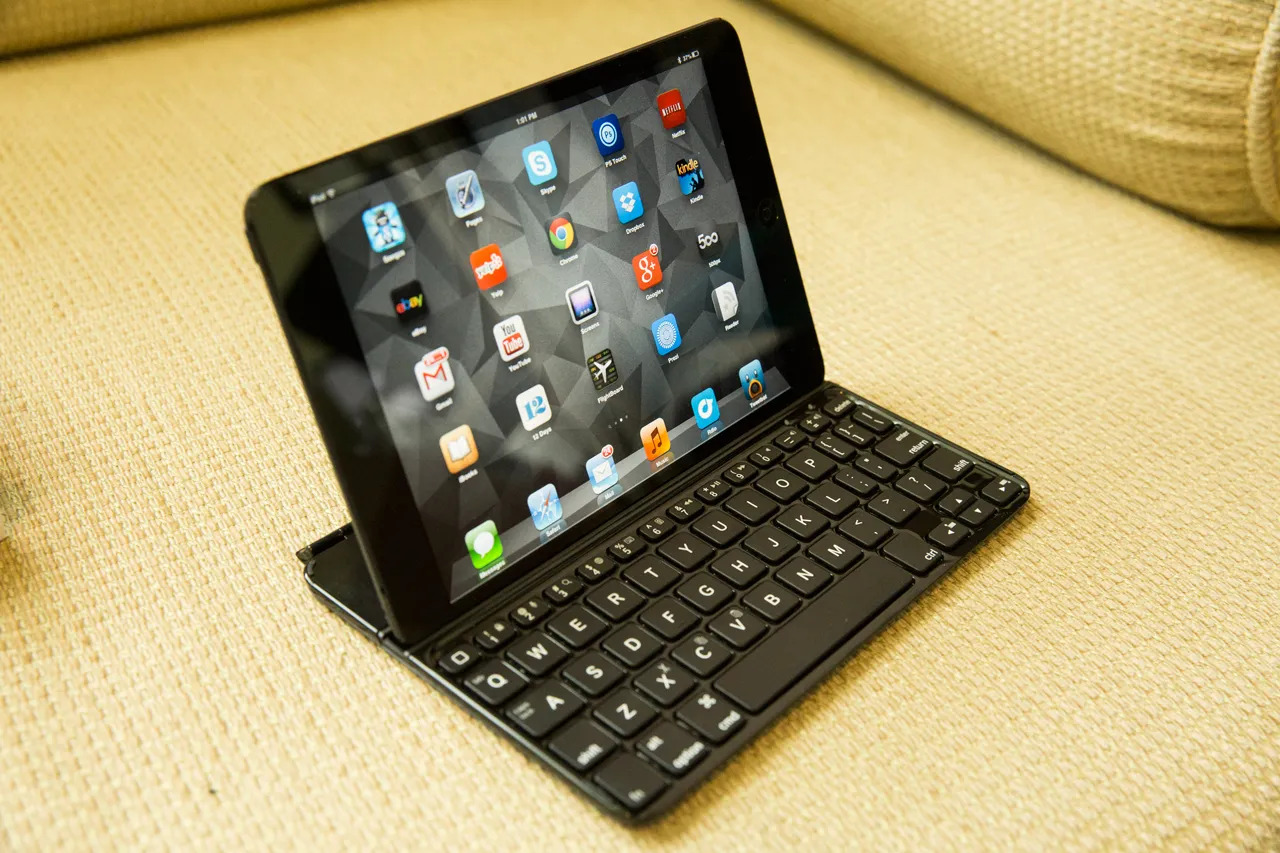
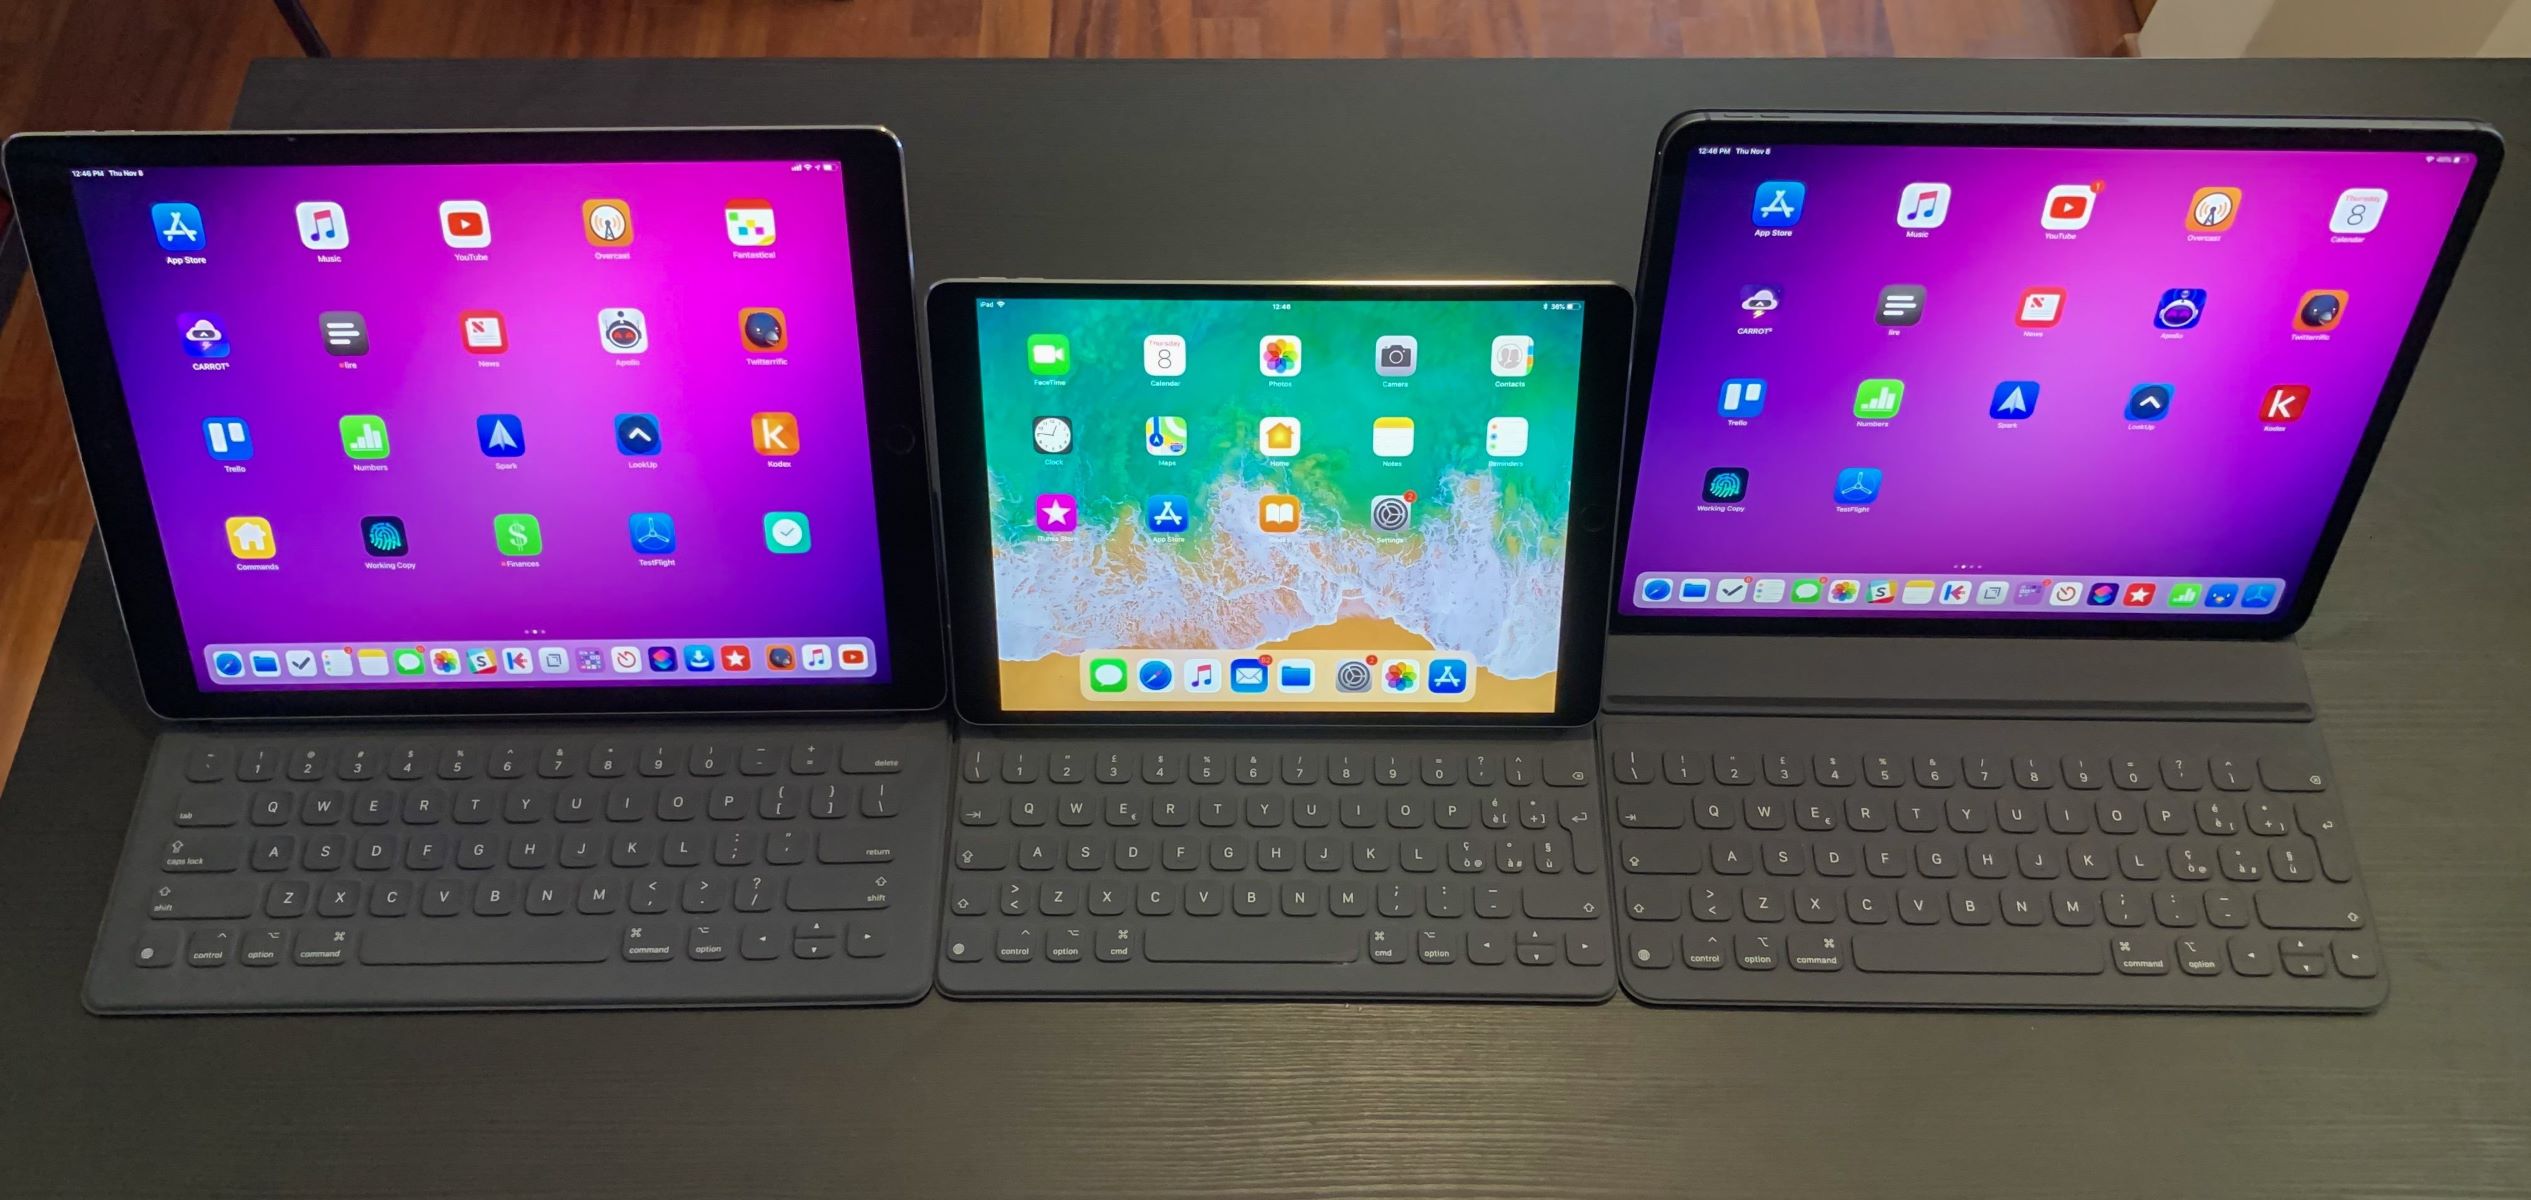
Once you have ensured that Bluetooth is enabled on your device, the next step is to place your iPad in the designated slot on the Logitech Ultrathin Keyboard. This slot is specifically designed to securely hold your iPad, allowing you to work comfortably and efficiently.
Follow these steps to place your iPad in the designated slot:
- Locate the slot at the top of the Logitech Ultrathin Keyboard.
- Gently slide your iPad into the slot, ensuring that it is snug and securely in place. The slot is designed to accommodate different iPad models, providing a seamless fit.
- Check that your iPad is positioned correctly and securely in the slot. Ensure that the display is facing in the correct direction for optimal viewing and typing.
By placing your iPad in the designated slot, you can take advantage of the integrated design of the Logitech Ultrathin Keyboard and enhance your typing experience. The slot allows for the perfect viewing angle, making it easier to read and type without straining your neck or eyes.
Additionally, the slot ensures that your iPad remains stable and secure while you type, minimizing the risk of accidental slippage or damage. This feature is particularly useful when working on the go, such as in a coffee shop or during travel.
Once you have safely placed your iPad in the designated slot, you are ready to move on to the next step of turning on the Logitech Ultrathin Keyboard.
Step 3: Turn on the keyboard
Now that your iPad is securely placed in the designated slot, it’s time to turn on the Logitech Ultrathin Keyboard. The power switch for the keyboard is located on the side or on the back, depending on the specific model you have.
Follow these steps to turn on the keyboard:
- Locate the power switch on the Logitech Ultrathin Keyboard. It is typically labeled with the “On” and “Off” positions.
- Slide the power switch to the “On” position. You may need to hold it for a couple of seconds until the power indicator lights up, indicating that the keyboard is turned on.
- Once the keyboard is turned on, the Bluetooth pairing process will be initiated, and the keyboard will start searching for available devices to connect to.
It’s important to ensure that the Logitech Ultrathin Keyboard is turned on before proceeding with the pairing process. This step activates the keyboard and prepares it to establish a connection with your device via Bluetooth.
By turning on the keyboard, you’ll be one step closer to experiencing the convenience and functionality of the Logitech Ultrathin Keyboard. The keyboard is designed to provide a seamless typing experience, with responsive keys and a comfortable layout.
Once you have successfully turned on the Logitech Ultrathin Keyboard, it’s time to move on to the next step of putting the keyboard in pairing mode.
Step 4: Put the keyboard in pairing mode
After turning on the Logitech Ultrathin Keyboard, the next step is to put it in pairing mode. Pairing mode allows the keyboard to actively search for your device and establish a secure connection. Follow the steps below to put the keyboard in pairing mode:
- Look for the Bluetooth pairing button on your Logitech Ultrathin Keyboard. It is usually located on the top or side of the keyboard.
- Press and hold the Bluetooth pairing button for a few seconds until the Bluetooth indicator light starts blinking. This indicates that the keyboard is now in pairing mode and actively searching for devices to connect to.
- Make sure to keep your device in close proximity to the keyboard to ensure a reliable and seamless connection.
Putting the Logitech Ultrathin Keyboard in pairing mode is a crucial step in establishing a successful connection between the keyboard and your device. This mode allows the keyboard to be discoverable, enabling your device to detect and connect to it via Bluetooth.
By activating the pairing mode, you are enabling your Logitech Ultrathin Keyboard to communicate with your device, ensuring a seamless typing experience without any delays or connectivity issues.
Now that you have successfully put the Logitech Ultrathin Keyboard in pairing mode, you are ready to move on to the next step of connecting the keyboard to your iPad.
Step 5: Connect the keyboard to the iPad
With the Logitech Ultrathin Keyboard in pairing mode, it’s time to connect it to your iPad. Follow the steps below to establish a connection between the keyboard and your iPad:
- On your iPad, go to the settings menu and open the Bluetooth settings.
- Wait for your iPad to detect available Bluetooth devices. It should display “Logitech Ultrathin Keyboard” or a similar name in the list of discovered devices.
- Tap on the name of your Logitech Ultrathin Keyboard in the Bluetooth device list to initiate the connection.
- If prompted, enter the pairing code displayed on your iPad using the Logitech Ultrathin Keyboard and press Enter.
- Once the pairing is successful, your iPad will display a message confirming that the Logitech Ultrathin Keyboard is connected.
Connecting the Logitech Ultrathin Keyboard to your iPad allows you to utilize the full functionality of the keyboard for typing, navigating, and controlling your device. It establishes a seamless communication channel between the two, ensuring that your keystrokes are accurately registered and executed on the iPad.
By connecting the keyboard to your iPad, you’ll be able to enjoy the convenience and productivity of a physical keyboard while using your iPad. This is particularly helpful when working on documents, emails, or any other tasks that require extensive typing.
Now that you have successfully connected the Logitech Ultrathin Keyboard to your iPad, it’s time to move on to the final step of testing the keyboard functionality.
Step 6: Test the keyboard functionality
Once you have successfully connected the Logitech Ultrathin Keyboard to your iPad, it’s important to test its functionality to ensure that all the keys and features are working as expected. Follow these steps to test the keyboard functionality:
- Open a text editor or any application that allows you to type on your iPad.
- Begin typing on the Logitech Ultrathin Keyboard, and ensure that each keystroke is accurately registered on the iPad screen.
- Test various keys on the keyboard, including special function keys and media control keys, to ensure that they perform their designated functions.
- Check the responsiveness of the keyboard by typing at different speeds and with varying degrees of pressure.
- Try out different keyboard shortcuts, if applicable, to perform common tasks more efficiently.
Testing the functionality of the Logitech Ultrathin Keyboard is crucial to ensure that it meets your expectations and functions optimally. This step allows you to verify that all the keys are working correctly, minimizing the risk of any typing errors or missed keystrokes.
By testing the keyboard functionality, you can also familiarize yourself with the layout and features of the Logitech Ultrathin Keyboard. This will enable you to fully utilize its capabilities and maximize your productivity when typing on your iPad.
If you encounter any issues or inconsistencies during the functionality test, refer to the user manual provided by Logitech or seek online resources for troubleshooting steps. It’s essential to address any problems early on to enjoy a seamless typing experience.
Now that you have tested the keyboard functionality and are satisfied with its performance, you can start using the Logitech Ultrathin Keyboard for all your typing needs on your iPad.
Conclusion
Pairing your Logitech Ultrathin Keyboard with your iPad is a simple process that brings convenience, efficiency, and enhanced typing experience to your device. By following the steps outlined in this guide, you have successfully connected your Logitech Ultrathin Keyboard to your iPad via Bluetooth.
With the Logitech Ultrathin Keyboard, you can enjoy the benefits of a physical keyboard on your iPad, allowing for faster and more accurate typing. This sleek and portable keyboard is designed to provide a comfortable and responsive typing experience, enhancing your productivity and making tasks such as writing documents, emails, or engaging in online conversations effortless.
Remember to ensure that Bluetooth is enabled on your device, place the iPad in the designated slot, turn on the keyboard, put it in pairing mode, and connect it to your iPad. Finally, don’t forget to test the keyboard functionality to ensure it meets your expectations and works optimally.
Now that you have successfully paired your Logitech Ultrathin Keyboard with your iPad, you have unlocked a new level of convenience and productivity. Whether you are a student, professional, or someone who prefers the tactile feedback of a physical keyboard, this pairing process allows you to comfortably type wherever you go.
Make the most out of your Logitech Ultrathin Keyboard by exploring its features, utilizing keyboard shortcuts to perform tasks more efficiently, and enjoying a seamless typing experience on your iPad.
We hope this guide has been helpful in assisting you with pairing your Logitech Ultrathin Keyboard with your iPad. Start enjoying the benefits of a physical keyboard and elevate your typing experience on your iPad today!


