Introduction
Welcome to this guide on how to set up the Logitech C615 webcam. Whether you are a professional who needs a reliable and high-quality camera for video conferences, or you simply want to improve your video calls with friends and family, the Logitech C615 is a popular choice. With its easy plug-and-play functionality and advanced features, it is suitable for both novice users and tech-savvy individuals.
Setting up the Logitech C615 is a straightforward process, and in this guide, I will walk you through each step to ensure a smooth and successful installation. By the end, you will be able to enjoy crisp, clear video and audio during your virtual meetings or video calls.
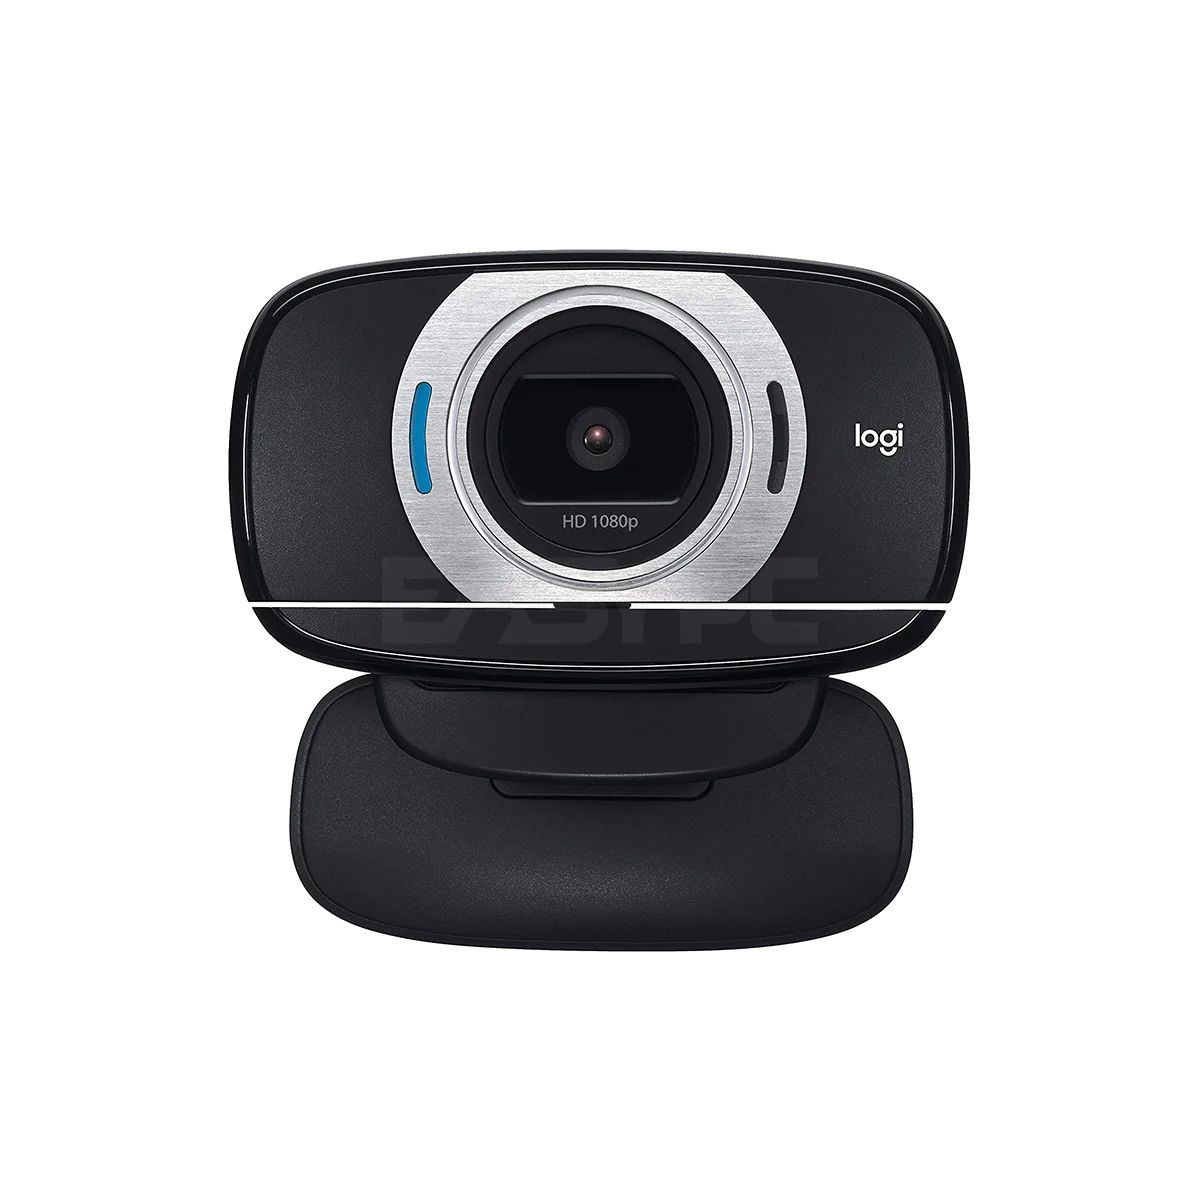
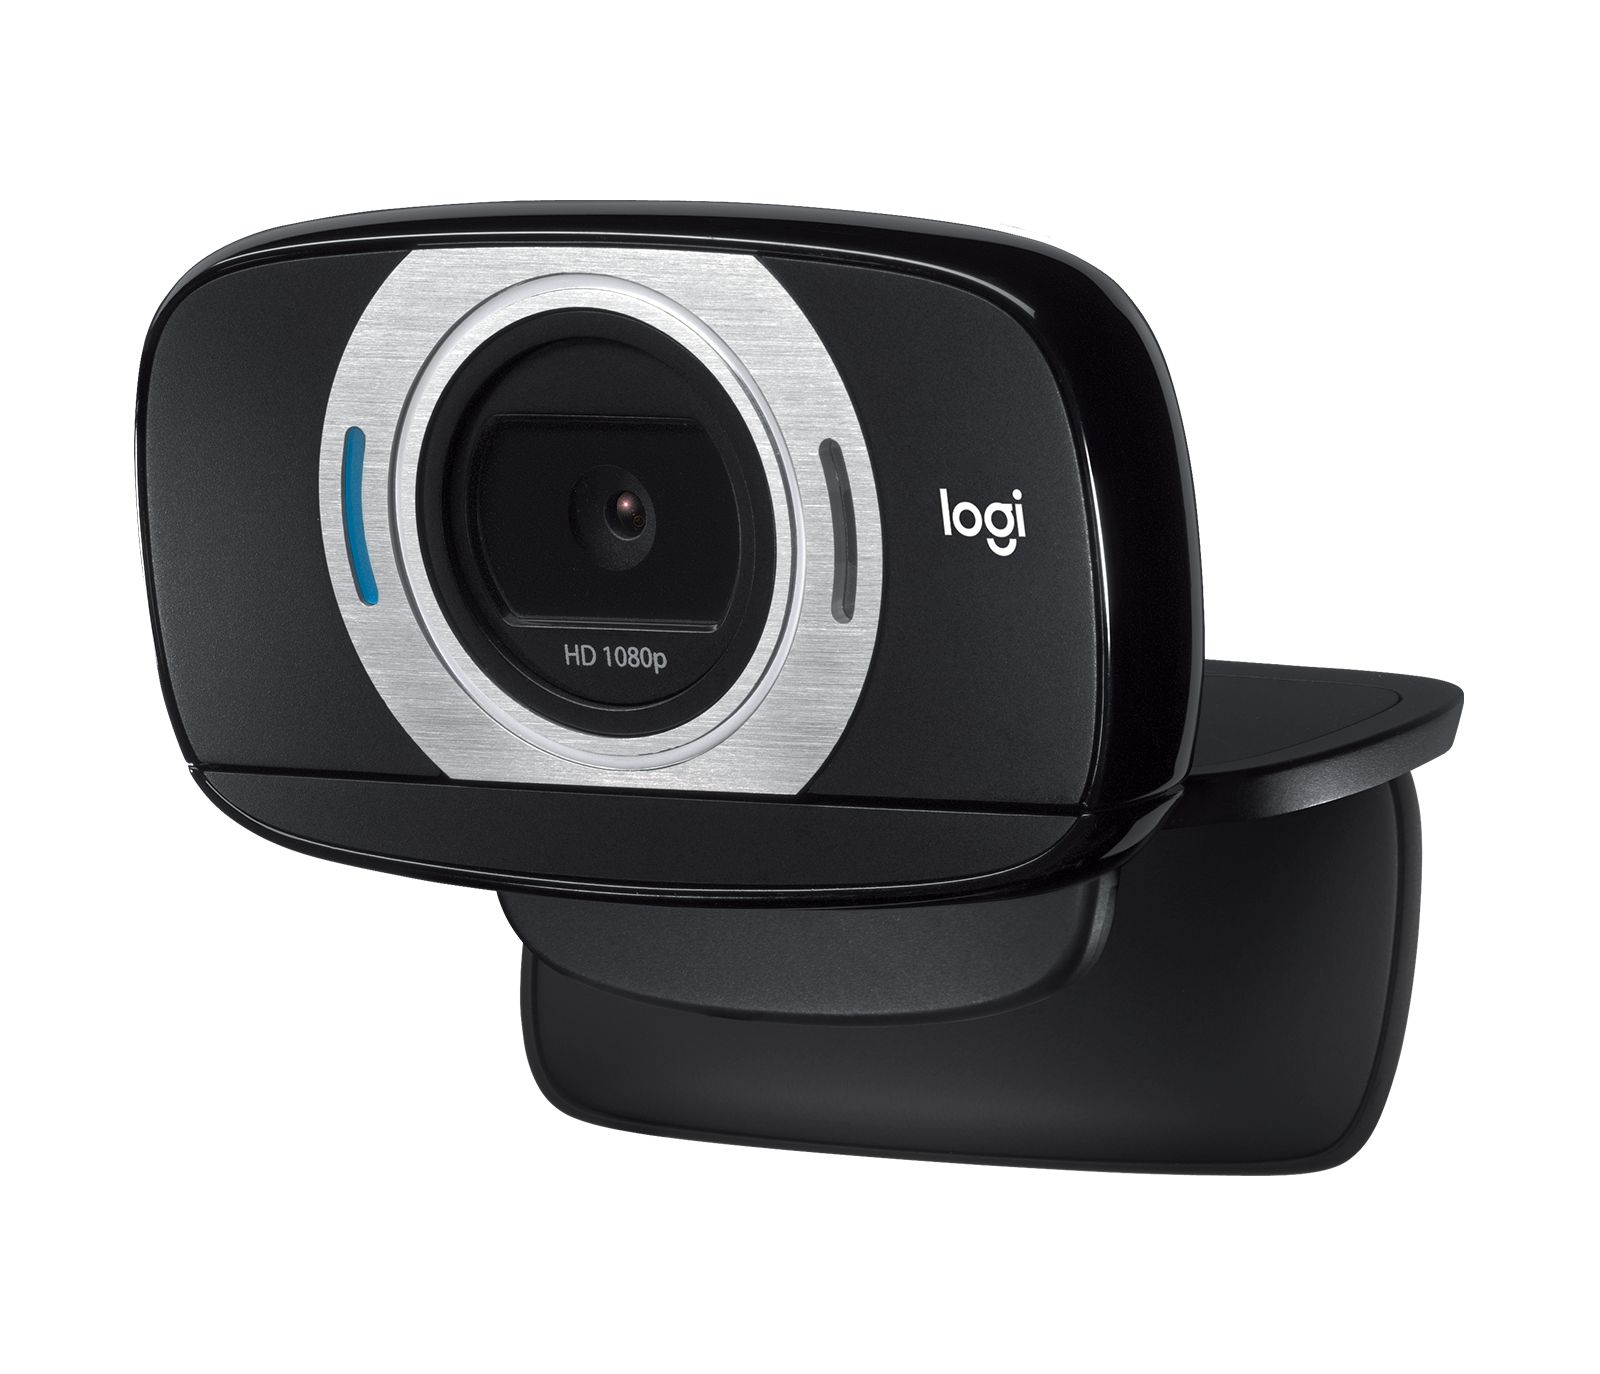
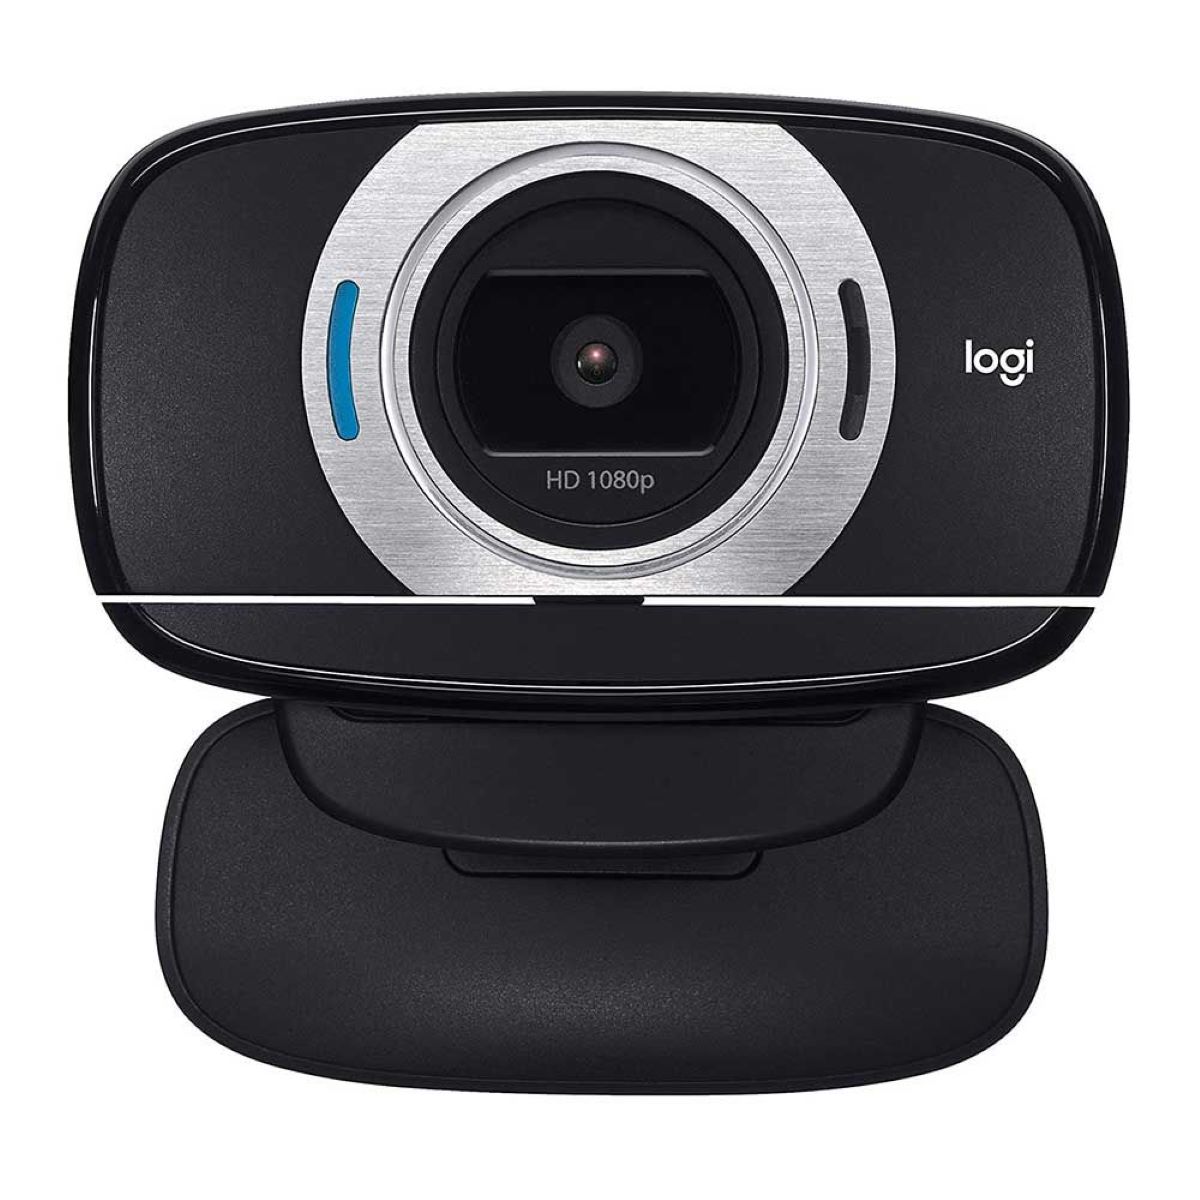
Before we dive into the setup process, let’s take a quick look at some of the key features of the Logitech C615. It boasts a Full HD 1080p resolution, allowing you to present yourself with exceptional clarity. The autofocus feature ensures that you stay in focus, even if you move around during your video calls. Additionally, the camera comes with a built-in microphone that captures your voice accurately, eliminating the need for an external microphone.
Whether you are using a Windows or Mac computer, the Logitech C615 is compatible with both operating systems. It connects via USB, making it convenient to use with laptops or desktop computers. With its versatile design, you can either place it on your desk or mount it on a tripod for more flexibility.
Now that we have acquainted ourselves with the Logitech C615 and its features, let’s get started with the setup process. Follow the steps carefully to ensure a hassle-free installation, and soon you will be enjoying the benefits of this powerful webcam.
Step 1: Unpacking the Logitech C615
Before you can begin the setup process, you need to unpack your Logitech C615 webcam. The package should include the webcam itself, a USB cable for connection, and any additional accessories that may have come with it.
Start by carefully opening the box and removing all the contents. Take a moment to inspect the webcam and accessories for any visible damage. If you notice any, it is important to contact the retailer or Logitech customer support for assistance.
Once you have ensured that everything is intact, connect the USB cable to the webcam. You will notice that one end of the cable has a standard USB connector, while the other end has a micro USB connector that plugs into the webcam.
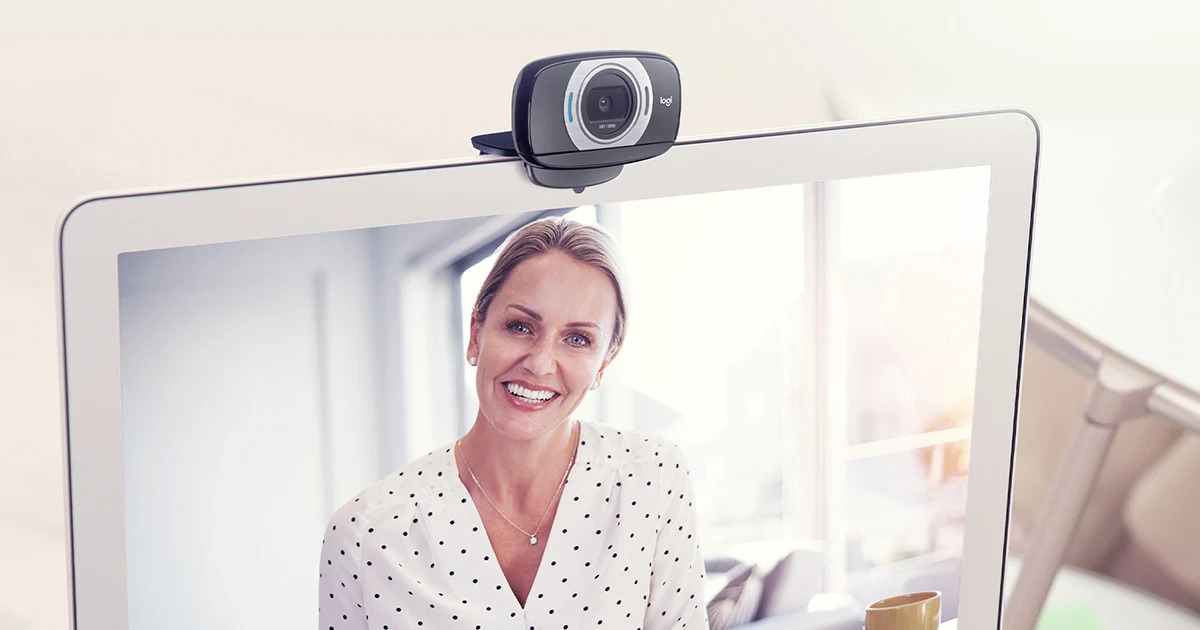
Now, choose a suitable location for your webcam. It is recommended to place it on top of your monitor or laptop screen for optimal positioning. The webcam comes with a clip that attaches securely to the screen, providing stability during use.
Make sure the area around your computer is well-lit so that the webcam can capture clear video. Additionally, ensure that the microphone is not obstructed by any objects and has a clear path for sound transmission.
With the webcam connected and in position, you are now ready to move on to the next step of the setup process. Keep the USB cable easily accessible, as you will need it for connecting the webcam to your computer.
Remember, proper handling and unpacking of the Logitech C615 webcam ensures that it remains in good condition and ready for use. Take your time to set up the webcam correctly, as this will contribute to a smooth installation process and a better overall experience with your Logitech C615.
Step 2: Connecting the Webcam to your Computer
Once you have unpacked the Logitech C615 webcam, the next step is to connect it to your computer. The Logitech C615 is compatible with both Windows and Mac operating systems, so regardless of which system you are using, the setup process remains the same.
Take the USB cable that came with the webcam and locate an available USB port on your computer. Insert the USB connector into the port securely. You will hear a notification sound, indicating that your computer has recognized the webcam.
It is important to note that if you are using a desktop computer, it is recommended to connect the webcam directly to one of the USB ports on the back of the computer. This ensures a more stable connection and reduces the risk of accidental disconnection during use.
For laptop users, connecting the Logitech C615 to a USB port on the side or back of your laptop is typically sufficient. Avoid using USB ports that are located too close to the edges, as this may result in a loose connection.
Once the webcam is connected, your computer will automatically detect the device and begin installing any necessary drivers. This process may take a few moments, so be patient and allow your computer to complete the installation.
Once the installation is complete, your computer will recognize the Logitech C615 webcam as a new device and it will be ready to use. You can now proceed to the next step of the setup process, which involves installing the Logitech Webcam Software to unlock the full potential of your webcam.
Remember to keep the USB cable connected throughout the setup process and while using the webcam. If you ever need to disconnect the webcam, make sure to safely remove it from your computer to avoid any potential data loss or damage to the device.
Now that the Logitech C615 webcam is successfully connected to your computer, you are one step closer to enjoying high-quality video calls and smooth video conferencing experiences. Let’s move on to the next step and install the Logitech Webcam Software.
Step 3: Installing the Logitech Webcam Software
After connecting the Logitech C615 webcam to your computer, the next crucial step is to install the Logitech Webcam Software. This software provides essential drivers and features that optimize the performance of your webcam and allow you to access advanced settings.
To begin the installation process, insert the installation CD that came with the Logitech C615 into your computer’s CD drive. If your computer does not have a CD drive, you can download the software directly from the Logitech website.
If the installation CD does not automatically run, browse the contents of the CD and locate the setup file. Double-click on the setup file to initiate the installation wizard. Follow the on-screen instructions to complete the installation process.
If you are downloading the software from the Logitech website, visit their official support page and search for the Logitech C615 webcam. Locate the appropriate software download for your operating system and click on the download link.
Once the software is downloaded, locate the file and double-click on it to start the installation process. Follow the prompts and instructions provided by the installation wizard to complete the installation.
During the installation, you may be asked to customize certain settings, such as the destination folder for the software installation. You can choose the default settings or modify them according to your preferences.
After the installation is complete, restart your computer to ensure that all changes are applied correctly. Once your computer has restarted, the Logitech Webcam Software will be ready to use.
To access the software, look for the Logitech Webcam Software icon either on your desktop or in the list of installed programs in the Start menu. Double-click on the icon to launch the software and gain access to the various features and settings available for your Logitech C615 webcam.
Now that you have successfully installed the Logitech Webcam Software, you can proceed to the next step of adjusting the camera settings to optimize your video calls and conferencing experiences.
Step 4: Adjusting Camera Settings
Now that you have installed the Logitech Webcam Software, it’s time to adjust the camera settings to ensure the best possible video quality. The Logitech C615 offers a range of customizable settings that allow you to fine-tune your camera according to your preferences and the specific lighting conditions of your environment.
To begin, open the Logitech Webcam Software by double-clicking on the software icon on your desktop or in the Start menu. The software interface will give you access to various settings and features for your webcam.
One of the key settings you will want to adjust is the resolution. The Logitech C615 supports Full HD 1080p resolution, but depending on your internet connection and computer processing power, you may need to choose a lower resolution to ensure smoother video streaming. Experiment with different resolutions to find the optimal balance between video quality and system performance.
In addition to resolution, you can also adjust aspects such as frame rate, autofocus, and exposure. The frame rate refers to the number of frames per second in your video feed. Higher frame rates result in smoother video, but it may require more processing power. Autofocus allows the camera to automatically adjust focus, ensuring that you remain sharp and clear during your video calls. Exposure control helps you fine-tune the brightness level, especially in different lighting conditions.
Furthermore, you can explore advanced settings such as white balance, zoom, and pan/tilt. White balance helps adjust the color temperature of your video feed, ensuring accurate and natural-looking colors. Zoom allows you to magnify specific areas of your video, while pan/tilt enables you to adjust the camera angle and perspective.
When adjusting these settings, it is recommended to conduct tests and preview the changes in real-time. This way, you can see the impact of each adjustment and make necessary refinements to achieve the desired video quality.
Once you have adjusted the camera settings to your satisfaction, make sure to save your changes. This ensures that the settings are applied each time you use the Logitech C615 webcam.
With the camera settings optimized, you are now ready to take full advantage of the Logitech C615 webcam’s capabilities. Additionally, if you wish to explore additional features and software for your webcam, proceed to the next step.
Step 5: Installing Additional Features and Software
In addition to the Logitech Webcam Software, the Logitech C615 offers additional features and software that can enhance your webcam experience. These features include video effects, face tracking, and compatibility with video conferencing applications. Installing these additional software and features will further enhance the capabilities of your Logitech C615 webcam.
To install the additional features, open the Logitech Webcam Software and navigate to the settings or options menu. Look for an option that allows you to install additional software or features. Click on this option to initiate the installation process.
You may be prompted to download and install additional software components, such as the Logitech Capture software. Logitech Capture is a powerful software that allows you to customize and create professional-looking videos with your Logitech webcam. It offers features such as recording, streaming, and advanced camera controls.
During the installation process, follow the on-screen instructions to complete the installation. Once installed, you can explore the additional features and settings provided by these software components.
If you are using video conferencing applications, such as Zoom, Microsoft Teams, or Skype, it is recommended to install the respective software provided by these applications. This ensures seamless integration between your webcam and the video conferencing software, allowing you to take full advantage of the Logitech C615’s capabilities.
By installing the additional features and software, you will have access to a wide range of tools to personalize your video calls, add special effects, and enhance your overall webcam experience. Experiment with these features and explore the different options to find what works best for you.
Remember to periodically check for software updates to ensure that your Logitech C615 webcam remains up-to-date with the latest features and improvements. Regular updates help maximize the performance and functionality of your webcam.
With the additional features and software installed, you are now ready to make the most out of your Logitech C615 webcam. Enjoy the enhanced video quality, added effects, and seamless integration with your favorite video conferencing applications.
Step 6: Troubleshooting Common Issues
While setting up and using the Logitech C615 webcam, you may encounter some common issues that can hinder your experience. Understanding how to troubleshoot these issues will help you overcome any challenges and ensure a smooth operation of your webcam. Here are some common issues you may encounter and their potential solutions:
1. Webcam not recognized or not functioning properly: If your computer does not recognize the Logitech C615 webcam or if it is not functioning as expected, try disconnecting the webcam and reconnecting it to a different USB port. If the issue persists, try connecting the webcam to another computer to determine whether the problem lies with the webcam or your computer. You can also try updating the Logitech Webcam Software or reinstalling the drivers.
2. Poor video or audio quality: If you are experiencing low-quality video or audio during your video calls, ensure that you have sufficient lighting in your environment. Adjust the camera settings, such as resolution, frame rate, autofocus, and exposure, to improve the quality. Check your internet connection speed as a slow connection may affect the video and audio quality. Also, make sure that your microphone is not blocked or muted, and adjust the microphone settings if necessary.
3. Compatibility issues with video conferencing applications: If you encounter compatibility issues with specific video conferencing applications, ensure that you have the latest version of the application installed on your computer. Check the Logitech website or the application’s support page to see if there are any known issues or updates for compatibility with your webcam model. You can also try reinstalling the application and restarting your computer.
4. Webcam freezing or lagging: If your webcam freezes or lags during video calls, check for any other applications or processes that may be using excessive system resources. Close any unnecessary applications and ensure that your computer meets the recommended system requirements for the Logitech C615. Consider upgrading your system’s RAM or processor if the issue persists.
5. Audio synchronization issues: If you notice a delay between the video and audio during your video calls, it could be due to latency in your internet connection. Try closing any other bandwidth-intensive applications or connecting to a faster internet connection. In some cases, the issue may be with the video conferencing application itself, so check for any available updates or contact the application’s support team for assistance.
If you continue to experience issues with your Logitech C615 webcam, it is advisable to visit the Logitech support website or reach out to their customer support for further assistance. They can provide specific troubleshooting steps based on your situation and help resolve any technical issues you may encounter.
By troubleshooting common issues, you can enjoy a seamless experience with your Logitech C615 webcam and make the most out of its features for your video calls, conferences, and online communications.
Conclusion
Setting up and using the Logitech C615 webcam is a straightforward process that can greatly enhance your video calls and conferencing experiences. By following the steps outlined in this guide, you have successfully unpacked the webcam, connected it to your computer, installed the necessary software, adjusted the camera settings, installed additional features, and troubleshooted common issues.
The Logitech C615 offers impressive features such as Full HD 1080p resolution, autofocus, and a built-in microphone, ensuring that you present yourself with exceptional clarity during your video calls. The versatile design allows you to easily mount the webcam on top of your monitor or laptop screen, providing stability and flexibility.
Remember to take the time to adjust the camera settings to best suit your preferences and lighting conditions. Experiment with different resolutions, frame rates, and exposure levels to optimize the video quality. Additionally, explore the additional features and software provided by Logitech to further enhance your webcam experience.
If you encounter any issues during the setup process or while using the webcam, refer to the troubleshooting steps provided in this guide or reach out to Logitech’s support team for assistance. They are there to help you overcome any challenges and ensure that your Logitech C615 webcam operates smoothly.
Now that you have completed the setup process and are familiar with the features and settings of the Logitech C615 webcam, you can confidently engage in video calls, virtual meetings, and online communications with superior video and audio quality.
Enjoy the benefits of the Logitech C615 webcam and elevate your online interactions to a new level of clarity and professionalism!