Introduction
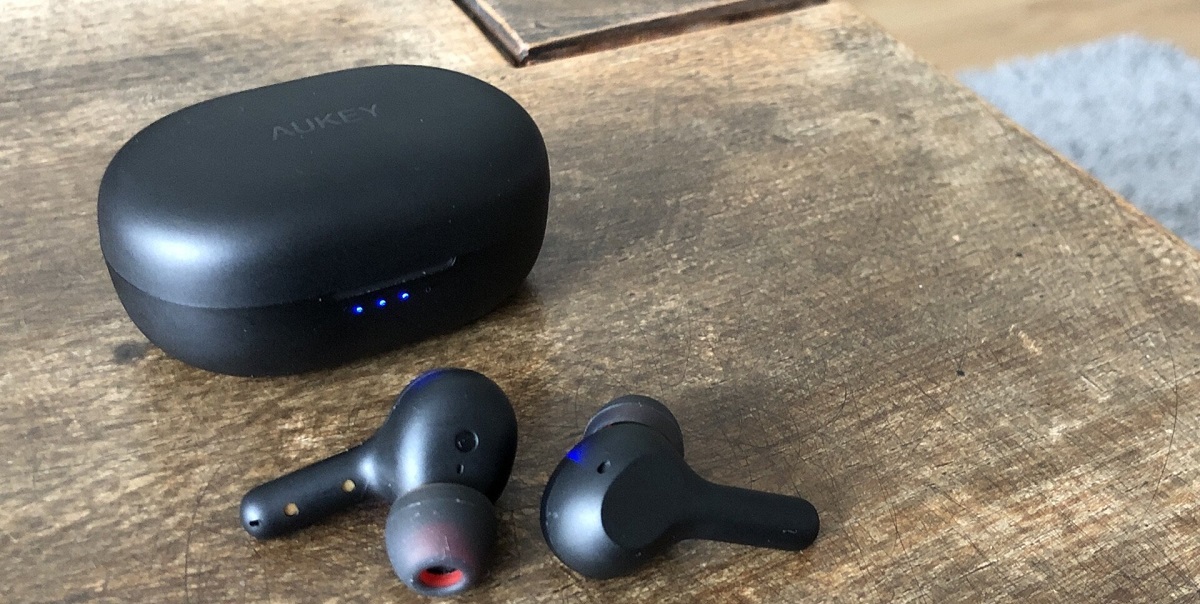
Welcome to this guide on how to pair earbuds to your Android device. If you have recently purchased a new pair of wireless earbuds and are unsure how to connect them to your Android smartphone or tablet, this article is here to help!
Wireless earbuds have become increasingly popular due to their convenience and freedom from tangled wires. They allow you to listen to music, podcasts, or take phone calls without the constraints of traditional wired headphones. The pairing process may seem complicated at first, but it is actually quite simple once you know the steps to follow.
In this guide, we will walk you through the step-by-step process of pairing your earbuds with your Android device. Whether you have just unboxed a brand new pair of earbuds or you are reconnecting them after a reset, the instructions provided will ensure a smooth and hassle-free pairing experience.
Note that the specific steps may vary slightly depending on the make and model of your earbuds, as well as the version of the Android operating system on your device. However, the general process remains the same across most devices, making this guide applicable to various earbud and Android device combinations.
So, without further ado, let’s dive into the pairing process and get you connected to your favorite audio content in no time!
Step 1: Put Earbuds into Pairing Mode
The first step in pairing your earbuds with your Android device is to put your earbuds into pairing mode. This mode allows your earbuds to be discovered by your Android device during the pairing process. While the exact method may differ depending on the brand and model of your earbuds, the following general steps should help you put your earbuds into pairing mode:
- Turn on your earbuds: Check if your earbuds are powered on. If they are not, consult the manual for instructions on how to turn them on. Typically, you can accomplish this by pressing and holding the power button until you see an indication that the earbuds are powered on.
- Activate pairing mode: Once your earbuds are powered on, you’ll need to activate the pairing mode. This differs between earbud models, but often involves pressing and holding a specific button or a combination of buttons on your earbuds. Consult the manual for your specific earbud model to find the correct method for activating pairing mode. Some earbuds may enter pairing mode automatically when they are turned on.
- Confirmation indications: When your earbuds enter pairing mode, you may see an LED light flashing or hear a voice prompt indicating that they are ready to be paired. This confirms that your earbuds are in the correct mode for pairing.
It is important to note that the process for putting earbuds into pairing mode may vary. Therefore, it is crucial to consult the manual that came with your earbuds to ensure you are following the correct steps.
Once your earbuds are in pairing mode, you are ready to move on to the next step: opening the Bluetooth settings on your Android device. So, let’s proceed to step 2!
Step 2: Open Bluetooth Settings on Android Device
After putting your earbuds into pairing mode, you need to open the Bluetooth settings on your Android device. This will allow your device to search for and connect to the earbuds. Here’s how you can open the Bluetooth settings on your Android device:
- Unlock your Android device: If your device is currently locked, unlock it by entering your passcode, pattern, or using the fingerprint scanner.
- Access the Settings menu: Locate and open the Settings app on your device. The app icon typically resembles a gear or a set of sliders. You can usually find it in the app drawer or by swiping down from the top of the display and tapping on the gear icon in the notification panel.
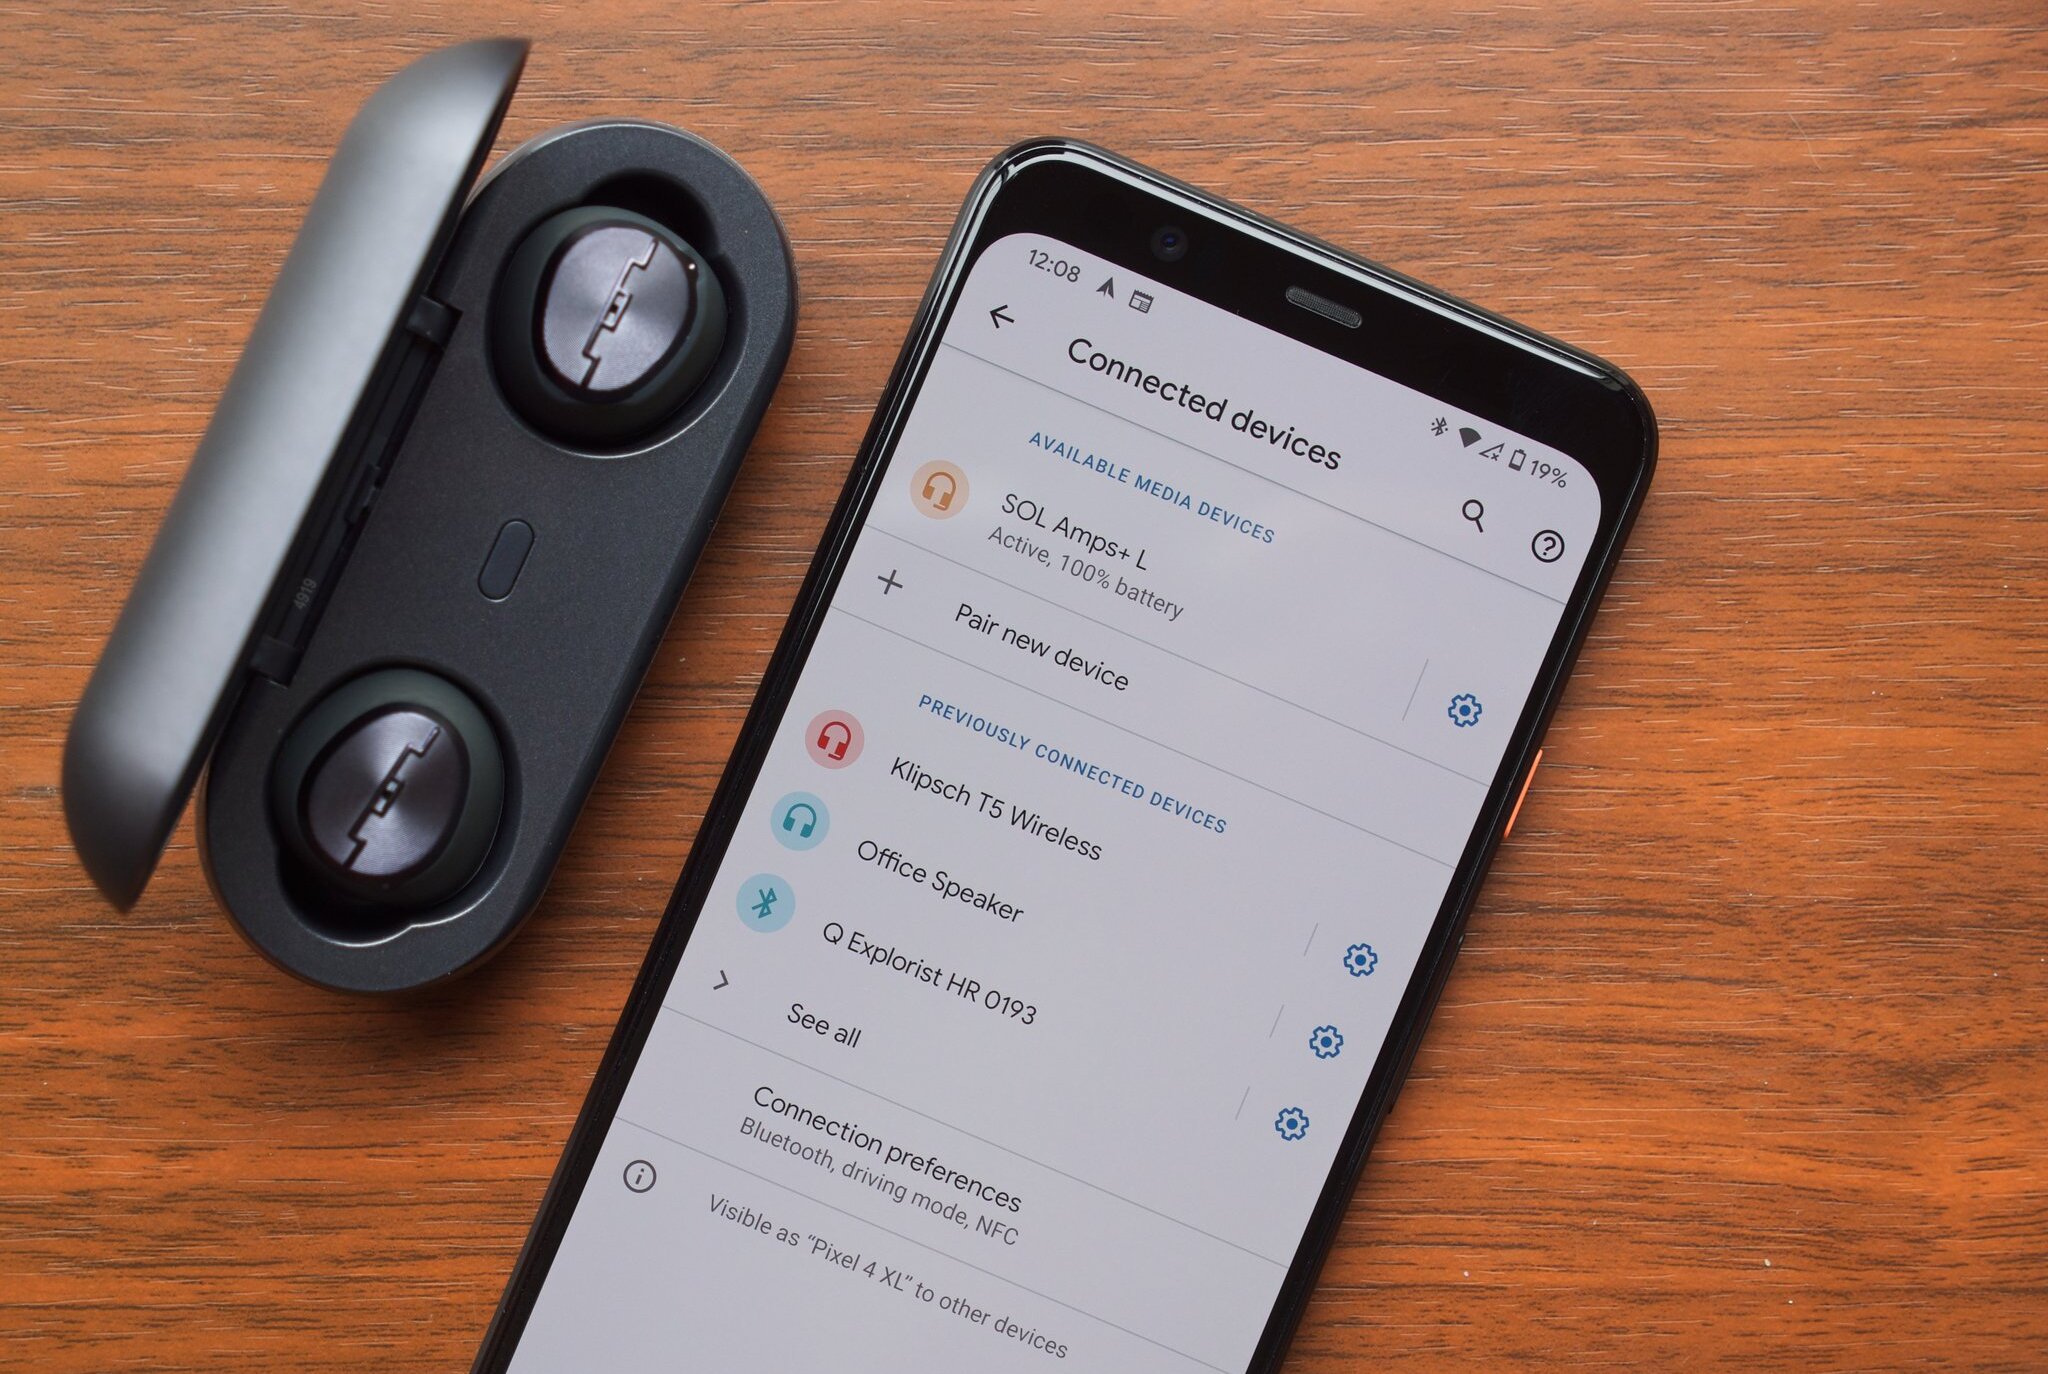
- Navigate to the Bluetooth settings: Inside the Settings menu, look for the “Bluetooth” option. On most Android devices, it is represented by a Bluetooth icon or a toggle switch. Tap on the Bluetooth option to access the Bluetooth settings.
Once you have successfully opened the Bluetooth settings, you are ready to move on to the next step: scanning for available devices. This will enable your Android device to find and display the available earbuds for pairing. So, let’s proceed to step 3!
Step 3: Scan for Available Devices
After opening the Bluetooth settings on your Android device, you need to scan for available devices. This process will allow your device to search for and display the earbuds that are ready to be paired. Here’s how you can scan for available devices on your Android device:
- Inside the Bluetooth settings, ensure that the Bluetooth toggle switch is turned on. If it’s already enabled, you can proceed to the next step. Otherwise, toggle it on to activate the Bluetooth functionality on your device.
- Tap on the “Scan” or “Search for Devices” option. This will initiate the scanning process and prompt your device to search for nearby Bluetooth devices.
- Wait for the scan to complete. Your Android device will start searching for available devices, including your earbuds that are currently in pairing mode. This process may take a few seconds to a minute, depending on your device and the number of devices in the vicinity.
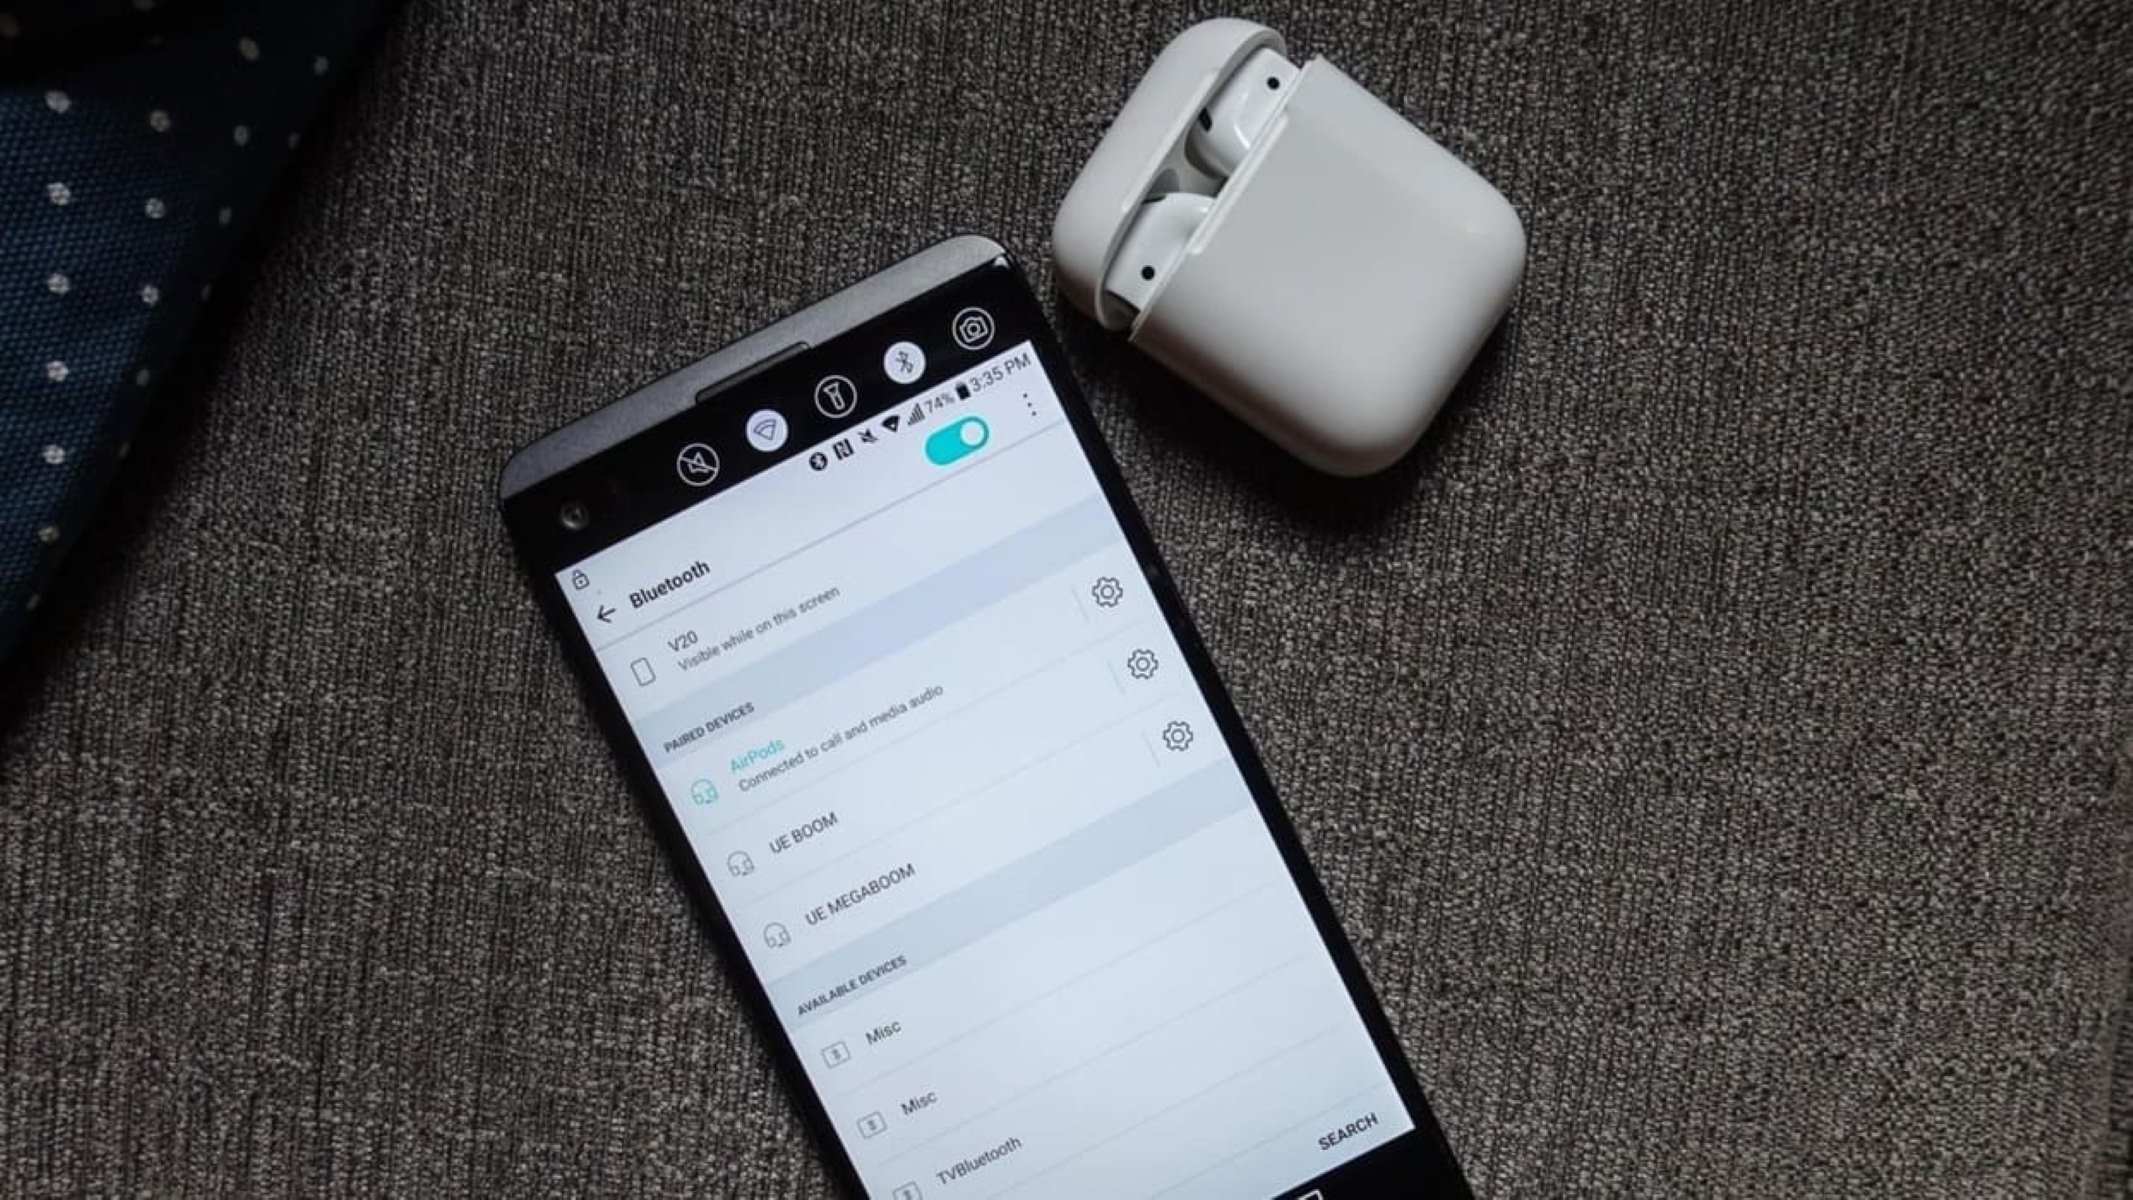
Once the scan is complete, your Android device will display a list of available devices that it has discovered, including your earbuds. Typically, the earbuds will appear in the list with their respective brand or model names. At this point, you are ready to move on to the next step: selecting your earbuds from the list. So, let’s proceed to step 4!
Step 4: Select the Earbuds from the List
After scanning for available devices, your Android device will display a list of discovered devices, including your earbuds. In this step, you need to select your earbuds from the list to establish a connection. Here’s how you can select your earbuds from the list on your Android device:
- Look for your earbuds in the list of available devices. The list may include other Bluetooth devices such as headphones, speakers, or smartwatches, so make sure to locate your earbuds by their brand or model name.
- Tap on the name of your earbuds in the list. This will initiate the pairing process and prompt your Android device to establish a connection with the selected earbuds.
- Wait for the pairing process to complete. Your Android device will attempt to pair with the selected earbuds. During this process, you may see a loading or connecting indicator, and your earbuds might emit a sound or flash an LED light to indicate the connection status.
- Once the pairing process is successful, your Android device will display a confirmation message or the earbuds will emit a tone or show a steady LED light. This indicates that the connection has been established between your device and the earbuds.
Now that your earbuds are successfully paired and connected to your Android device, you can proceed to the final step: completing the pairing process. So, let’s move on to step 5!
Step 5: Complete the Pairing Process
After selecting your earbuds from the list and establishing a connection with your Android device, you need to complete the pairing process. This final step ensures that the earbuds are fully integrated with your device and ready to use. Here’s how you can complete the pairing process on your Android device:
- Once the pairing process is successful, your Android device will display a confirmation message or indicator. This may include the name of your earbuds and a message indicating that the pairing was successful. You may also see an icon or status in the Bluetooth settings to show that the earbuds are connected.
- Test the connection: To ensure that the pairing process was successful, you can test the connection by playing some audio or making a phone call. If the earbuds are working properly, you should be able to hear the audio through them. Adjust the volume on your Android device or on the earbuds, if necessary.
- Enjoy your earbuds: Congratulations! Your earbuds are now successfully paired and connected to your Android device. You can now enjoy your favorite music, podcasts, or phone calls without the hassle of wires.
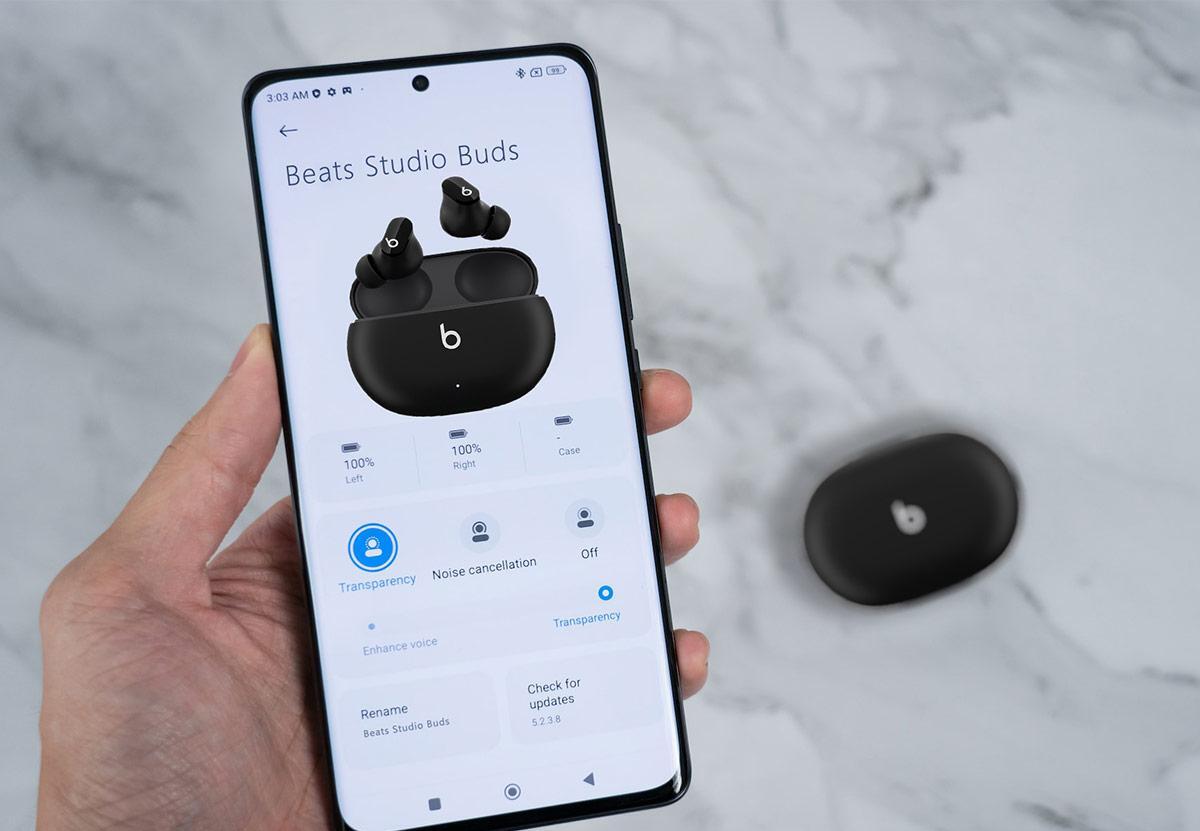
It’s worth noting that some earbuds may have additional features or customization options that you can explore. This could include using companion apps, adjusting EQ settings, or managing touch gestures. Consult the manual or the manufacturer’s website for more information on how to maximize the functionality of your specific earbuds.
With the pairing process complete, you are all set to make the most of your wireless earbuds with your Android device. If you encounter any issues or difficulties during the process, refer to the troubleshooting tips section for possible solutions. Happy listening!
Troubleshooting Tips
While pairing your earbuds to your Android device is generally a straightforward process, you may encounter some hiccups along the way. Here are a few troubleshooting tips to help you overcome common pairing issues:
- Ensure Bluetooth is enabled: Double-check that the Bluetooth functionality is turned on in both your earbuds and your Android device. If either one is not activated, the pairing process will not succeed.
- Restart your devices: Sometimes a simple restart can resolve connectivity issues. Try turning off both your earbuds and your Android device, then turn them back on and attempt the pairing process again.
- Verify device compatibility: Check that your earbuds and Android device are compatible with each other. Consult the manual or the manufacturer’s website for specific compatibility information.
- Reset the earbuds: If you are experiencing persistent pairing problems, you may need to reset your earbuds to factory settings. Consult the manual for instructions on how to perform a reset.
- Update firmware/software: Ensure that both your earbuds and Android device have the latest firmware or software updates installed. Outdated software can sometimes cause compatibility issues.
- Clear paired devices list: If you have previously paired your earbuds with other devices, there might be interference. Go to your Android device’s Bluetooth settings and remove any old or unused paired devices.
- Move closer and reduce interference: If the connection is weak or distorted, try bringing your Android device closer to the earbuds and removing any potential sources of interference, such as other electronics or walls.
- Contact customer support: If you have followed all troubleshooting tips and are still unable to pair your earbuds, reach out to the customer support of the earbuds manufacturer for further assistance.
Remember, every earbud model and Android device may have different troubleshooting steps. Refer to the manual or the manufacturer’s website for device-specific troubleshooting guides if available.
By following these troubleshooting tips, you should be able to resolve most pairing issues and enjoy a seamless connection between your earbuds and Android device. Now, go ahead and immerse yourself in your audio experience!
Conclusion
Pairing your earbuds to your Android device is a simple process that opens up a world of wireless audio possibilities. With the steps outlined in this guide, you can easily connect your earbuds to your Android smartphone or tablet and enjoy your favorite music, podcasts, and phone calls without the hassle of tangled wires.
From putting your earbuds into pairing mode to completing the pairing process, each step is crucial in establishing a seamless connection between your earbuds and Android device. Remember to consult the manual that came with your earbuds for specific instructions tailored to your device model.
In the event that you encounter any issues during the pairing process, the troubleshooting tips provided can help you overcome common hurdles and ensure a successful connection. Don’t hesitate to reach out to customer support if you need further assistance.
Now, armed with the knowledge and understanding of how to pair earbuds to your Android device, you can enjoy the freedom and convenience of wireless audio in your everyday life. So, go ahead, put on your earbuds, and immerse yourself in the music that moves you!


