Introduction
Overclocking your CPU can be a thrilling way to unlock its maximum potential and squeeze out every ounce of performance. And when it comes to overclocking, one tool that stands out is MSI Afterburner. Whether you’re a gamer, content creator, or just a tech enthusiast, MSI Afterburner provides a user-friendly interface and powerful capabilities to push your CPU to its limits.
But before we dive into the details of utilizing MSI Afterburner to overclock your CPU, let’s first understand what overclocking really means. In simple terms, overclocking involves running your CPU at a higher clock speed than the manufacturer’s specified limit. By doing so, you can experience significant performance gains in tasks that require heavy CPU utilization.
Why would you want to overclock your CPU? Well, for gamers, a higher clock speed can result in smoother gameplay and faster loading times. Content creators can benefit from reduced rendering times and improved multitasking capabilities. In essence, overclocking your CPU can breathe new life into your system and give you a competitive edge.
So, why choose MSI Afterburner for your overclocking needs? The answer lies in the extensive features and versatility that this software offers. MSI Afterburner not only allows you to fine-tune your CPU’s clock speed, but it also provides controls for voltage, fan speed, and monitoring various performance metrics. Additionally, MSI Afterburner is compatible with a wide range of CPUs and GPUs, making it a popular choice among tech enthusiasts and professionals.
Before we proceed any further, it’s important to note that overclocking your CPU comes with some inherent risks. The increased voltage and heat generated can potentially shorten the lifespan of your CPU and even cause system instability if not done correctly. Therefore, it’s crucial to take the necessary precautions and follow a systematic approach when overclocking.
In this guide, we will provide a step-by-step walkthrough on how to overclock your CPU using MSI Afterburner. We’ll also discuss monitoring and testing your CPU’s performance and provide troubleshooting tips to address any issues that may arise.
So, if you’re ready to unleash the full power of your CPU and take your system performance to new heights, let’s jump right into the world of overclocking with MSI Afterburner!
What is CPU Overclocking?
CPU overclocking is the process of increasing the clock speed of a computer’s central processing unit (CPU) beyond its factory-set limits. The clock speed of a CPU determines how many instructions it can execute per second, and by overclocking, users can achieve higher performance levels than what the CPU was designed for.
At its core, overclocking is about extracting additional performance from your CPU by making it run at a faster frequency. Typically, CPUs are designed with a base clock speed that is considered stable and reliable. However, this base clock speed can be increased using various software tools like MSI Afterburner.
By increasing the clock speed, the CPU can complete more tasks in a given amount of time, resulting in improved overall system performance. This can be especially beneficial for tasks that heavily rely on CPU power, such as gaming, video editing, 3D rendering, and other CPU-intensive applications.
It’s important to note that not all CPUs are created equal, and not all CPUs can be overclocked to the same extent. Some CPUs have higher overclocking potential, while others may not be able to achieve significant gains. Additionally, overclocking requires adequate cooling solutions to manage the increased heat generated by the CPU.
There are two primary methods of CPU overclocking: adjusting the base clock (BCLK) and changing the multiplier. The base clock is the fundamental frequency that determines the overall speed of the CPU, while the multiplier controls the ratio of the CPU’s internal clock to the base clock.
When overclocking, users can either increase the base clock to achieve a higher frequency with a fixed multiplier or raise the multiplier to achieve a higher frequency while keeping the base clock unchanged. Each method has its advantages and disadvantages, and the choice depends on the specific CPU and motherboard you are using.
It’s worth mentioning that overclocking your CPU comes with some risks. The increased clock speeds and voltage can generate more heat, potentially leading to instability and increased power consumption. This is why it’s crucial to have adequate cooling solutions, such as a high-quality CPU cooler, to maintain stable operation and prevent overheating.
While overclocking offers the potential for improved performance, it’s important to approach it with caution and always monitor system temperatures and stability. Additionally, it’s essential to understand that overclocking can void warranties, so proceed at your own risk.
In summary, CPU overclocking is the process of pushing your CPU beyond its factory-set limits to achieve higher clock speeds and improved performance. With the right tools, such as MSI Afterburner, and proper precautions, users can unlock their CPU’s full potential and experience a noticeable boost in system performance.
Why Overclock CPU with MSI Afterburner?
When it comes to overclocking your CPU, there are several software options available. However, MSI Afterburner stands out as a popular choice due to its extensive features, user-friendly interface, and compatibility with a wide range of CPUs and GPUs. Let’s explore why MSI Afterburner is a top choice for overclocking enthusiasts.
1. Wide Compatibility: MSI Afterburner is compatible with a variety of CPUs and GPUs, making it accessible to a wide range of users. Whether you have an Intel or AMD CPU, MSI Afterburner provides the necessary tools to tweak and optimize your CPU’s performance.
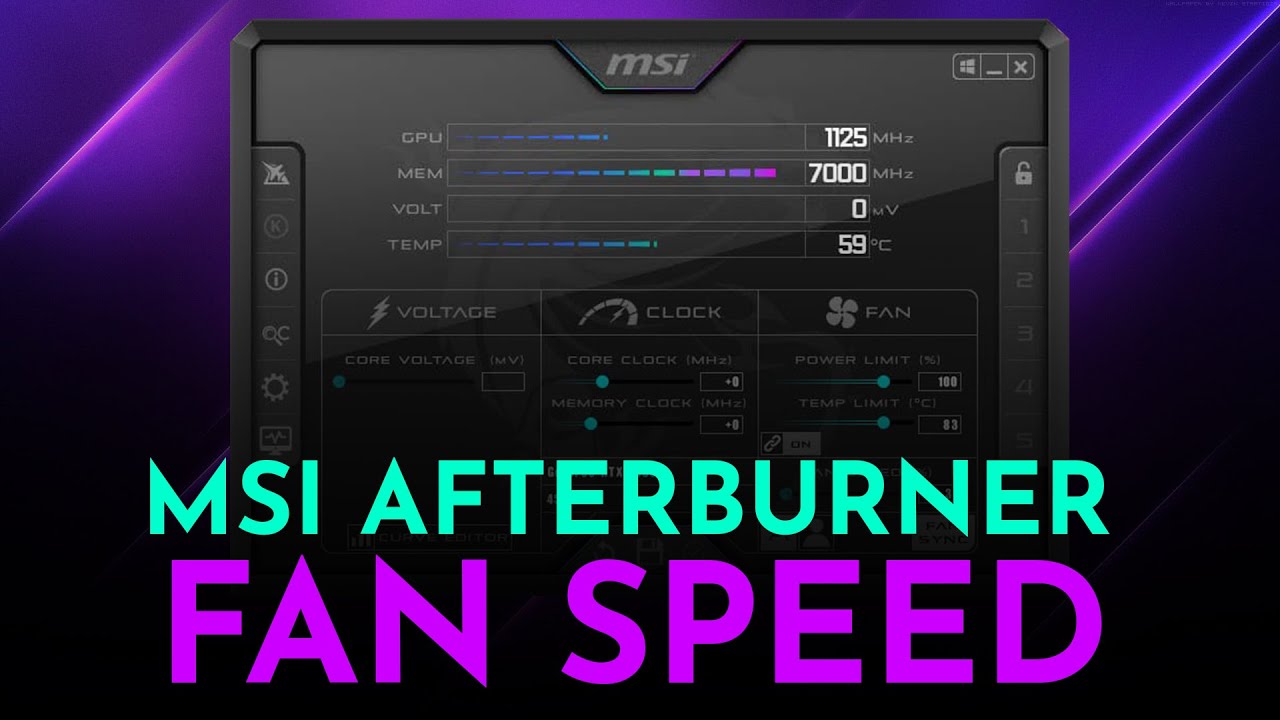
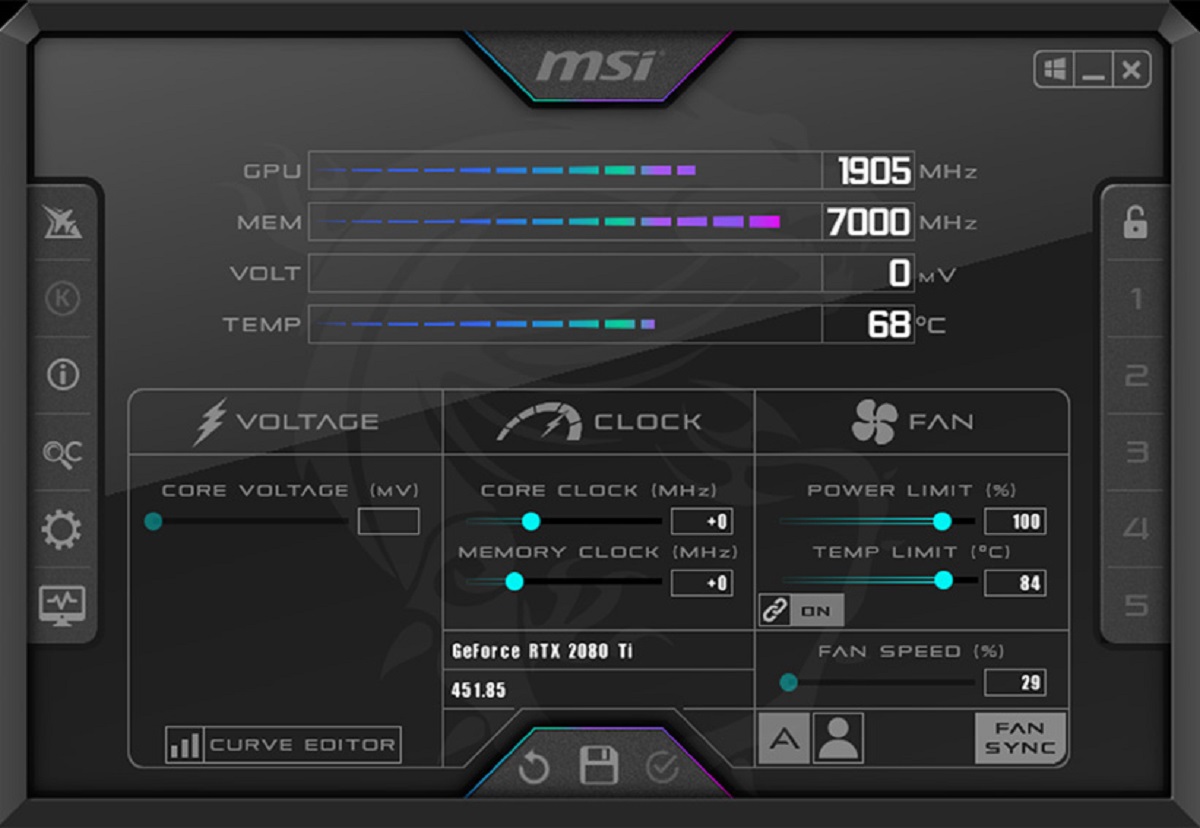
2. User-Friendly Interface: MSI Afterburner offers a clean and intuitive interface that allows users to easily adjust clock speeds, voltages, and fan speeds. Its straightforward layout makes it suitable for both beginners and advanced users, providing a seamless overclocking experience.
3. Fine-Tuning Controls: With MSI Afterburner, you have precise control over various settings to fine-tune your CPU’s performance. You can adjust the clock speeds, voltages, and fan speeds to optimize the balance between performance and temperature. This level of control ensures that you can push your CPU to its maximum potential without sacrificing stability.
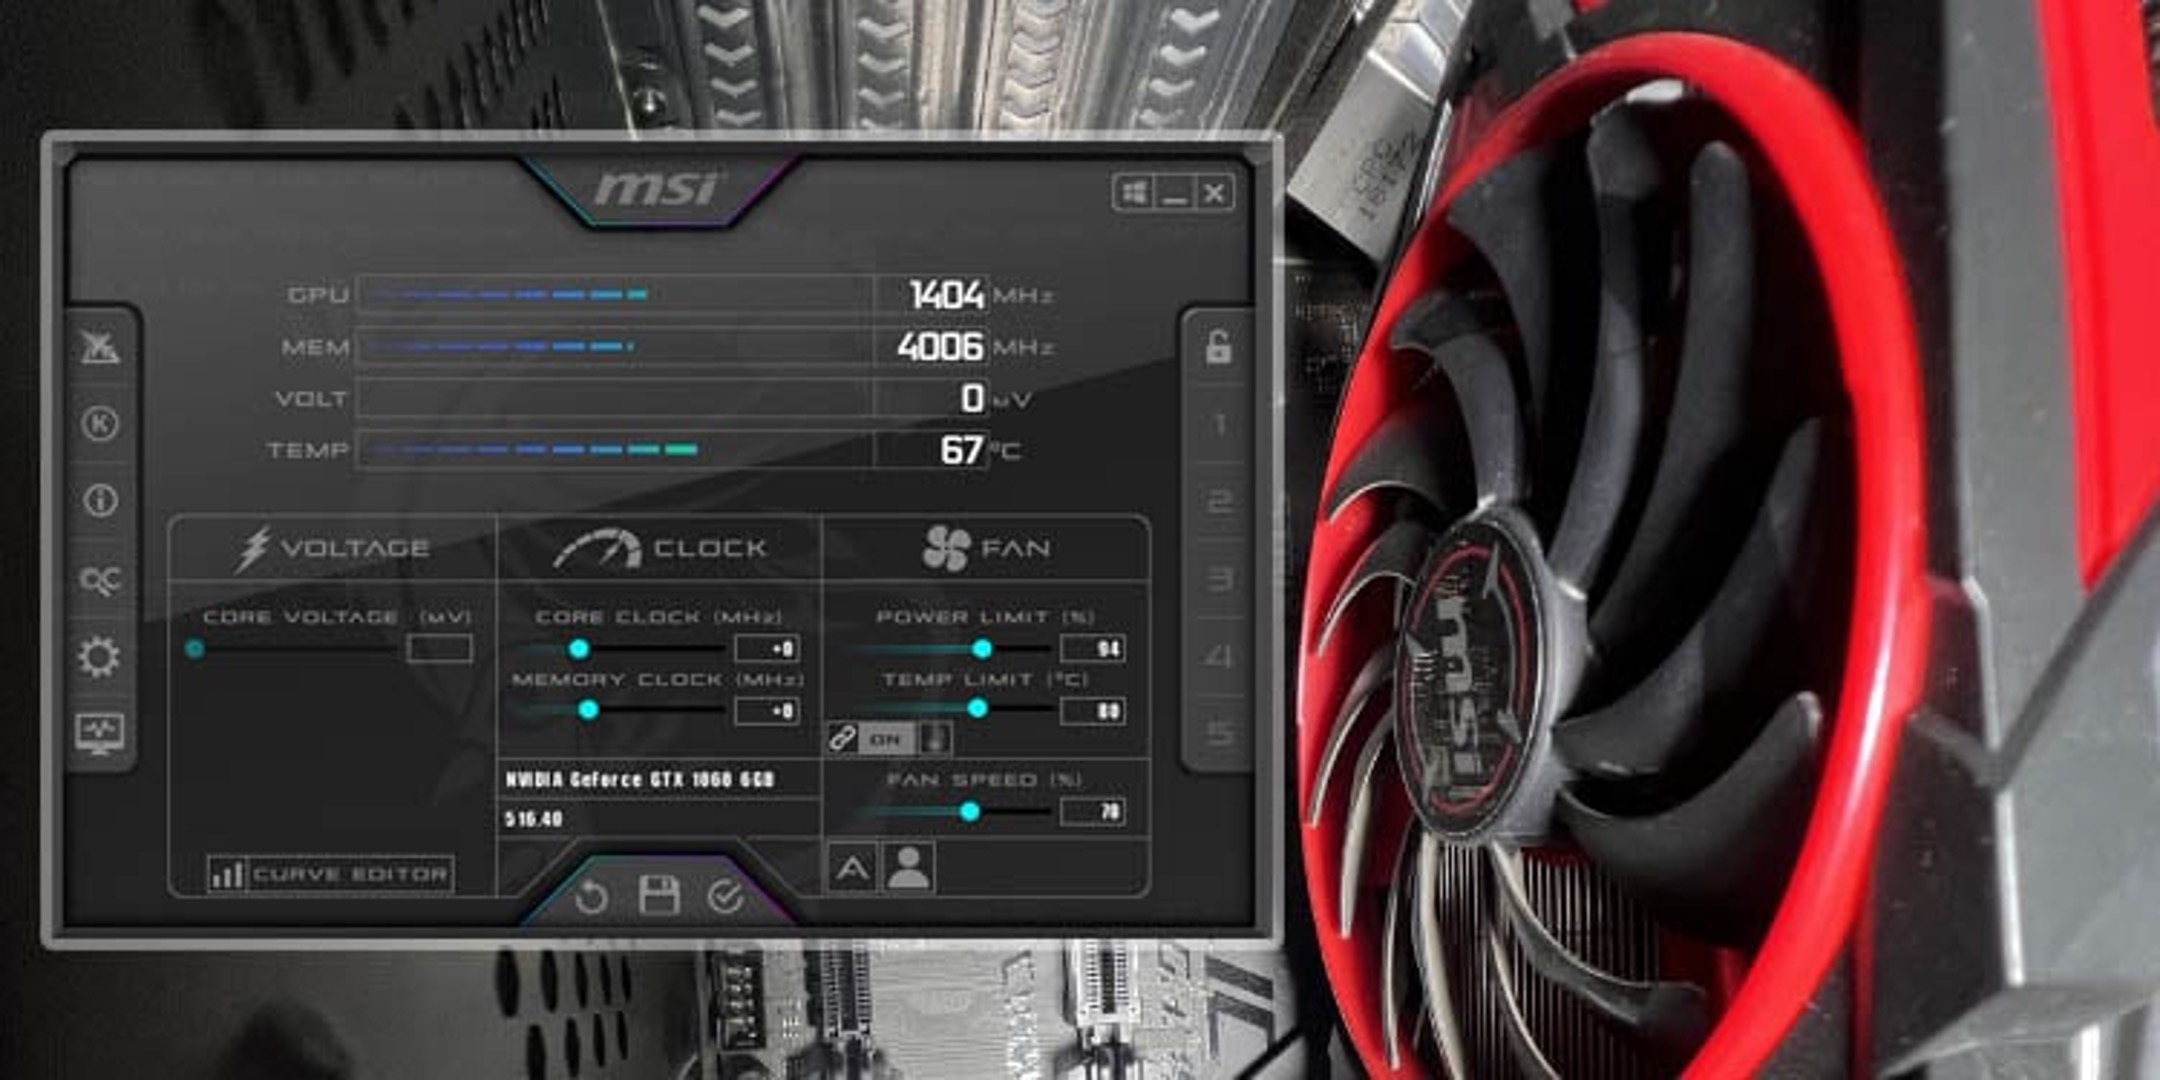
4. Real-Time Monitoring: MSI Afterburner offers real-time monitoring of critical performance metrics, such as temperature, usage, clock speeds, and voltages. This allows you to keep a close eye on your CPU’s health and detect any issues that may arise during overclocking. The monitoring feature provides valuable insights to help you make informed adjustments and ensure the stability of your system.
5. Profile Management: MSI Afterburner allows you to save multiple profiles, enabling you to switch between different overclocking settings with ease. This feature is particularly useful if you have specific profiles for different applications or if you want to experiment with different settings without losing your stable configurations.
6. Customization and Skin Support: MSI Afterburner offers customization options and skin support, allowing users to personalize the appearance of the software. You can choose from various skins or even create your own, adding a touch of personalization and uniqueness to your overclocking experience.
7. Active Community and Updates: MSI Afterburner has a robust community of users and enthusiasts, providing an active support network to help you troubleshoot issues and share tips and tricks. The software is regularly updated, ensuring compatibility with the latest CPUs and GPUs, as well as introducing new features and improvements to enhance the overclocking experience.
Overall, MSI Afterburner offers a comprehensive set of features and a user-friendly interface, making it an excellent choice for CPU overclocking. Its compatibility with various CPUs, fine-tuning controls, real-time monitoring, profile management, customization options, and active community support solidify its position as a top-notch overclocking tool.
Precautions before Overclocking
Overclocking your CPU can yield significant performance gains, but it’s important to take certain precautions to ensure a safe and successful overclocking experience. Before diving into the world of overclocking with MSI Afterburner, make sure to follow these essential precautions:
1. Adequate Cooling: Overclocking generates more heat, so it’s crucial to have proper cooling solutions in place. Invest in a high-quality CPU cooler, ensure good airflow in your system, and monitor CPU temperatures during overclocking. Excess heat can lead to instability and even damage your CPU if not properly managed.
2. Stable Power Supply: A stable and reliable power supply is essential for overclocking. Ensure that your power supply unit (PSU) has enough wattage to support the increased power demands of the overclocked CPU. Instability due to insufficient power can cause system crashes and damage to your hardware.
3. Update BIOS and Drivers: Ensure that your motherboard BIOS and CPU drivers are up to date. Updated drivers and BIOS versions often provide better compatibility and stability, which is crucial when overclocking. Visit the manufacturer’s website to download the latest updates for your specific hardware.
4. Research and Knowledge: Before overclocking, educate yourself about your specific CPU model’s overclocking potential and limitations. Understand the underlying architecture, cooling requirements, and safe voltage levels. Be aware that not all CPUs can achieve the same overclocking results, so manage your expectations accordingly.
5. Incremental Overclocking: When overclocking, take a cautious and systematic approach. Start with conservative overclocking settings and gradually increase the clock speed, testing stability and temperature levels at each step. This method allows you to find the optimal balance between performance and stability without pushing your CPU too hard too soon.
6. Stress Testing: After applying overclocking settings, it is essential to stress test your CPU to ensure stability. Use tools like Prime95 or AIDA64 to measure the performance, temperature, and stability of the overclocked CPU under heavy workloads. If your system crashes or encounters errors during stress testing, reconsider your overclocking settings.
7. Backup and Reset: Before overclocking, back up any important files and settings as a precaution. In some cases, unstable overclocking can lead to system crashes or data corruption. Having a backup allows you to revert to stable settings or restore your system in case of any issues.
8. Understand the Risks: Overclocking your CPU can void warranties and potentially damage your hardware if done improperly. Proceed with caution and understand the risks involved. Keep in mind that each CPU is unique, and the results of overclocking may vary.
By following these precautions, you can minimize the risks associated with overclocking and enjoy a stable and successful overclocking experience with MSI Afterburner. Remember, overclocking should be approached with care and patience to ensure the longevity and performance of your CPU.
Step-by-step Guide to Overclock CPU using MSI Afterburner
If you’re ready to unleash the full potential of your CPU and achieve higher performance levels, follow this step-by-step guide on how to overclock your CPU using MSI Afterburner:
Step 1: Install MSI Afterburner: Download and install the latest version of MSI Afterburner from the official MSI website. Ensure that you have the appropriate version compatible with your CPU and operating system.
Step 2: Backup Your System: Before overclocking, back up your important files and settings. Overclocking can potentially cause system instability, and having a backup ensures that you can revert to stable settings if needed.
Step 3: Understand your CPU: Research your CPU model to understand its base clock speed, voltage limits, and potential for overclocking. Each CPU is different, so it’s important to familiarize yourself with the specific characteristics of your CPU.
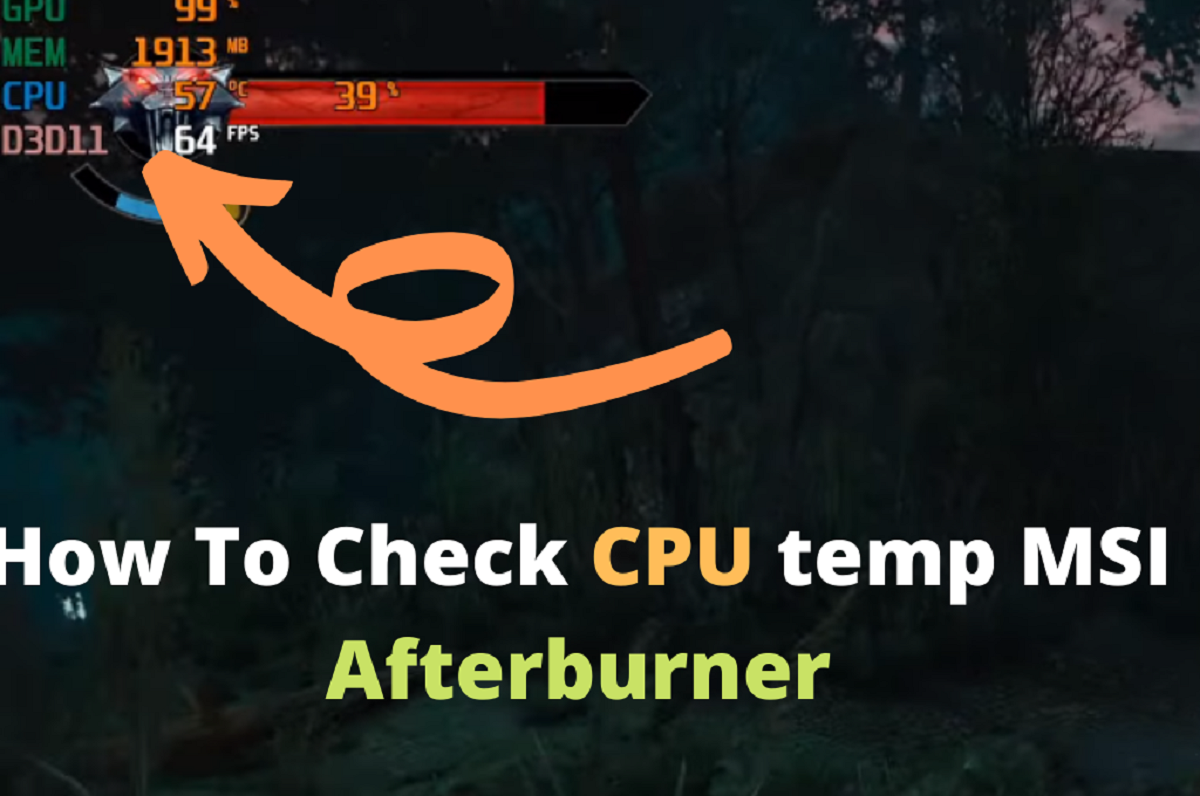
Step 4: Monitor Temperatures: Launch MSI Afterburner and familiarize yourself with the monitoring features. Keep an eye on CPU temperatures during overclocking to ensure they are within safe limits. Excessive heat can impact stability and longevity.
Step 5: Start with Base Clock: In MSI Afterburner, locate the base clock settings. Incrementally increase the base clock by small increments, such as 5-10MHz, and apply the changes. Test for stability and monitor temperatures after each increment to ensure your system remains stable.
Step 6: Test Stability: After adjusting the base clock, stress test your CPU using software like Prime95 or AIDA64. Monitor temperatures and run the stress test for an extended period to ensure stability. If your system crashes or encounters errors, reduce the base clock or adjust other settings.
Step 7: Adjust CPU Voltage: If stability issues persist, you may need to increase the CPU voltage slightly. In MSI Afterburner, locate the voltage control settings and gradually increase the voltage by small increments. Manage temperatures and test for stability after each adjustment.
Step 8: Fine-Tune and Monitor: Once you have achieved a stable overclock, fine-tune your CPU settings for optimal performance. Experiment with adjusting the multiplier, voltage, and fan speeds to find the right balance between performance and temperature.
Step 9: Monitor System Health: Continuously monitor system temperatures, voltages, and CPU utilization while running demanding tasks or games. MSI Afterburner provides real-time monitoring tools that allow you to keep an eye on your CPU’s health during extended usage.
Step 10: Test and Adjust: Perform thorough testing to ensure stability in various applications and games. Pay attention to crashes, system freezes, or any abnormal behavior. If issues arise, adjust your settings accordingly until you achieve a stable and reliable overclocked CPU.
Remember, overclocking is a trial-and-error process that requires patience and careful monitoring. It’s crucial to test for stability, manage temperature levels, and ensure that your system remains reliable under various workloads. Be mindful of the risks involved and always prioritize the health and longevity of your CPU.
Monitoring and Testing Performance
Monitoring and testing the performance of your overclocked CPU is a crucial step in ensuring stability, identifying bottlenecks, and optimizing settings. MSI Afterburner provides powerful monitoring tools that allow you to keep a close eye on your CPU’s performance metrics. Here’s how you can effectively monitor and test the performance of your overclocked CPU:
Real-Time Monitoring: Launch MSI Afterburner and open the monitoring panel. Here, you can select the performance metrics you want to monitor, such as CPU temperature, clock speeds, CPU utilization, and voltage. Keep the monitoring panel visible while running tasks or games so you can keep track of crucial performance indicators.
Benchmarking Tools: Utilize benchmarking tools like 3DMark or Cinebench to assess the performance of your overclocked CPU. These tools measure the CPU’s performance under specific workloads and provide a score or ranking, allowing you to compare results with other systems and evaluate the effectiveness of your overclock.
Stress Testing: Perform stress tests using tools like Prime95 or AIDA64 to ensure the stability and reliability of your overclocked CPU. These tests put your CPU under a heavy load and stress its capabilities. Monitor for any crashes, system freezes, or errors during stress testing. If instability occurs, you may need to adjust your overclocking settings to achieve a stable configuration.
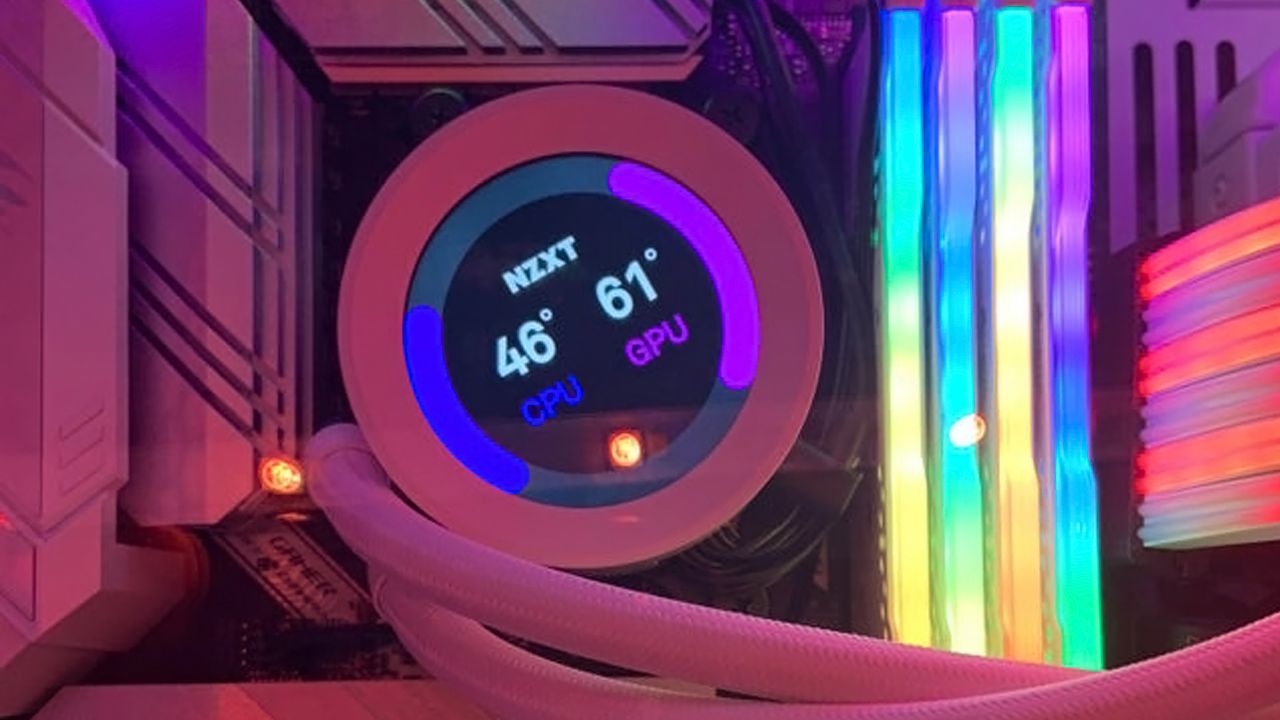
Temperature Monitoring: Pay close attention to CPU temperatures during monitoring and stress testing. High temperatures can lead to instability and even damage to your CPU. Keep temperatures within safe limits by ensuring proper cooling, monitoring fan speeds, and adjusting voltage and clock speeds if needed.
System Benchmarks: Run system benchmarks like PCMark or PassMark to evaluate the overall performance of your system. These benchmarks test your CPU’s performance in various real-world scenarios, allowing you to measure its capability in tasks like gaming, multimedia editing, or productivity applications.
Game Testing: Test your overclocked CPU with demanding games that you frequently play. Monitor the CPU utilization, frame rates, and system responsiveness during gameplay. Assess whether the overclocking has resulted in a noticeable improvement in game performance and smoothness.
Long-Term Stability: Monitoring and testing the performance of your overclocked CPU should not be limited to short-term assessments. Maintain the monitoring tools active during extended periods of usage, such as gaming sessions or rendering tasks. Keep an eye on temperature trends, stability under long-duration workloads, and any signs of system instability over time.
By regularly monitoring and testing the performance of your overclocked CPU, you can ensure stability, identify any potential issues, and make informed decisions about tweaking your overclocking settings. Remember to prioritize system health and stability, and always be cautious when making adjustments to your CPU’s settings.
Troubleshooting Tips
Overclocking your CPU can sometimes result in unexpected issues or instabilities. Don’t panic if you encounter problems – here are some troubleshooting tips to help you address common issues and ensure a smooth experience with your overclocked CPU:
1. Reset to Defaults: If you encounter stability issues or your system becomes unresponsive, the first step is to reset your CPU settings to their factory defaults. This will eliminate any potential conflicts caused by your overclocking settings and allow you to start fresh.
2. Adjust Voltage: If your CPU crashes or exhibits instability during stress tests, you may need to adjust the voltage settings. Increasing the voltage slightly can help stabilize your overclock. However, be cautious not to overdo it, as excessively high voltage can lead to heat buildup and potential damage to your CPU.
3. Fine-Tune Clock Speeds: If your CPU encounters instability or crashes under heavy workloads, consider fine-tuning your clock speeds. Try reducing the overclocked frequencies by small increments until the system becomes stable. Finding the optimal balance between performance and stability is essential for a successful overclock.
4. Recheck Cooling Solutions: Overclocking generates more heat, so ensure your cooling solutions are adequate. Check that your CPU cooler is properly installed and functioning correctly. Additionally, verify that your case has proper airflow and consider adding additional fans or upgrading your cooling system if temperatures are consistently high.
5. Check Power Supply: Insufficient power supply can cause instability when overclocking. Confirm that your power supply can handle the increased power demands of your overclocked CPU. Consider upgrading to a higher wattage power supply if necessary.
6. Update BIOS and Drivers: Ensure that your motherboard BIOS and CPU drivers are up to date. Updated versions often address compatibility issues and can improve stability during overclocking. Visit the manufacturer’s website to download the latest updates for your specific hardware.
7. Monitor System Temperatures: Overheating can lead to instability and crashes. Regularly monitor CPU temperatures during stress testing and while running demanding tasks. If temperatures exceed safe limits, consider adjusting your overclocking settings or upgrading your cooling solutions.
8. Test Individual Components: If you’re experiencing stability issues, it can be helpful to isolate and test individual components. Try running stress tests on your CPU, GPU, RAM, and other hardware components separately to identify any faulty or unstable components that may be causing issues.
9. Seek Help from the Community: If you’re still experiencing difficulties, reach out to the overclocking community or forums for assistance. Many experienced overclockers can provide valuable insights, tips, and troubleshooting advice based on their own experiences.
10. Consider Professional Help: If you’re unsure about troubleshooting or lack the technical expertise, consulting a professional overclocker or technician can be beneficial. They can help diagnose issues, fine-tune your overclock, and ensure the stability and longevity of your CPU.
Remember, troubleshooting is a normal part of the overclocking process, and understanding how to address issues is key to a successful outcome. Be patient, take one step at a time, and don’t hesitate to seek assistance if needed.
Summary
Overclocking your CPU using MSI Afterburner can be an exciting and rewarding endeavor, enhancing your system’s performance and unlocking its full potential. By following the step-by-step guide and taking necessary precautions, you can achieve a stable and optimized overclock. Here’s a quick summary of the key points to remember:
First and foremost, understand what CPU overclocking entails – pushing your CPU to run at higher clock speeds than its factory settings, ultimately improving performance in CPU-intensive tasks.
MSI Afterburner is a powerful and user-friendly tool for CPU overclocking, offering compatibility with a wide range of CPUs and GPUs. Its intuitive interface, fine-tuning controls, real-time monitoring, and active community support make it an excellent choice for both beginners and experienced overclockers.
Before embarking on overclocking, take precautions to ensure stability and longevity. Adequate cooling, stable power supply, up-to-date BIOS and drivers, and proper research are essential. Incremental overclocking and thorough stress testing help identify the optimal configurations for your CPU.
Monitoring and testing performance using benchmarking tools, stress tests, and game testing provide insights into your overclocked CPU’s performance, allowing you to fine-tune settings for optimal results. Continuous monitoring during long-term usage ensures stability and temperature management.
If issues arise, troubleshooting steps such as resetting to defaults, adjusting voltage and clock speeds, checking cooling solutions and power supply, updating BIOS and drivers, and seeking assistance from the community or professionals can help resolve them.
Remember, overclocking your CPU comes with risks, such as voiding warranties, potential damage to the CPU or other components, and increased heat generation. Always prioritize system health and stability, and proceed with caution.
By following these guidelines, and with the help of MSI Afterburner, you can unleash the full power of your CPU and experience improved system performance. Enjoy the journey of exploring the boundaries of your CPU’s capabilities and achieving the ultimate overclocking potential!