Introduction
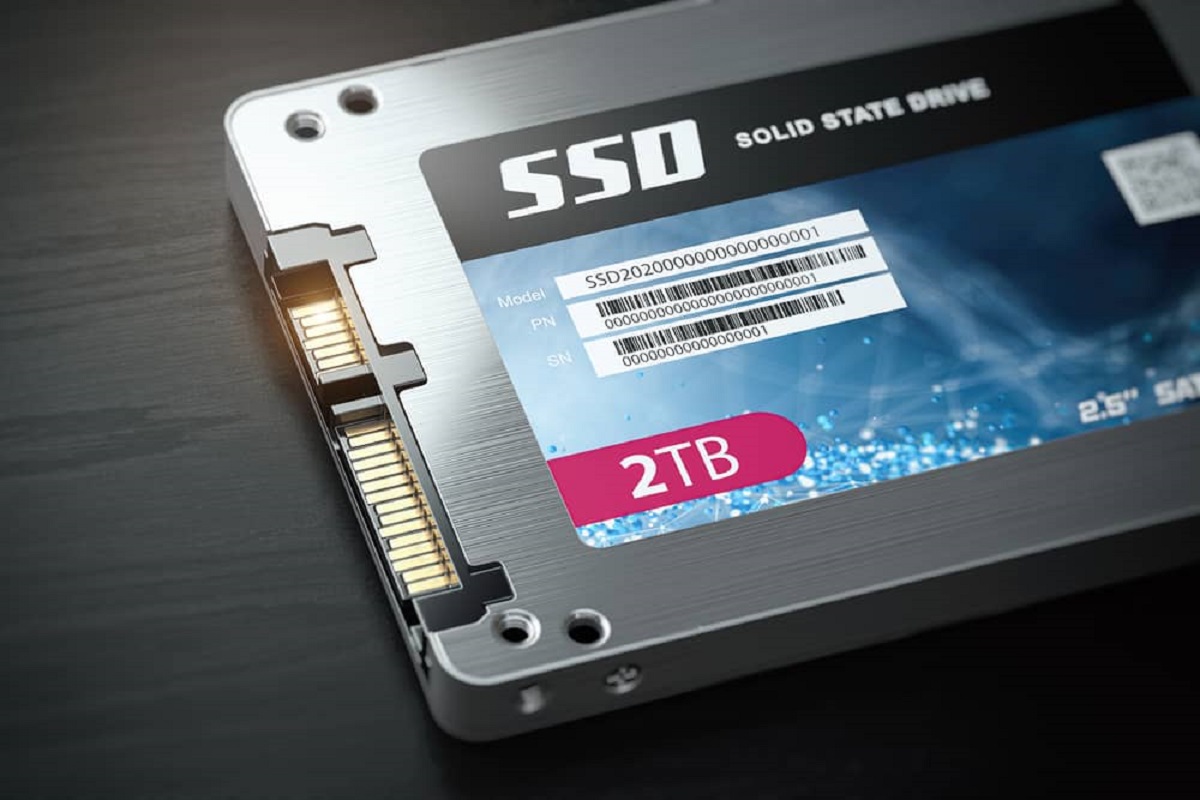
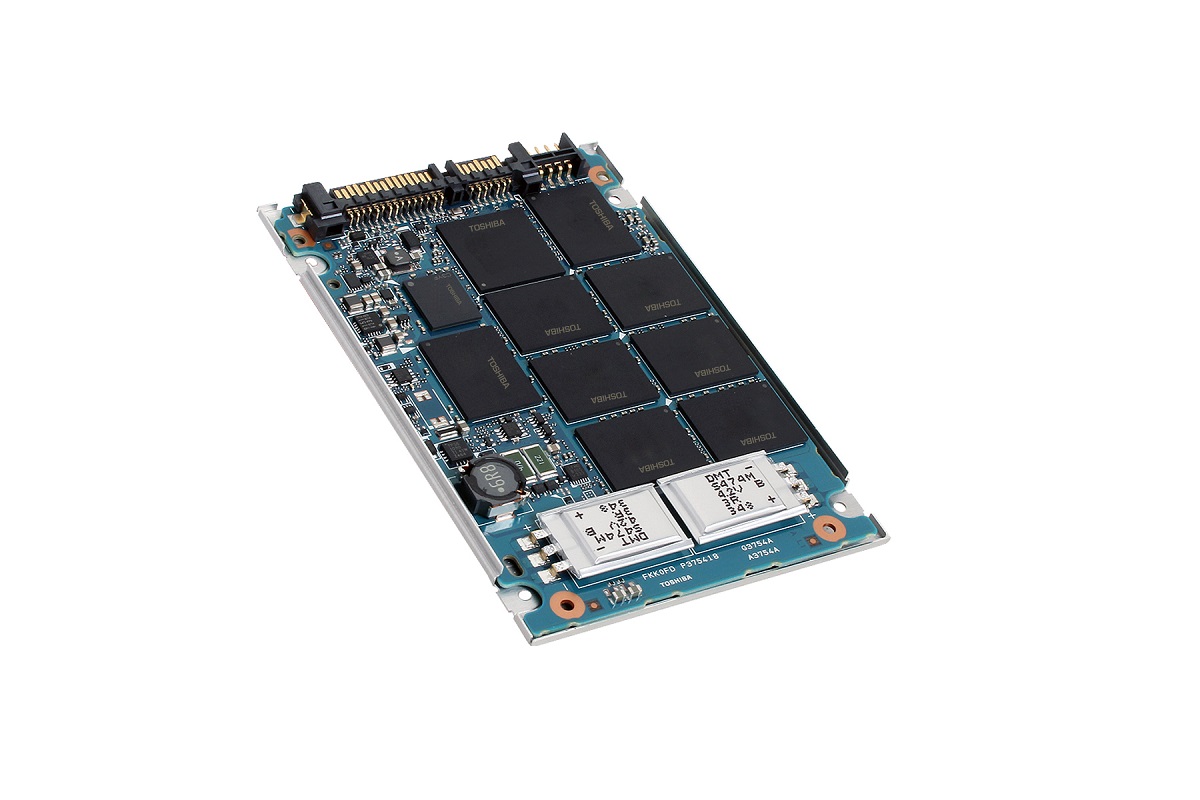
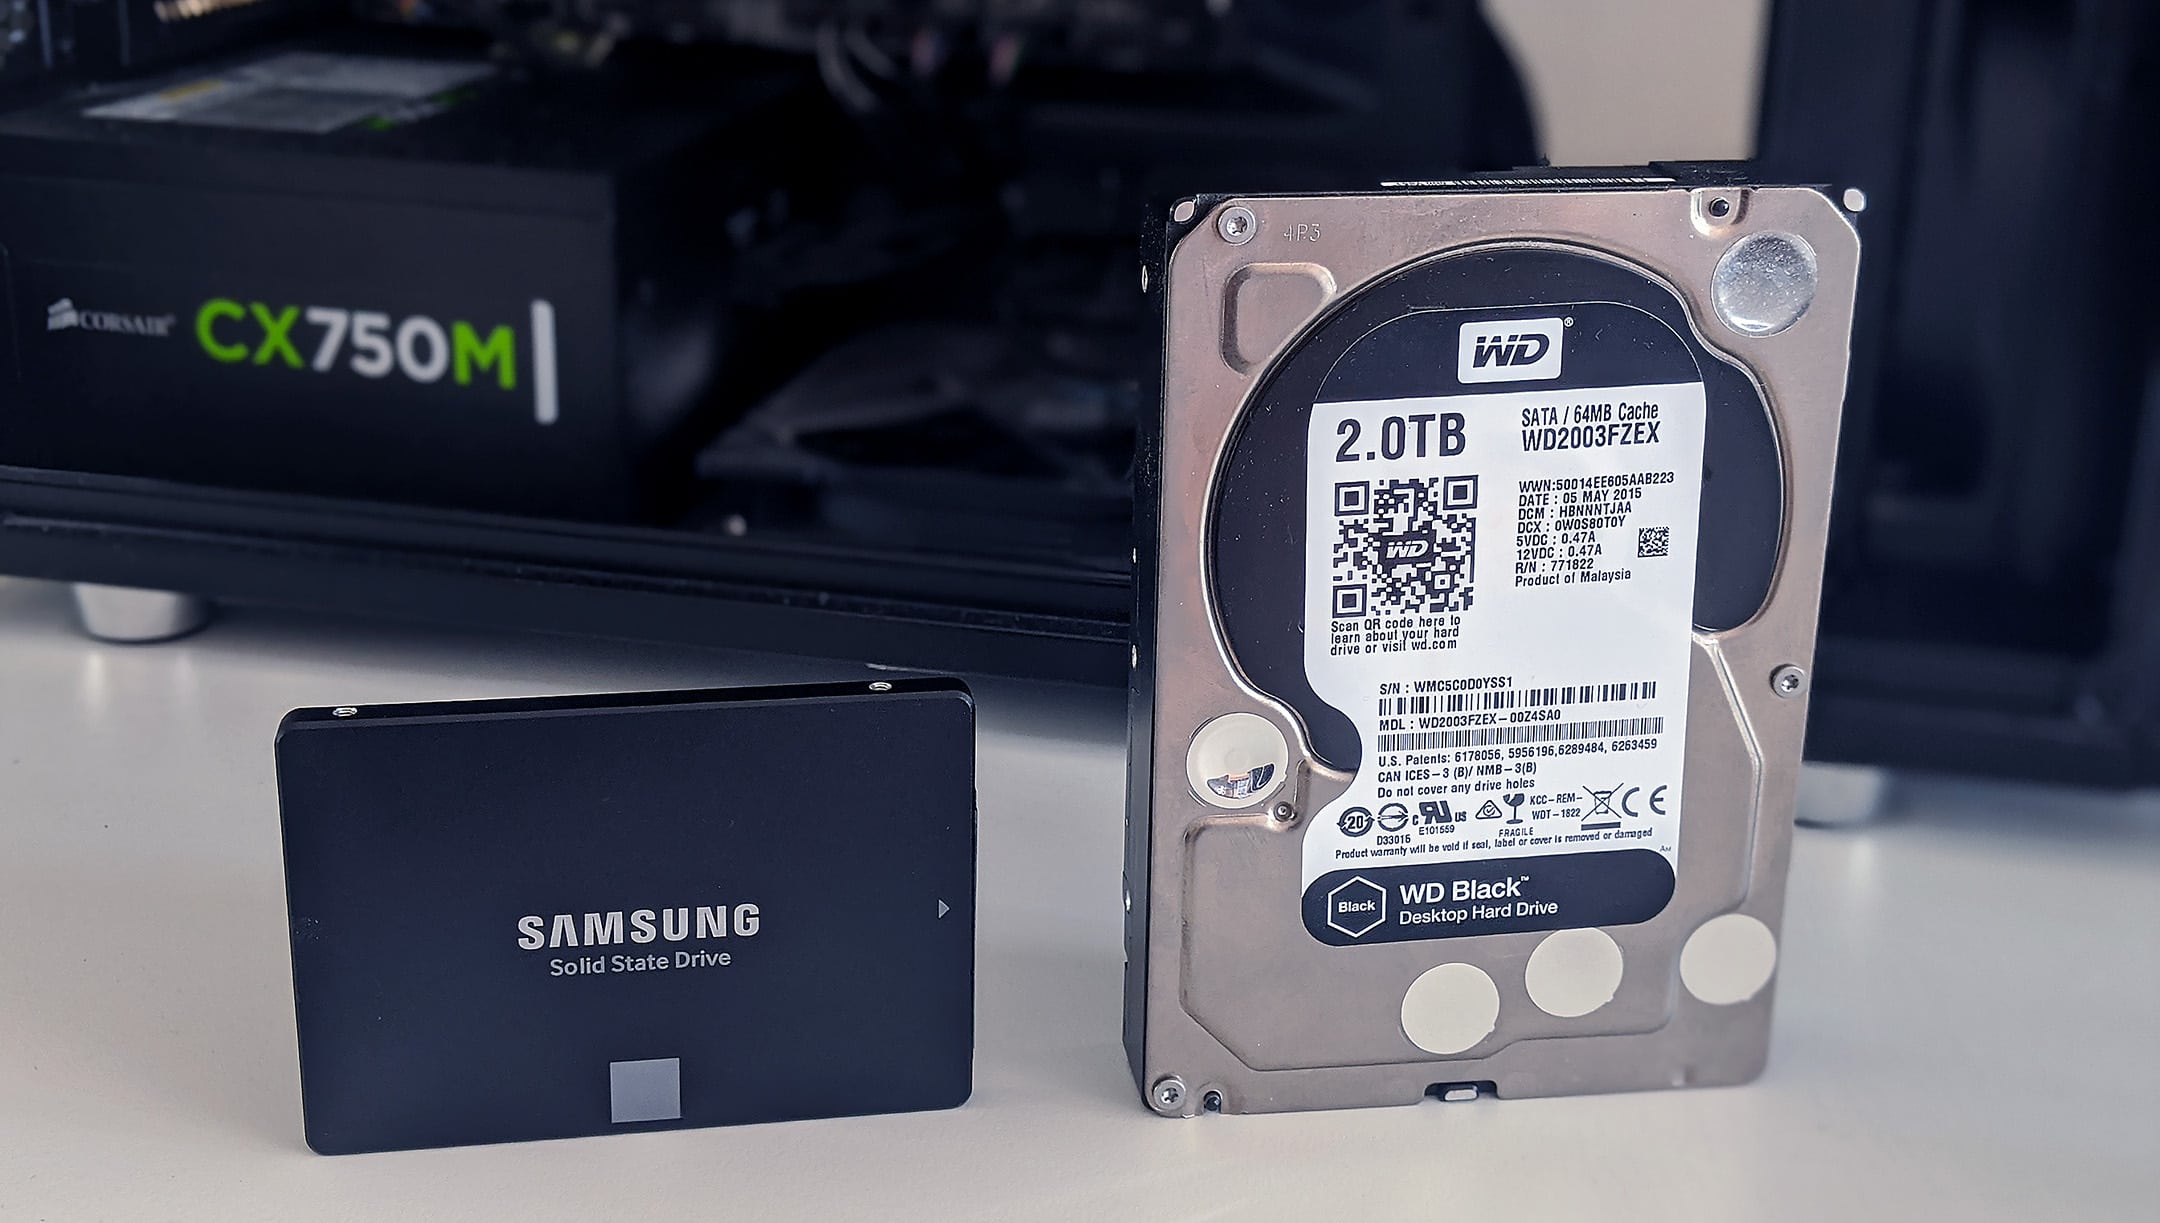
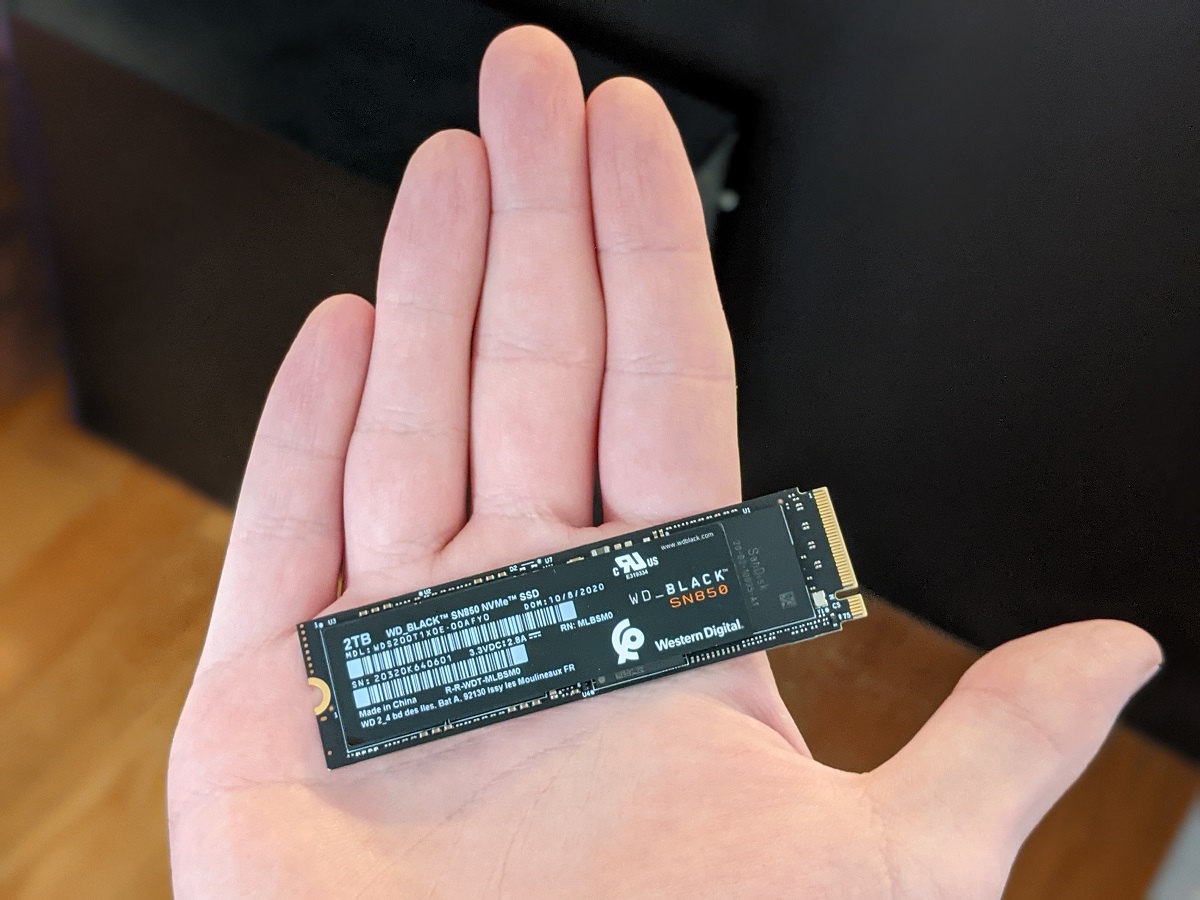
Optimizing your SSD (Solid State Drive) can significantly enhance its performance and lifespan. Unlike traditional hard drives, SSDs use flash memory to store data, resulting in faster read and write speeds. However, over time, SSD performance can be impacted by factors such as fragmented data, unnecessary background processes, and inefficient power settings.
In this article, we will explore the benefits of optimizing your SSD drive and provide you with valuable tips to maximize its efficiency. By implementing these optimization techniques, you can ensure that your SSD operates at its full potential, delivering faster boot times, improved application performance, and a longer lifespan.
Whether you are a gamer looking for reduced load times, a content creator seeking seamless editing processes, or a regular user wanting a snappier system, optimizing your SSD drive is crucial for an optimized computing experience.
So, let’s dive into the various steps you can take to optimize your SSD and unleash its true power.
Benefits of Optimizing SSD Drive
Optimizing your SSD drive can provide a multitude of benefits that improve the overall performance and longevity of your system. Let’s explore some of the key advantages of optimizing your SSD:
- Faster Boot Times: By optimizing your SSD, you can significantly reduce the time it takes for your operating system to boot up. This means that you can start working or gaming faster, improving your overall productivity and enjoyment.
- Improved Application Performance: With an optimized SSD, applications and games load quicker and run smoother. This enables you to perform tasks more efficiently and ensures a seamless user experience, free from lag or delays.
- Extended SSD Lifespan: Optimal SSD performance leads to reduced wear and tear on the drive. By implementing optimization techniques such as enabling TRIM and avoiding overfilling, you can prolong the lifespan of your SSD, saving you money in the long run.
- Enhanced File Transfer Speeds: Optimized SSDs offer faster read and write speeds, allowing you to transfer files more quickly. Whether you are transferring large media files or working with heavy-duty software, an optimized SSD ensures that your file transfer processes are swift and efficient.
- Energy Efficiency: SSD optimization techniques, such as adjusting power settings and disabling unnecessary background processes, can improve the overall energy efficiency of your system. This results in lower power consumption and extended battery life for laptops and other portable devices.
By taking the time to optimize your SSD drive, you can unlock these benefits and enjoy a smoother and more efficient computing experience. In the following sections, we will delve into the specific steps you can take to optimize your SSD drive and maximize its performance.
Preparation Before Optimizing SSD Drive
Prior to diving into the optimization process, it’s important to take a few preparatory steps to ensure a smooth and successful experience. These preparations will help you avoid any potential issues and maximize the effectiveness of the optimization techniques. Here are some key tasks to complete before proceeding with SSD drive optimization:
- Backup Your Data: Before making any changes to your SSD, it’s always wise to back up your important files and data. This will safeguard your information in case of any unforeseen issues or errors that may occur during the optimization process.
- Check for Firmware Updates: Firmware updates can provide performance improvements and bug fixes for your SSD. Visit the manufacturer’s website to check if any firmware updates are available for your specific model. Upgrading to the latest firmware ensures that your SSD is running on the most stable and optimized version.
- Free Up Disk Space: SSD performance can be impacted by excessive data stored on the drive. Delete any unnecessary files, applications, or backups to free up disk space. This will not only optimize your SSD performance but also make the optimization process faster and more efficient.
- Update Operating System and Drivers: Make sure that your operating system and device drivers are up to date. Keeping your software updated addresses any known compatibility issues and ensures optimal performance between the operating system and the SSD.
- Close Background Processes: Before starting the optimization process, close any unnecessary applications and background processes that may be running. This will free up system resources and allow the optimization tools to work more effectively without any interference.
By completing these preparatory tasks, you can ensure a smooth and successful optimization process for your SSD drive. Taking these steps will minimize the risk of data loss, maximize the effectiveness of the optimization techniques, and ensure a positive overall experience.
Check for Firmware Updates
Firmware updates play a crucial role in maintaining and improving the performance of your SSD. Manufacturers regularly release firmware updates that address bugs, improve stability, and enhance the overall functionality of the drive. Checking for and installing these updates is an essential step in optimizing your SSD. Here’s what you need to know:
Why Firmware Updates Matter:
Firmware is a type of software installed on the SSD’s internal controller, responsible for managing data storage, reading, and writing operations. Firmware updates can bring several benefits, including:
- Performance improvements: Firmware updates may include optimizations that boost the SSD’s performance, resulting in faster data transfer rates and reduced access times.
- Bug fixes: Manufacturers address known issues and bugs through firmware updates, ensuring a more stable and reliable operation of the SSD.
- Compatibility enhancements: Firmware updates often include improvements to ensure compatibility with new operating systems, devices, or hardware components.
- Security patches: Firmware updates can address potential security vulnerabilities, protecting your data from potential threats.
By keeping your SSD’s firmware up to date, you can ensure that your drive operates at its best performance and remains compatible with the latest software and hardware advancements.
How to Check for Firmware Updates:
To check for firmware updates, visit the manufacturer’s website and navigate to the support or downloads section. Look for your SSD model and search for any available firmware updates. Some manufacturers provide dedicated software utilities that automate the firmware update process.
Important Considerations:
- Backup Your Data: Before proceeding with a firmware update, it’s essential to back up your data to prevent any potential loss or corruption.
- Follow Manufacturers’ Instructions: Each manufacturer may have specific instructions and procedures for updating the firmware. It’s crucial to carefully read and follow their guidelines to avoid any issues during the update process.
- Be Patient: Firmware updates can take some time to install. It’s important to be patient during the process and avoid interrupting it, as doing so may result in the SSD becoming unusable.
Checking for firmware updates and keeping your SSD’s firmware up to date is vital for optimal performance, stability, and compatibility. By taking advantage of the latest firmware enhancements, you can ensure that your SSD operates at its full potential and delivers the best possible performance.
Enable TRIM
Enabling TRIM (Trim Command) is a crucial step in optimizing the performance and longevity of your SSD. TRIM is a command that allows the operating system to communicate with the SSD, informing it which data blocks are no longer in use and can be marked for deletion. Enabling TRIM helps maintain the SSD’s performance by preventing performance degradation over time. Here’s how to enable TRIM:
Verify TRIM Support:
Before enabling TRIM, confirm that both your SSD and operating system support this feature. Most modern SSDs and operating systems, such as Windows 7 and above, macOS 10.10.4 and above, and Linux, provide built-in TRIM support. However, it’s always a good idea to check the manufacturer’s documentation or website for specific instructions.
Windows:
- Open the Command Prompt by pressing Windows Key + X and selecting “Command Prompt” or “Windows PowerShell” from the menu.
- Type the command
fsutil behavior query DisableDeleteNotifyand press Enter. - If the command returns
DisableDeleteNotify = 0, TRIM is enabled. If not, continue to the next step. - Type the command
fsutil behavior set DisableDeleteNotify 0and press Enter to enable TRIM.
macOS:
- Open the Terminal application.
- Type the command
sudo trimforce enableand press Enter. - Enter your admin password when prompted, and press Enter.
- Read the disclaimer, press “Y” to agree, and press Enter.
- Restart your Mac to complete the process.
Linux:
TRIM is usually enabled by default on most modern Linux distributions. However, you can verify its status and enable it if necessary. Consult your distribution’s documentation or support resources for specific instructions on enabling TRIM.
Enabling TRIM ensures that your SSD’s performance remains optimized over time. It allows the drive to efficiently manage deleted data, preventing them from affecting the performance of other active data. By enabling TRIM, you can maintain consistent performance, reduce write amplification, and extend the lifespan of your SSD.
Disable Defragmentation
One of the common misconceptions when it comes to optimizing SSD drives is the belief that defragmentation is necessary. However, unlike traditional hard drives, defragmenting an SSD can actually have a detrimental effect on its performance and lifespan. In fact, defragmenting an SSD is unnecessary and can even contribute to wear and tear due to excessive write operations. Here’s why you should disable defragmentation for your SSD:
How Defragmentation Works:
Defragmentation is a process that rearranges the fragmented data on a hard drive, placing related pieces of data closer together for faster access. However, SSDs work differently than traditional hard drives. SSDs have no physical moving parts, and their access times are not affected by data placement. The time required to read data from an SSD is the same, regardless of where the data is stored.
Impact on Performance:
Running defragmentation on an SSD can lead to unnecessary write operations, which can reduce the drive’s lifespan. Since SSDs have a limited number of write cycles, excessive writes caused by defragmentation can wear out the SSD faster. Additionally, defragmentation can have a negligible or even negative impact on the performance of an SSD, as SSDs excel in random read and write operations, regardless of data fragmentation.
Windows:
Windows automatically detects when an SSD is present and avoids defragmenting it by default. However, it’s always a good idea to double-check the settings to ensure defragmentation is indeed disabled:
- Open the “Optimize Drives” utility by searching for it in the Windows Start menu.
- Check the list of drives and confirm that your SSD is labeled as “Solid State Drive.”
- Make sure that scheduled optimization is enabled for your SSD.
macOS:
macOS also recognizes SSDs and disables automatic defragmentation for these drives. You don’t need to manually disable defragmentation for your SSD in macOS.
Linux:
Linux distributions typically do not perform automatic defragmentation on SSDs. However, it’s a good idea to confirm this by checking your distribution’s documentation or settings.
By disabling defragmentation for your SSD, you can avoid unnecessary wear and tear on the drive and maintain optimal performance for an extended period. Remember, SSDs do not benefit from defragmentation, and enabling it can actually degrade performance and reduce the lifespan of your SSD.
Adjust Power Settings
Optimizing the power settings for your SSD can help improve its performance and increase its lifespan. By configuring your power settings to better suit the characteristics of SSDs, you can ensure that the drive operates efficiently and conserves power when necessary. Here are some power settings adjustments to consider:
Windows:
Windows provides several power plans that you can choose from. Follow these steps to adjust the power settings:
- Open the Control Panel and navigate to the “Power Options” section.
- Select the power plan that suits your needs. For optimal SSD performance, choose the “High Performance” or “Balanced” power plan.
- Click on “Change plan settings” for the selected power plan.
- Click on “Change advanced power settings.”
- Scroll down and expand the “Hard disk” category.
- Set the “Turn off hard disk after” option to a longer duration, such as 0 or a high value (e.g., 720 minutes), to prevent unnecessary power cycles that can impact SSD performance.
- Click “Apply” and then “OK” to save the changes.
macOS:
macOS manages power settings intelligently and optimizes them automatically for SSD drives. However, you can still customize power settings to suit your preferences:
- Go to “System Preferences” and click on “Energy Saver.”
- Adjust the “Computer Sleep” and “Display Sleep” sliders to your desired settings.
- Ensure that the “Put hard disks to sleep when possible” option is checked, as this helps conserve power when the SSD is not in use.
Linux:
Power management settings on Linux can vary depending on the distribution you are using. However, most distributions provide power management features by default, allowing you to configure power settings through a graphical interface or system configuration files. Refer to your distribution’s documentation or support resources for instructions on adjusting power settings.
By adjusting power settings to optimize the usage of your SSD, you can strike a balance between performance and power consumption. These adjustments ensure that the SSD operates efficiently and minimizes unnecessary wear and power usage, thereby enhancing the overall performance and lifespan of your SSD.
Disable Indexing
Indexing is a feature in operating systems that helps in quickly searching for files, folders, and other content on your computer. While indexing can be beneficial for traditional hard drives, it is not necessary or recommended for SSDs. Disabling indexing on your SSD can improve performance and reduce unnecessary write operations. Here’s how you can disable indexing:
Windows:
- Open the “File Explorer” by pressing Windows Key + E.
- Right-click on the drive where your SSD is installed and select “Properties.”
- Under the “General” tab, uncheck the box that says “Allow files on this drive to have contents indexed.”
- Click on “Apply” and then select “Apply changes to drive, subfolders and files” when prompted.
- Windows will now remove the index from your SSD, improving performance.
macOS:
- Go to “System Preferences” and click on “Spotlight.”
- Click on the “Privacy” tab.
- Drag your SSD drive or click the “+” icon to add it to the list of locations excluded from Spotlight indexing.
- This prevents macOS from indexing your SSD and improves performance.
Linux:
Linux distributions often have different approaches to indexing. In some distributions, indexing tools like “tracker” or “baloo” are installed by default. To disable indexing, you can do the following:
- Open the settings or preferences for your desktop environment.
- Look for the search or indexing settings.
- Disable or turn off any indexing services that are enabled by default.
By disabling indexing on your SSD, you reduce unnecessary write operations, improve read and write speeds, and free up system resources for more important tasks. Since SSDs already provide fast access times, disabling indexing is a recommended step to optimize the performance of your SSD.
Move Temporary Files and Cache
Moving temporary files and cache from your SSD to a different storage location can help optimize the performance and lifespan of your SSD. Temp files and cache are temporary data generated by applications and the operating system, and storing them on your SSD can consume valuable space and increase write operations. By relocating these files, you can free up space on your SSD and minimize unnecessary wear. Here’s how you can move temporary files and cache:
Windows:
- Open the “Settings” menu by pressing Windows Key + I.
- Click on “System” and then select “Storage” from the left sidebar.
- Under the “Storage Sense” section, click on “Change how we free up space automatically.”
- Toggle the switch to enable “Storage Sense.”
- Click on “Configure storage sense or run it now” to access settings.
- Scroll down to the “Temporary files” section and click on “Change where new content is saved.”
- Choose a different storage location, such as a secondary hard drive or external storage device, for temporary files.
- Click on “Apply” to save the changes.
macOS:
macOS manages temporary files automatically, but you can change the location of the cache folders for specific applications:
- Open the “Finder” and click on “Go” in the menu bar.
- Press and hold the “Option” key to reveal the “Library” folder.
- Click on “Library” to open it.
- Navigate to the “Caches” folder.
- Locate the cache folders for specific applications (e.g., Safari, Chrome) and move them to a different storage location.
Linux:
Linux distributions have different locations for temporary files and cache, but you can customize their locations by modifying configuration files. Here’s a general approach:
- Open a terminal and navigate to the location where temporary files and cache are stored (e.g., /tmp).
- Create a symbolic link to a different storage location using the ln command (e.g., ln -s /path/to/new/location).
- Update application-specific settings to ensure they recognize the new location for temporary files and cache.
By moving temporary files and cache to a separate storage location, you can preserve valuable space on your SSD and reduce unnecessary write operations. This helps improve SSD performance and longevity, ensuring optimal functioning for a longer period.
Avoid Overfilling the SSD
When it comes to SSDs, it’s essential to avoid overfilling the drive to ensure optimal performance and longevity. Full or nearly full SSDs can experience reduced performance and a decreased lifespan. By maintaining sufficient free space on your SSD, you can avoid these issues and enjoy the benefits of an efficiently functioning drive. Here’s why you should avoid overfilling your SSD:
Impact on Performance:
SSDs rely on the concept of “wear leveling” to distribute write operations across the drive evenly. However, as an SSD becomes full, the wear leveling process becomes less effective. This can lead to slower write speeds and decreased overall performance. In addition, the SSD controller needs a certain amount of free space to perform background processes such as garbage collection, which helps maintain performance and reliability.
Decreased Lifespan:
Overfilling an SSD by constantly operating it near or at its maximum capacity can shorten its lifespan. Each cell in an SSD has a limited number of write cycles, and constant full utilization increases the number of write operations on those cells, potentially leading to premature wear and failure of the drive.
Recommended Free Space:
As a general rule of thumb, aim to keep at least 10-20% of your SSD’s total capacity free. This provides sufficient space for the SSD controller to perform necessary background operations and ensures optimal performance. For example, if you have a 500GB SSD, try to keep at least 50-100GB of free space.
Tips to Avoid Overfilling:
- Regularly assess your storage needs: Evaluate your data storage requirements and remove any unnecessary files or applications. Regularly decluttering your SSD can help you maintain adequate free space.
- Store large files on secondary storage: Consider moving large media files, archives, or other infrequently accessed data to secondary storage devices, such as external hard drives or network-attached storage (NAS), to free up space on your SSD.
- Use cloud storage: Take advantage of cloud storage solutions to offload files that you don’t need direct access to. Cloud storage keeps your files accessible while reducing the amount of data stored on your SSD.
- Practice selective installation: When installing new applications or games, be mindful of their disk space requirements. Only install software that you genuinely need, and avoid unnecessary installation of large applications.
By avoiding overfilling your SSD and maintaining sufficient free space, you can ensure optimal performance, extend the lifespan of your drive, and enjoy a smooth computing experience.
Conclusion
Optimizing your SSD drive is crucial for maximizing its performance, longevity, and overall efficiency. By implementing the various techniques discussed in this article, you can unlock the full potential of your SSD and enhance your computing experience. Let’s recap the key steps for optimizing your SSD:
- Prepare your SSD by backing up your data, checking for firmware updates, and freeing up disk space.
- Enable TRIM to maintain optimal performance and extend the lifespan of your SSD.
- Disable defragmentation, as it is unnecessary and can wear out your SSD faster.
- Adjust power settings to ensure efficient usage and minimize unnecessary power consumption.
- Disable indexing to reduce write operations and improve overall SSD performance.
- Move temporary files and cache to a different storage location to free up space and minimize wear on the SSD.
- Avoid overfilling your SSD by maintaining sufficient free space to optimize performance and prolong the lifespan of your drive.
By following these optimization techniques, you can ensure that your SSD operates at its peak performance, delivers fast read and write speeds, and remains reliable for an extended period. Remember, regular maintenance and monitoring are essential to keep your SSD performing optimally over time. Stay informed about firmware updates from the manufacturer and periodically check your drive’s health using appropriate SSD diagnostic tools.
Optimizing your SSD is a simple yet powerful way to enhance your overall computing experience. It allows you to take full advantage of the speed and efficiency that SSDs offer, ensuring that your applications load quickly, files transfer smoothly, and your system remains responsive. So, apply these optimization techniques and unleash the true potential of your SSD drive!


