Introduction
Welcome to this guide on how to move files to a Seagate external hard drive. Whether you are upgrading your computer, freeing up space on your device, or simply want to keep a backup of your important files, transferring them to an external hard drive is a reliable and convenient solution. With Seagate’s renowned reputation for reliable storage devices, you can trust that your files will be safe and secure.
The process of moving files to a Seagate external hard drive is straightforward and can be completed in just a few simple steps. In this guide, we will walk you through the process, regardless of whether you are using a Windows or macOS operating system.
Before we dive into the steps, it’s important to ensure that you have a compatible Seagate external hard drive and the necessary cables for connecting it to your computer. Make sure that your Seagate drive is empty or has sufficient storage space for the files you wish to transfer. Additionally, it’s always a good idea to back up your files before proceeding, just in case.
Now that we have covered the essentials, let’s get started on transferring your files to a Seagate external hard drive. Follow the steps below based on your operating system to seamlessly move your valuable files and have peace of mind knowing they are safely stored.
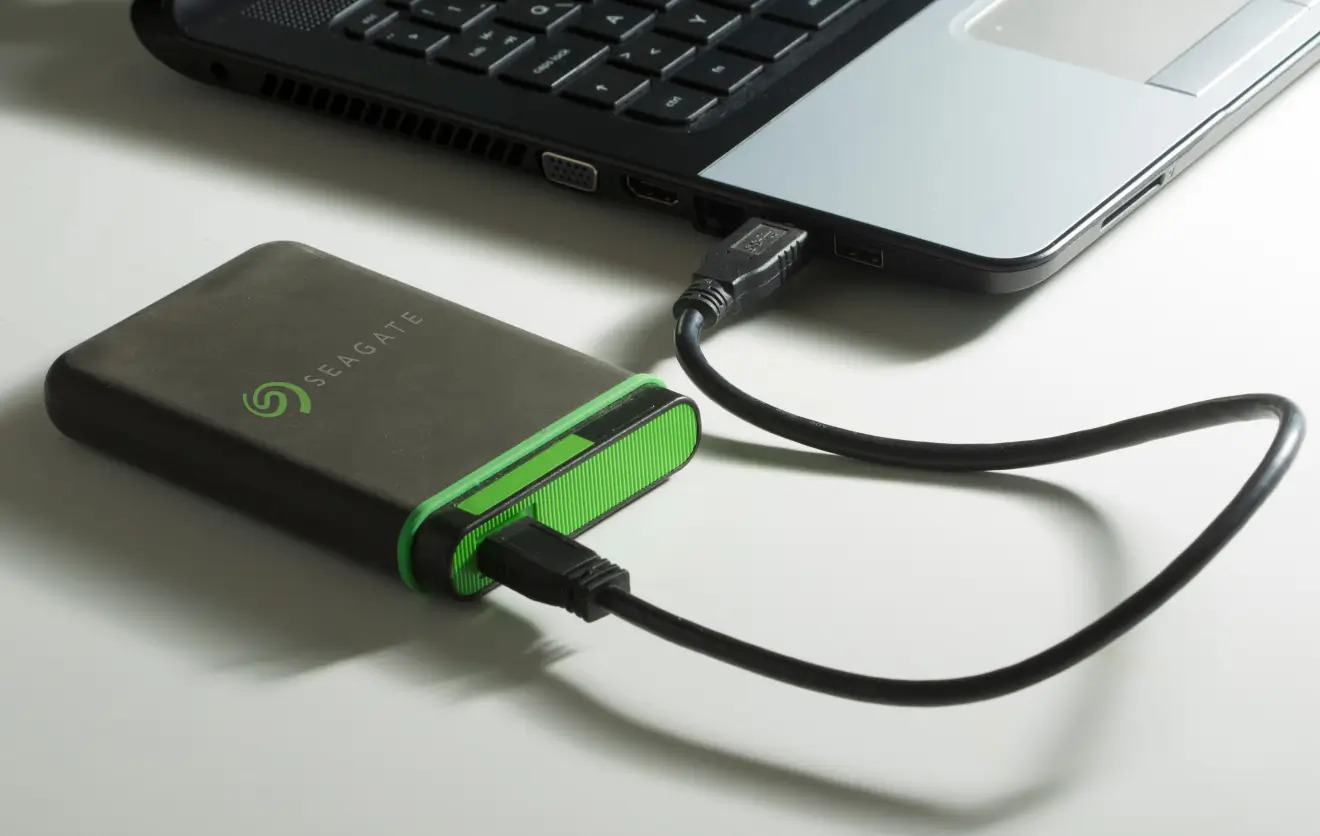
Step 1: Connect the Seagate External Hard Drive to Your Computer
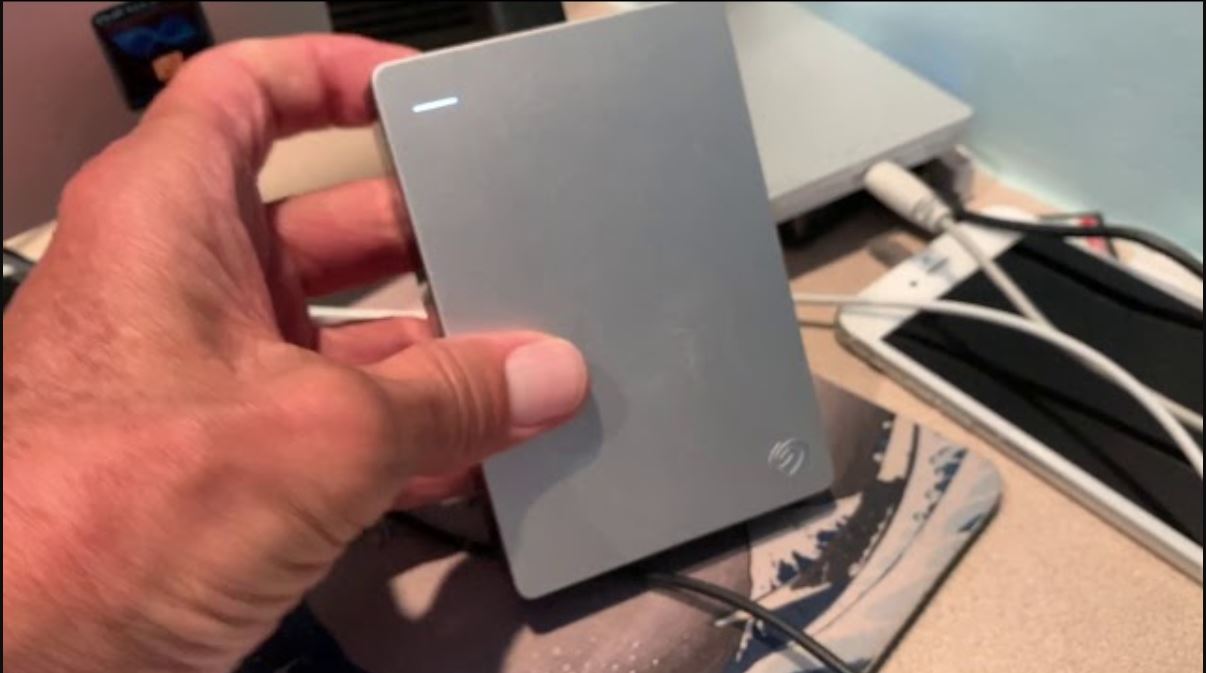
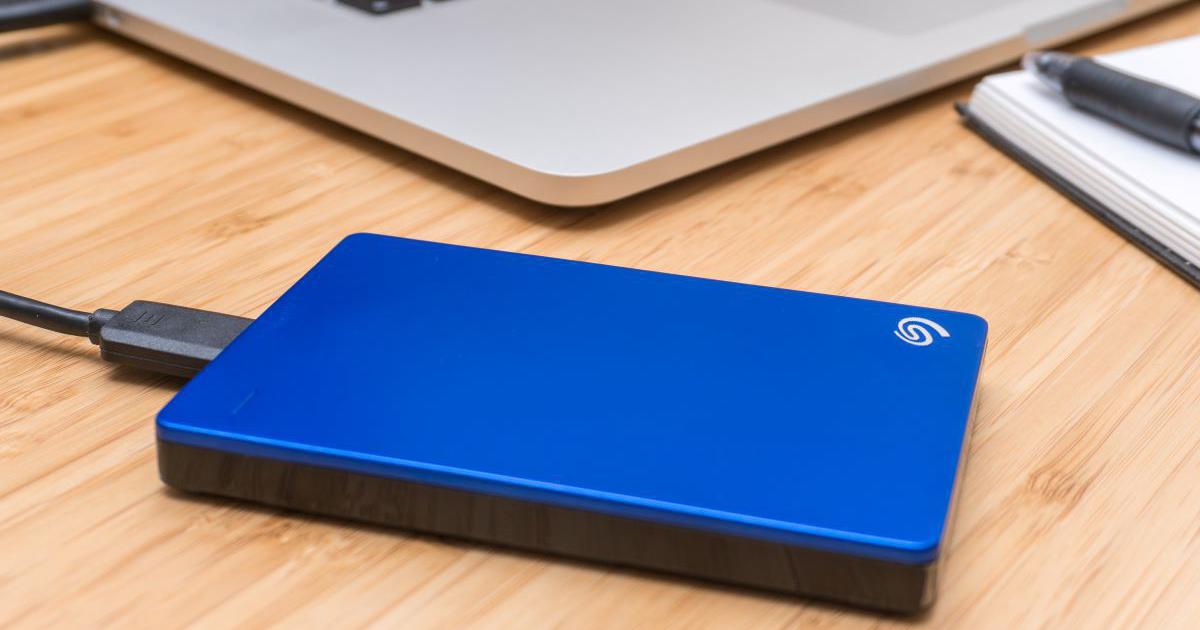
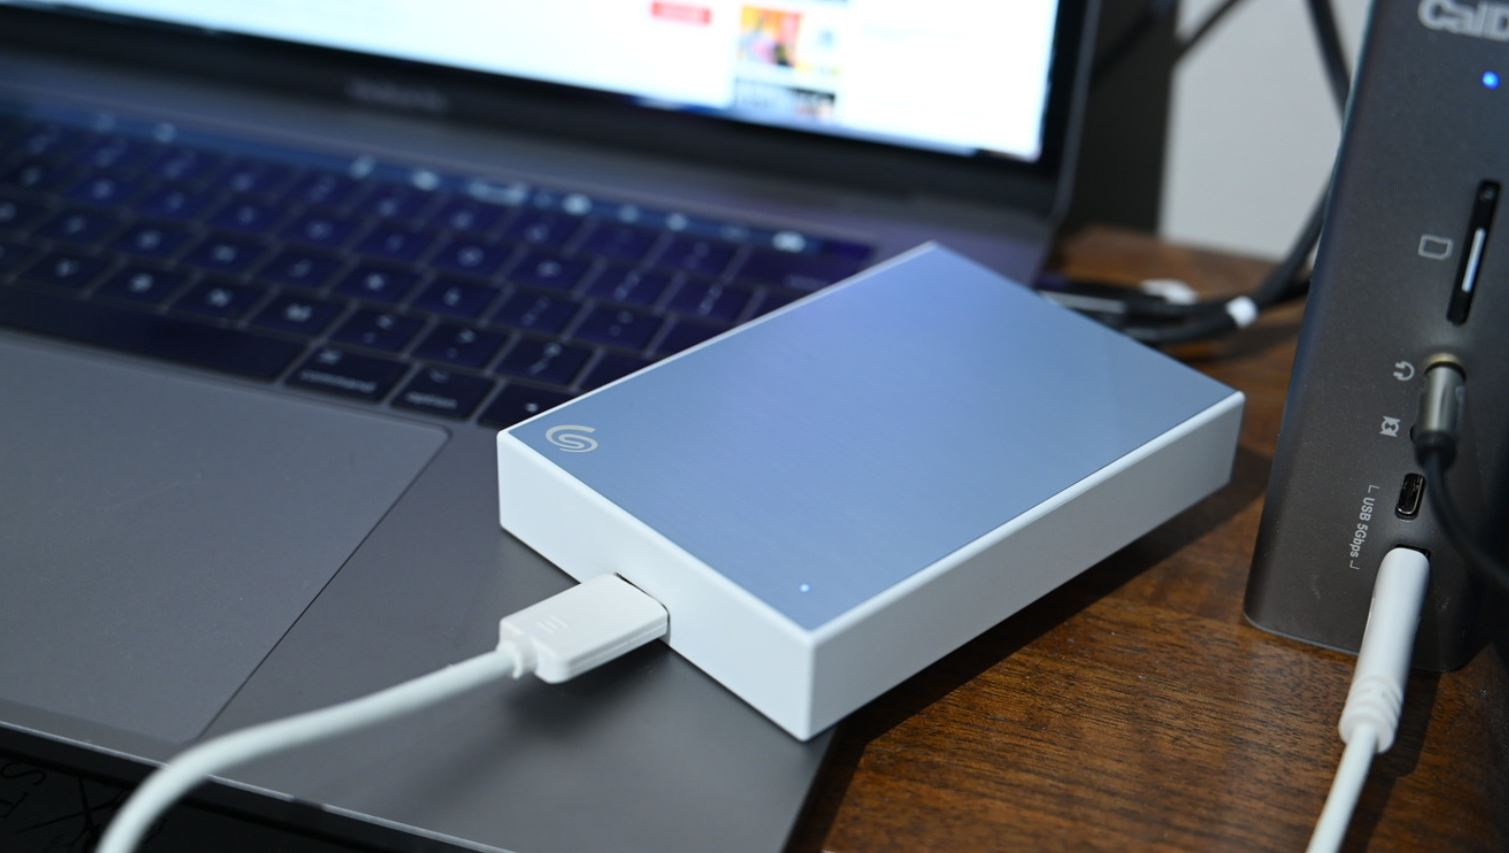
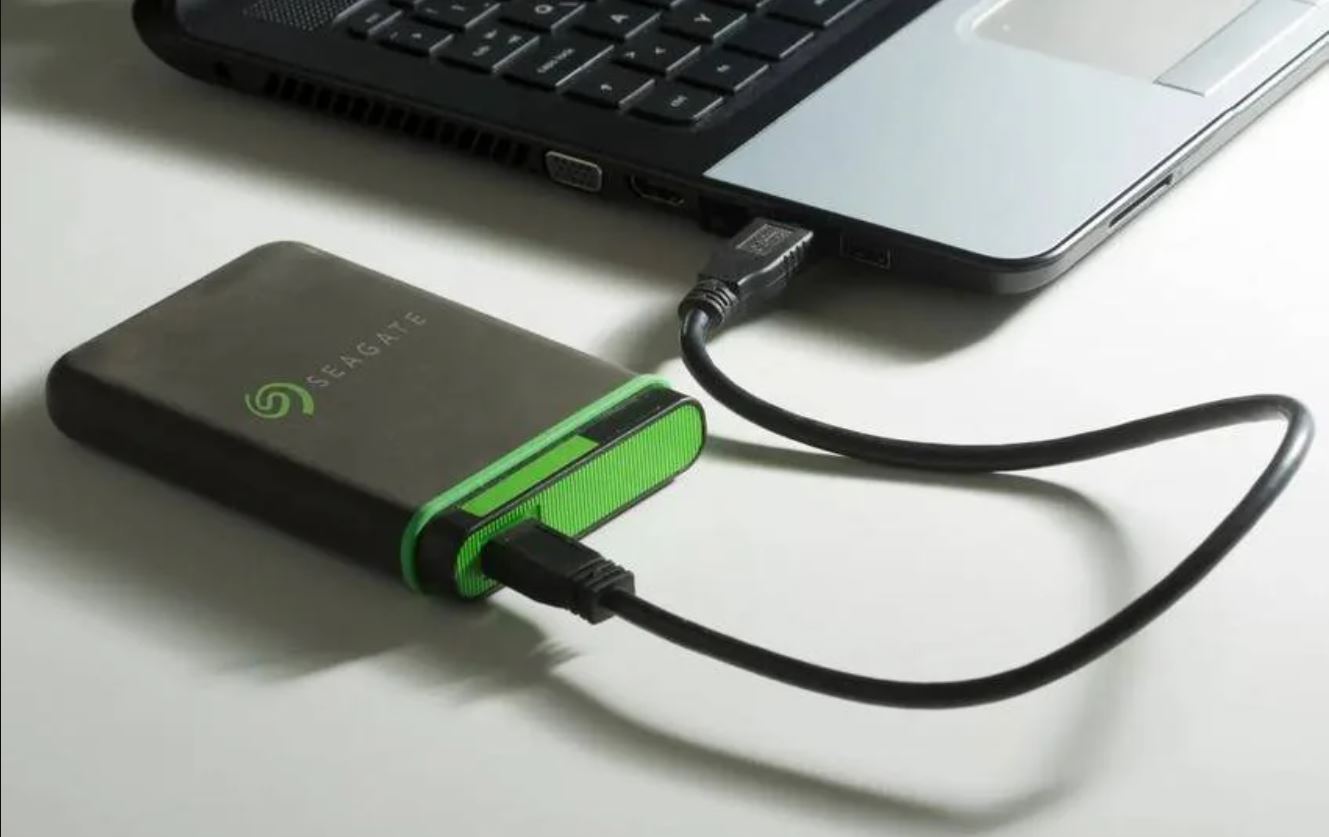
The first step in moving files to a Seagate external hard drive is to establish a physical connection between the drive and your computer. Here’s how you can do it:
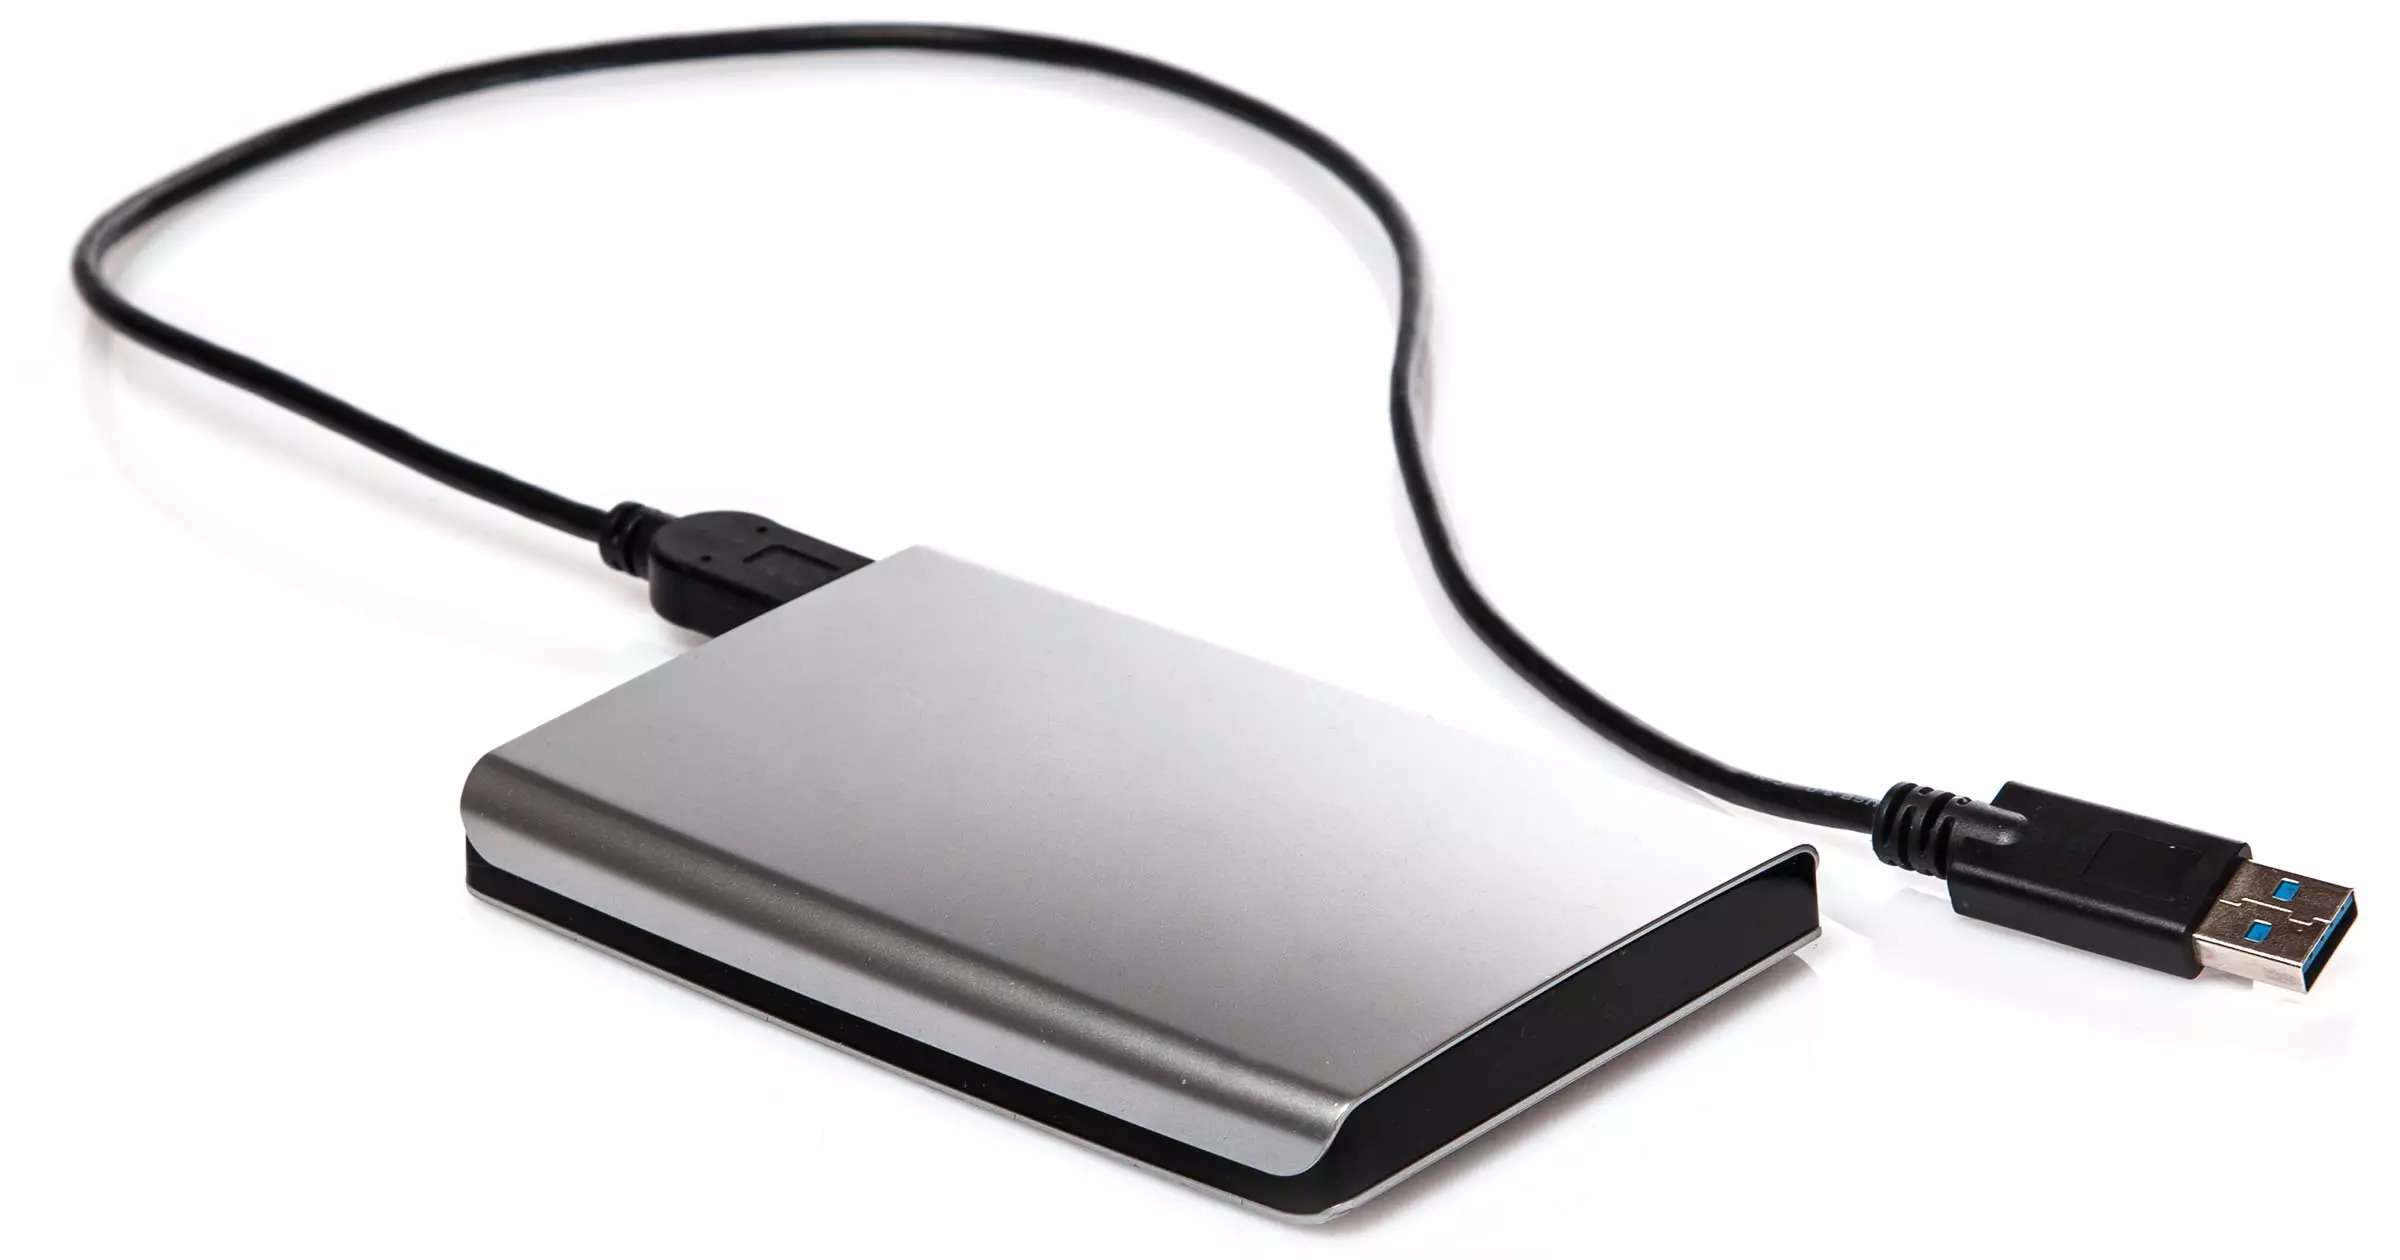
- Locate the appropriate cable to connect your Seagate external hard drive to your computer. Typically, Seagate drives use USB cables for connectivity.
- Plug one end of the USB cable into an available USB port on your computer.
- Take the other end of the USB cable and plug it into the corresponding port on your Seagate external hard drive. Make sure the connection is secure.
- Your computer will detect the new device and automatically install any necessary drivers. Wait for the installation process to complete, which may take a few moments.
- Once the connection is established, you are now ready to access and transfer files to your Seagate external hard drive.
It’s important to note that if you are using a Mac with Thunderbolt 3 or USB-C ports, you may need an adapter or a cable that supports those ports to connect your Seagate external hard drive. Ensure you have the right cable or adapter before proceeding.
Now that you have successfully connected your Seagate external hard drive to your computer, we can move on to the next step of the process.
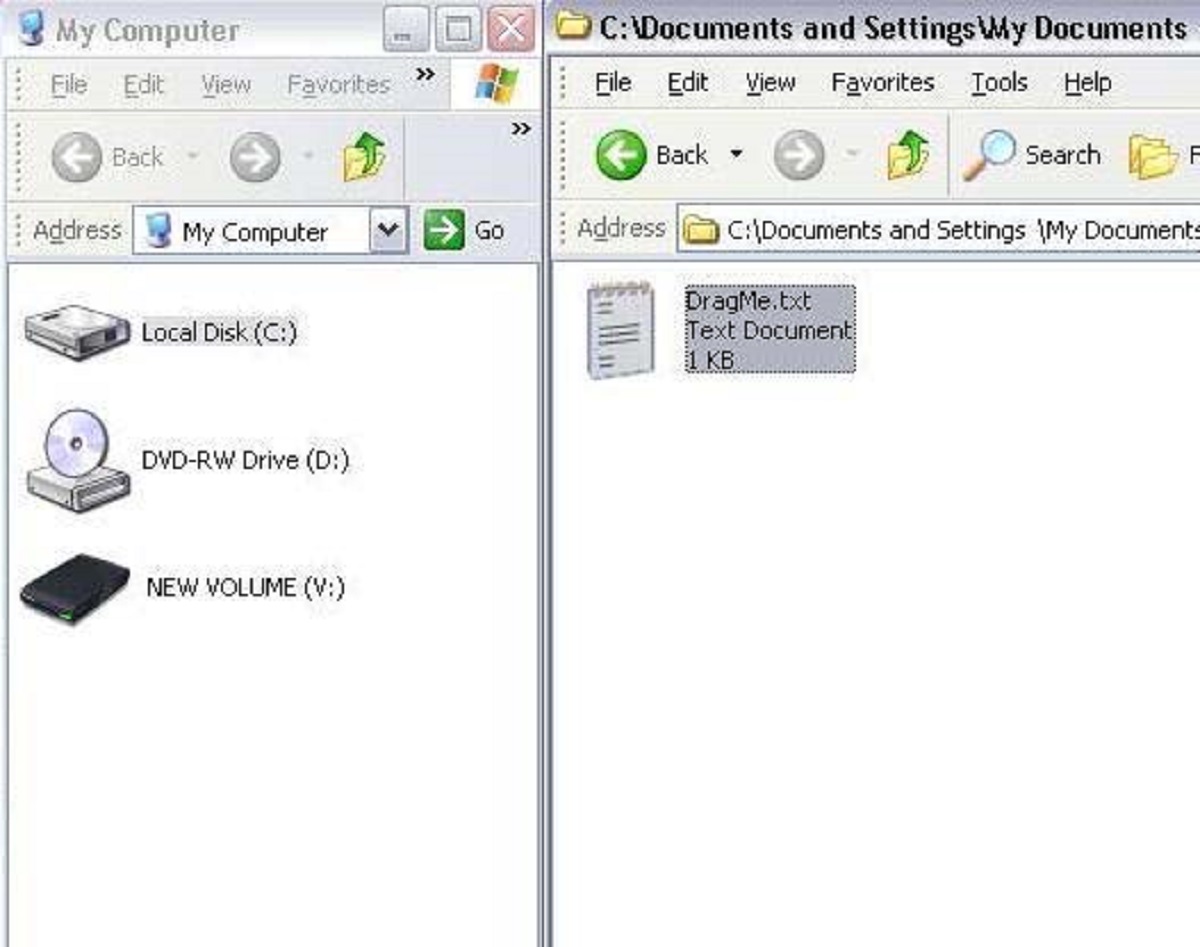
Step 2: Open the File Explorer or Finder
Once your Seagate external hard drive is connected to your computer, the next step is to open the file management system on your operating system. This will allow you to access and manage the files on both your computer and the external hard drive. Follow the instructions below based on your operating system:
Windows:
- Press the Windows key + E on your keyboard. Alternatively, you can click on the File Explorer icon on the taskbar.
- The File Explorer window will open, displaying a list of drives and folders on your computer.
- Look for the section labeled This PC or Computer in the left-hand sidebar. Your Seagate external hard drive should be listed here as a removable disk.
- Click on the name of your Seagate external hard drive to open it and view its contents.
macOS:
- Click on the Finder icon located in the dock, which resembles a blue face.
- The Finder window will open, showing a list of folders and devices on your Mac.
- Look for the section labeled Devices in the left-hand sidebar. Your Seagate external hard drive should be listed here.
- Click on the name of your Seagate external hard drive to access its contents.
With the File Explorer or Finder window open, you are now ready to proceed to the next step of transferring files to your Seagate external hard drive.
Step 3: Locate the Files You Want to Transfer
Now that you have opened the File Explorer or Finder window, it’s time to locate the files that you want to transfer to your Seagate external hard drive. Follow the steps below:
- Navigate through the folders and drives on your computer to find the files you wish to transfer. You can use the sidebar or the search function to help you locate specific files or folders.
- If you have files scattered in different locations, you can use the search function to search for specific file types, names, or keywords.
- You can also create a new folder on your desktop or in a specific location to gather all the files you want to transfer. This will make the process more organized and efficient.
- Select the files you want to transfer by clicking on them one by one or by using the Ctrl/Command key to select multiple files simultaneously.
- Once you have selected the files, you are now ready to proceed to the next step of copying and pasting them onto your Seagate external hard drive.
It’s important to keep in mind the available storage space on your Seagate external hard drive while selecting files. Make sure you have enough space to accommodate the files you want to transfer.
With the files you wish to transfer identified and selected, let’s move on to the next step of the process.
Step 4: Copy and Paste the Files to the Seagate External Hard Drive
Now that you have located and selected the files you want to transfer, it’s time to copy and paste them to your Seagate external hard drive. Follow the steps below to complete this process:
- Right-click on the selected files and choose the Copy option. Alternatively, you can use the keyboard shortcut Ctrl + C (Windows) or Command + C (macOS) to copy the files.
- Next, navigate to the window of your Seagate external hard drive in the File Explorer or Finder.
- Right-click on an empty space within the Seagate drive window and select the Paste option. Alternatively, you can use the keyboard shortcut Ctrl + V (Windows) or Command + V (macOS) to paste the files.
- The files will begin to transfer from your computer to the Seagate external hard drive. The time it takes will depend on the size and number of files being transferred.
- Ensure that the file transfer is complete by checking the progress bar or the file transfer status. Avoid disconnecting the Seagate external hard drive or interrupting the process until it is finished.
It’s crucial to note that during the file transfer process, it’s recommended not to perform any other extensive tasks on your computer to avoid potential delays or interruptions in the transfer.
Once the files have been successfully copied and pasted onto your Seagate external hard drive, you can now move on to the final step of safely ejecting the drive.
Step 5: Safely Eject the Seagate External Hard Drive
After transferring your files to the Seagate external hard drive, it’s important to properly eject it from your computer to prevent any data corruption or loss. Follow the steps below to safely eject your Seagate external hard drive:
- In the File Explorer (Windows) or Finder (macOS) window, locate your Seagate external hard drive.
- Right-click on the Seagate drive icon and select the Eject option. Alternatively, you can drag the drive icon to the trash or use the eject button located next to the drive’s name.
- Wait for a notification or confirmation message indicating that it is safe to remove the Seagate external hard drive. This may take a few moments.
- Once you receive confirmation, gently unplug the USB cable that connects your Seagate external hard drive to your computer. Make sure to disconnect it properly and avoid any sudden movements to prevent damage.
It’s important to note that ejecting the Seagate external hard drive ensures that all data has been written and saved properly, minimizing any potential loss or damage to your files.
Lastly, remember to store your Seagate external hard drive in a safe and secure location to protect it from physical damage or accidental data loss.
With the safe ejection of your Seagate external hard drive complete, you have successfully transferred your files and completed the process.
Conclusion
Congratulations! You have now successfully learned how to move files to a Seagate external hard drive. By following the step-by-step guide outlined in this article, you can confidently transfer your important files and keep them safe and secure.
Remember, the process begins with connecting your Seagate external hard drive to your computer using the appropriate cable. Then, open the File Explorer or Finder to access the files you want to transfer. Locate and select the files, and then copy and paste them onto your Seagate external hard drive. Finally, ensure the safe ejection of the drive from your computer before unplugging it.
Transferring files to a Seagate external hard drive provides many advantages, including freeing up space on your computer, keeping your files safe in case of computer crashes or failures, and providing portable storage for your important data. It’s a reliable and convenient solution for backing up, organizing, and accessing your files.
Remember to regularly back up your important files to your Seagate external hard drive to minimize the risk of data loss. Additionally, keep the drive stored in a safe, cool, and dry place to maintain its longevity.
We hope this guide has been helpful to you in learning how to move files to a Seagate external hard drive. Enjoy the convenience and peace of mind that comes with having your important files securely stored on your Seagate drive!