Introduction
Moving columns in Google Sheets is a convenient way to rearrange data and customize the layout of your spreadsheets. Whether you want to change the order of columns for better readability, sort data by a specific category, or reorganize information for analysis purposes, knowing how to move columns can greatly improve your productivity.
Google Sheets offers several methods to move columns, each with its own advantages and ease of use. In this article, we will explore four different methods that can help you effortlessly rearrange columns in your Google Sheets documents. Whether you’re a beginner or an experienced spreadsheet user, these methods will empower you to quickly reposition columns and optimize your data organization.
Before we dive into the specific methods, it’s important to note that moving columns does not affect the data within the cells. The cell contents remain the same; only their position changes within the spreadsheet. This means that any formulas or functions referencing the moved columns will automatically adjust to their new location. With that in mind, let’s explore the various methods for moving columns in Google Sheets!
Method 1: Using Drag and Drop
One of the simplest and most intuitive ways to move a column in Google Sheets is by using the drag and drop function. Follow these steps to rearrange columns with ease:
- Open your Google Sheets document and locate the column you want to move.
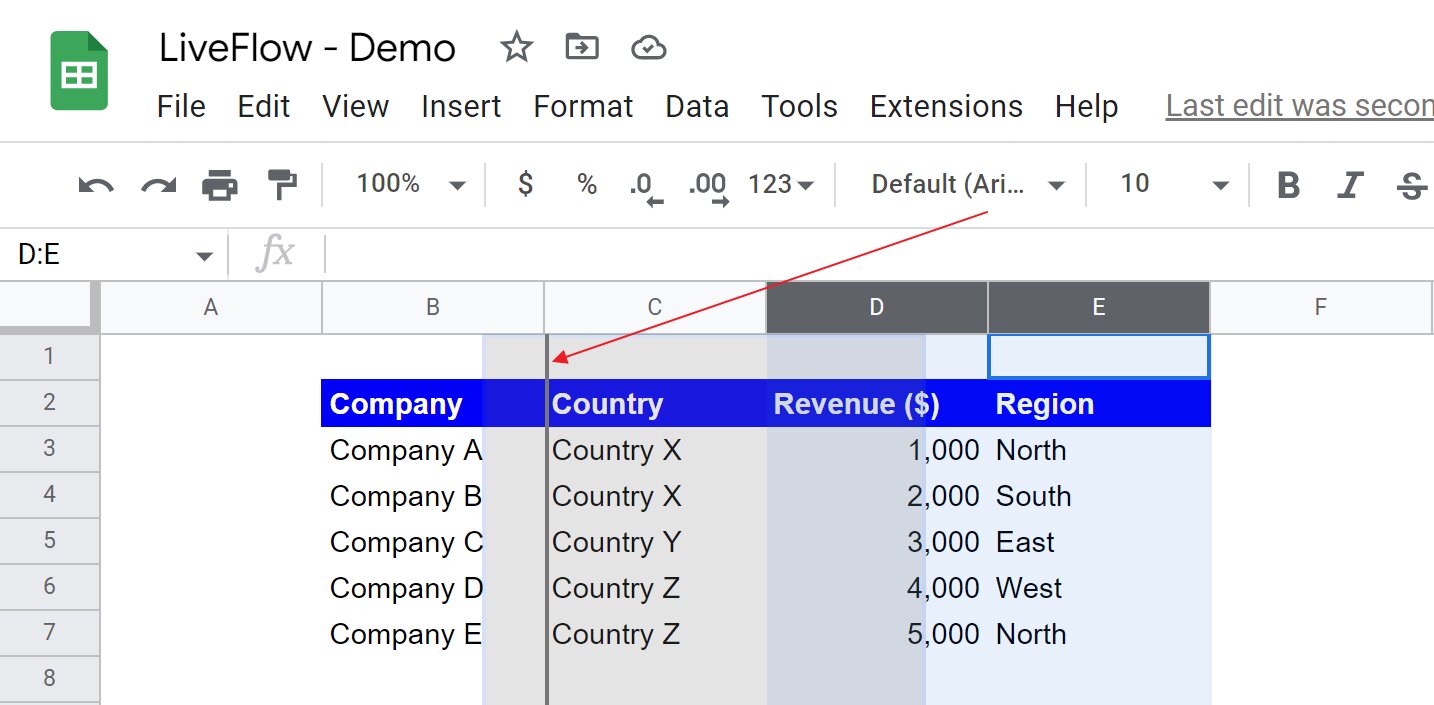
- Place your cursor on the column header (the lettered cell at the top of the column).
- Click and hold the left mouse button.
- While still holding the mouse button, drag the column left or right to the desired position.
- Release the mouse button to drop the column in its new location.
Once you release the mouse button, the column will seamlessly move to its new spot. This method is particularly useful when you only need to move one or two columns and want to quickly rearrange them. It offers a visual representation of the changes as you drag the column, allowing you to easily preview the new order.
Please note that when using the drag and drop method, the columns will be inserted at the desired location by pushing existing columns to the right. This means that if there are any filled cells in the new location, the data will be shifted to accommodate the moved column. If you have formulas or references in your spreadsheet, they will automatically adjust to reflect the new column position.
Method 2: Using the Context Menu
Another convenient way to move columns in Google Sheets is by utilizing the context menu. This method offers a more precise way to relocate columns and gives you additional options for customizing the movement. Follow these steps:
- Open your Google Sheets document and select the column you want to move by clicking on its header.
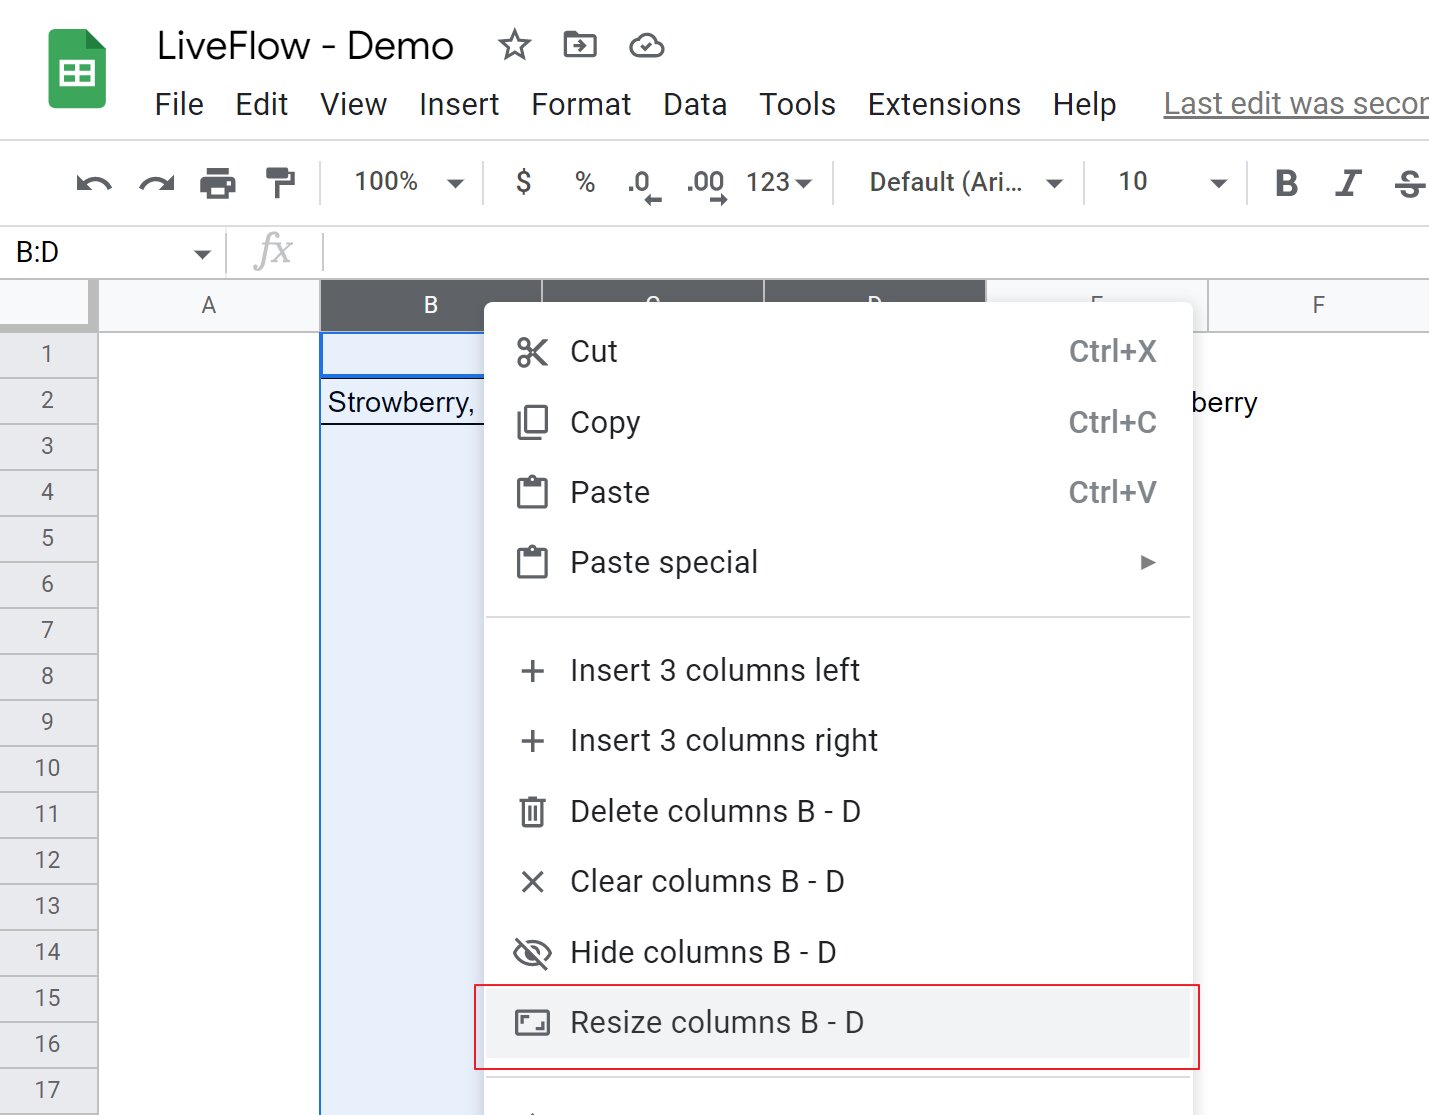
- Right-click on the column header to open the context menu.
- In the context menu, hover over the “Insert” or “Cut” option.
- From the submenu that appears, select the desired option, either “Insert columns left” or “Insert columns right” for the “Insert” option, or “Cut” to initiate the cutting process.
- If you choose the “Cut” option, right-click on the column header of the destination location and select “Insert cut cells.”
Using the context menu allows you to have more control over where the column will be inserted, either to the left or right of the selected column. The “Cut” option enables you to remove the column from its original position before pasting it to the new location. This method is especially useful when you want to precisely insert a column within a specific range or when you prefer using the right-click menu instead of drag and drop.
It’s important to note that when you choose to “Insert columns left” or “Insert columns right,” the existing columns will shift accordingly to accommodate the inserted column. Any data or formulas in the affected columns will be adjusted to reflect the new position. Similarly, if you use the “Cut” and “Insert cut cells” commands, the moved column will replace the existing column at the destination location.
Method 3: Using the “Cut” and “Insert cut cells” Commands
If you prefer using keyboard shortcuts or the toolbar options, the “Cut” and “Insert cut cells” commands can be an efficient method for moving columns in Google Sheets. This method allows you to remove the selected column from its original location and insert it at the desired position. Here’s how to use this method:
- Open your Google Sheets document and select the column you want to move by clicking on its header.
- To cut the column, you can either use the keyboard shortcut (Ctrl+X on Windows or Command+X on Mac) or click on the “Edit” menu at the top, then select “Cut” from the dropdown menu.
- Once the column is cut, navigate to the destination location where you want to insert it.
- To insert the cut column in the new location, right-click on the column header and select “Insert cut cells” from the context menu.
Using the “Cut” and “Insert cut cells” commands allows for a quick and precise method of moving columns. It’s particularly useful when you want to remove a column entirely from its original location and reposition it without affecting the order of the other columns. This method gives you more control over the movement and allows you to insert the cut column exactly where you want it within your spreadsheet.
Please note that when using this method, the existing columns at the destination location will be shifted to accommodate the inserted column. Any data or formulas in the affected columns will be adjusted accordingly. Additionally, if you have any references or dependencies on the cut column from other formulas or cells, they will automatically update to reflect the new column position.
Method 4: Using the “Copy” and “Paste special” Commands
The “Copy” and “Paste special” commands in Google Sheets provide another effective method for moving columns. This method allows you to duplicate a column and paste it in a new location while retaining its formatting, formulas, and data. Here’s how to use this method:
- Open your Google Sheets document and select the column you want to move by clicking on its header.
- To copy the column, you can either use the keyboard shortcut (Ctrl+C on Windows or Command+C on Mac) or click on the “Edit” menu at the top, then select “Copy” from the dropdown menu.
- Once the column is copied, navigate to the destination location where you want to insert it.
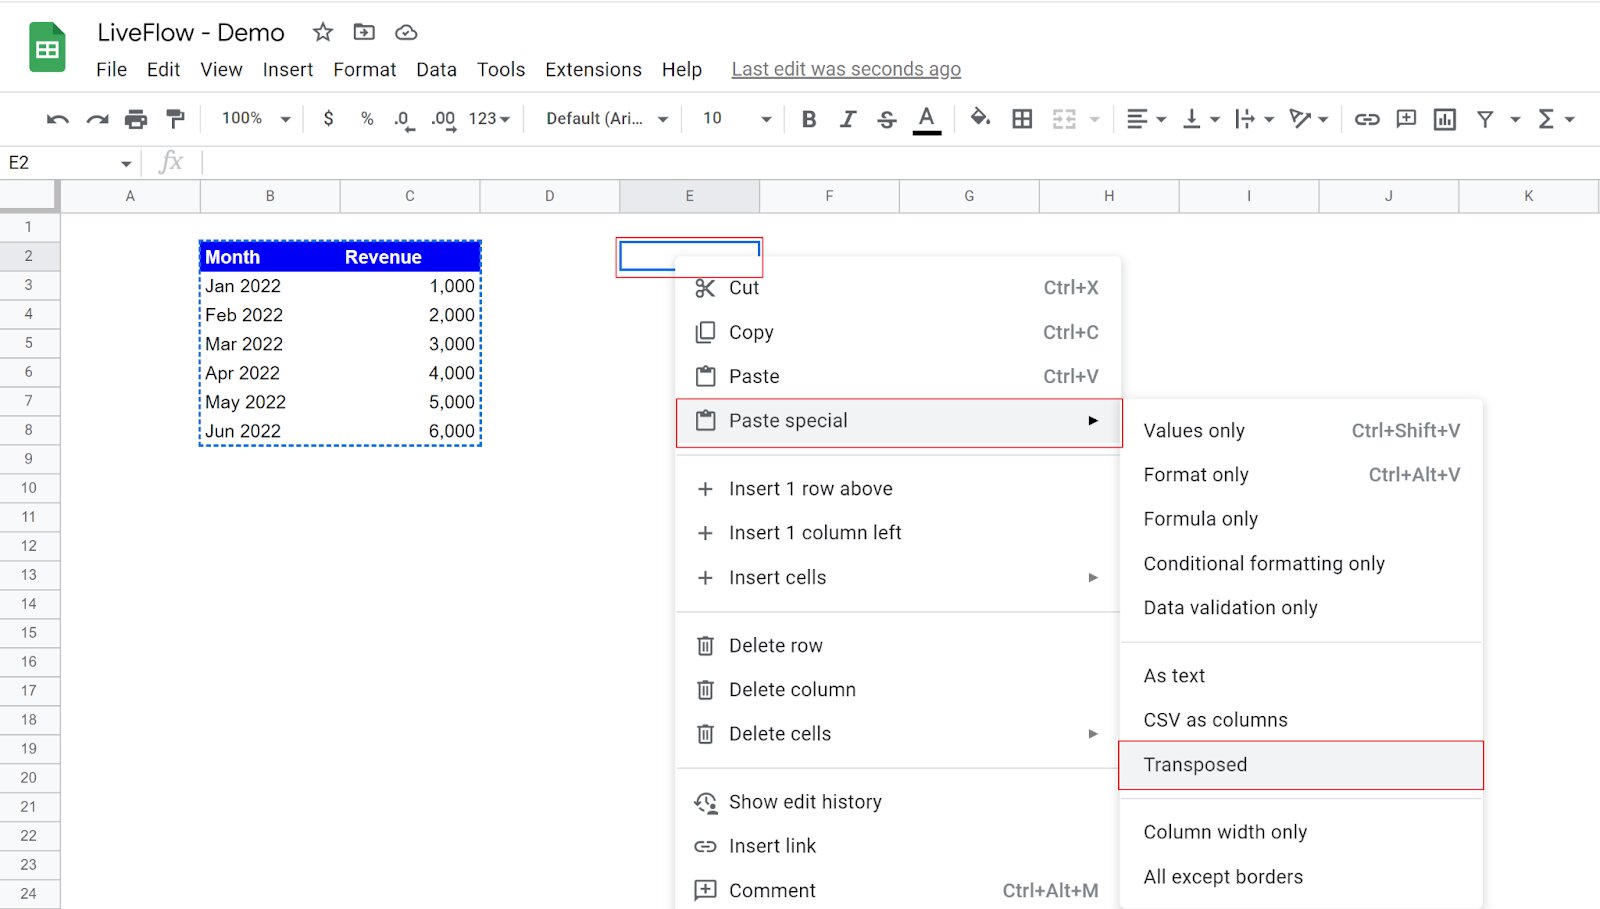
- Right-click on the column header at the destination location and select “Paste special” from the context menu.
- In the “Paste special” submenu, choose “Paste values only” to paste only the values and remove any formulas or functions, or select “Paste formatting” to apply the formatting of the copied column to the destination location.
Using the “Copy” and “Paste special” commands gives you the flexibility to duplicate and insert a column while customizing the way the data and formatting are transferred. This method is beneficial when you want to maintain consistency in formatting or when you need to copy and paste specific values without carrying over any formulas. Additionally, it allows you to move the column without altering the original column’s position.
When using this method, it’s important to note that the inserted column will occupy a new position without pushing existing columns. Any data or formulas already present in the destination location will remain unaffected, and the copied column will be placed adjacent to the existing columns. This is a useful method when you want to duplicate and insert a column in a specific location without disrupting the overall formatting or calculations in your spreadsheet.
Conclusion
Moving columns in Google Sheets is a valuable skill that can greatly improve your productivity and organization when working with spreadsheets. We have explored four different methods for moving columns:
- Using the drag and drop function, which offers a simple and visual way to rearrange columns.
- Utilizing the context menu to insert or cut columns and specify their placement within the spreadsheet.
- Using the “Cut” and “Insert cut cells” commands to remove and insert columns precisely.
- Using the “Copy” and “Paste special” commands to duplicate columns and paste them in new locations.
Each method has its own advantages and can be applied based on your specific needs and preferences. Whether you prefer a more intuitive drag and drop approach or require precise control over column placement, Google Sheets provides various options to cater to different user preferences.
Regardless of the method you choose, it’s important to remember that moving columns in Google Sheets does not affect the data within the cells; only their position changes within the spreadsheet. This ensures that any formulas, functions, or references you have in your spreadsheet will automatically adjust to reflect the new column positions.
By mastering these methods, you can easily rearrange, sort, and analyze data in your Google Sheets documents. Experiment with the different techniques and discover which one works best for your specific tasks and workflows. With knowledge and proficiency in moving columns, you will have greater control and flexibility in organizing your data effectively.